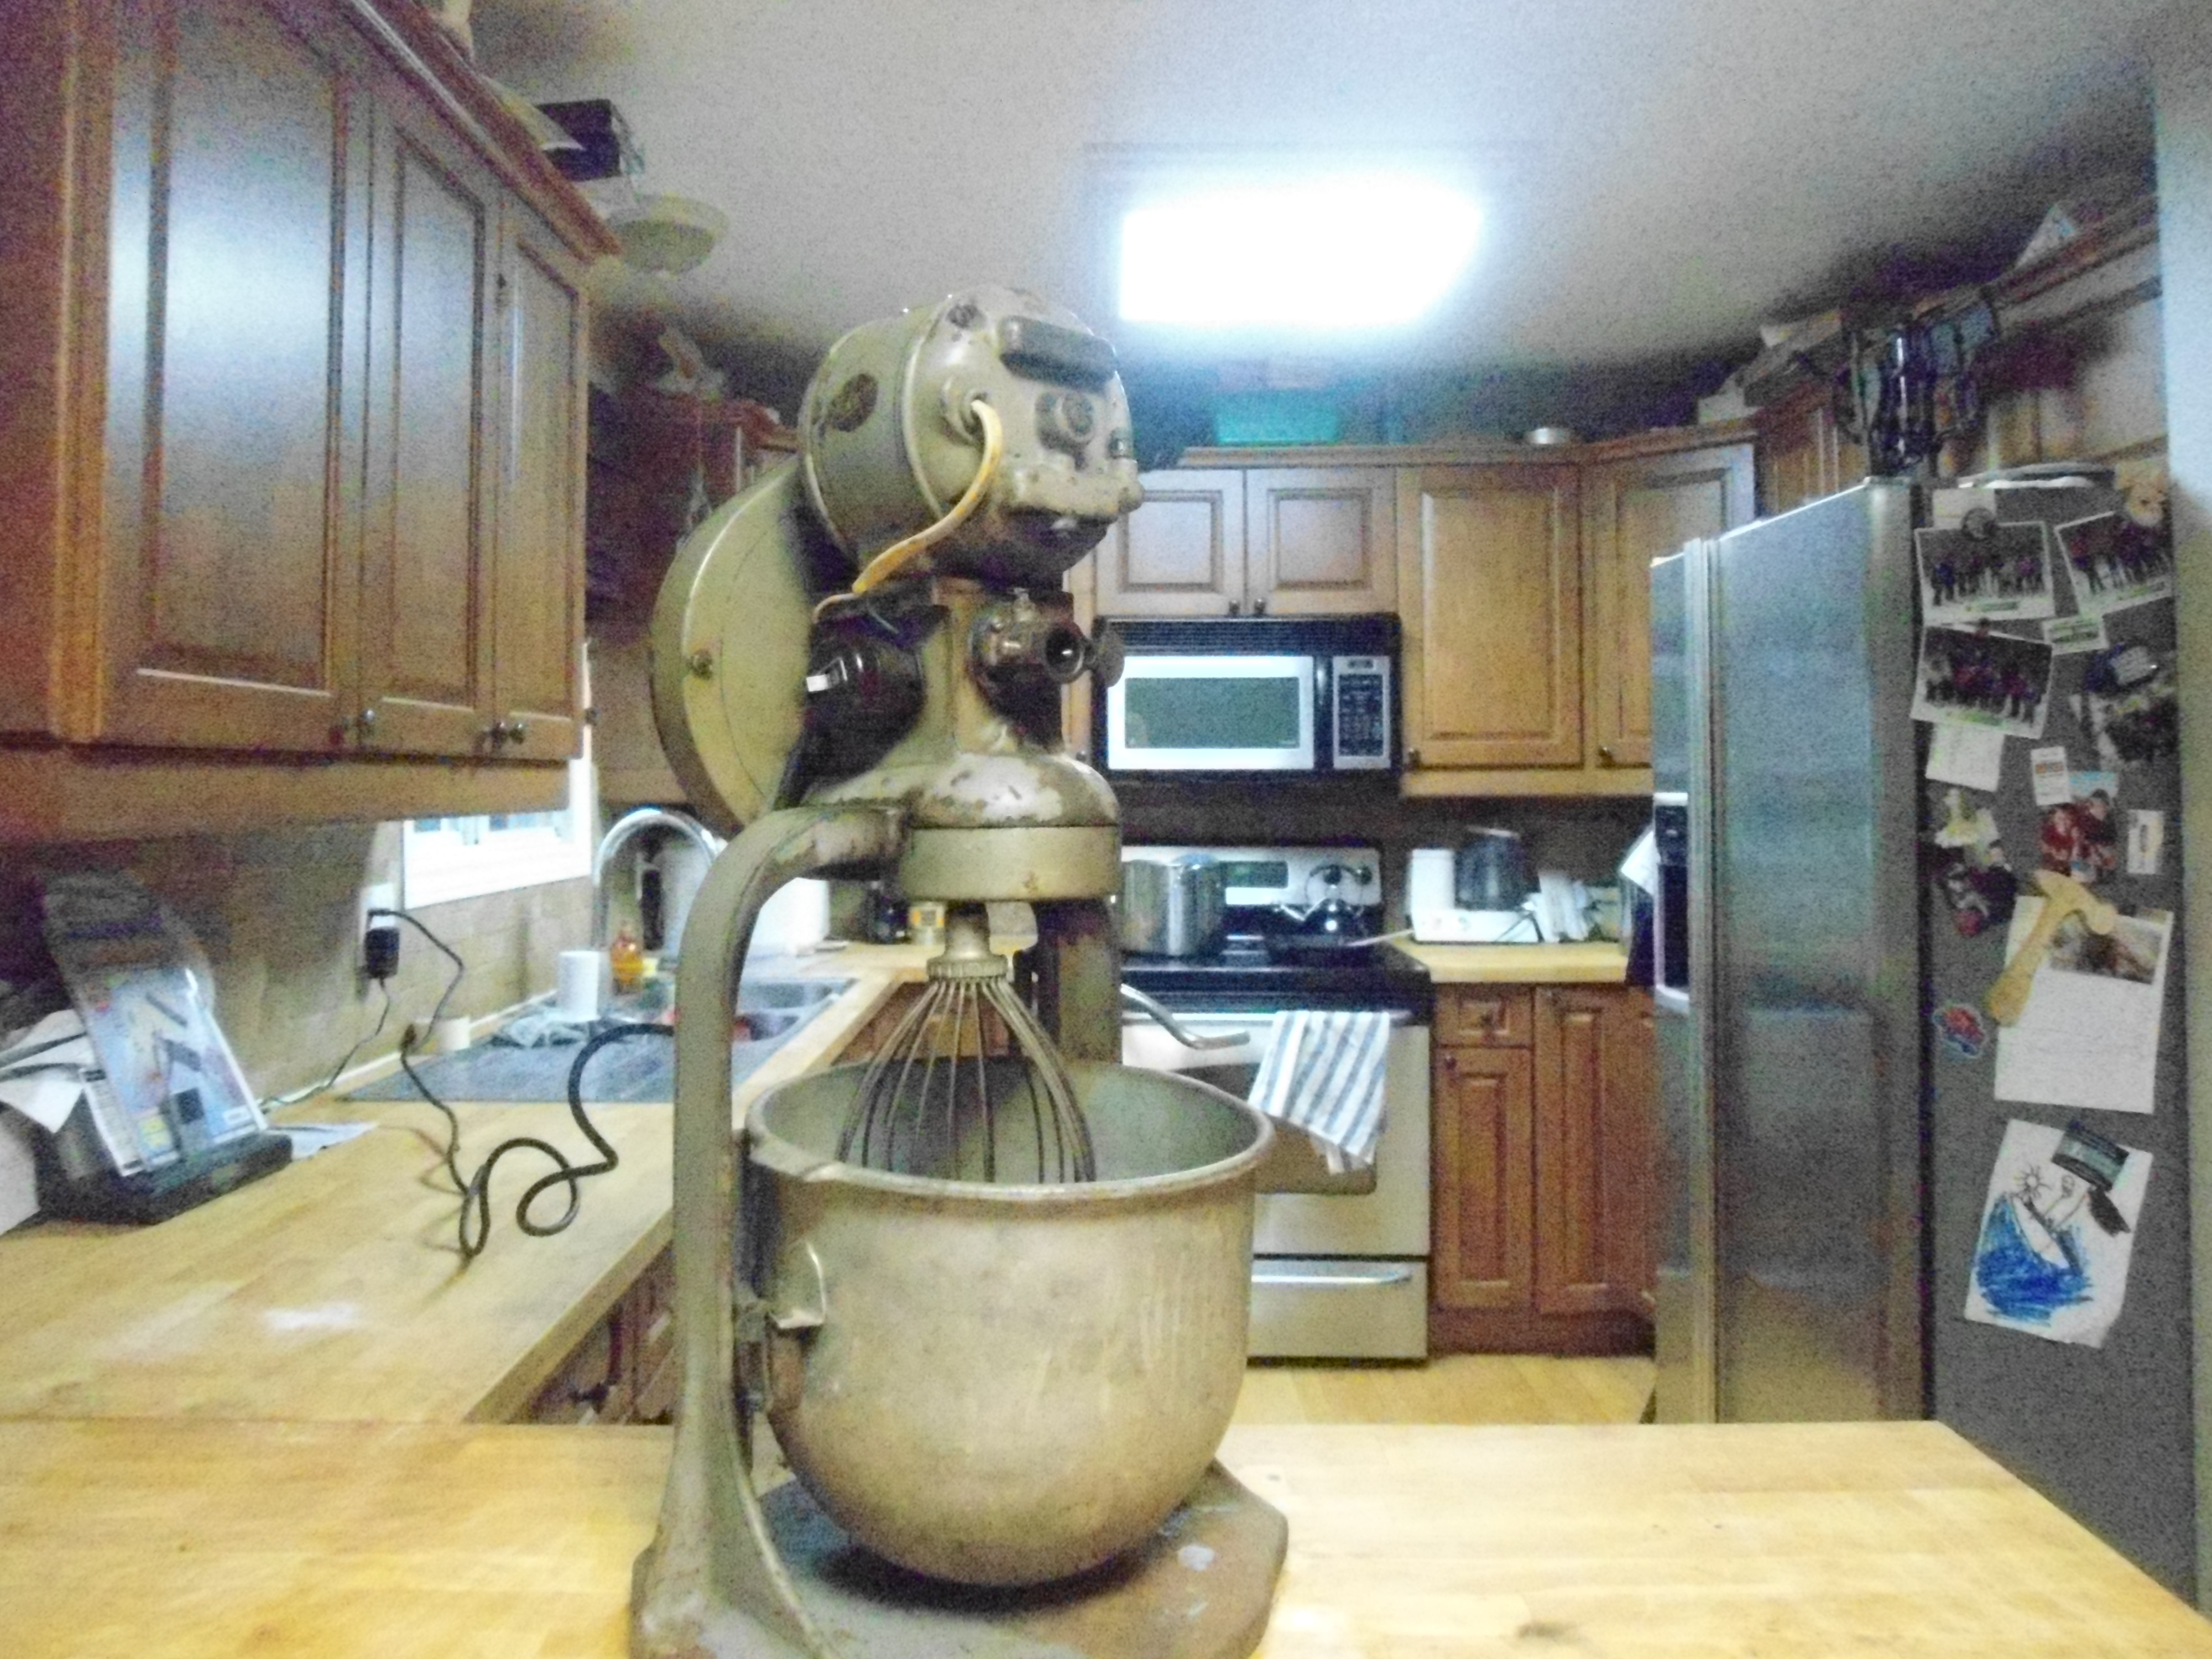
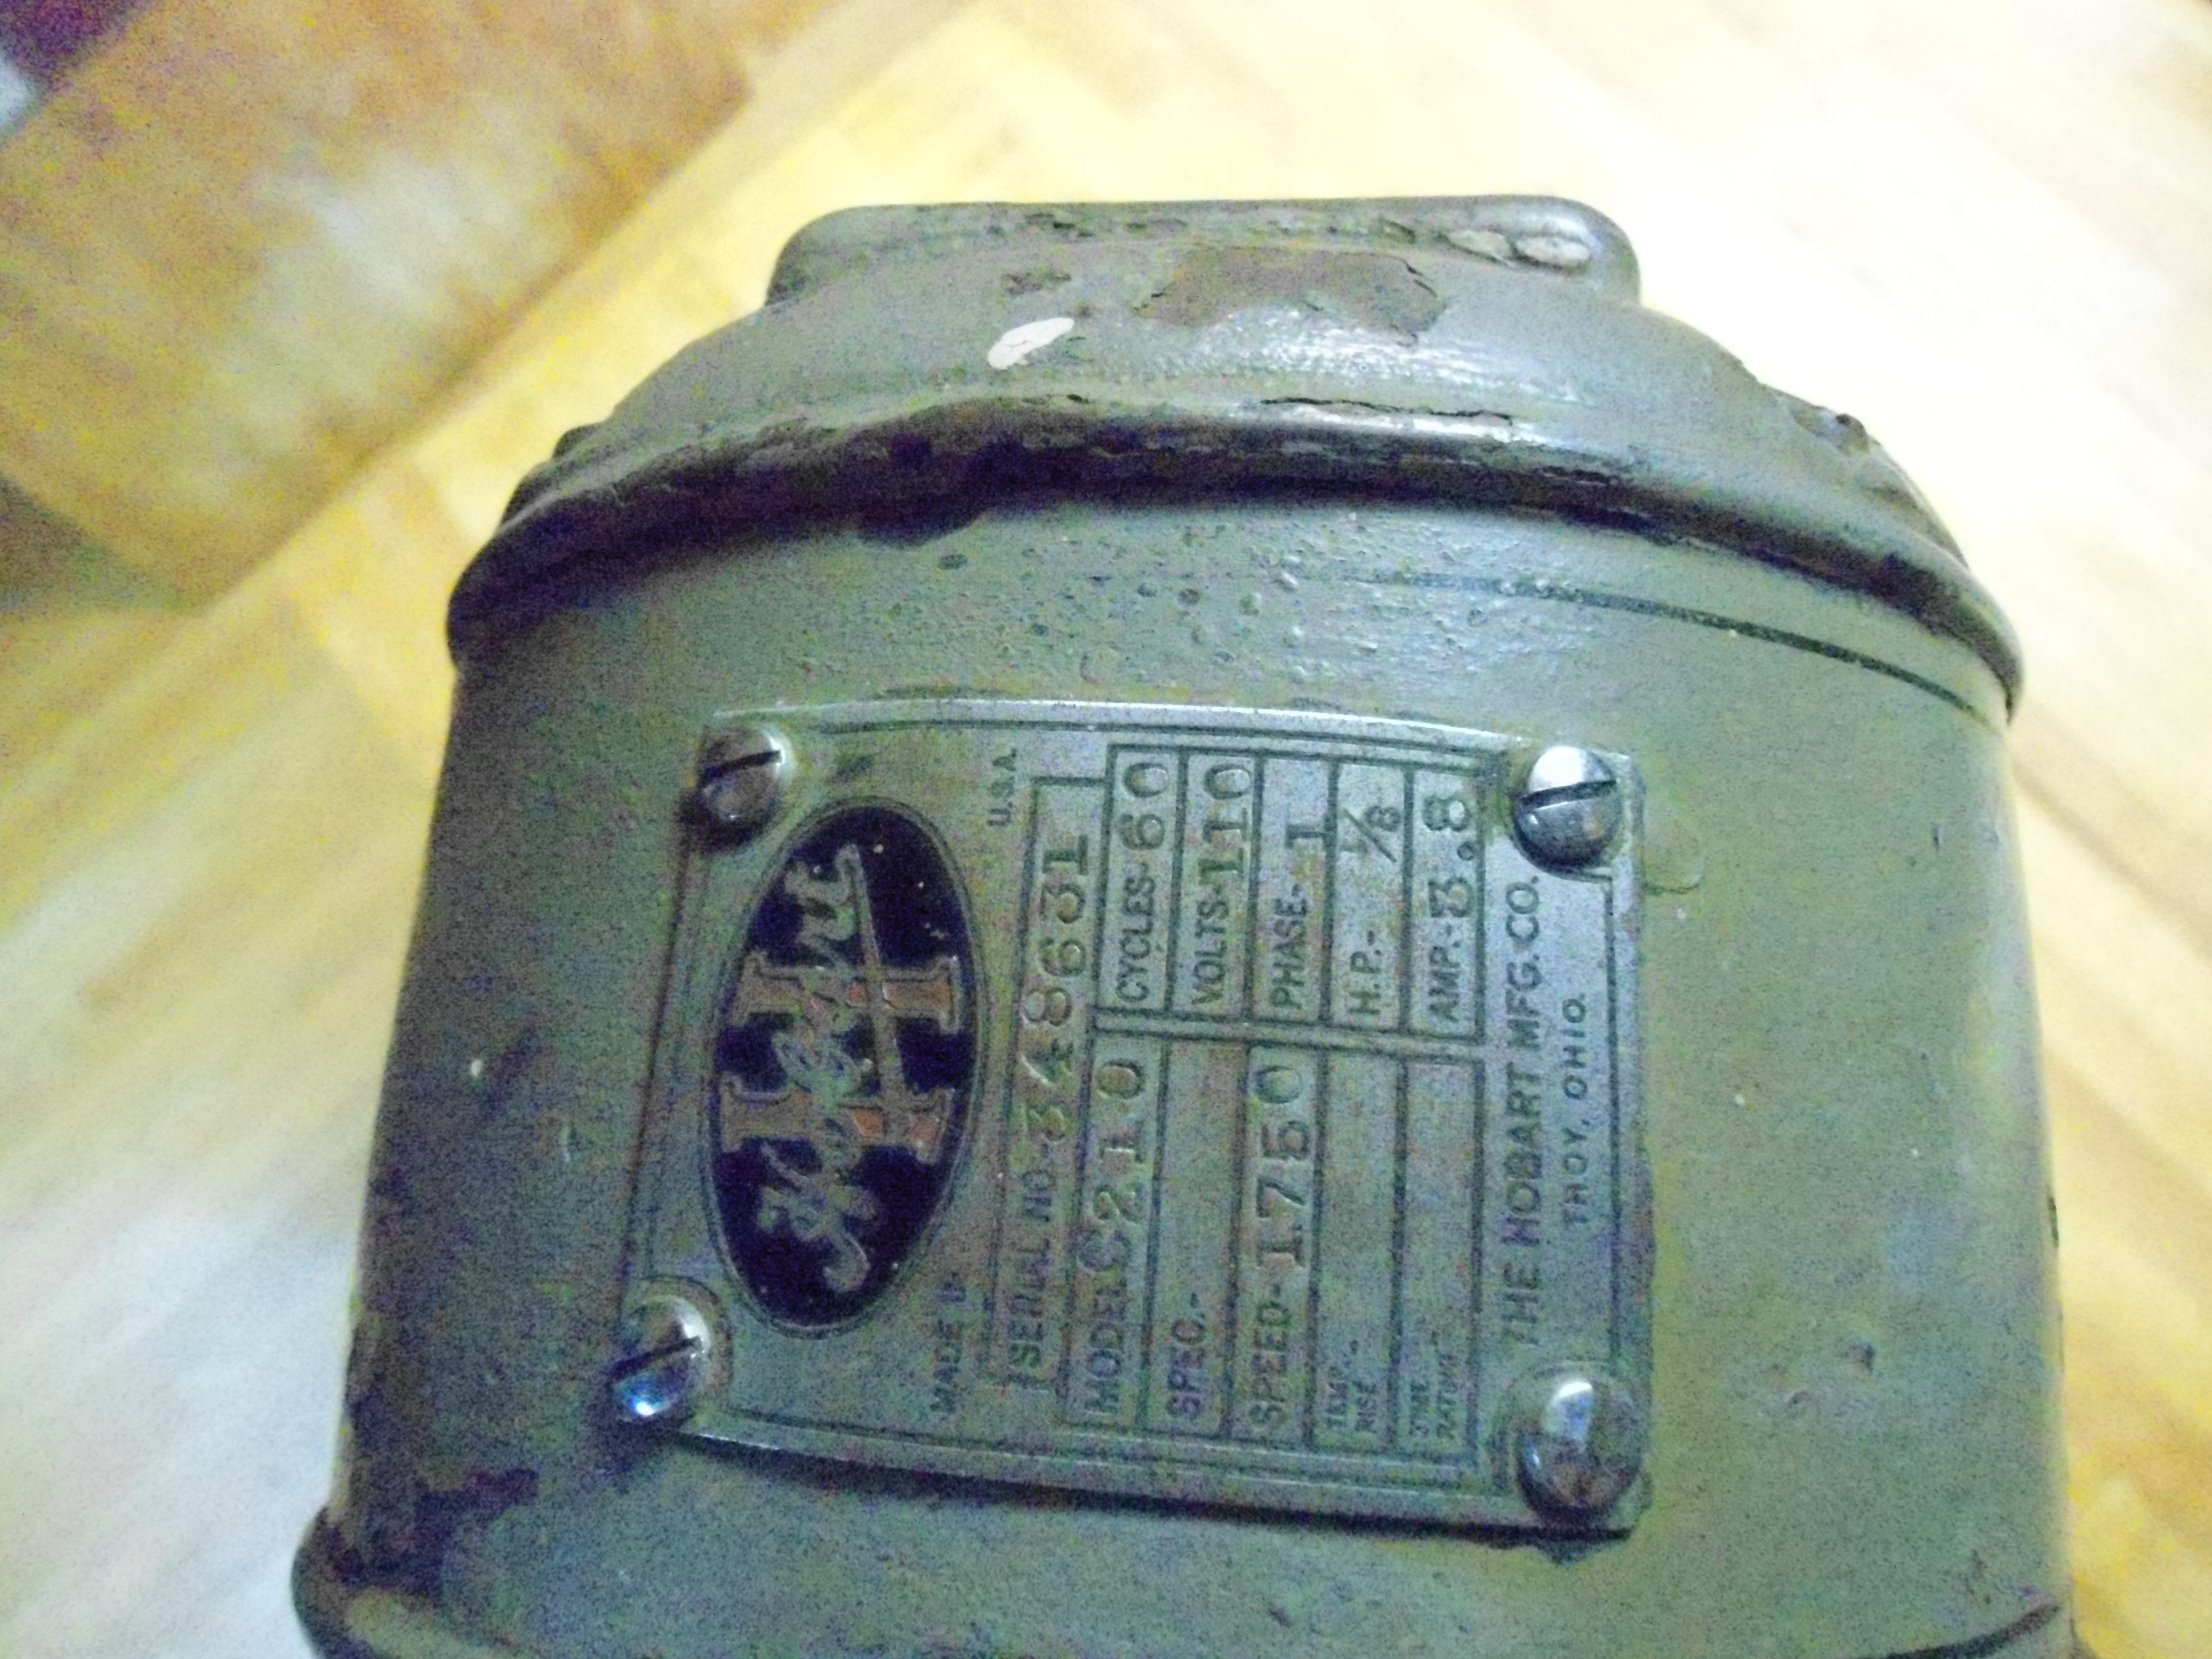
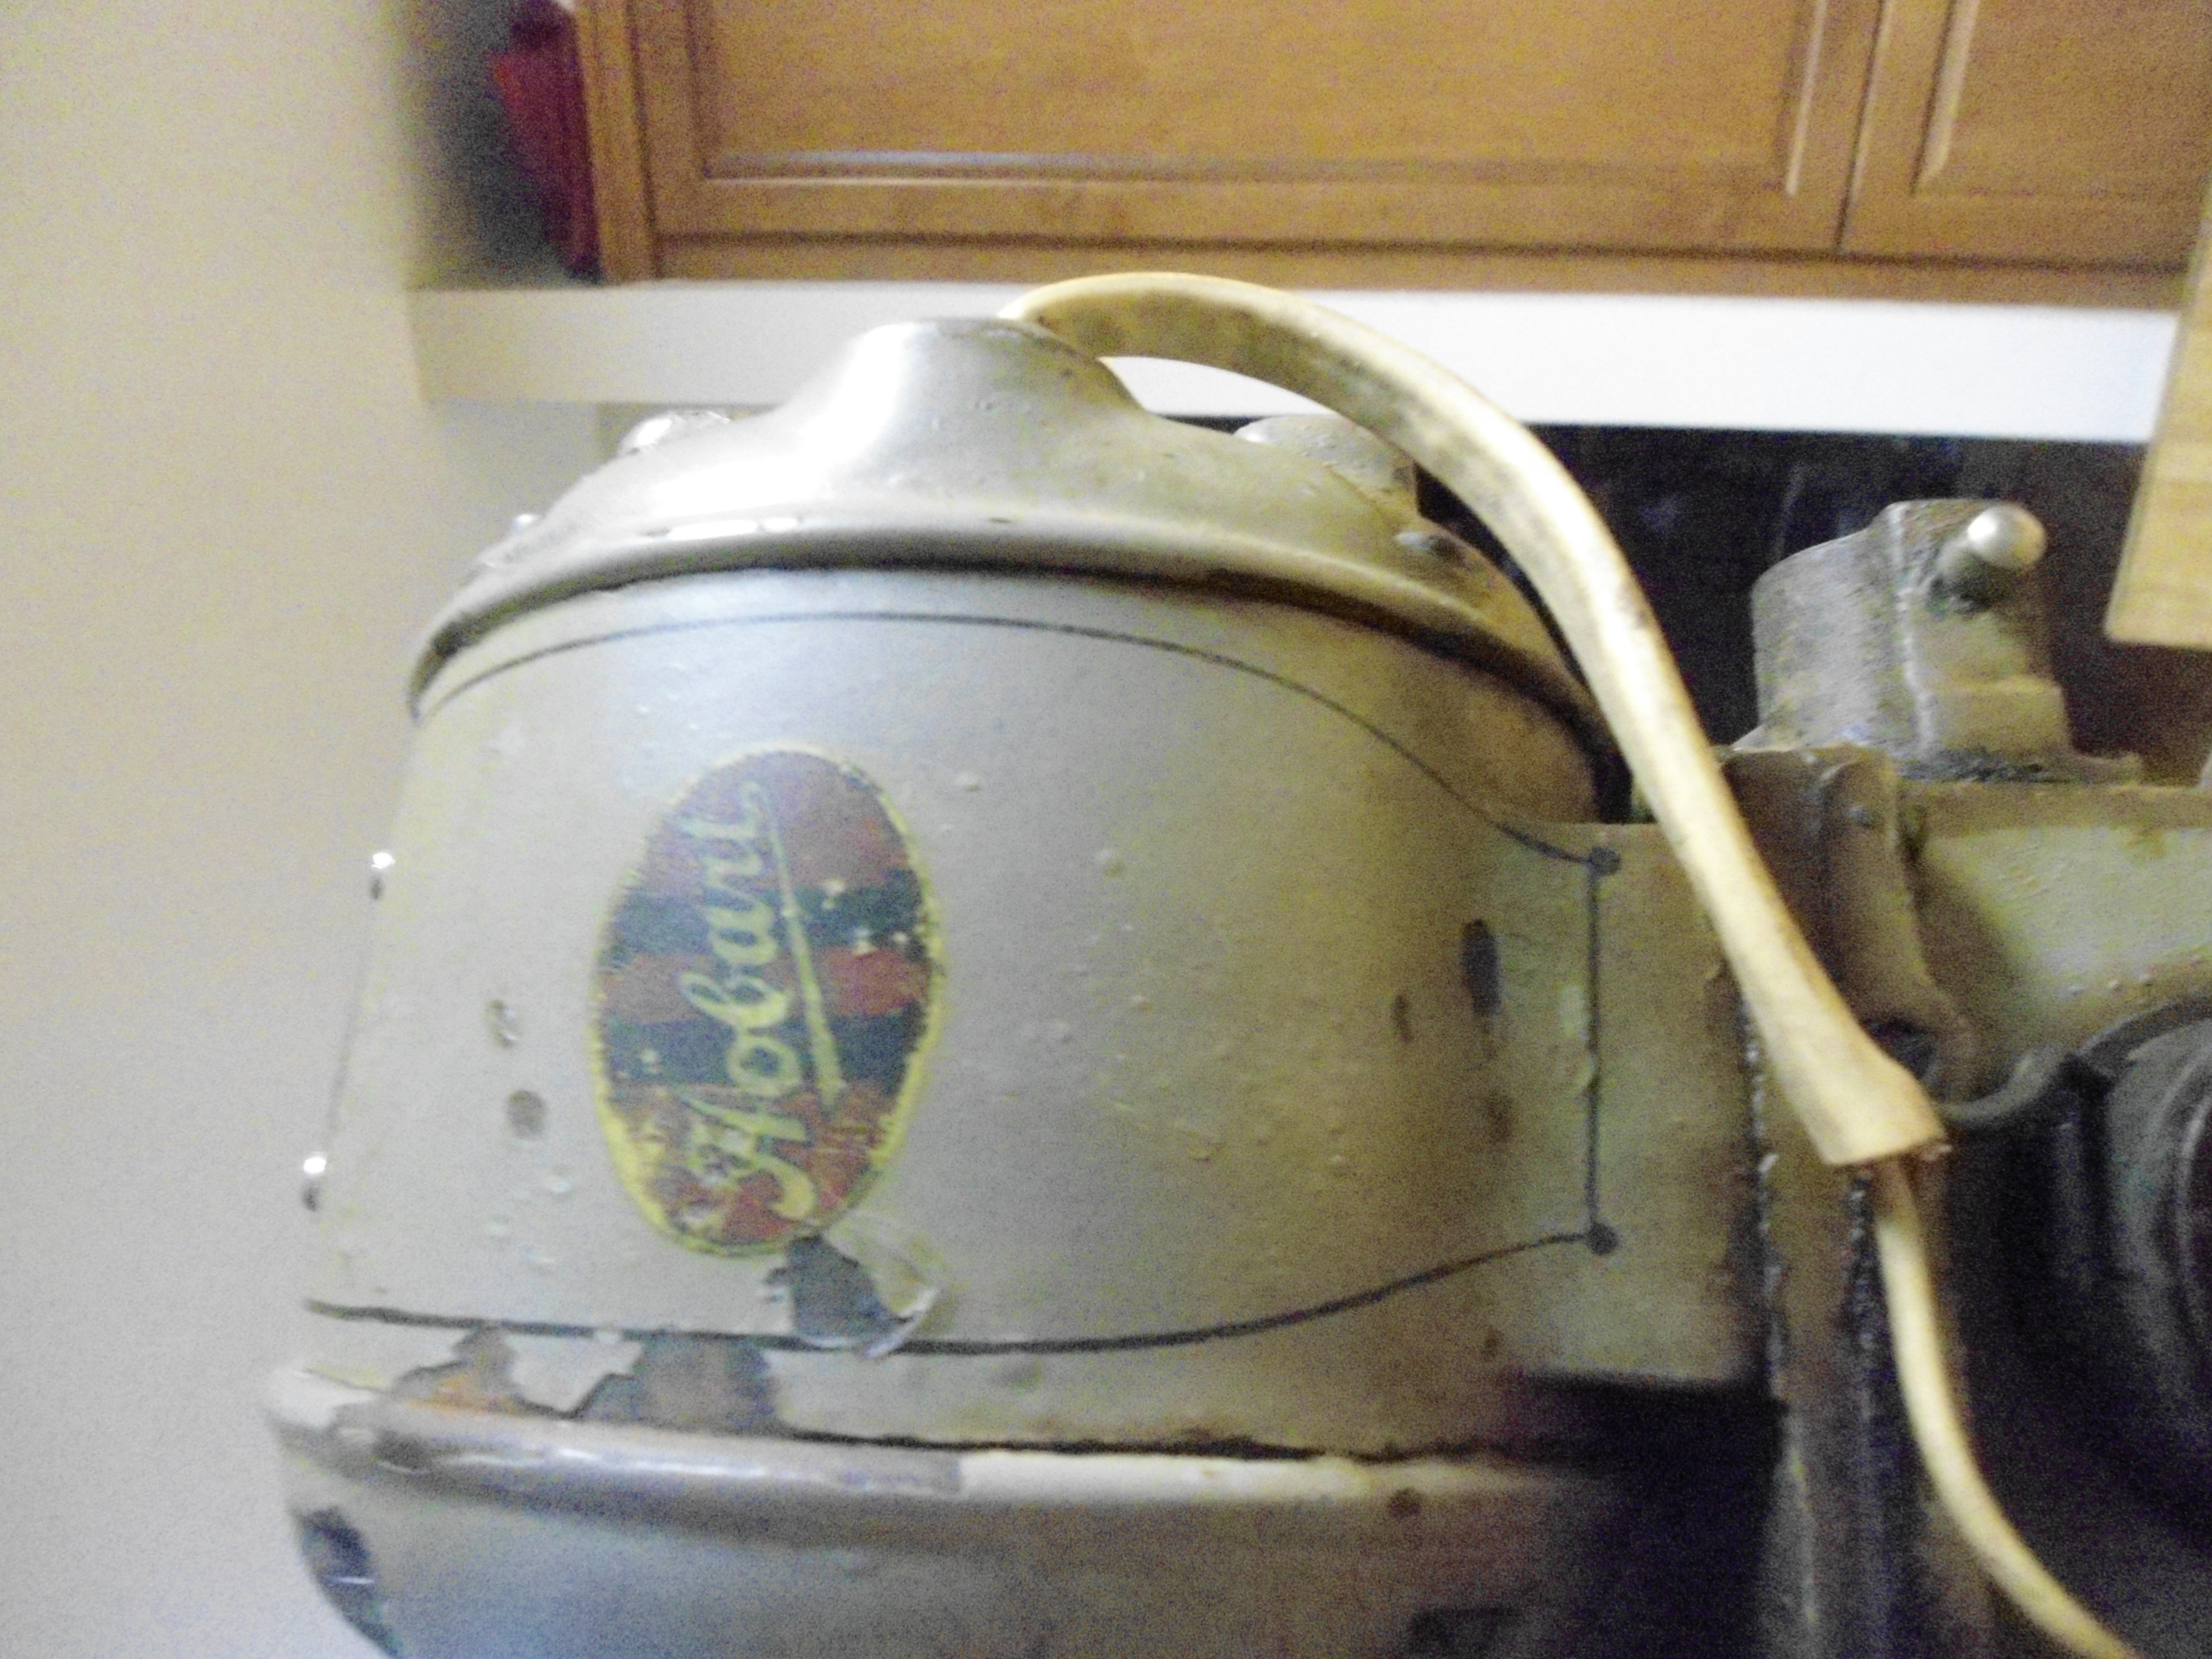
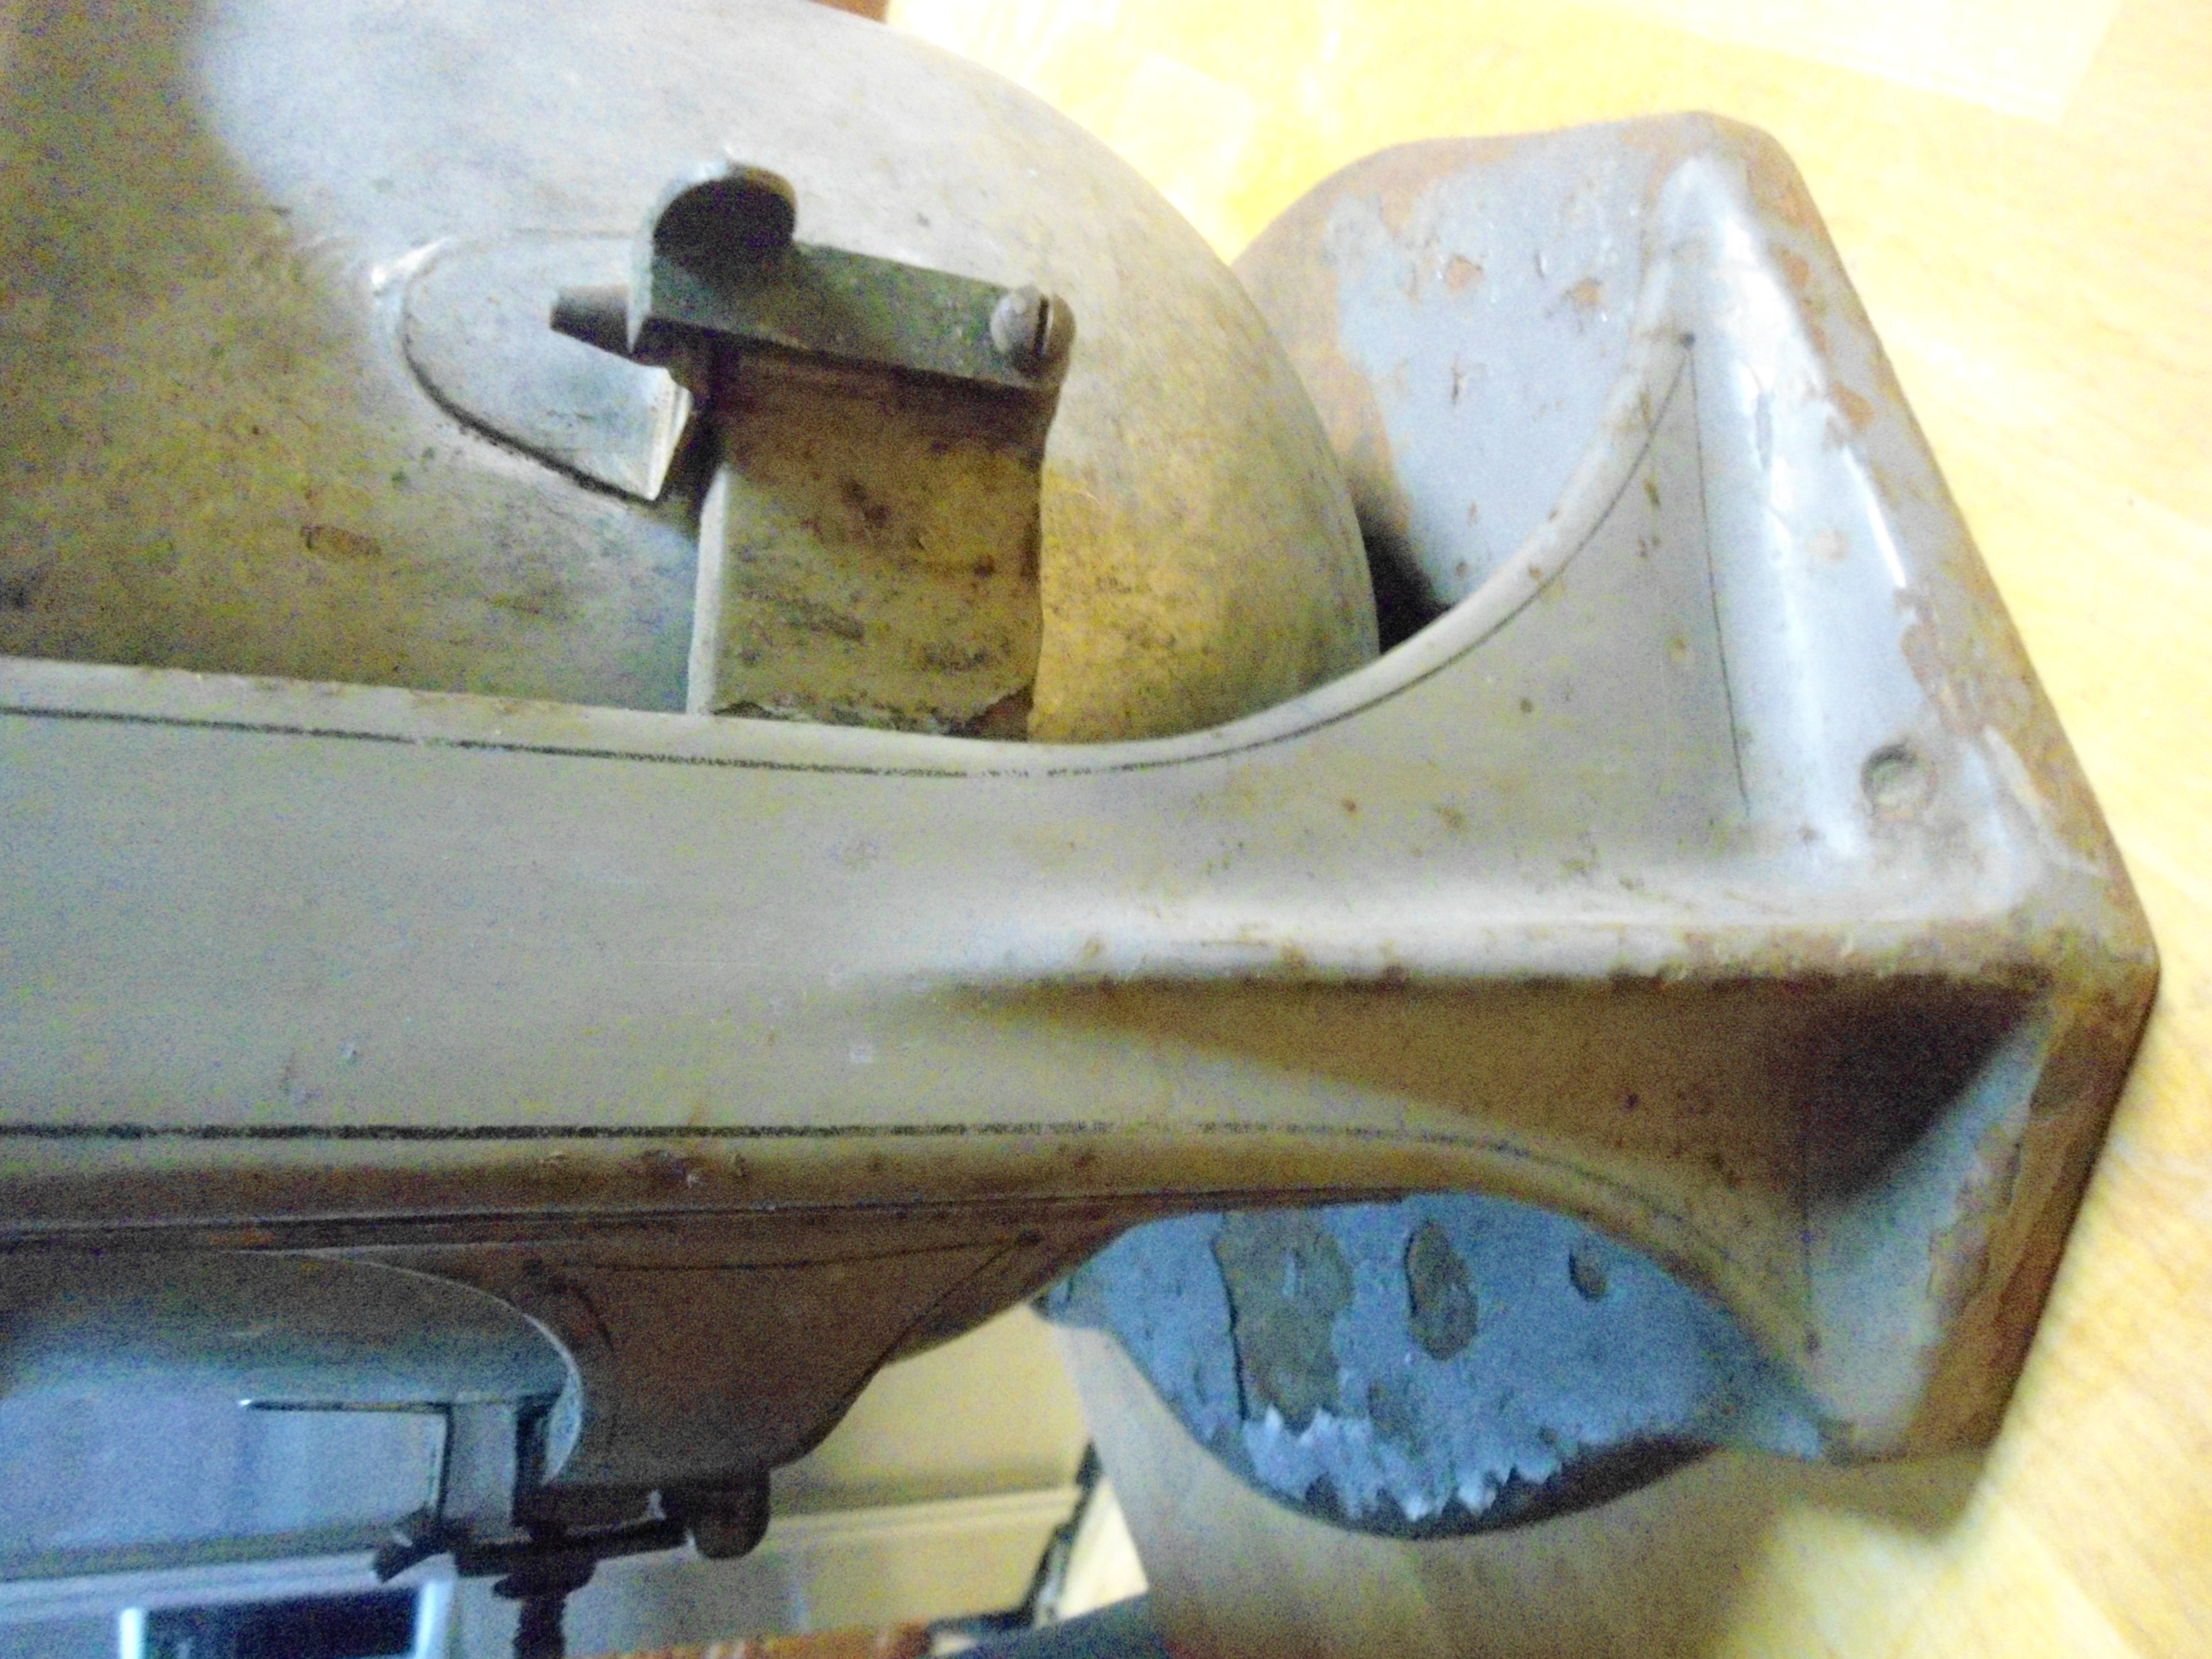
The first domestic scale stand mixer came about in 1918 as a product from the Hobart Company. That machine when tested earned the moniker – KitchenAid. This is pretty much that original design – one that has a separate motor rather than one built into the unit. I picked this one up in rough shape cosmetically but otherwise in excellent physical condition. For those who might be interested in seeing more details of this
really cool machine – working with it betrays it’s commercial lineage – I’ve got a bunch of photos here.
Vintage Hobart C210 Stand Mixer
Front view Hobart C210 Stand Mixer
Hobart C210 Stand Mixer Side View
Hobart C210 Stand Mixer – back view
Motor Tag – Hobart C210 Stand Mixer
Hobart Sticker on C210 Stand Mixer Motor
View of the foot of the c210 Stand Mixer
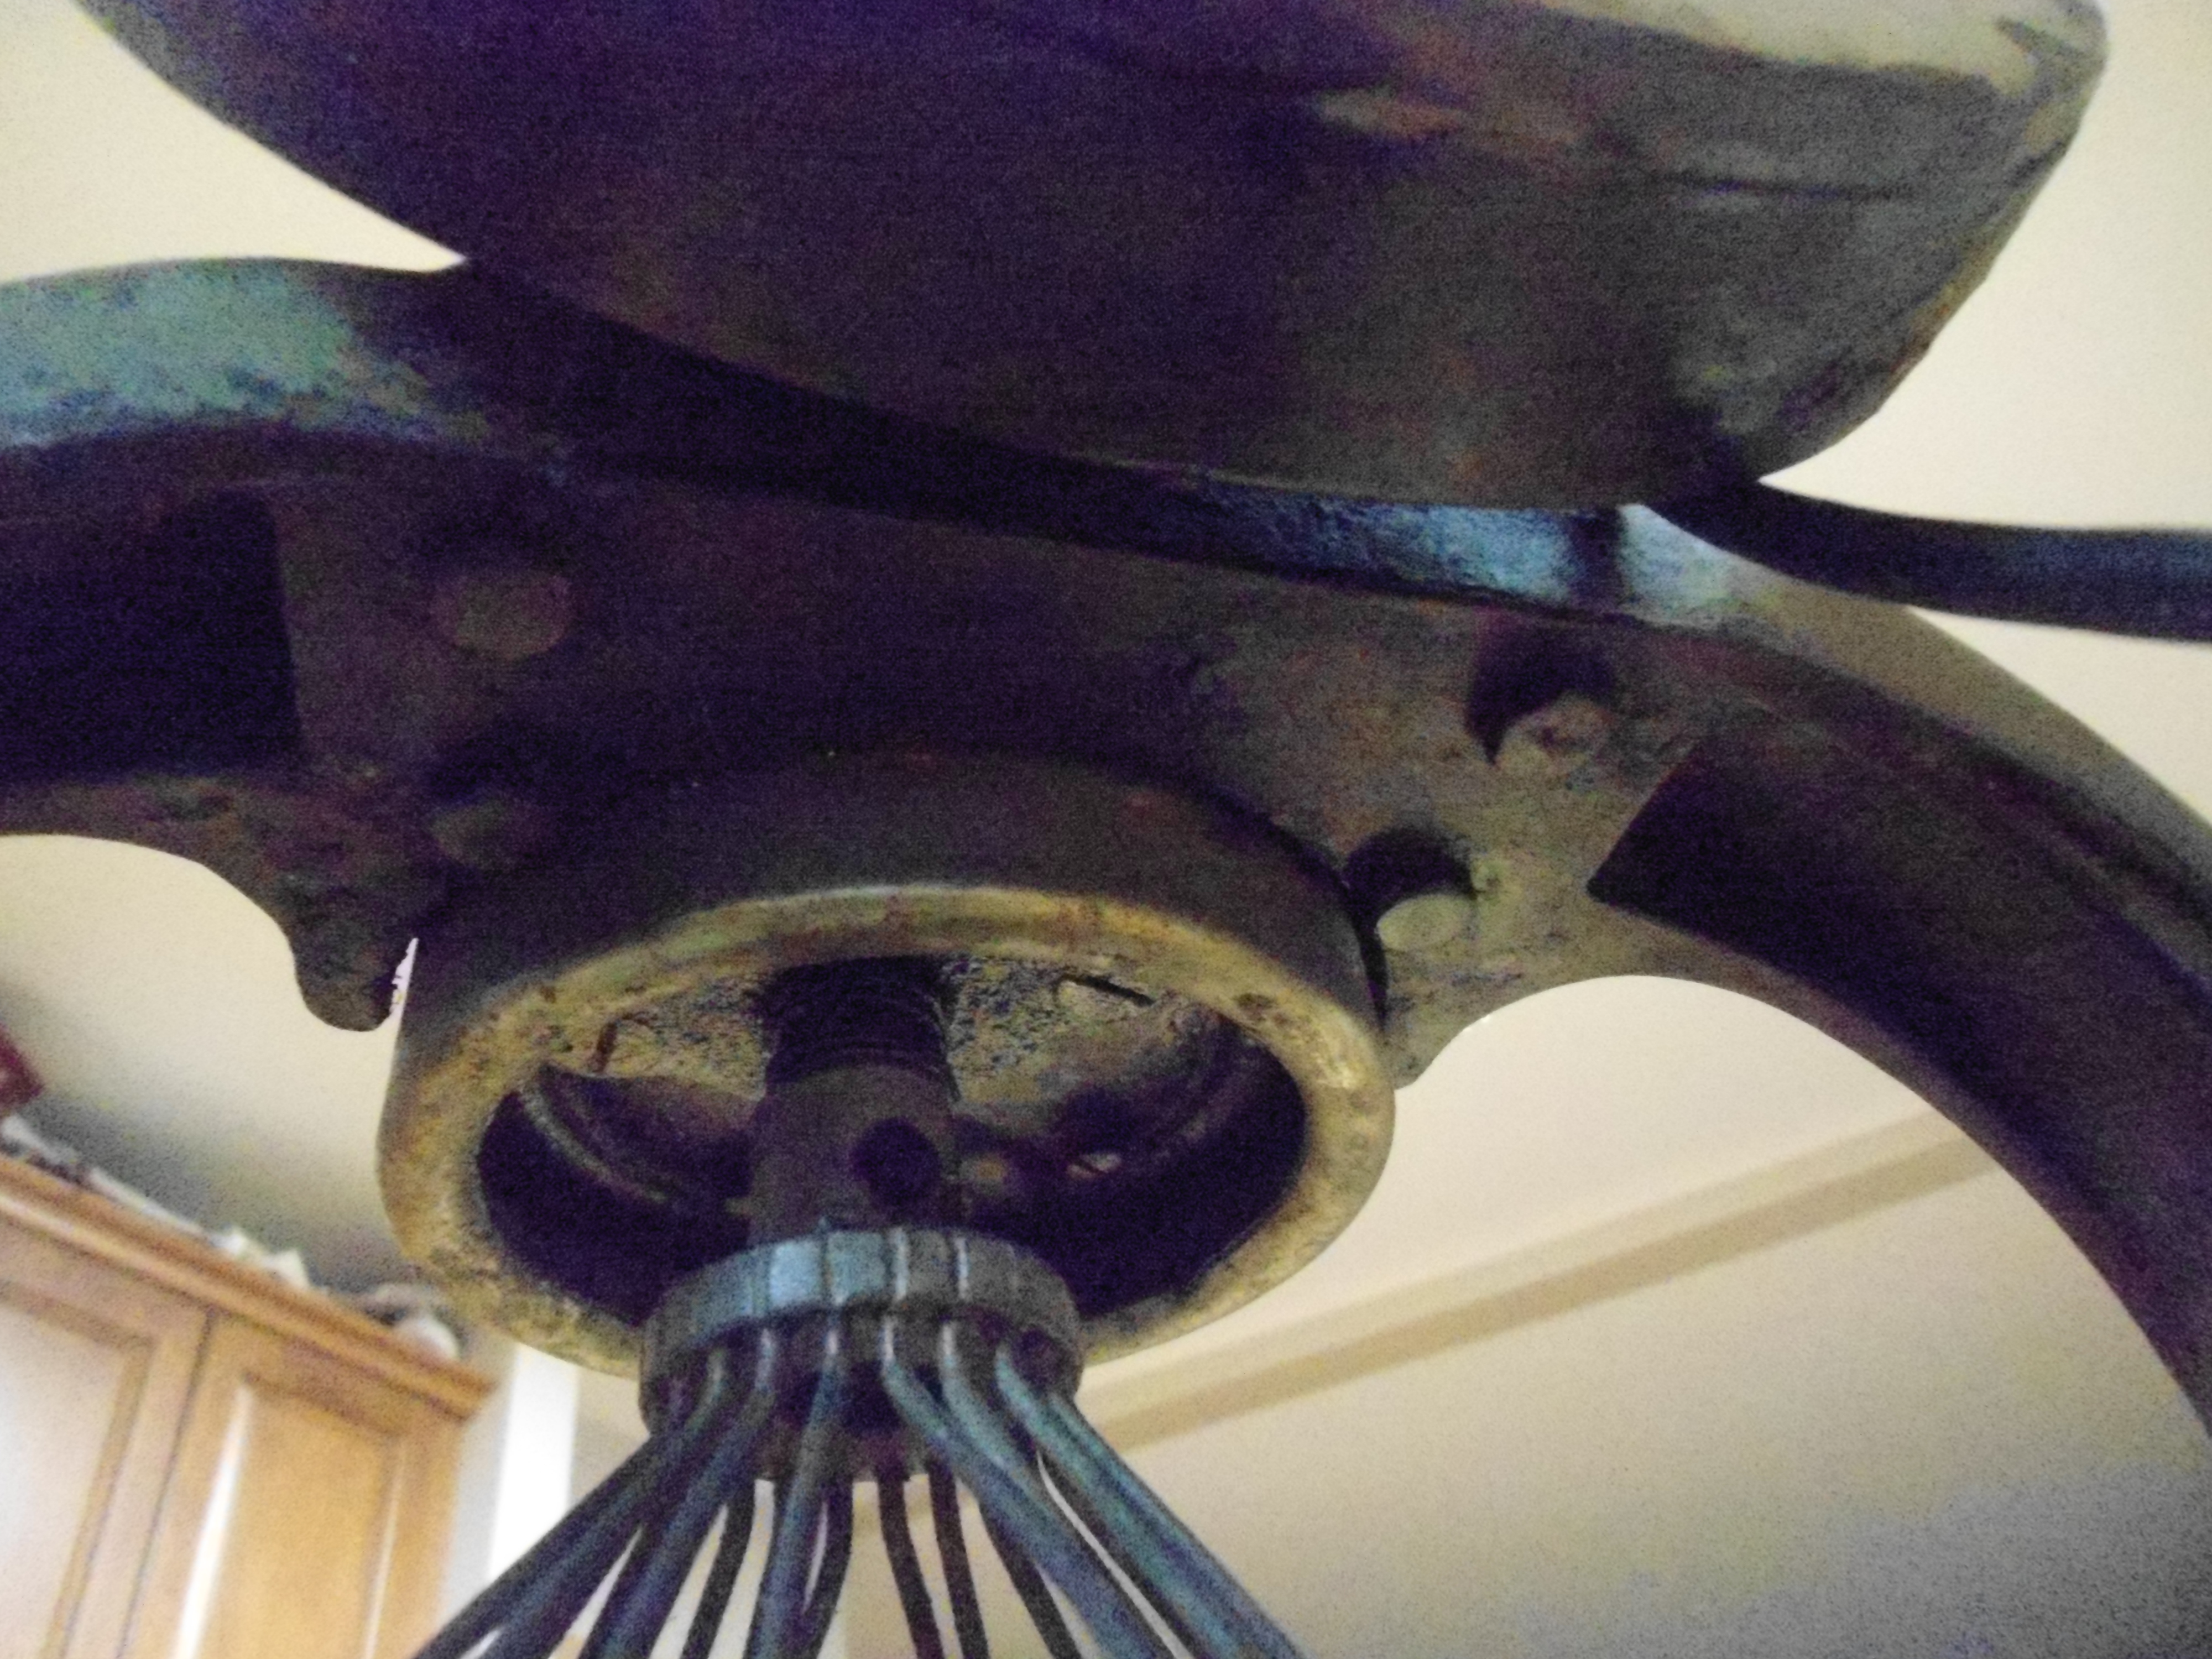
View from underside of c210 Hobart Stand Mixer base – bolt holding head to base
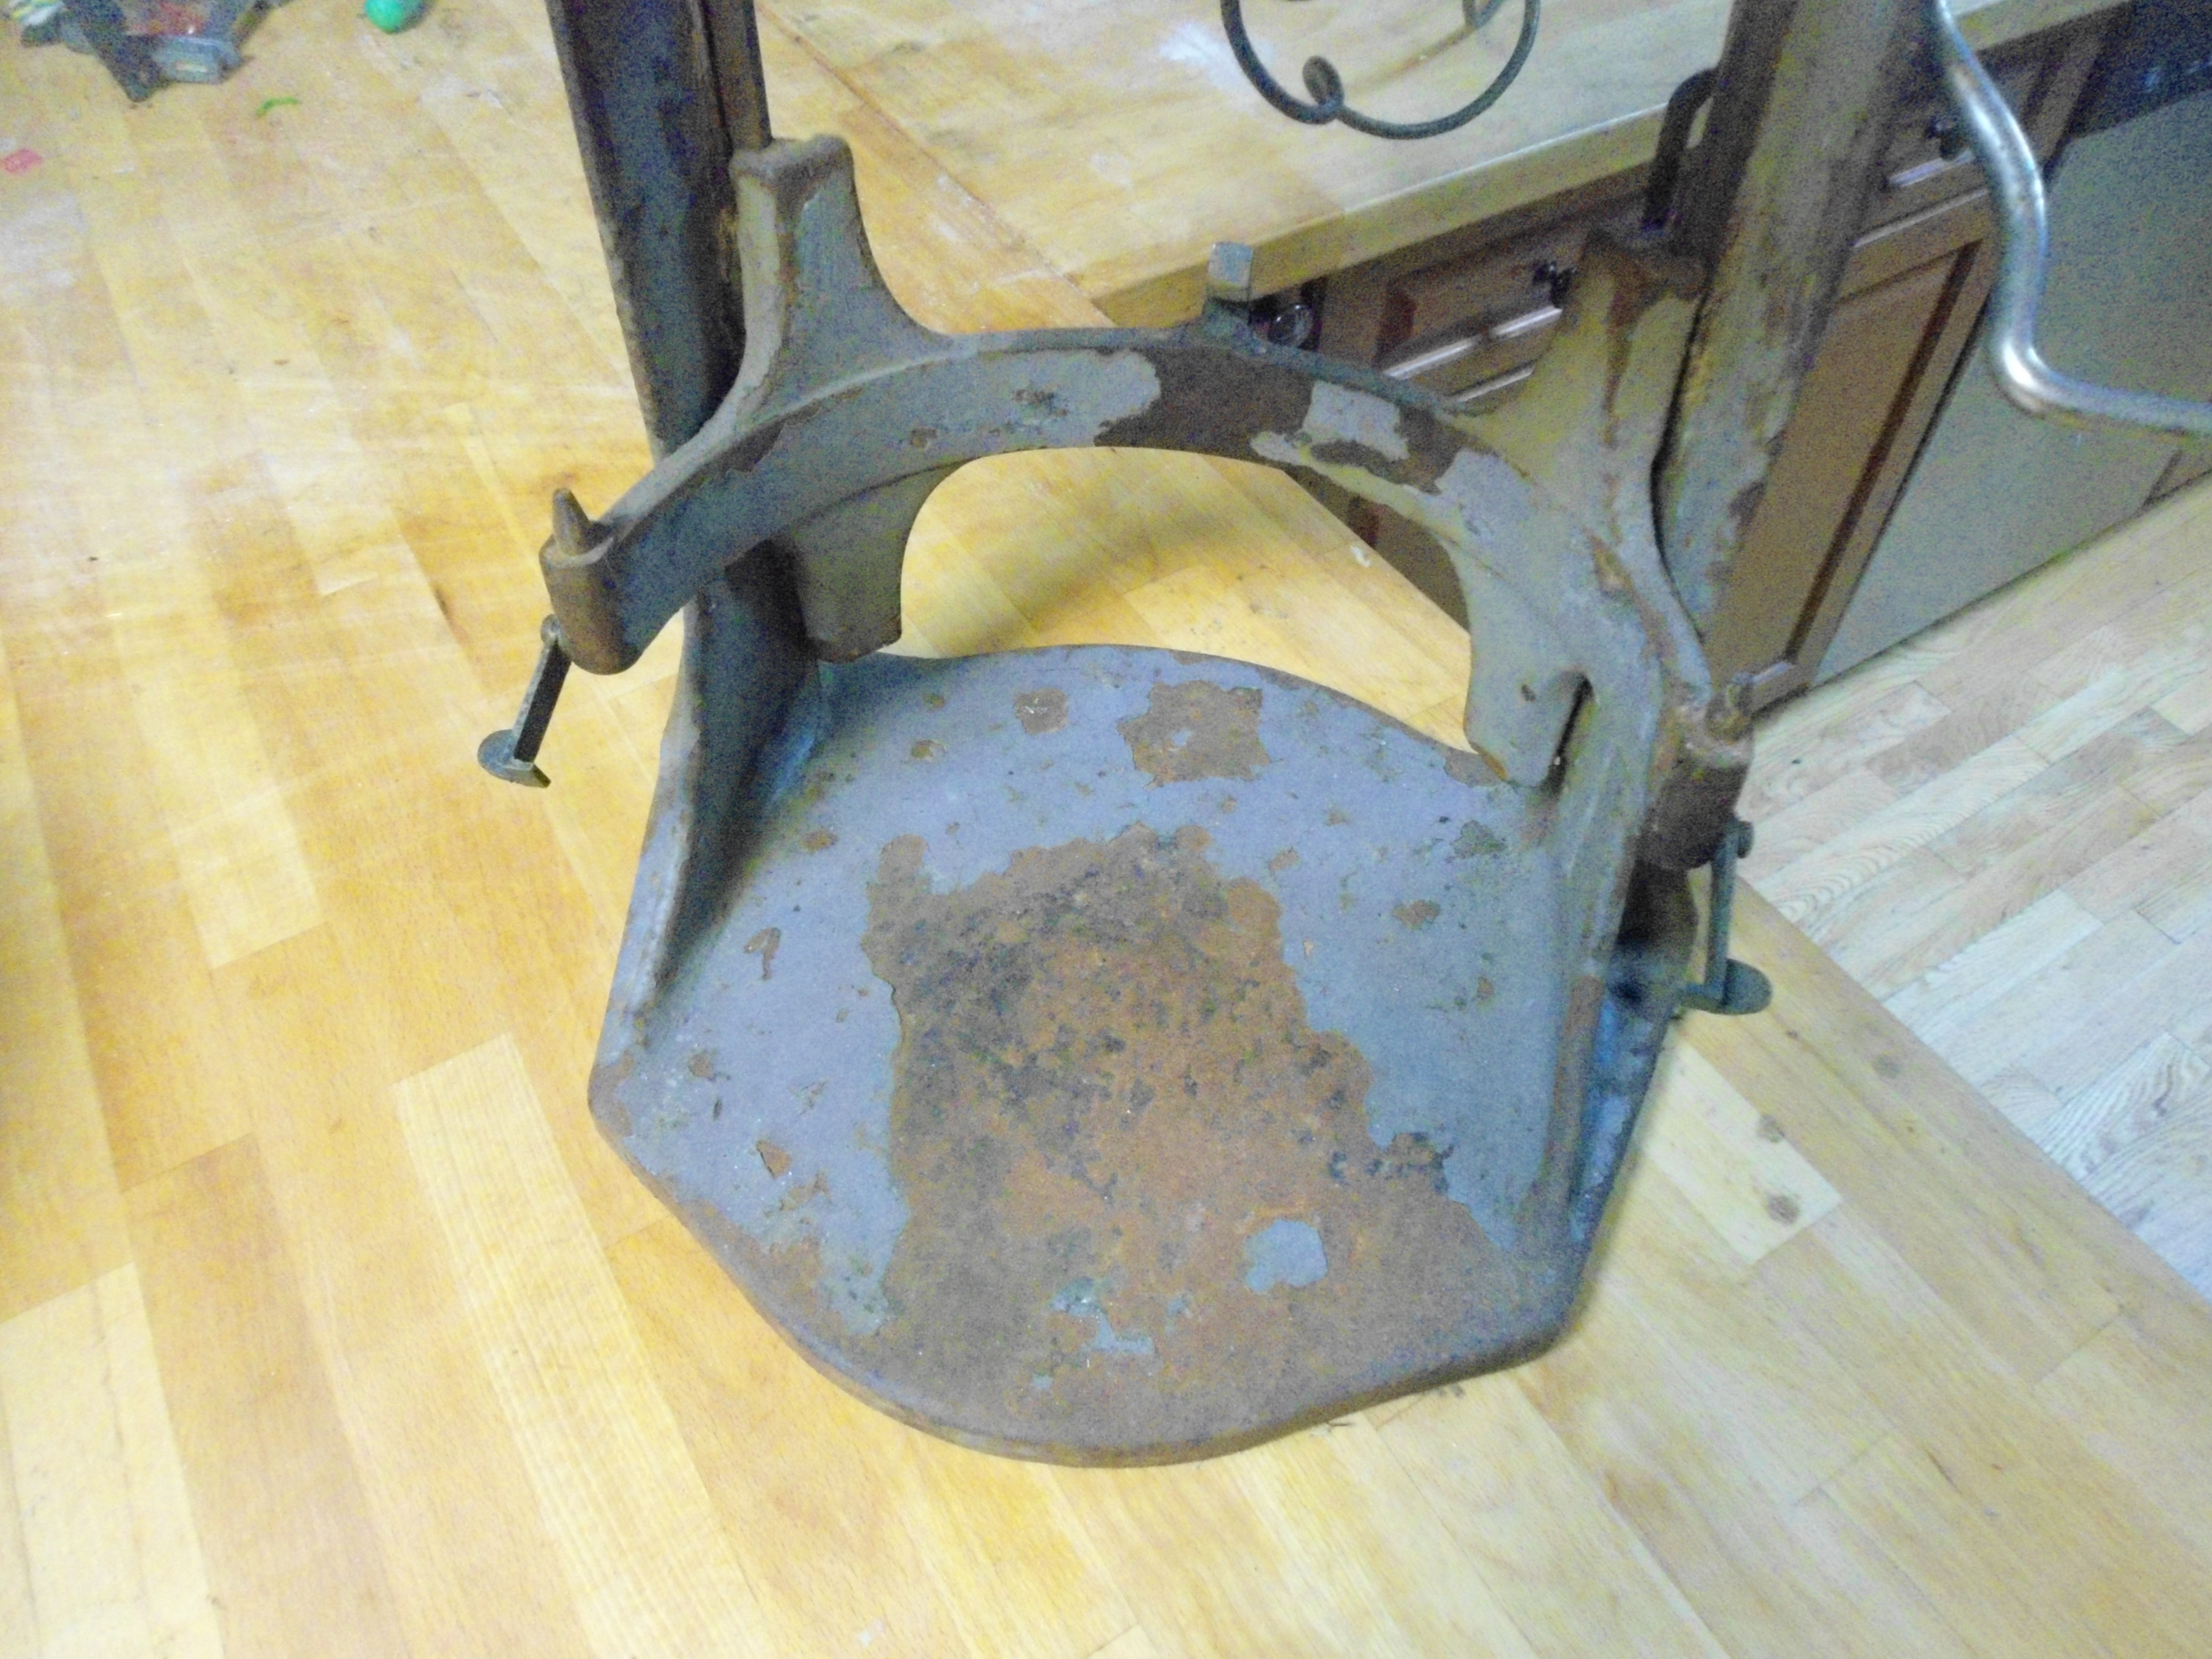
Hobart c210 Base (bowl removed)
Bowl holder showing a good example of the pinstriping
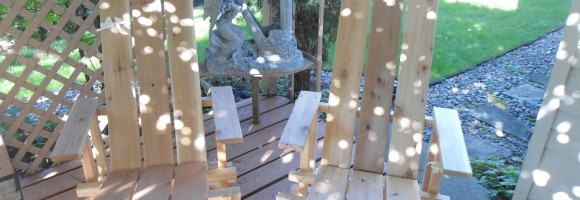
My family fell in love with Reitveld chairs while my brother and his family were living in Swarthmore in Philly. They were literally a block away from the wonderful Swarthmore College campus which features an exceptional arboretum and an entire campus filled with both beautiful and cool trees and plants. It also features numerous cedar Reitveld chairs scattered around the campus which being in left in natural finish don’t stand out nearly as much as their collection of aderondac/mascoka chairs – including a giant one – on their main lawn. But, while not as flashy as their aderondac cousins the Reitveld chairs are incredibly seductive once you allow your body to settle into the contours. It just works with the human body – big or small, male or female it feel awesome. It practically begs to have you settle down with a beverage – coffee, wine, beer or maybe a homemade soda – but certainly not a superficial store bought soda – and a book or in a circle of friends for reflecting or lively discussion.
Yet in-spite of how wonderfully this chair fits it is a wonderfully simple design – and that makes it a comparatively easy project to undertake and build. That’s just what I did – that siren sound to the body was too much to resist! Follow along over the next couple of posts and I’ll share with you how easy it is to build.
So Libby’s just announced that due to wet weather production of canned pumpkin this year would be half the previous year’s quantity. I love pumpkin in recipes but this news doesn’t particularly distress me and hasn’t sent me on a panic buying binge – I can my own pumpkin.
I actually buy the sugar pumpkins for canning, but they are just as cheap as they have been in previous years at about a dollar each – which nets more that a can worth of pumpkin – which on sale averages about $1.50 and considerably more on a day to day basis.
Cutting the rind from the pumpkin
Now you may be wondering why bother canning at all, why not just let the pumpkin sit on the shelf since as a winter squash they should last. Alas, while some winter squash are great at avoiding rot for prolonged periods – my favorite being Seminole squash, which in addition to tasting great have to be some of the toughest vegetables out there – not only in terms of the fruit lasting but also the vines which are rock solid. Unfortunately, they do require a rather long season for Eastern Ontario… if you are in a more temperate locale you definitely need to give them a try – but divergence aside – pie pumpkins seem to want to rot fairly soon after picking, which means to use them requires canning. If I had a larger area I’d probably just dispense with rot prone pie pumpkins and grow winter squash that make meals and pumpkin baking every bit as good if not better than sugar pumpkins, but given my relative lack of space buying less shelf stable goods and preserving them is a sensible balance.
Jars of canned pumpkin
Fortunately preserving them is easy. You’ll need to cut the pumpkin up, clean out the seeds interior guts, remove the outer skin and then cut the meat up into chunks about 3/4″ to 1″ square and then put it in a pot of water that you bring to a boil for 2 minutes. Then you’ll hot pack and pressure can. The full instructions can be found on the appropriate page at the National Center for Home Food Preservation website here.
The pressure canner needed to carry this out is an investment, but here’s another example of making that purchase earn it’s return. I put back the equivalent of 30 cans of pumpkin saving roughly $30. Now that may not seem like much but given the pressure cooker costs $400 that savings is enough to pay for around 7% of the total cost for an evening worth of invested time, that’s probably better than your stock portfolio did, and it will likely taste a whole lot better.
After a few weeks of really fantastic warm weather the briskness of the fall has caught up with us in this neck of the woods. The trees are starting to turn and it won’t be long before low lying areas get hit by the first fall frost – so it’s the time of the year to race to put up the bounty of the season before the blankets of snow mantle the landscape.
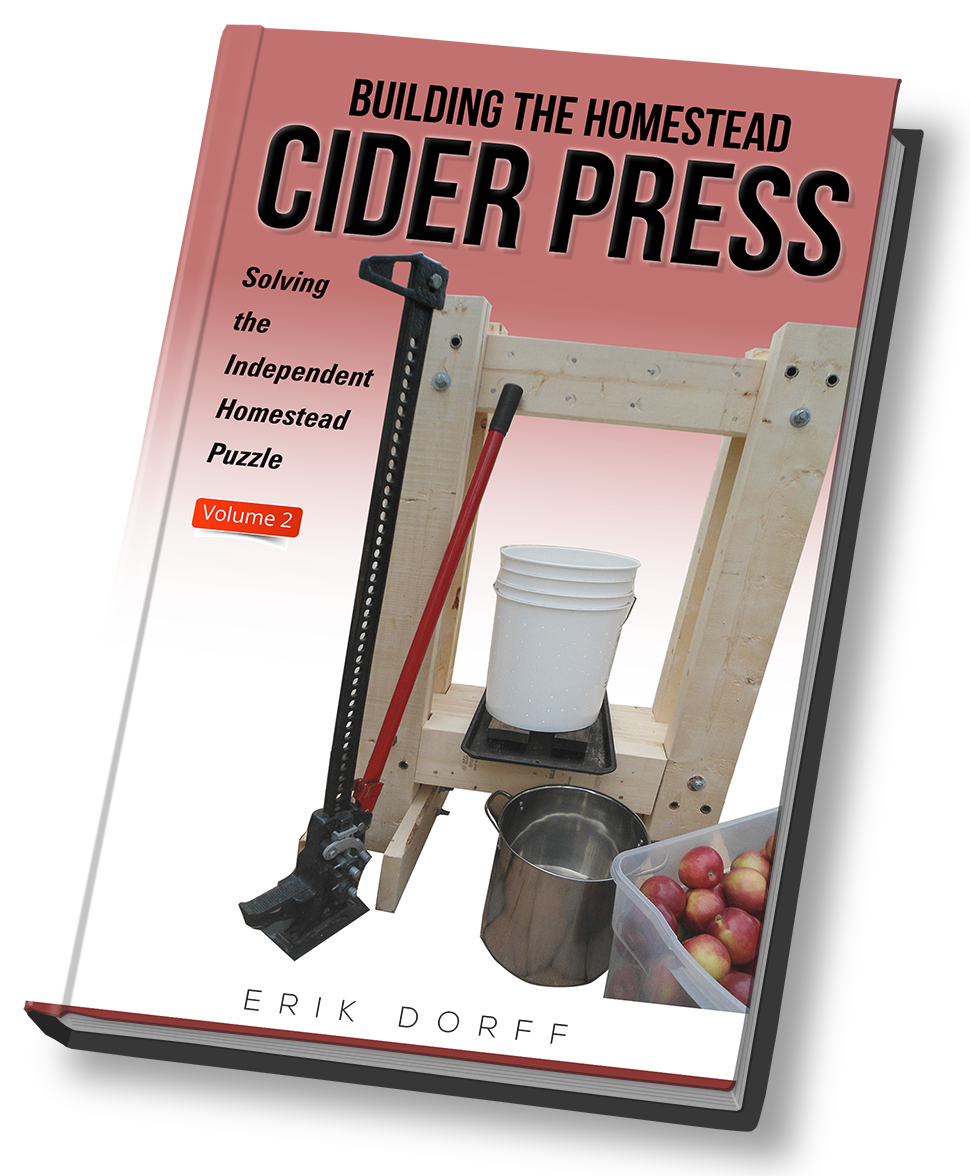
That means in part the apple harvest that started a month or so ago continues – and will draw to a close soon enough. The cider press is now out and we’ve had our first tastes of many of the freshest cider – dripping right from the press cylinder – and incredible treat.
As the cider harvest picks up speed we’ll be canning lots and reducing a fair bit to apple cider syrup – which is a great thing to have in the kitchen, and a fair measure will find stability as hard cider. But this first pressing is destined to be gulped down – much of it eagerly consumed right off the press, and the rest within the next day or two from the fridge.
For all the fun – and the immediacy of the reward does make it fun – this is a good example of how a bit of investment in assets pay off again and again. This latest rendition of the cider press – the one perfected for the book – is now three years old. After that initial investment in the first year of time and materials it has just continued to pay dividends. I haven’t penciled down the figures, but I’d venture a guess that this investment has provided a better ROI than most folks stock portfolios, which is pretty cool when it also yields a lot of childish grins – on faces both young and old.
As easy as pie – just a bit longer to realize the result. Seriously. Really. You just need the right tools (which are reasonably priced) and to gain some insight into how to pull everything together with smart techniques.
Not really much different than baking a pie – and there are lots of folks who are seriously intimidated by the thought of pulling together a great pie crust and that perfect filling.
But, that’s why cookbooks and cooking shows are so popular – they provide both guidance and the insight into the techniques needed to effectively convert the ingredients into the finished product. Once you’ve done it once that initial hurdle of getting those techniques down is breached and going from making an apple pie to a peach torte is comparatively a breeze. That’s no different with metal working – get a handle on how to pull one project off and you’ll be well on your way to having the skills and confidence to pull off much more complex projects.
In terms of how high that bar to entry is – with modern power tools it really isn’t much more difficult than baking that pie in a home oven. Wire feed welders are not only easy to master but also low cost – as I write this Harbor Freight has their welders on for $110 for the smaller unit to $180 for the midsized one that I adore. Their angle grinders start at $20 for a 4 1/2″ “heavy duty” one that will do for the work you have to carry out on the project to $45 for a versatile 7″ unit all the way to $65 for a top of the line 9″ unit – but those prices are all before you apply the 20% off coupons that always seem to be floating around. Another $20 will get you the needed drill.
Homebuilt Grain Mill, Tortilla Press and the required tools
Add in the consumables and hand tools and even if you are starting your shop from scratch you’ll be able to buy the tools and the materials needed for the grain mill build and have money left over compared to buying a comparable mill with 6″ diameter burrs.
Now the economics of building your own tortilla press isn’t nearly as compelling – but if you’ve got the tools… well then building it is a breeze.
Of course, the prime advantage in my opinion isn’t the grain mill, or the tortilla press, ore even the nicely equipped shop – but the change in perspective that you’ll gain once you’ve seen how achievable these metal working projects are. That shift will see you empower your independence, and that
We were lucky enough to get our books on the barter blanket at the upcoming TSP event. For all those that won’t be able to make it there we’re offering a sale on our books – each one of them has been discounted for a limited time. I’ll also whisper a secret to you folks – business cards were recently printed up with a discount code on them. Even if you don’t have a card the code 10OFF will get you 10% off your entire purchase.
Build a tortilla press
These books drop the barrier to entry for those who want to have more handy skills, which combined with the current low low price for the tools you’ll need to make these projects combine to form a compelling argument to take these up.
Our most extensive project by far is the grain mill, and our book will walk you every step of the way through the construction of a unit that is every bit the equal of ones costing several hundreds of dollars – you’ll more than pay for the materials and tools by building just one, and you’ll have both the tools and knowledge to use them to jump to more advanced projects.
Building a cold smoker
The tortilla press build is an especially good project to take on if you are new to metal working. You can in reasonably quick fashion construct a tortilla press that won’t just work wonderfully, but that your grandkids will be proud to have in their own kitchen – and fresh tortillas are awesome.
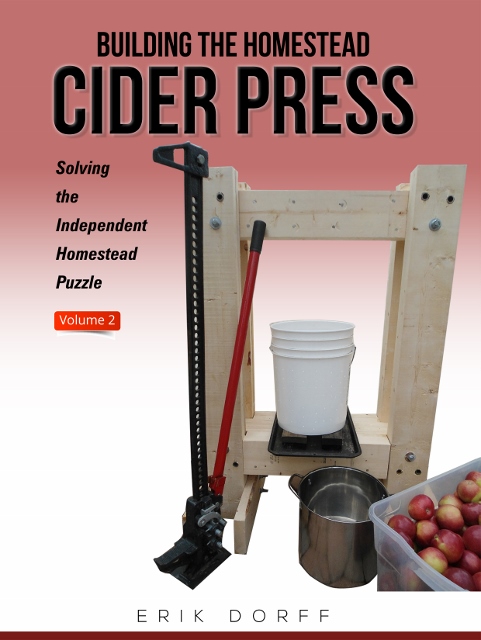
Build a cider press
The cold smoker offers up a simple project that will allow you to produce mouth watering foods at a fraction of the price they would sell for in stores for under $20 – and it’s simple enough that you can be smoking food this weekend.
The cider press is a simple and rewarding woodworking project – and this unit is built like a tank. It will enable you to make use of the abundance of apples that grace so many neighborhoods but go unharvested.
Like all of these books the price is low enough that the savings you’ll enjoy from not having to toss wasted material from a wrong cut to the side more than pay for the book – discounting the savings in time and energy entailed in perfecting your own designs since at all of these projects are the result of at least the third generation of design evolution.
These projects aren’t as intimidating as they may at first appear – so what are you waiting for? IF you aren’t lucky enough to be busy at the nine mile farm, then grab the books and start embarking on projects to bring manufacturing back not just onshore but to your home today.
Among the food preservation techniques dehydration has to be one of the easiest, and that alone should merit it’s incorporation into your household, and the dehydrators sold by Harbor Freight offer a reasonable entry point to do just that.
I’ll say right now – these five tray units run about $20 when coupons and the frequent specials get figured in. That’s cheap. Now the current models aren’t anything fancy – just basically a 125 Watt heating element in the bottom, five plastic trays and a top. The previous model which featured a fan and a turntable type setup for the trays was about the same price, but in my experience does and equally OK job.
Current HF dehydrator, and previous model (L & R)
Now, it appears some folks have received units that overheated pretty much at startup. I’ve never had that happen but you’d probably do well to start it up for the first time during a period where you could observe it and if problems happen bring it back and swap it for another one. The other issue has to do with the durability of the trays. To be sure these trays are fragile – you have to treat them carefully or they will break. BUT, this is a $20 dehydrator. Spend five times as much and you can get the bottom of the line Excalabur… or you can build one easily enough, but even that approach is likely to run you more than $20 not factoring in your time.
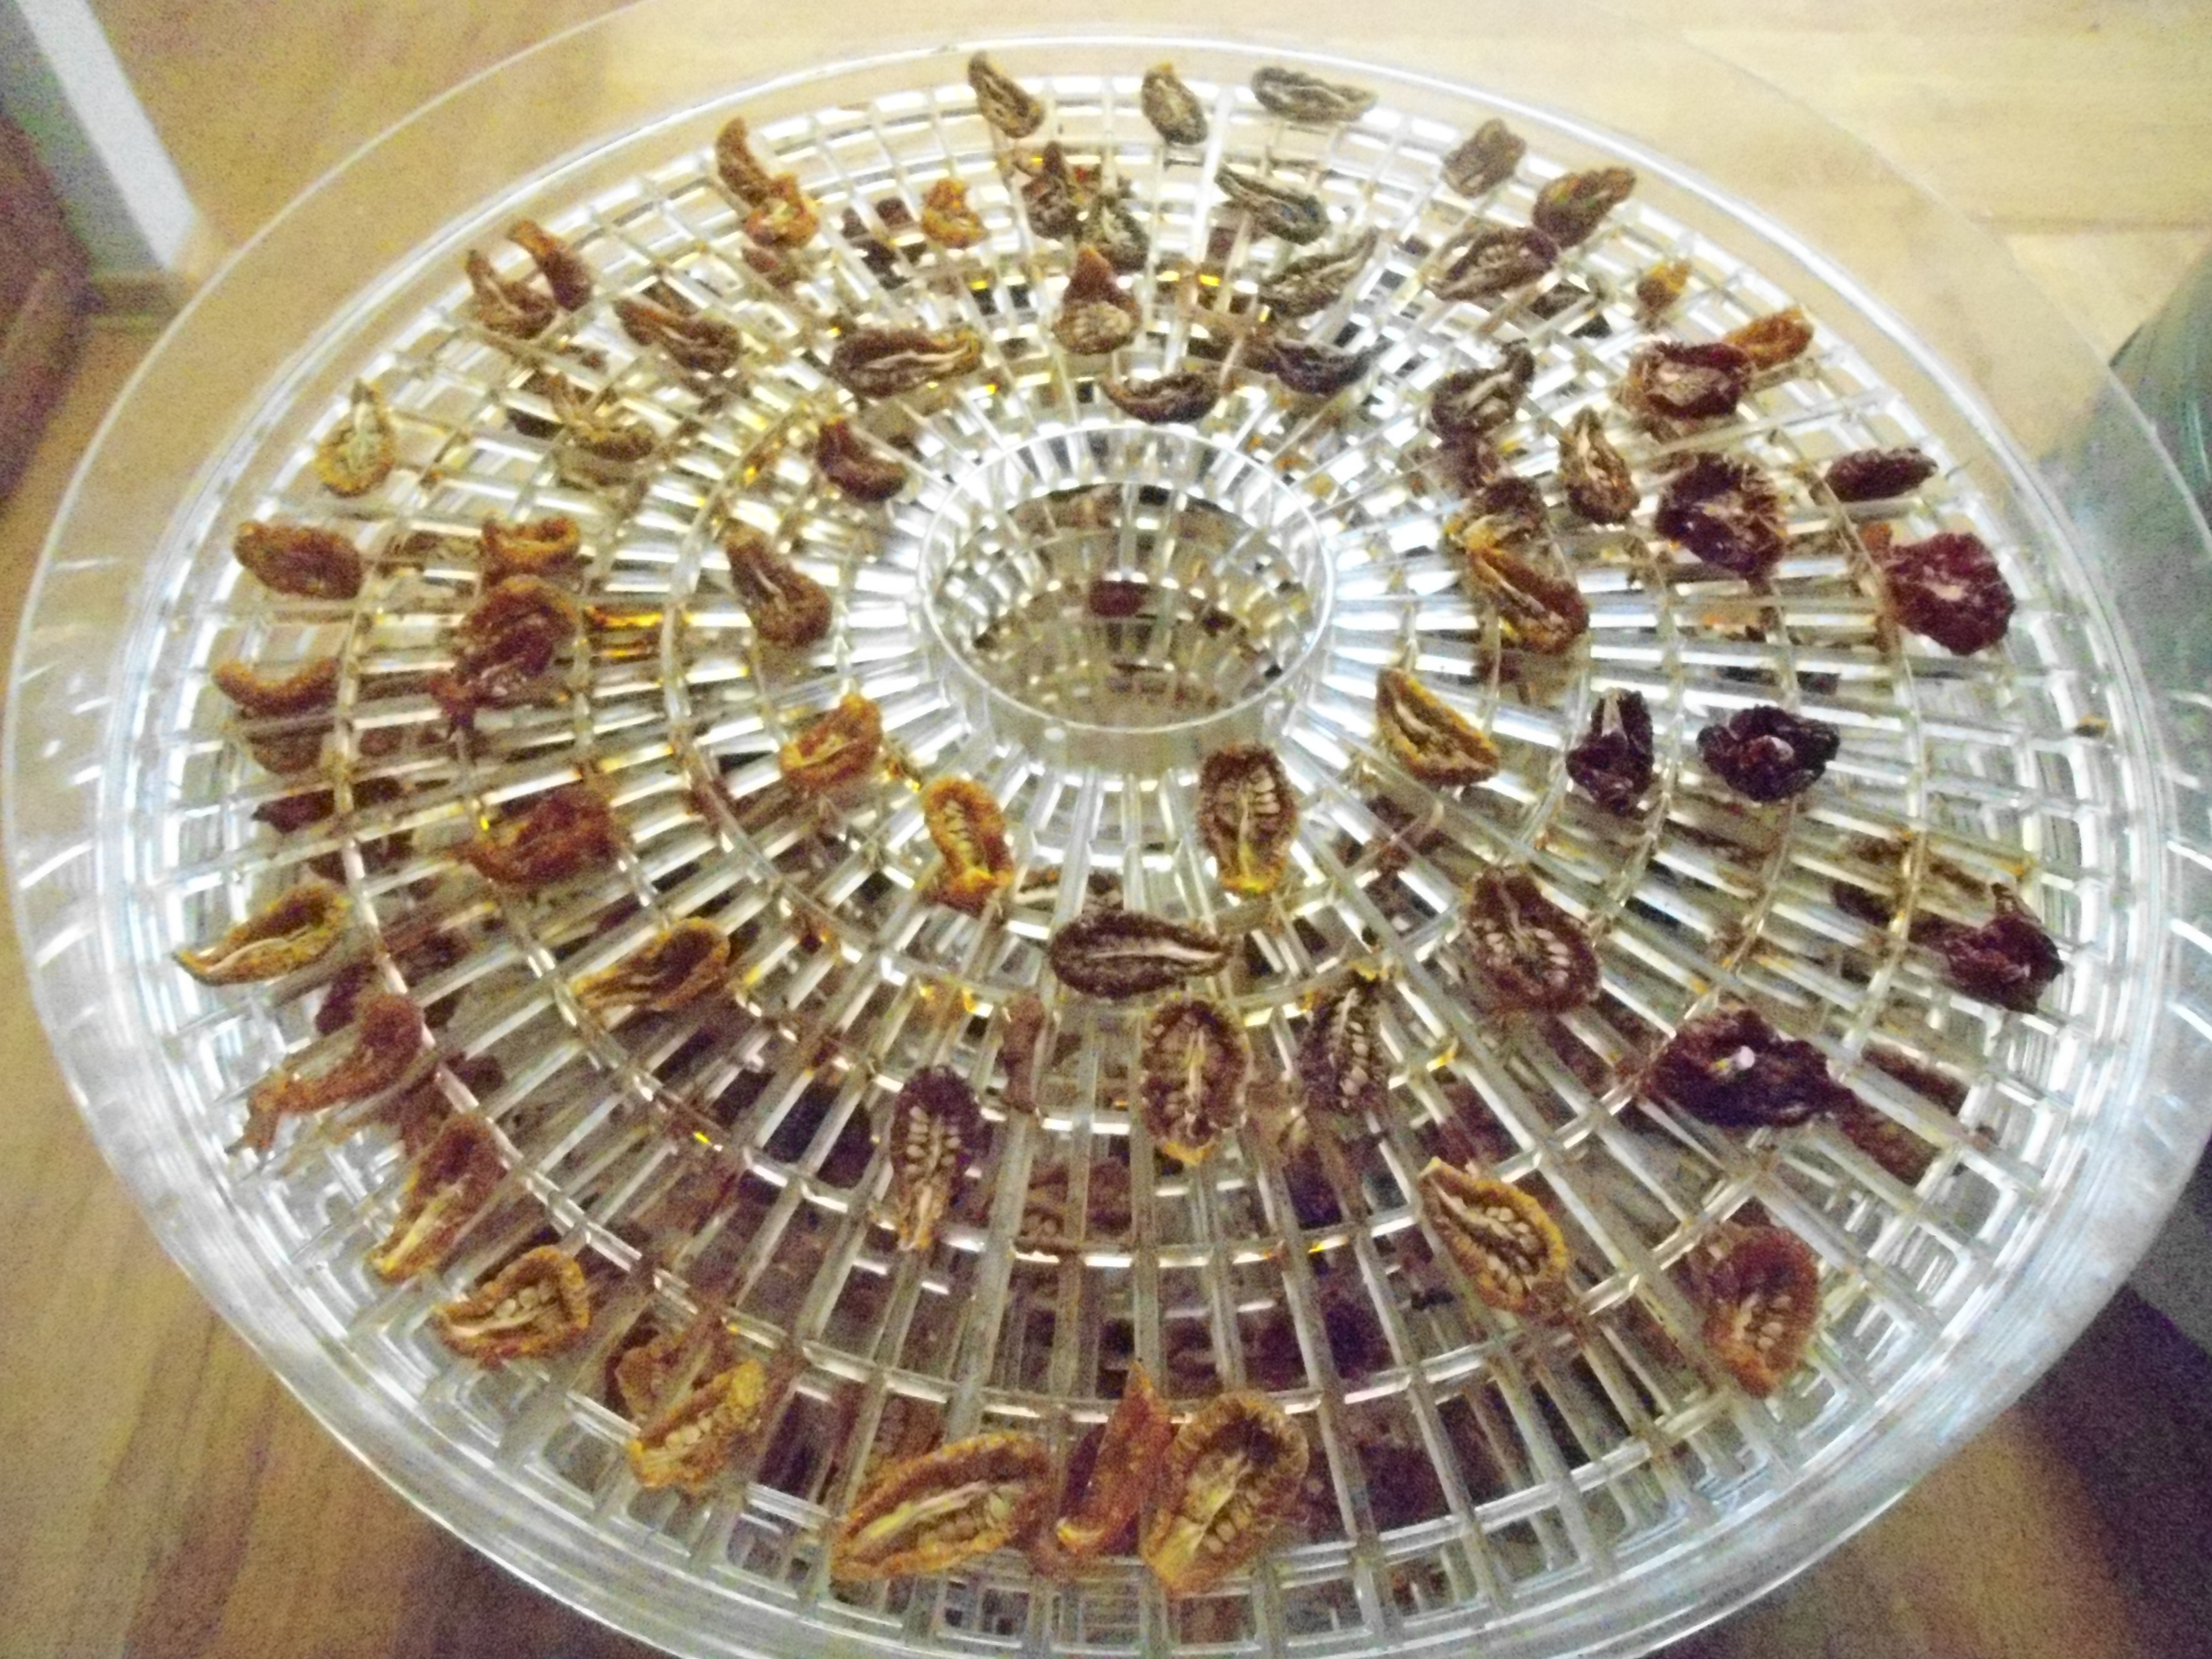
I have a really big homebuild dehydrator – but it only really gets called out when we’re in prime harvest season. Otherwise one or both of my Harbor Freight dehydrators are going to be doing the work for me. During the summer that is often drying tomatoes or zucchini for fall soups and dressings. In the fall and winter more often than not they are drying apple slices we’ve peeled, sliced and frozen or making apple leather from some of the apple sauce we’ve put down. It doesn’t take much time to pay off the $20 investment when you are making dried fruit.
So if you don’t have a dehydrator or want another one consider the Harbor Freight units – they aren’t fancy, they aren’t really solid but the price factor means they possess significant value.
I like cast iron cookware. The large cast iron frying pan that I use so much it usually just sits on the stove rather than getting tucked into one of the cupboards dates back to my grandmother and was produced in a foundry not far from here that is long gone. Unless it gets thrown out it will be just as useful for one of my grandkids – now that’s longevity. But a large part of why we see cast iron cookware stay around is because it isn’t just durable but functional. That same large frypan is so well seasoned I have no problem baking thin crepes and can tell when the crepe is ready to flip by picking up the pan and tilting it – the crepe is ready when it starts sliding on the bottom of the pan. You aren’t going to get a surface that slippery with stainless, and I doubt those fancy surface coatings like Teflon will be durable enough to last a decade let alone my lifetime.
Texsport Waffle Iron
So it’s into that matrix that the Texsport Waffle Iron enters into the mix. Unlike the Teflon coated electric waffle irons this one will last generations. Now is it good enough that your grandkids will list it among the things they want from your estate? Yes – if you get it right.
The first part of getting the use of this waffle iron right is making sure it stays well seasoned. A little oil goes a long way to building and maintaining that surface. Unlike cast iron frypans and griddles the projections on a waffle iron make it very unforgiving if not properly seasoned – there is no cheating possible.
Whole grain waffles with barley flour
The other part of getting it right is making sure that you don’t treat this unit as if it is solidly held together. Both sides of the iron come apart and the ring that hold the iron is free too. When you flip the iron from one side to the other you need to hold the ring steady – I just use the dishtowel that usually hangs on my oven door since the ring does get hot. You also need to hold onto the upper half of the iron when you open it up to put in the batter or to remove the waffle – don’t get lulled into thinking that you can lean it back and have it stay in place – it won’t.
In terms of what cooktops it works with – it works with induction tops, with resistance tops and I’ve even used it on propane camp stoves.
Would I recommend it? Absolutely for less than $50 it’s a great buy, even if it only lasts five generations that’s still only $10 per generation – so pick one up and fancy up your breakfasts while acquiring a future heirloom. Check this out for a great whole grain waffle recipe.
I’ve always liked hanging laundry out to dry – sure it’s a bit more work than tossing them in the dryer but it’s cheaper, the clothes last longer and they smell better.
When I moved into my current home a number of years ago there was no outside clothesline. When I started examining the options I quickly dismissed both the long line and the square lines that sit in the middle of the lawn as too intrusive. Instead I wanted a clothesline that could be bolted to the side of my garage and folded out of the way when not needed.
Folding Clothesline stowed flat
Now there does exist such a creature – a few models in fact – but all of them are rather pricey and some looked downright delicate. Delicate is a definite non-starter here, I wanted to be able to load it up with a few loads of laundry without worrying about the potential for collapse.
So, instead of buying I build and installed an alternative in an afternoon from materials I had on hand. Over the past seven years it has served exceptionally well – especially considering its low cost and the little time needed to fabricate and install it.
The heart of the unit is a frame made from 1 1/2″ angle iron – in this case the material is actually from bedframes that folks have tossed out. The frame is made up of two segments 7′ long and another two segments 3′ long. The two three foot segments form the sides of the frame while one 7′ segment forms one end, and the other 7′ segment forms the other end – but is inset 4″ from the end of the 3′ sides. Welding the frame together is a quick and easy matter.
Measurement along the side of the frame for the folding clothesline
This frame is bolted at one end to the portions of the assembly that are bolted to the house. These were made from some 3″ alumimum angle – but steel material could just as easily suffice. If you have only narrower material that will work just fine, but you’ll want to install a wood spacer behind it to allow the clothes frame to pivot freely rather than bind against the house.
In my case I fixed 2×6 members to the wall since my studs didn’t line up with the spots for the placement of the fixed pieces.
You’ll need to loosely bolt the clothesline frame to the piece of angle that will be fixed to the house. Another bolt or block needs to be secured at the lower end of the fixed piece of angle to hold up the free end of the arm that is bolted to the far end of the frame.
Fixed portion of the folding clothesline
In my case this arm is 39 3/4″ long, but frankly this was established with all the other pieces in place and measuring the length of member needed to hold the frame level.
When everything is ready drill holes 4″ apart on the sides of the frame. Then bolt everything in place and paint any steel pieces to protect against rust. My preferred paint in this application is aluminum anti-rust paint. It will last for several years and does a really effective job while also being cheap.
When the paint is dry thread your clothesline through the holes and get ready to hang your first load of laundry out.
If you don’t have a welder you can use angle iron to bolt the frame together, but if you look at the price of buying a commercial folding clothes line compared to the price of a wire feed welder from a place like Harbor Freight or Princess Auto it will become clear quickly that you can pay for the welder and needed safety kit on the basis of this project alone – and wire feed welders are exceptionally easy to use so don’t let that dissuade you. After this project I am sure you’ll start envisioning more potential projects for your new-found skills around your home or homestead.
I’ll jump right to the chase and piss of a bunch of folks – Nope. Now for the good reasons to back that statement up.
Widemouth mason jar with a metal lid contrasted with a regular mouth jars with tattler lids
The price premium is significant – in Canada at least wide mouth mason’s cost nearly double what a regular mouth generic mason jar would run. The latter at this time are going for just under eight and nine dollars a dozen for half and full liter sizes at the local Walmart. Widemouth jars for the same sizes run thirteen and fifteen dollars.
So, cost is one factor, but more important to me is logistics. I do a lot of preserving, and I like having loads of standard sized jars. For me that means half and one liter sized golden harvest regular mouth mason jars and loads of the same size of tattler lids and gaskets.
That means when I get working I don’t have to fool around with an assortment of jar sizes or look to match lids and rings to jars – it might seem like not such a bid deal, but when you do a lot of canning it can add up to frustration that you could otherwise avoid.
Canned salmon and lactic pickles work just fine in regular mouth mason jars
The other factor at play here is that I’ve never found wide mouth jars to be a really significant advantage. Usually they would find more use with canned fish and meats, but I’ve always found regular mouth mason jars to be just fine – though I do make an exception to my focus on standardizing on half and full liter jars to include 250ml regualr mouth jars for canning up salmon as I find this to be the perfect size. My other canned meats and stock work just fine in the larger regular mouth masons.
The other area in which wide mouth masons seem to dominate is pickles, but here I actually prefer regular mouth masons for reasons beyond logistics and cost. The majority of my pickles are made using lactic fermentation – which requires you to keep the material submerged in the brine. I can fill a regular mouth mason with the spices, garlic, grape leaves and pickling cucumbers or zuchinni slices and then wedge in another cucumber just below the narrow neck of the regular mouth jar. When the brine is added to halfway up the jar neck this keeps all of the material submerged, allowing me to ferment the pickles right in the jars. Note, while I use tattler lids for these I don’t fasten them down tightly so that they can vent the fermentation gasses – you don’t want your pickle jars blowing up.
I really enjoy preserving the bounty around us – and while it can be a significant amount of work a few techniques such as standardizing jar sizes can make processing days much easier.
Publisher of high quality how-to books for homesteaders and preppers which help you gain the skills and tools needed to help empower your independence.