A number of solid fats can be used for baking including lard, butter and shortening as well as tallow. The first three can all be handled in a fairly consistent manner – chill and then cut into the flour mix.
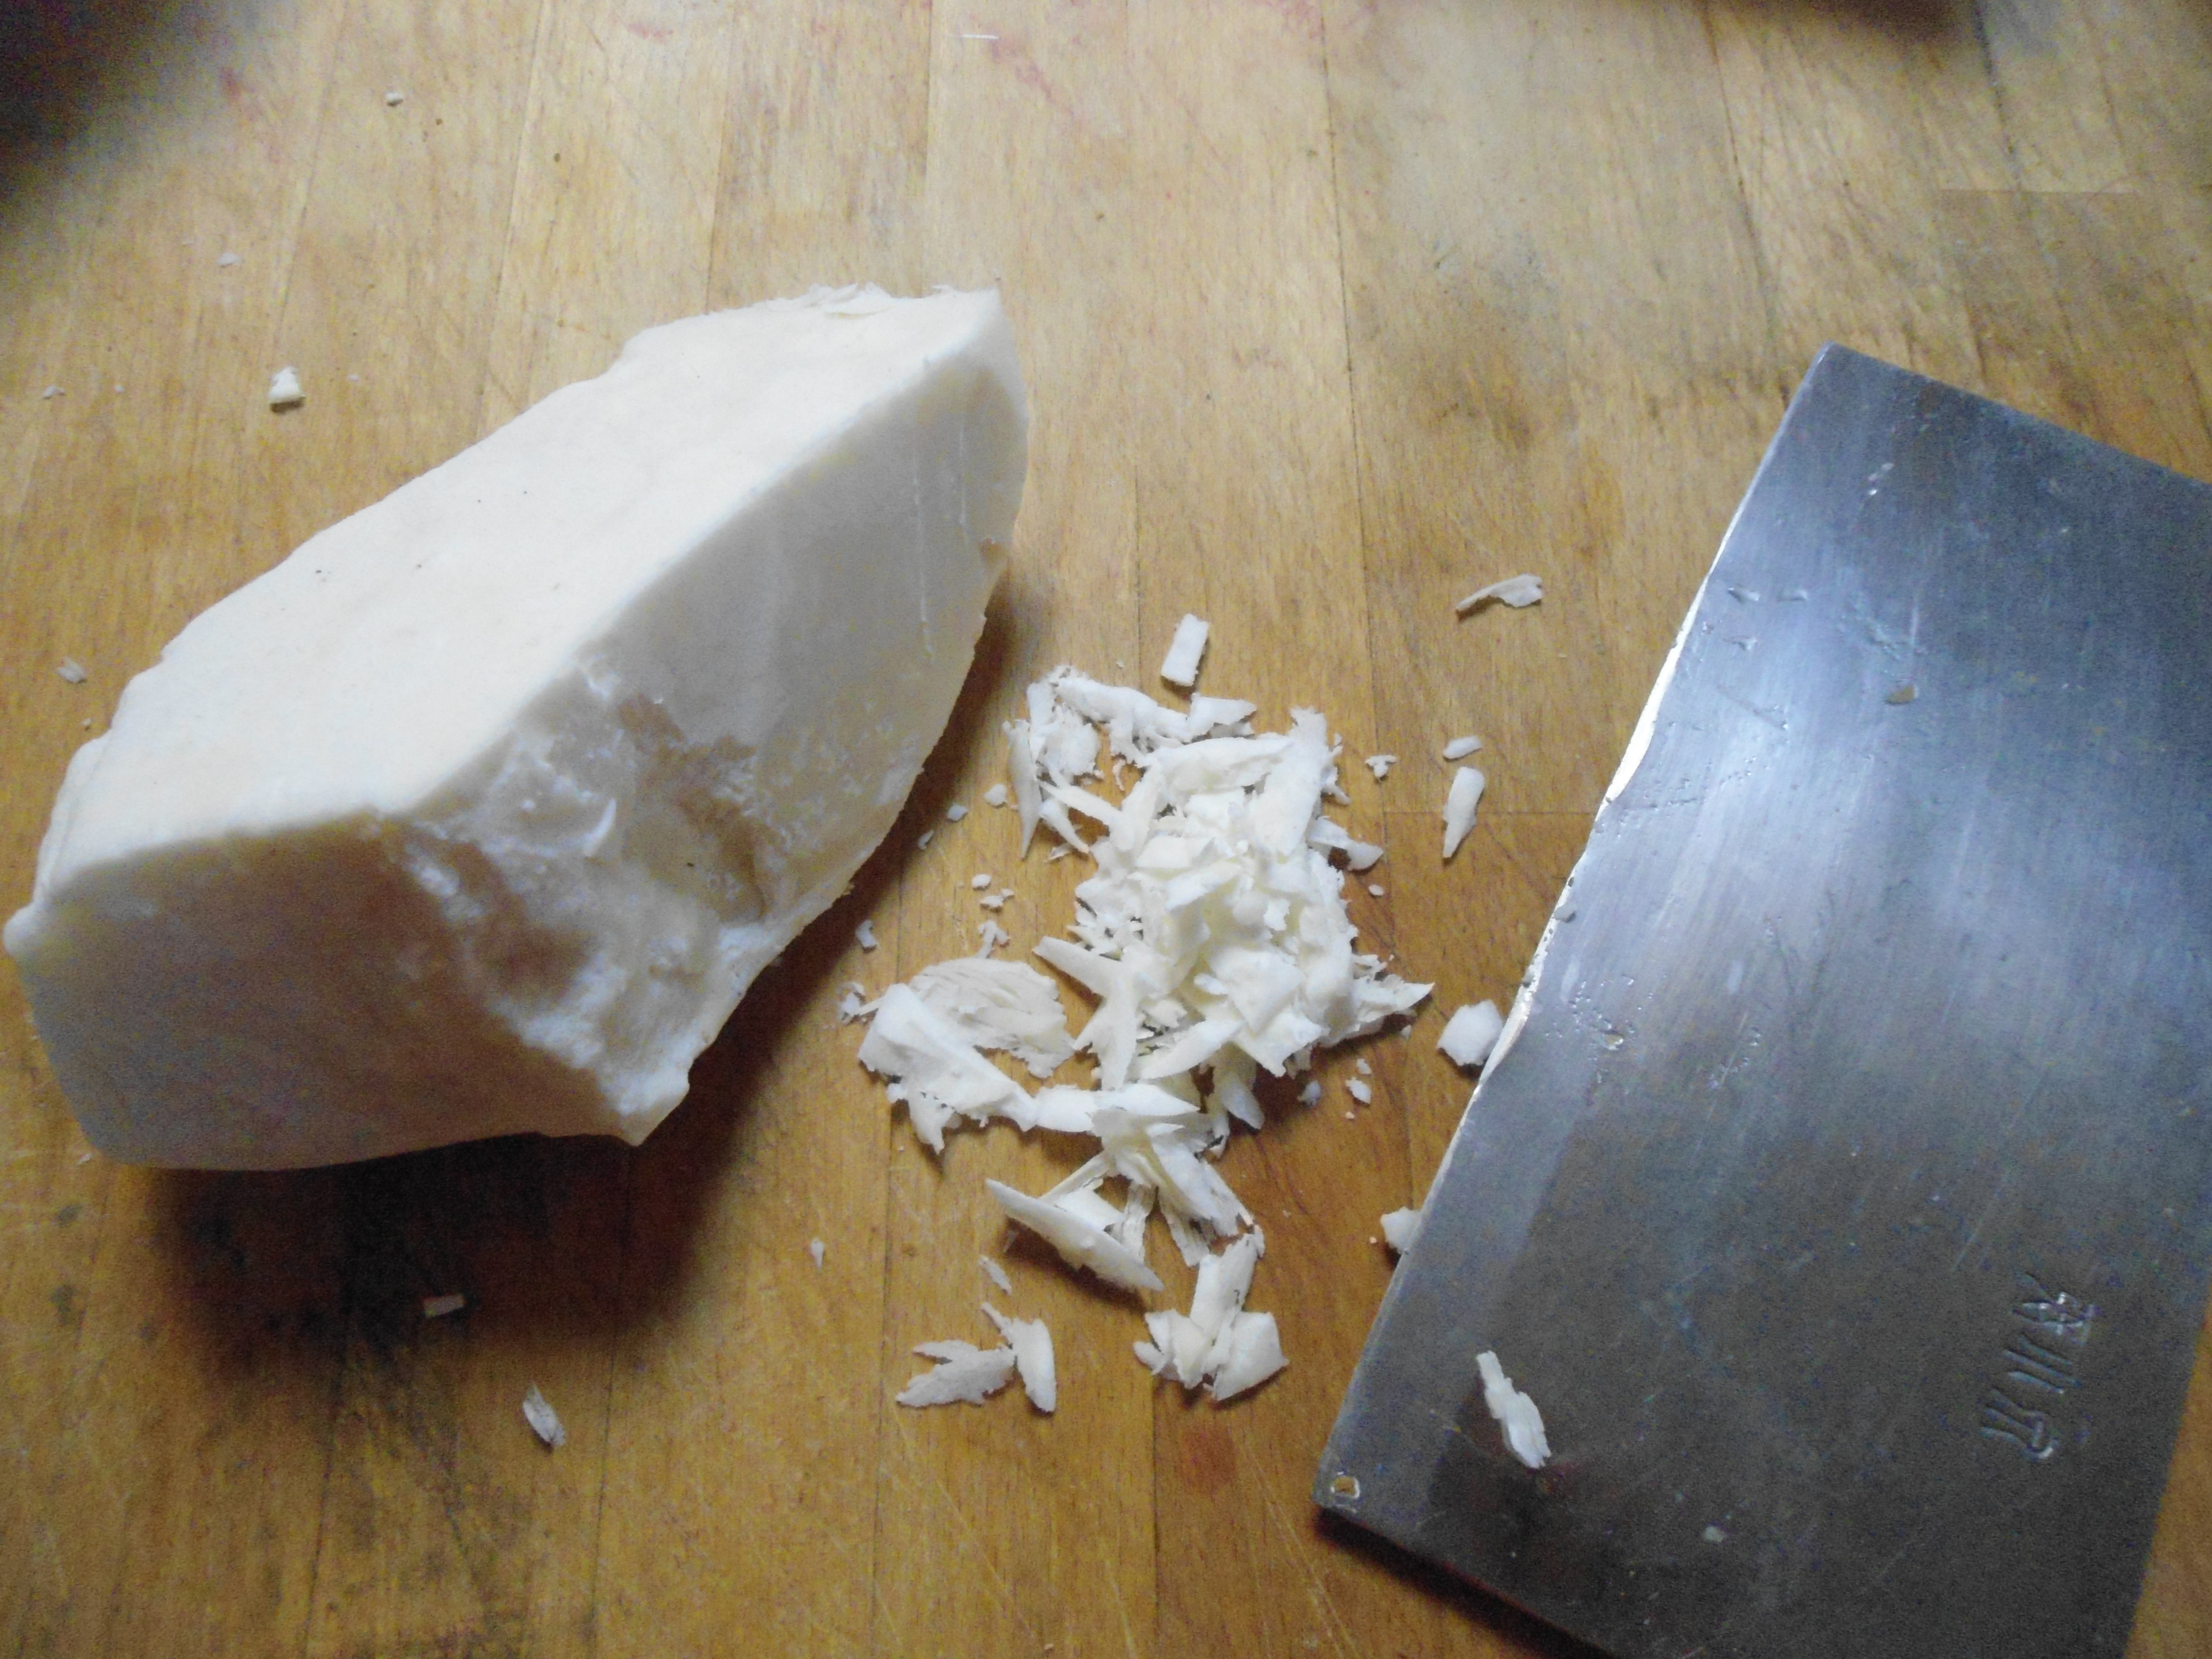
Pieces of tallow sliced off large block
Tallow though doesn’t respond well to this treatment – it’s simply too hard to effectively break up in this way.
The good news is that by altering your handling strategy from the more conventional fats you can easily produce great baking with tallow.
As with the softer fats you’ll want to chill the tallow first. Then instead of cutting it in the flour mix use a knife to shave the chunk of tallow into smaller pieces and then add these to the flour mix. It’s that simple to make use of tallow rendered from either beef or deer in your home baking, and the results are excellent.
So Libby’s just announced that due to wet weather production of canned pumpkin this year would be half the previous year’s quantity. I love pumpkin in recipes but this news doesn’t particularly distress me and hasn’t sent me on a panic buying binge – I can my own pumpkin.
I actually buy the sugar pumpkins for canning, but they are just as cheap as they have been in previous years at about a dollar each – which nets more that a can worth of pumpkin – which on sale averages about $1.50 and considerably more on a day to day basis.
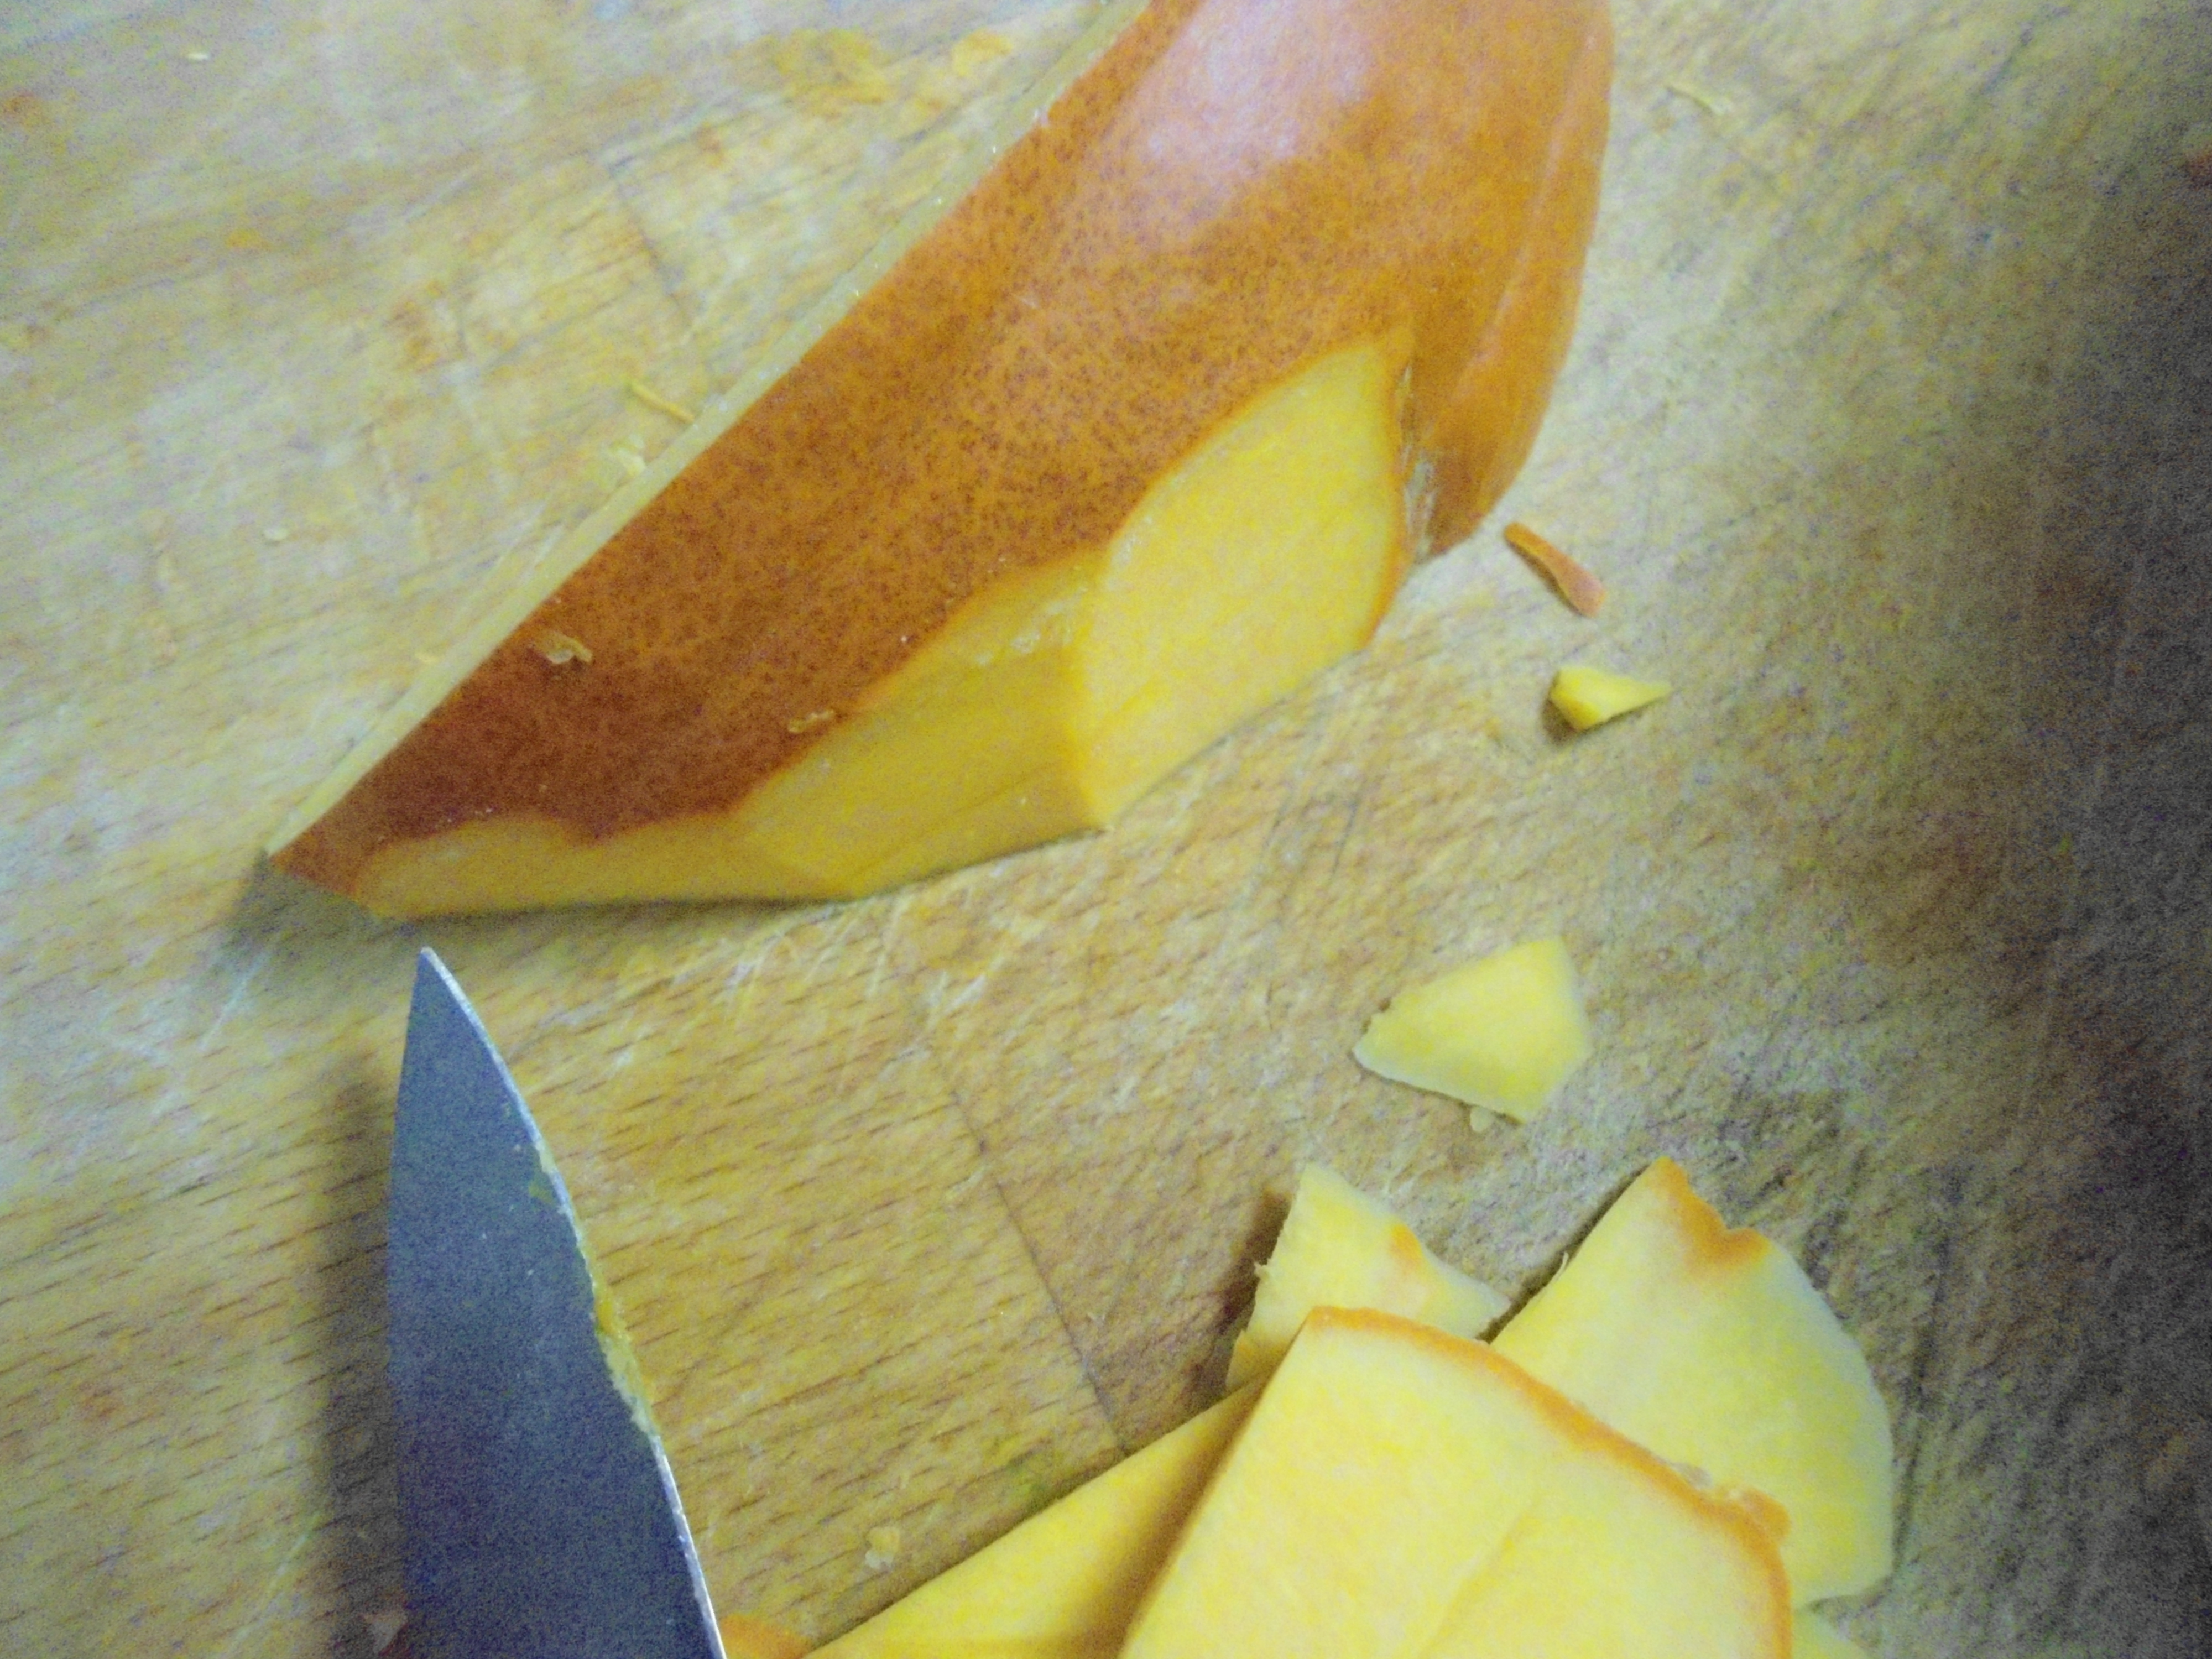
Cutting the rind from the pumpkin
Now you may be wondering why bother canning at all, why not just let the pumpkin sit on the shelf since as a winter squash they should last. Alas, while some winter squash are great at avoiding rot for prolonged periods – my favorite being Seminole squash, which in addition to tasting great have to be some of the toughest vegetables out there – not only in terms of the fruit lasting but also the vines which are rock solid. Unfortunately, they do require a rather long season for Eastern Ontario… if you are in a more temperate locale you definitely need to give them a try – but divergence aside – pie pumpkins seem to want to rot fairly soon after picking, which means to use them requires canning. If I had a larger area I’d probably just dispense with rot prone pie pumpkins and grow winter squash that make meals and pumpkin baking every bit as good if not better than sugar pumpkins, but given my relative lack of space buying less shelf stable goods and preserving them is a sensible balance.
Jars of canned pumpkin
Fortunately preserving them is easy. You’ll need to cut the pumpkin up, clean out the seeds interior guts, remove the outer skin and then cut the meat up into chunks about 3/4″ to 1″ square and then put it in a pot of water that you bring to a boil for 2 minutes. Then you’ll hot pack and pressure can. The full instructions can be found on the appropriate page at the National Center for Home Food Preservation website here.
The pressure canner needed to carry this out is an investment, but here’s another example of making that purchase earn it’s return. I put back the equivalent of 30 cans of pumpkin saving roughly $30. Now that may not seem like much but given the pressure cooker costs $400 that savings is enough to pay for around 7% of the total cost for an evening worth of invested time, that’s probably better than your stock portfolio did, and it will likely taste a whole lot better.
English muffins are great and so easy to make. While not necessary, if you want to have all of the English muffins come out the same size you need to use rings.
Now you can buy these. I checked and there are a bunch on Amazon for $6 for 4 tin plated steel rings. You’ll need three sets to take care of a batch of dough, bringing the total to about $20. That’s not crazy, but you can make them for close to free.
I had quite a bit of stainless steel pieces left over from making the wood fired pizza oven – the materials for that build of course coming from old BBQ’s.
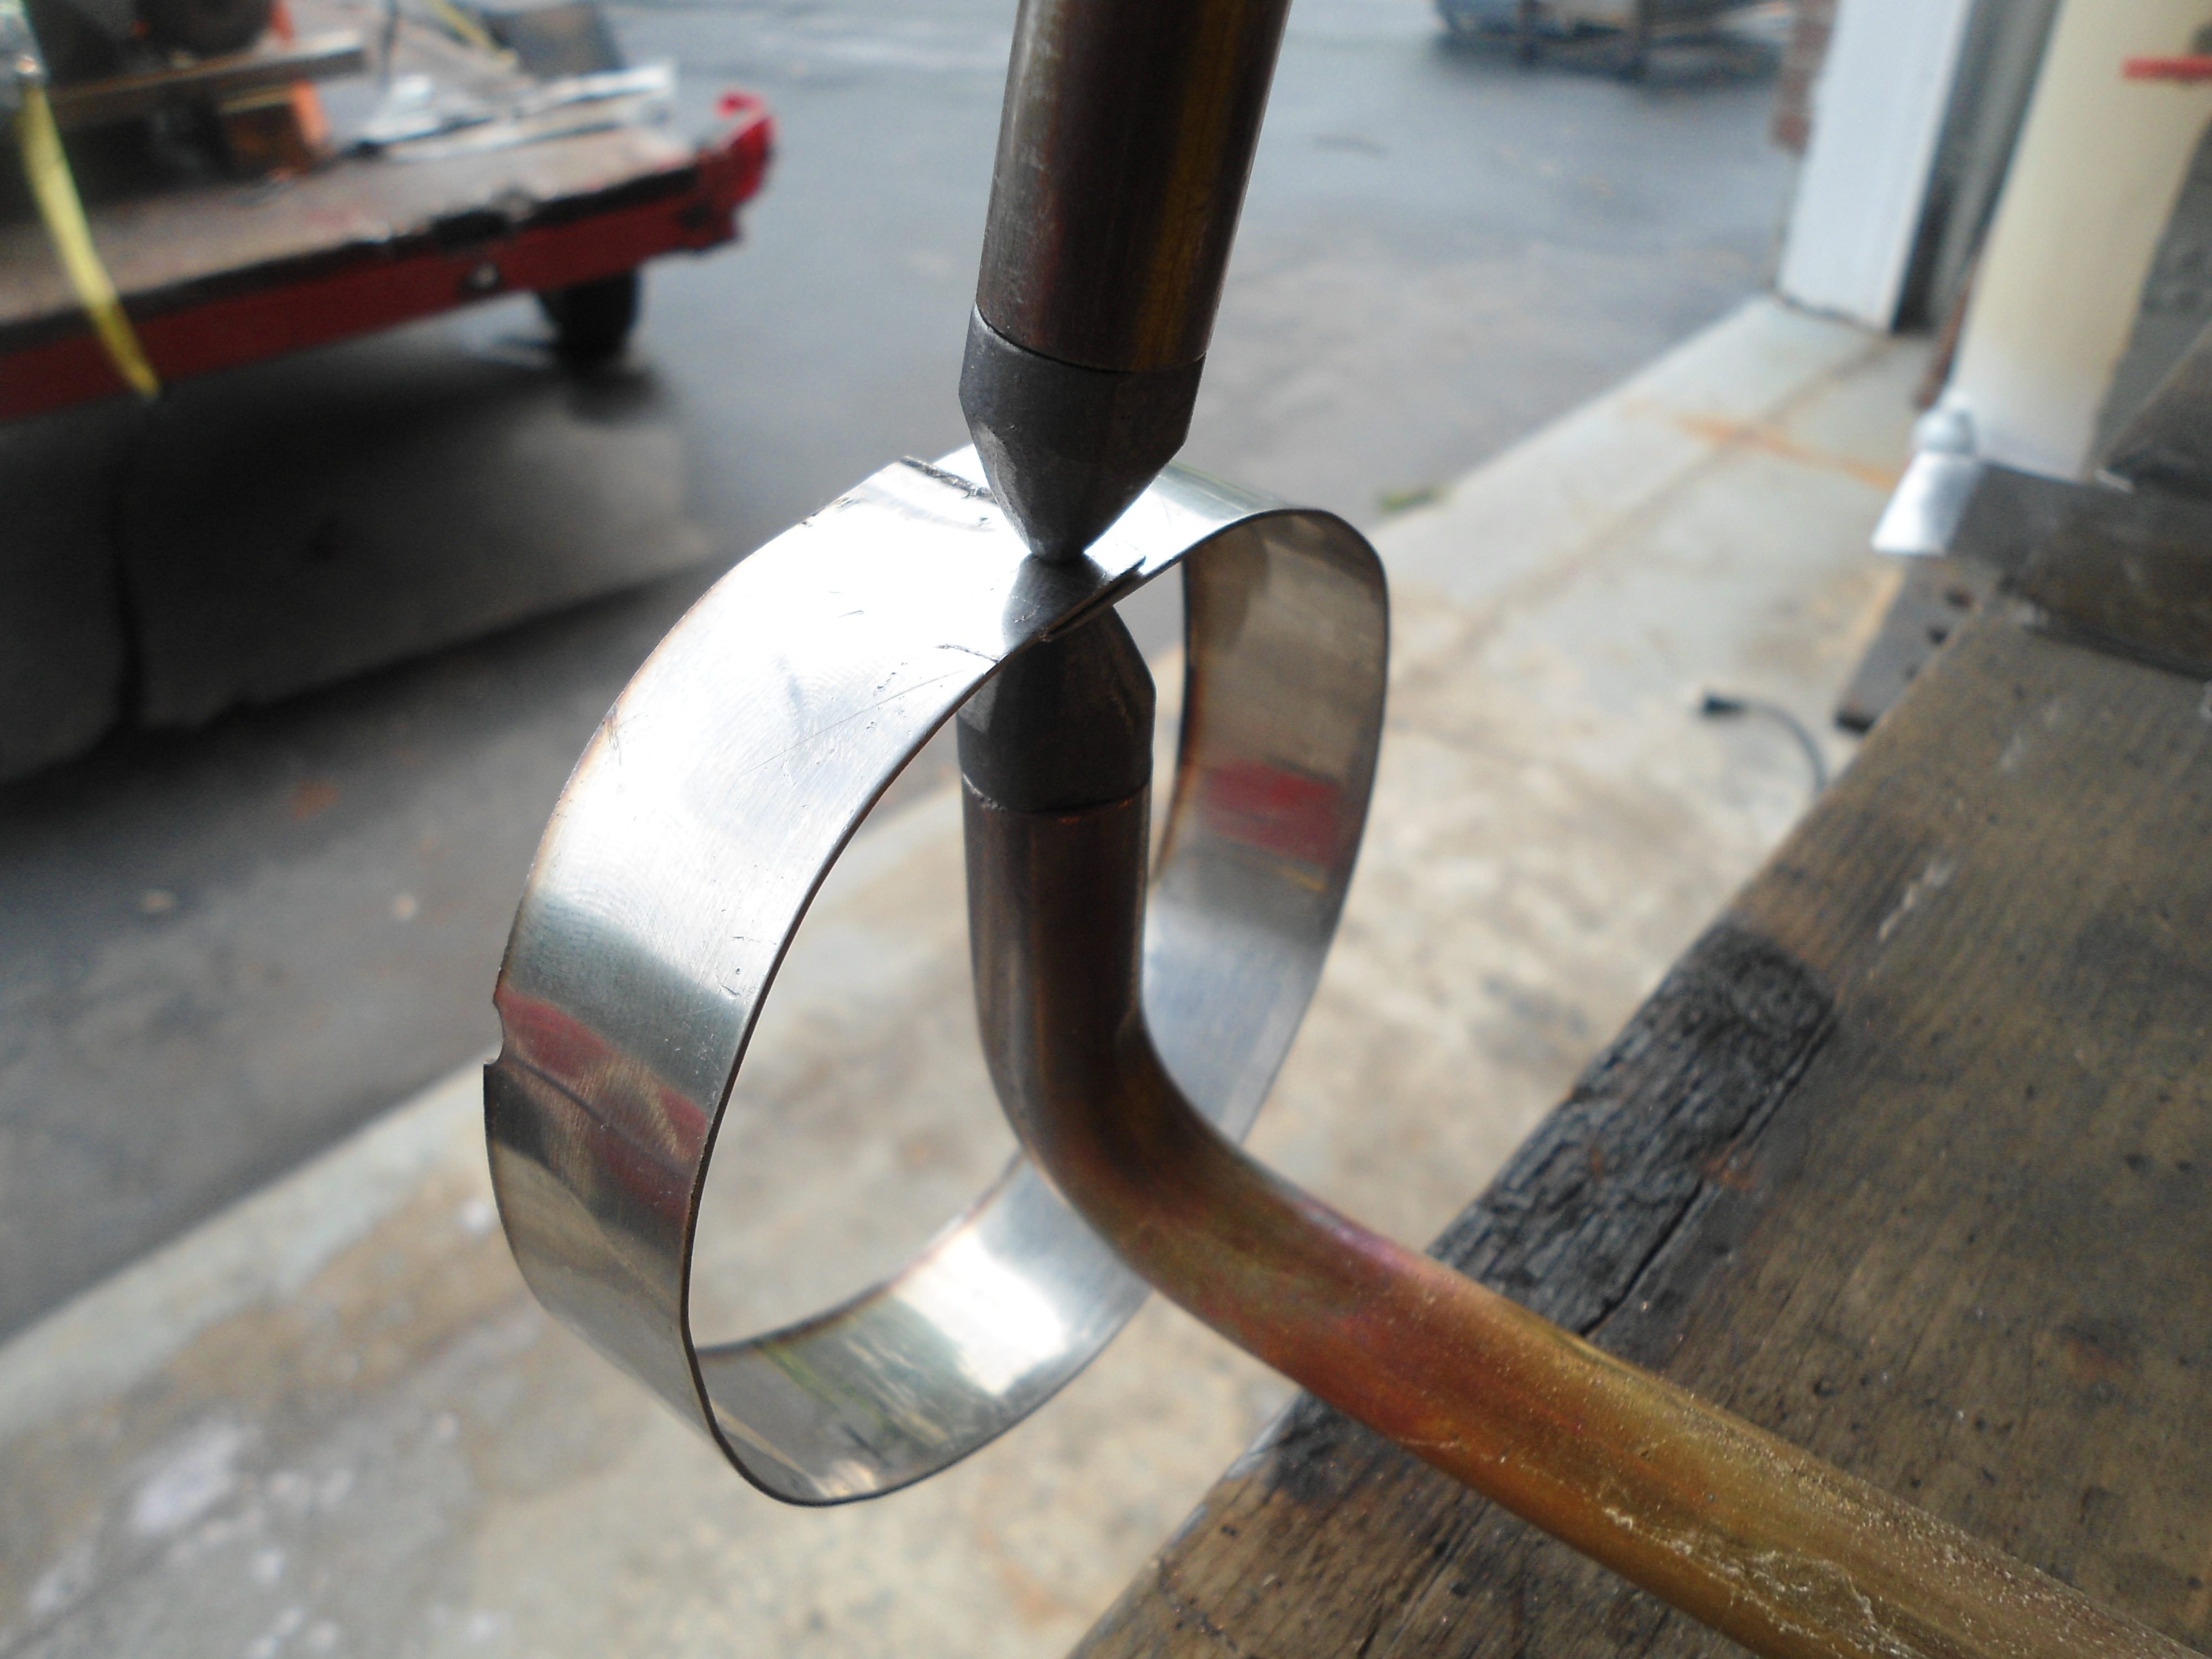
Spot welding the rings
Strips 1″ wide and 12″ long were marked out and cut out with an 1/8″ thick cutting disk on the angle grinder.
The strips were cleaned up with a file to smooth the edges and then cleaned with soapy water and stainless steel pot scrubbers.
These were hand formed into rounds with approximately 1/4″ overlap and then given two spot welds. Now that worked very well for the thinner material 0.0200″ thick, but not the heavier material.
For the heavier segments, which were 0.0400″ thick the spot welder just wouldn’t cut it… which was a repeat of the performance I experienced when building the pizza oven. For these I switched over to using the Henrob OA torch.
So for relatively little effort and very little expense I managed to save $20 and get some more metal working practice.
Publisher of high quality how-to books for homesteaders and preppers which help you gain the skills and tools needed to help empower your independence.