I’ve been using a variety of sourdough starters for a couple of decades, it offers both great flavour for your breads – that particular sour tang, while also giving you a more resilient method of leavening bread compared to commercial yeast.
Those starters – some of which were home made, starting from commercial yeast, from airborne cultures, from those on grapes or rye, and others which were purchased both dry and liquid or shared from others – varied in quality. Compared to the King Arthur starter some were more sour but none matched the effectiveness at leavening bread.
Using sourdough is a great and low cost means to produce great beads at home, and the starter from King Arthur is probably the easiest way to boost your chances of success.
Many great styles of bread have fantastically chewy crusts which can seem difficult at first to replicate at home. The secret is steam. Commercial ovens use steam injection which home ovens lack.
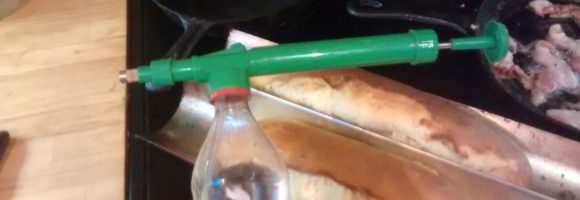
Eco-mister
But there is a cheap and easy way to get those chewy crusts at home – air charged plant misters. Unlike the hand pumped sprayers and misters the air charged ones see you pump the air/water bladder with air and then when the trigger is pressed releases a large volume of fine mist. Compared to the hand pumped versions you get more volume and a finer spray.
There are a number of variants on the style, but the one I use and Iike is the Spraymate which I also see marketed as the Eco-Sprayer. It comes as the spray unit alone and sees you use a soda bottle as the reservoir. I picked it up from Princess Auto (the Canadian version of Harbor Freight), but it’s also available from Amazon for $11 or Lapond though I see it’s priced there for $14 which is about three times what I paid for mine.
To make those great chewy crusts I preheat the oven to temperature, charge up the mister, quickly open the door and quickly mist the interior of the oven. Then I allow a minute or two for the oven to come back to temperature open the door again slide in the sheet with the bread and do a second misting of the interior of the oven. While you could open up the oven later and mist again I usually don’t bother.
The result, awesome chewy crusts on things like baguettes and sourdough loaves every bit as good as that which you’d get from a professional bakery but for a fraction of the price and without ever having to leave home.
A number of solid fats can be used for baking including lard, butter and shortening as well as tallow. The first three can all be handled in a fairly consistent manner – chill and then cut into the flour mix.
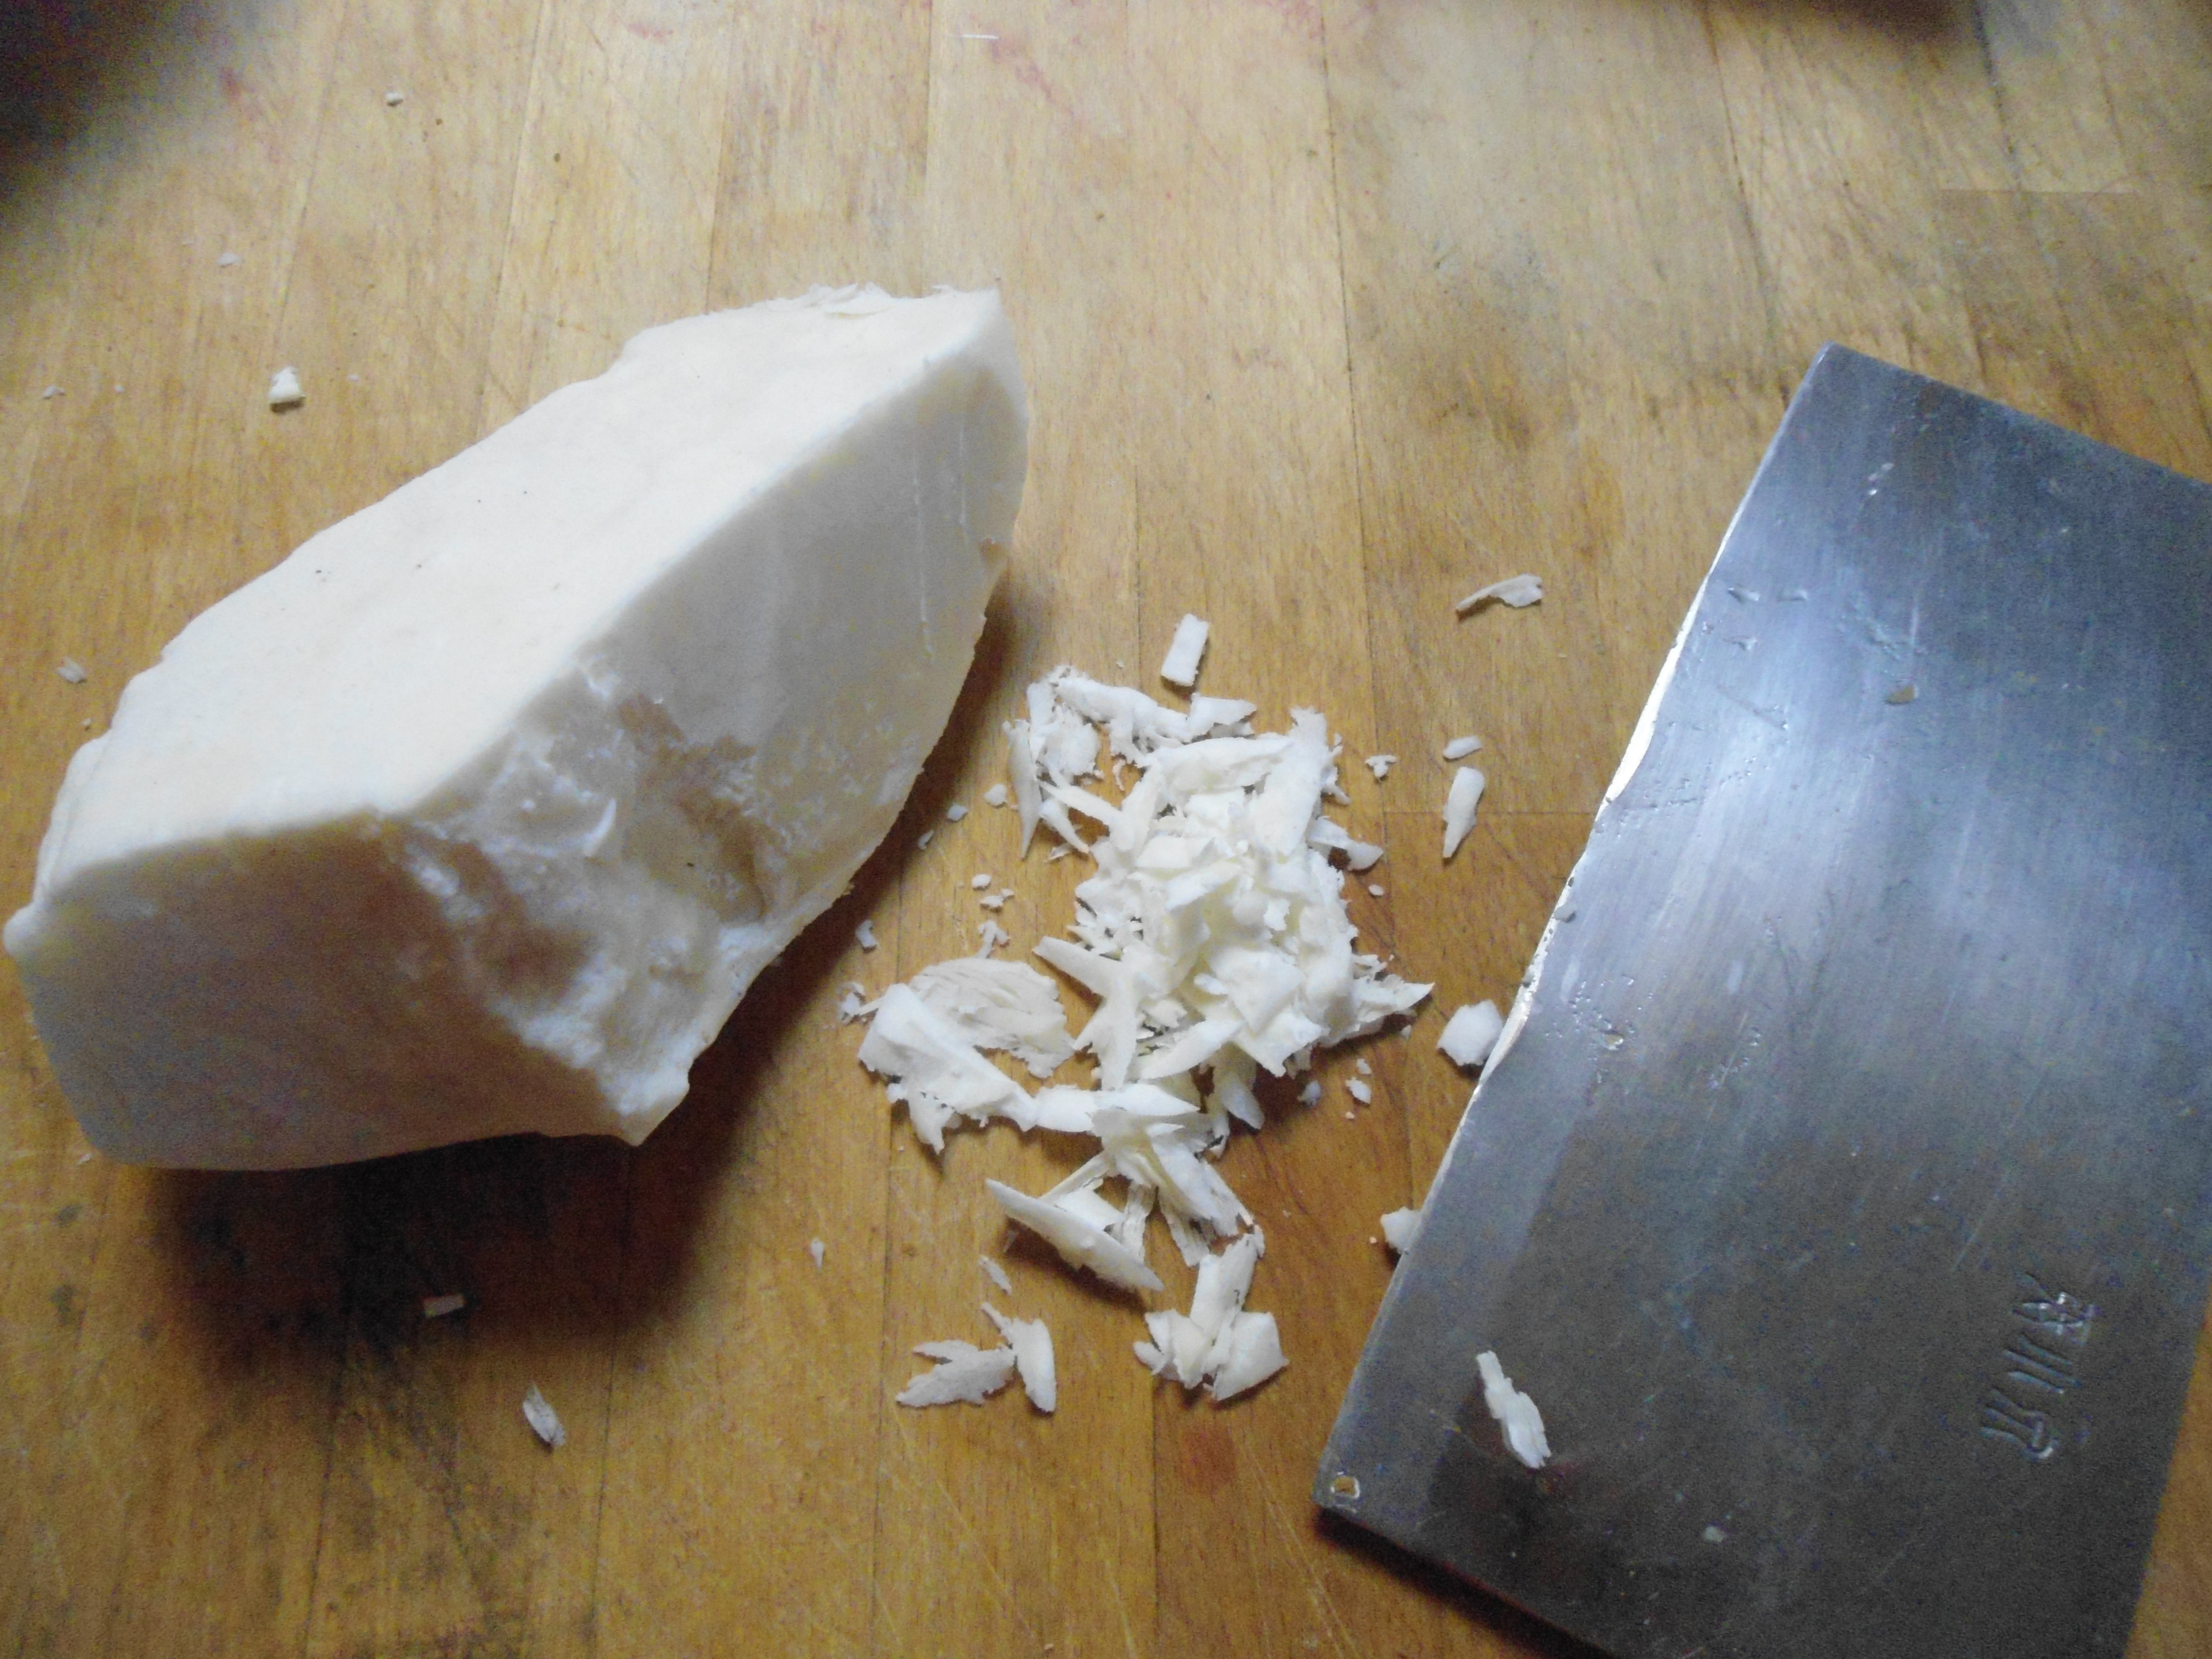
Pieces of tallow sliced off large block
Tallow though doesn’t respond well to this treatment – it’s simply too hard to effectively break up in this way.
The good news is that by altering your handling strategy from the more conventional fats you can easily produce great baking with tallow.
As with the softer fats you’ll want to chill the tallow first. Then instead of cutting it in the flour mix use a knife to shave the chunk of tallow into smaller pieces and then add these to the flour mix. It’s that simple to make use of tallow rendered from either beef or deer in your home baking, and the results are excellent.
As easy as pie – just a bit longer to realize the result. Seriously. Really. You just need the right tools (which are reasonably priced) and to gain some insight into how to pull everything together with smart techniques.
Not really much different than baking a pie – and there are lots of folks who are seriously intimidated by the thought of pulling together a great pie crust and that perfect filling.
But, that’s why cookbooks and cooking shows are so popular – they provide both guidance and the insight into the techniques needed to effectively convert the ingredients into the finished product. Once you’ve done it once that initial hurdle of getting those techniques down is breached and going from making an apple pie to a peach torte is comparatively a breeze. That’s no different with metal working – get a handle on how to pull one project off and you’ll be well on your way to having the skills and confidence to pull off much more complex projects.
In terms of how high that bar to entry is – with modern power tools it really isn’t much more difficult than baking that pie in a home oven. Wire feed welders are not only easy to master but also low cost – as I write this Harbor Freight has their welders on for $110 for the smaller unit to $180 for the midsized one that I adore. Their angle grinders start at $20 for a 4 1/2″ “heavy duty” one that will do for the work you have to carry out on the project to $45 for a versatile 7″ unit all the way to $65 for a top of the line 9″ unit – but those prices are all before you apply the 20% off coupons that always seem to be floating around. Another $20 will get you the needed drill.
Homebuilt Grain Mill, Tortilla Press and the required tools
Add in the consumables and hand tools and even if you are starting your shop from scratch you’ll be able to buy the tools and the materials needed for the grain mill build and have money left over compared to buying a comparable mill with 6″ diameter burrs.
Now the economics of building your own tortilla press isn’t nearly as compelling – but if you’ve got the tools… well then building it is a breeze.
Of course, the prime advantage in my opinion isn’t the grain mill, or the tortilla press, ore even the nicely equipped shop – but the change in perspective that you’ll gain once you’ve seen how achievable these metal working projects are. That shift will see you empower your independence, and that
Publisher of high quality how-to books for homesteaders and preppers which help you gain the skills and tools needed to help empower your independence.