I’ve been using a variety of sourdough starters for a couple of decades, it offers both great flavour for your breads – that particular sour tang, while also giving you a more resilient method of leavening bread compared to commercial yeast.
Those starters – some of which were home made, starting from commercial yeast, from airborne cultures, from those on grapes or rye, and others which were purchased both dry and liquid or shared from others – varied in quality. Compared to the King Arthur starter some were more sour but none matched the effectiveness at leavening bread.
Using sourdough is a great and low cost means to produce great beads at home, and the starter from King Arthur is probably the easiest way to boost your chances of success.
As easy as pie – just a bit longer to realize the result. Seriously. Really. You just need the right tools (which are reasonably priced) and to gain some insight into how to pull everything together with smart techniques.
Not really much different than baking a pie – and there are lots of folks who are seriously intimidated by the thought of pulling together a great pie crust and that perfect filling.
But, that’s why cookbooks and cooking shows are so popular – they provide both guidance and the insight into the techniques needed to effectively convert the ingredients into the finished product. Once you’ve done it once that initial hurdle of getting those techniques down is breached and going from making an apple pie to a peach torte is comparatively a breeze. That’s no different with metal working – get a handle on how to pull one project off and you’ll be well on your way to having the skills and confidence to pull off much more complex projects.
In terms of how high that bar to entry is – with modern power tools it really isn’t much more difficult than baking that pie in a home oven. Wire feed welders are not only easy to master but also low cost – as I write this Harbor Freight has their welders on for $110 for the smaller unit to $180 for the midsized one that I adore. Their angle grinders start at $20 for a 4 1/2″ “heavy duty” one that will do for the work you have to carry out on the project to $45 for a versatile 7″ unit all the way to $65 for a top of the line 9″ unit – but those prices are all before you apply the 20% off coupons that always seem to be floating around. Another $20 will get you the needed drill.
Homebuilt Grain Mill, Tortilla Press and the required tools
Add in the consumables and hand tools and even if you are starting your shop from scratch you’ll be able to buy the tools and the materials needed for the grain mill build and have money left over compared to buying a comparable mill with 6″ diameter burrs.
Now the economics of building your own tortilla press isn’t nearly as compelling – but if you’ve got the tools… well then building it is a breeze.
Of course, the prime advantage in my opinion isn’t the grain mill, or the tortilla press, ore even the nicely equipped shop – but the change in perspective that you’ll gain once you’ve seen how achievable these metal working projects are. That shift will see you empower your independence, and that
One of the great advantages of having your own grain mill is being able to grind a huge assortment of grains – and grind them as fine or coarse as you want… You get to make the choices!
The homestead grain mill is great for grinding corn for cornmeal or corn flour – but not masa… it’s a dry mill and not intended for grinding nixtamatal. If you are going to do that – and you should – pick up a masa mill – they are very cheap.
But back to grinding corn for cornmeal or corn flour. Now compared to grinding small grains there is one tweak you need to do in order to have a reasonable production rate. You need to start with a greater gap between the burrs to accommodate the larger grain size. That’s it… really that simple. So add some whole grain corn to your larder and start using it in your baking.
So if you don’t have a mill, why not consider building one – it’s going to be much easier than you probably are contemplating, and it will leave you with the skills to tackle loads of additional projects that will likewise yield independence dividends around your home and homestead.
I do a lot of baking, which means lots of flour – and since I grind nearly all of the flour I use (I do use commercial flour to cut my whole grain flours when I bake for friends) the homebuilt homestead grain mill gets a lot of use. Now, I regularly run through a loaf worth of grain by hand… but more often I grind up quantities of flour using the simple power drive.
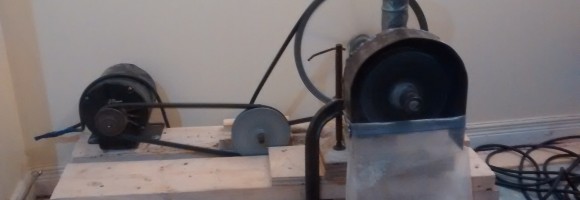
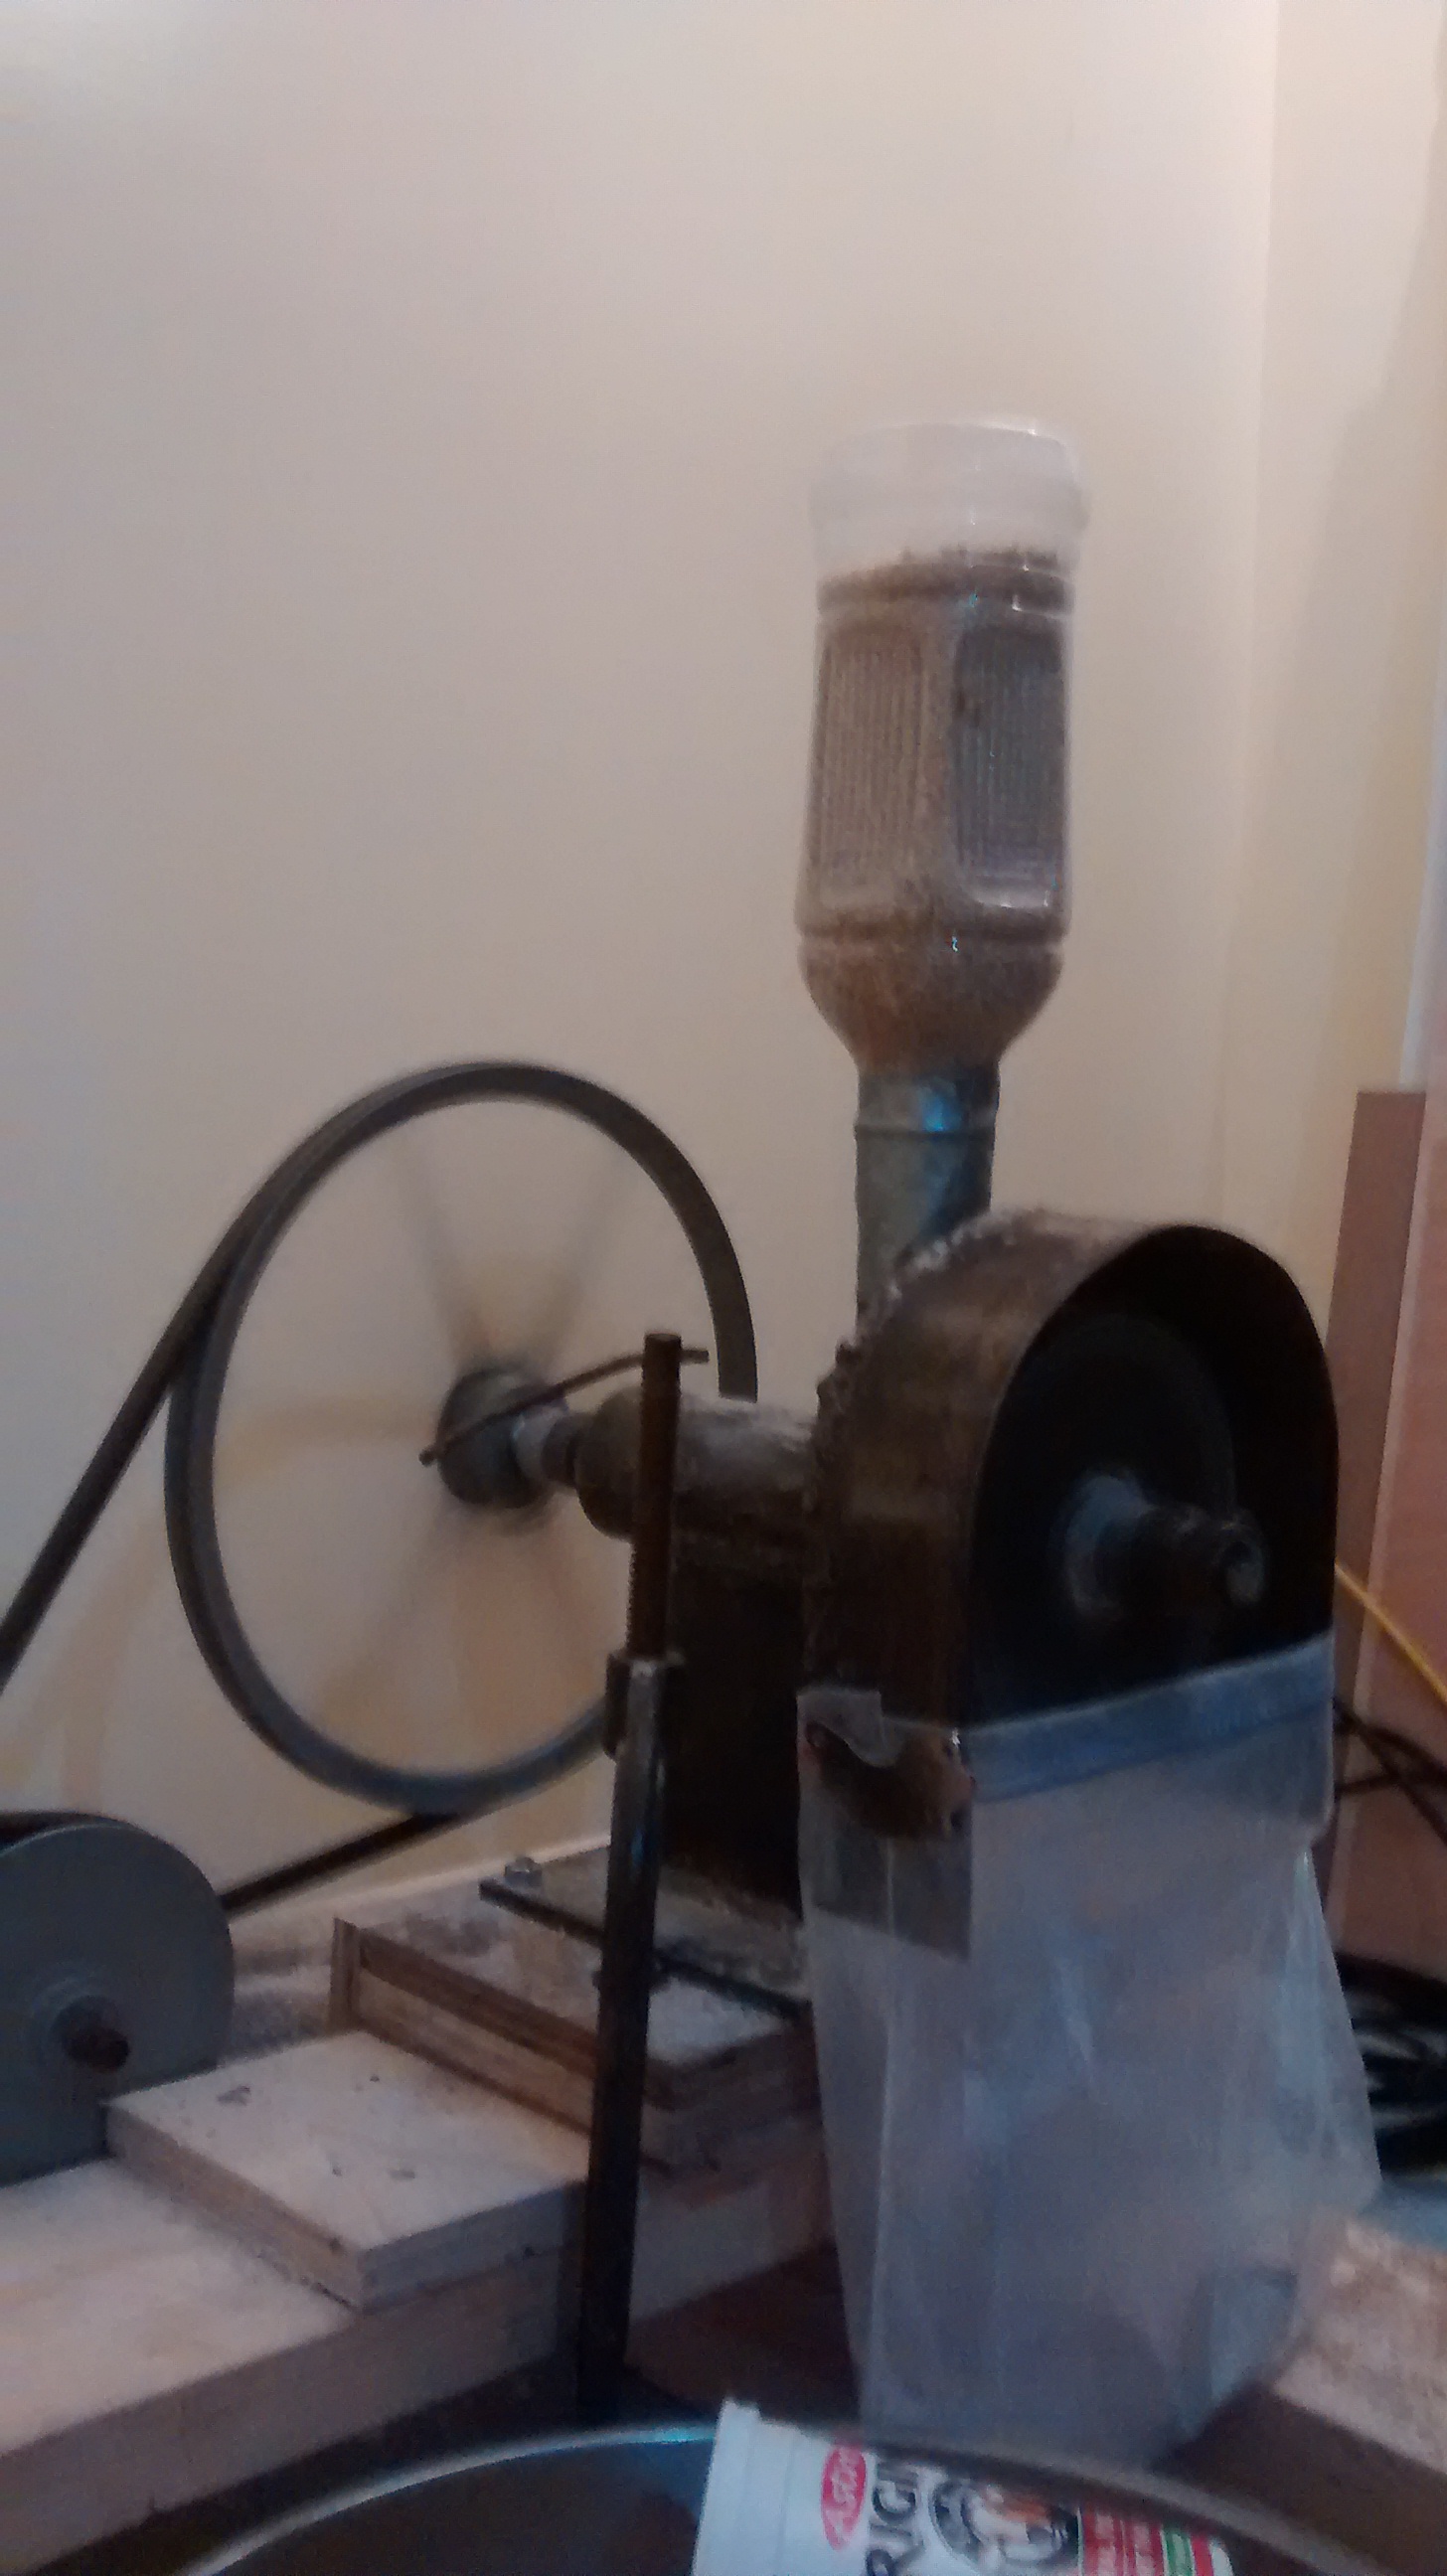
Grain mill power drive powering through a few pounds of whole wheat
It is a simple drive, a 1/4hp archaic electric motor whose speed is reduced (and torque increased) with pulleys and an intermediary pulley set on pillowblocks. All of this setup is mounted to a wood frame that allows me to clamp the grain mill to the base.
The drive was put together using what I had on hand and has worked very nicely. But, the belt on the grain mill was originally one that was pulled off of my snowblower when it became too worn to serve in that capacity. Snowblower belts are heavy duty, but it was frankly very worn, and worn unevenly. Still….it worked as the final drive belt for the mill for about a year.
But, by last week it was pretty clear that the life was pretty much gone from the belt, so this weekend I decided to get a new replacement belt.
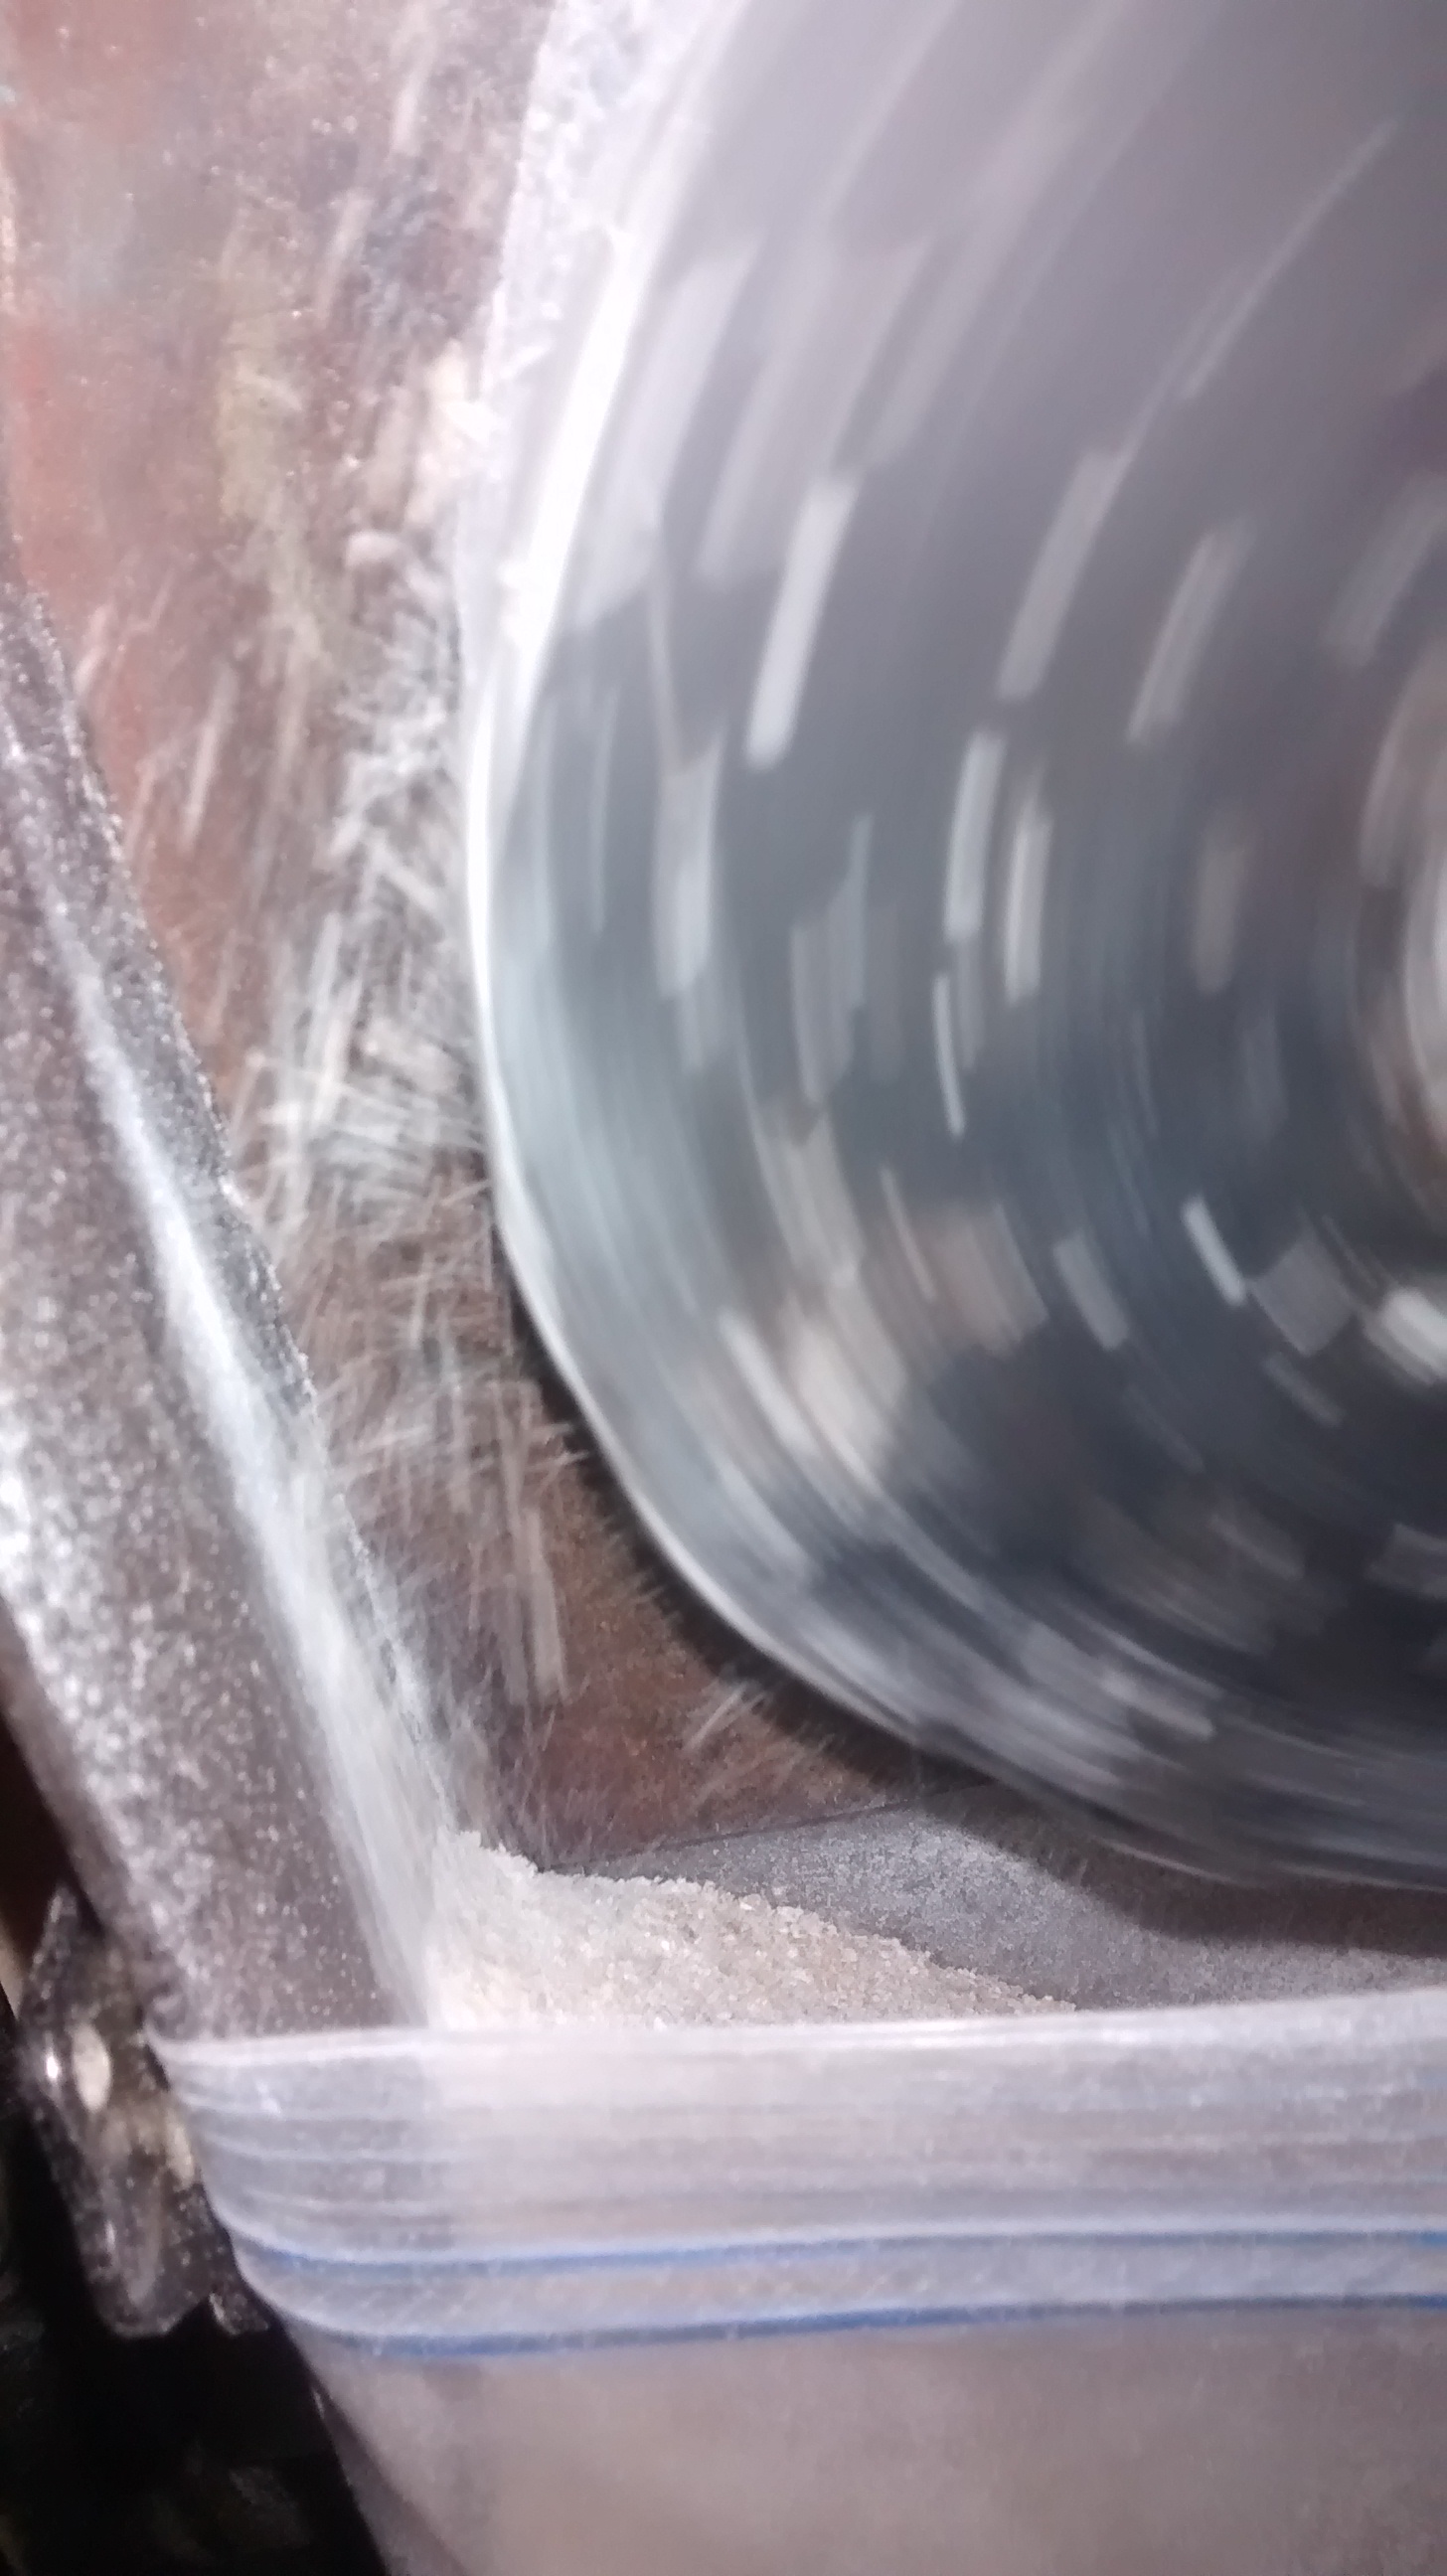
Whole wheat flour off the burrs
I had been putting the grain through to pastry flour fine in three passes in order to keep the belt from slipping. I started to adopt the same strategy when I finished swapping in the new belt, but, change a variable and you change the outcome right. In this case two things became apparent. The overall pace at which I could process the grain could be boosted with the new belt, and rather significantly, which wasn’t unexpected since the new belt would have a much greater contact area with the pulley sheaves therefore transferring more torque to the grain mill. But, something else changed too. The old belt had been unevenly worn which introduced a bit of shaking, the new belt didn’t do that so the feed rate for the grain though the mill was reduced… so instead of three passes it now makes sense to grind to pastry flour fine in just two passes. That reduces the necessary adjustment, which while quick and easy is still an extra step, so all in all a nice bonus and one that I hadn’t really counted on…. now to get baking…
Publisher of high quality how-to books for homesteaders and preppers which help you gain the skills and tools needed to help empower your independence.