[metaslider id=12]

By

Home Deli Slicer – Savings Realized

Deli meat – that is thinly sliced cooked meats are rather expensive.  Now some of those meat products are processed to a considerable degree and often loaded with lots of preservatives, but others are fairly standard meats.

Home deli slicer pays for itself

Home deli slicer pays for itself

Now it appears based on the price that a lot of folks hold the act of slicing big hunks of meat into thin slices with a significant level of reverence because they are certainly willing to pay a lot for the conversion.  Compare the price of whole turkey – often on sale for less than a dollar a pound to deli sliced turkey breast, or roast beef, or even ham… wow.  On a per minute basis the deli slicer dude is probably creating more value that a brain or cardiac surgeon.  .

But today I come today bearing great news – you too can become a man or woman or even a child capable of engaging in this magical and lucrative transformation from big meat chunk worth comparatively little to thin meat slice worth great riches, and it can all be done for about a hundred dollars in investment and without more than a half dozen years of education.

Ok, now seriously a home deli meat slicer is a great buy.  I have a kitchener brand unit from Princess Auto – I purchased it for less than a hundred dollars on sale and it’s served me well for a number of years now, more that recouping its cost in savings.  It definitely isn’t industrial quality but it’s more than adequate for home use – even significant home use.
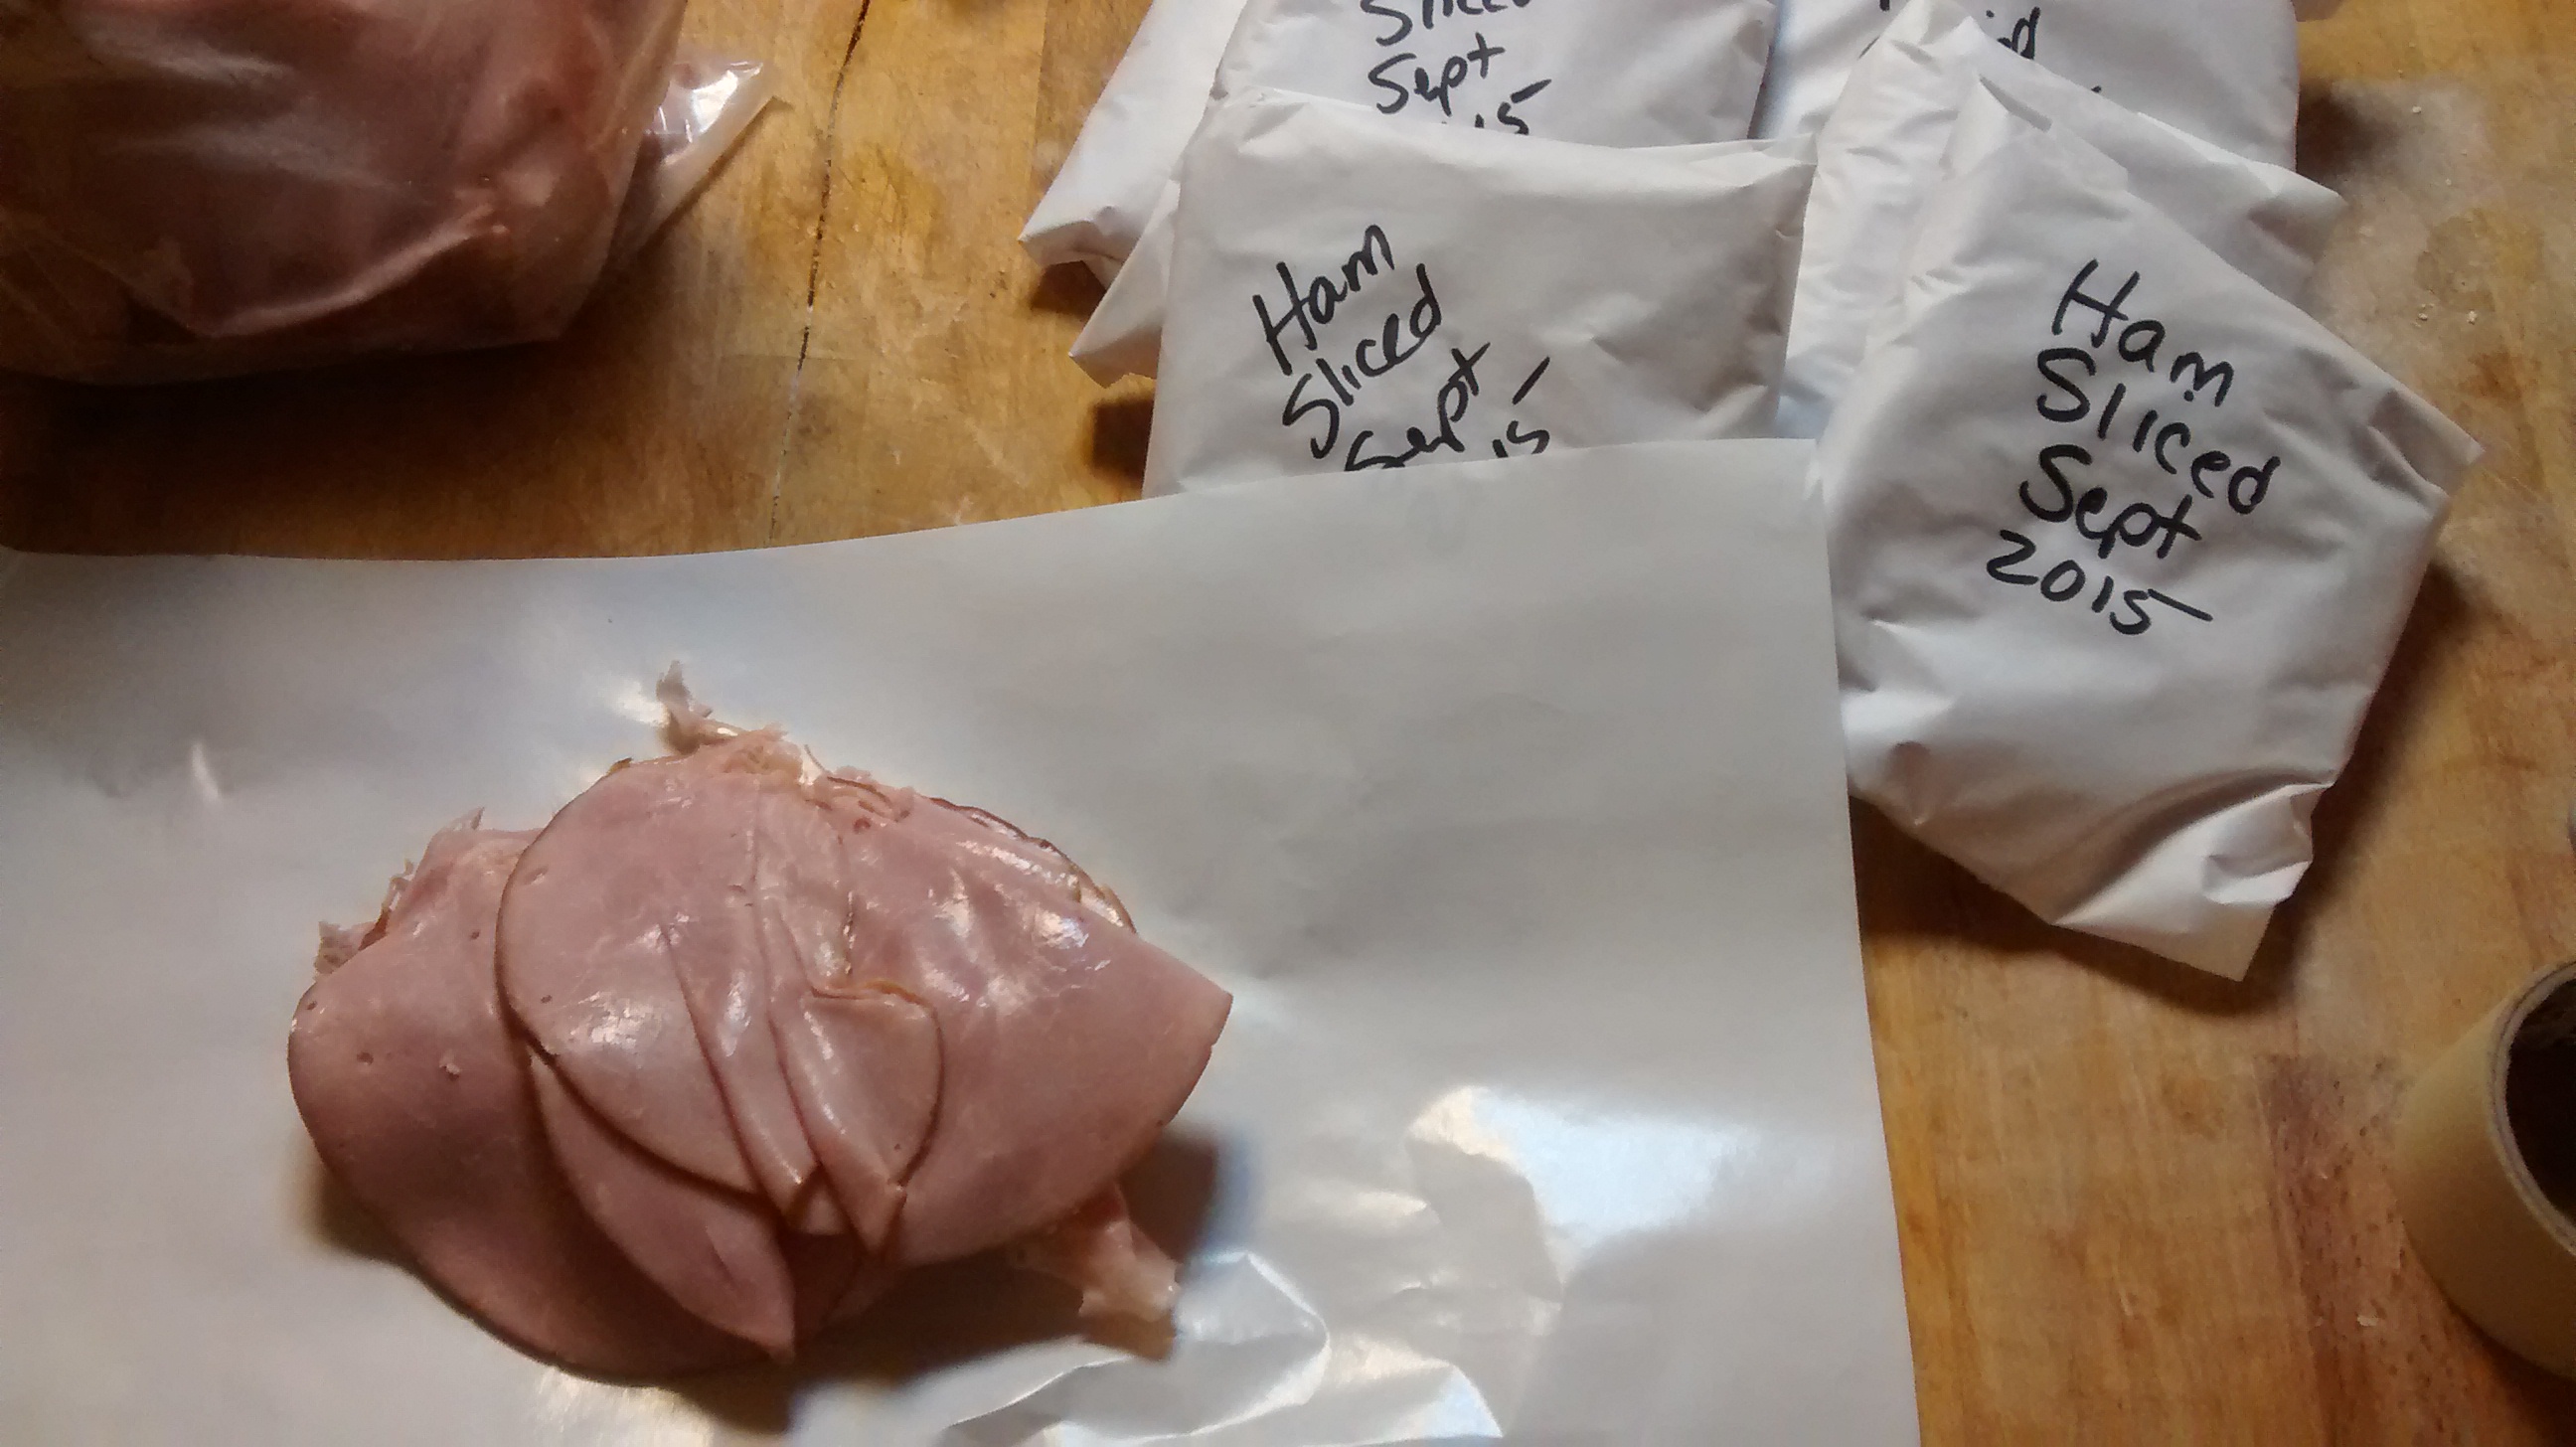
Packaging sliced meat in butcher paper in preparation for freezing

Packaging sliced meat in butcher paper in preparation for freezing

I usually find I pull out the deli slicer about four or five times a year to cut up significant quantities of meat that has come on deep discount.  For instance I just cut up five big black forest hams that were on sale for about two dollars a pound.  When the stores run their Christmas and Thanksgiving promos offering turkeys for silly prices, last year the lowest they went was 77 cent per pound I will buy up a bunch.  I’ll cook them, cool them off and then cut off and slice the breasts for lunch meat – use the rest for a meal or two but more or less toss a meaty carcass into my big pots and boil them for a few hours,  and then once cooled I’ll pick the meat off the bones, cut it up into smaller chunks and pressure can some hearty turkey soup base.    The same thing goes for roast beef though even on sale it usually is pricier than turkey.

The sliced meat gets divided up into portions that cover the needs of about a week, are wrapped in good butcher paper and frozen.  Getting pulled out a few hours or the night before sandwiches need to be made in order to thaw, with the remainder getting stored in the fridge.

Now, I’m not going to knock the fact that it’s nice to have thinly sliced deli meats – but seriously you can pay for the deli slicer very quickly – probably on your first slicing venture if you pick it and the meat up on sale.

The amount of work and time it takes to prepare, slice and package the meat isn’t all that huge, but the savings certainly are significant.  The time required to do the work is also less pronounced when you start to realize that with a deep larder you needn’t run out to do last minute shopping which saves time in addition to money.

Now, the real pain is the cleaning of the unit – it involves unscrewing the machine screws that hold the blade in place – on my model anyway.  It isn’t complex or involved just not as easy as might be necessary.  This is part of the reason that I tend to do bulk runs of meat slicing – because the time needed to clean the machine is fixed irrespective of if I slice one small ham or six large ones.

So if you use deli meats in your household consider getting a deli slicer and putting the earnings from the magical task of slicing thin in your own pocket.

By

The small chainsaw – sized right for many jobs

The small chainsaw - sized right for many jobs

The small chainsaw – sized right for many jobs

Bigger is better right, well sorta but what guy doesn’t have a Tim the Tool Man Taylor prejudice to some extent?  After-all, we buy tools for CAPABILITY not cuteness.

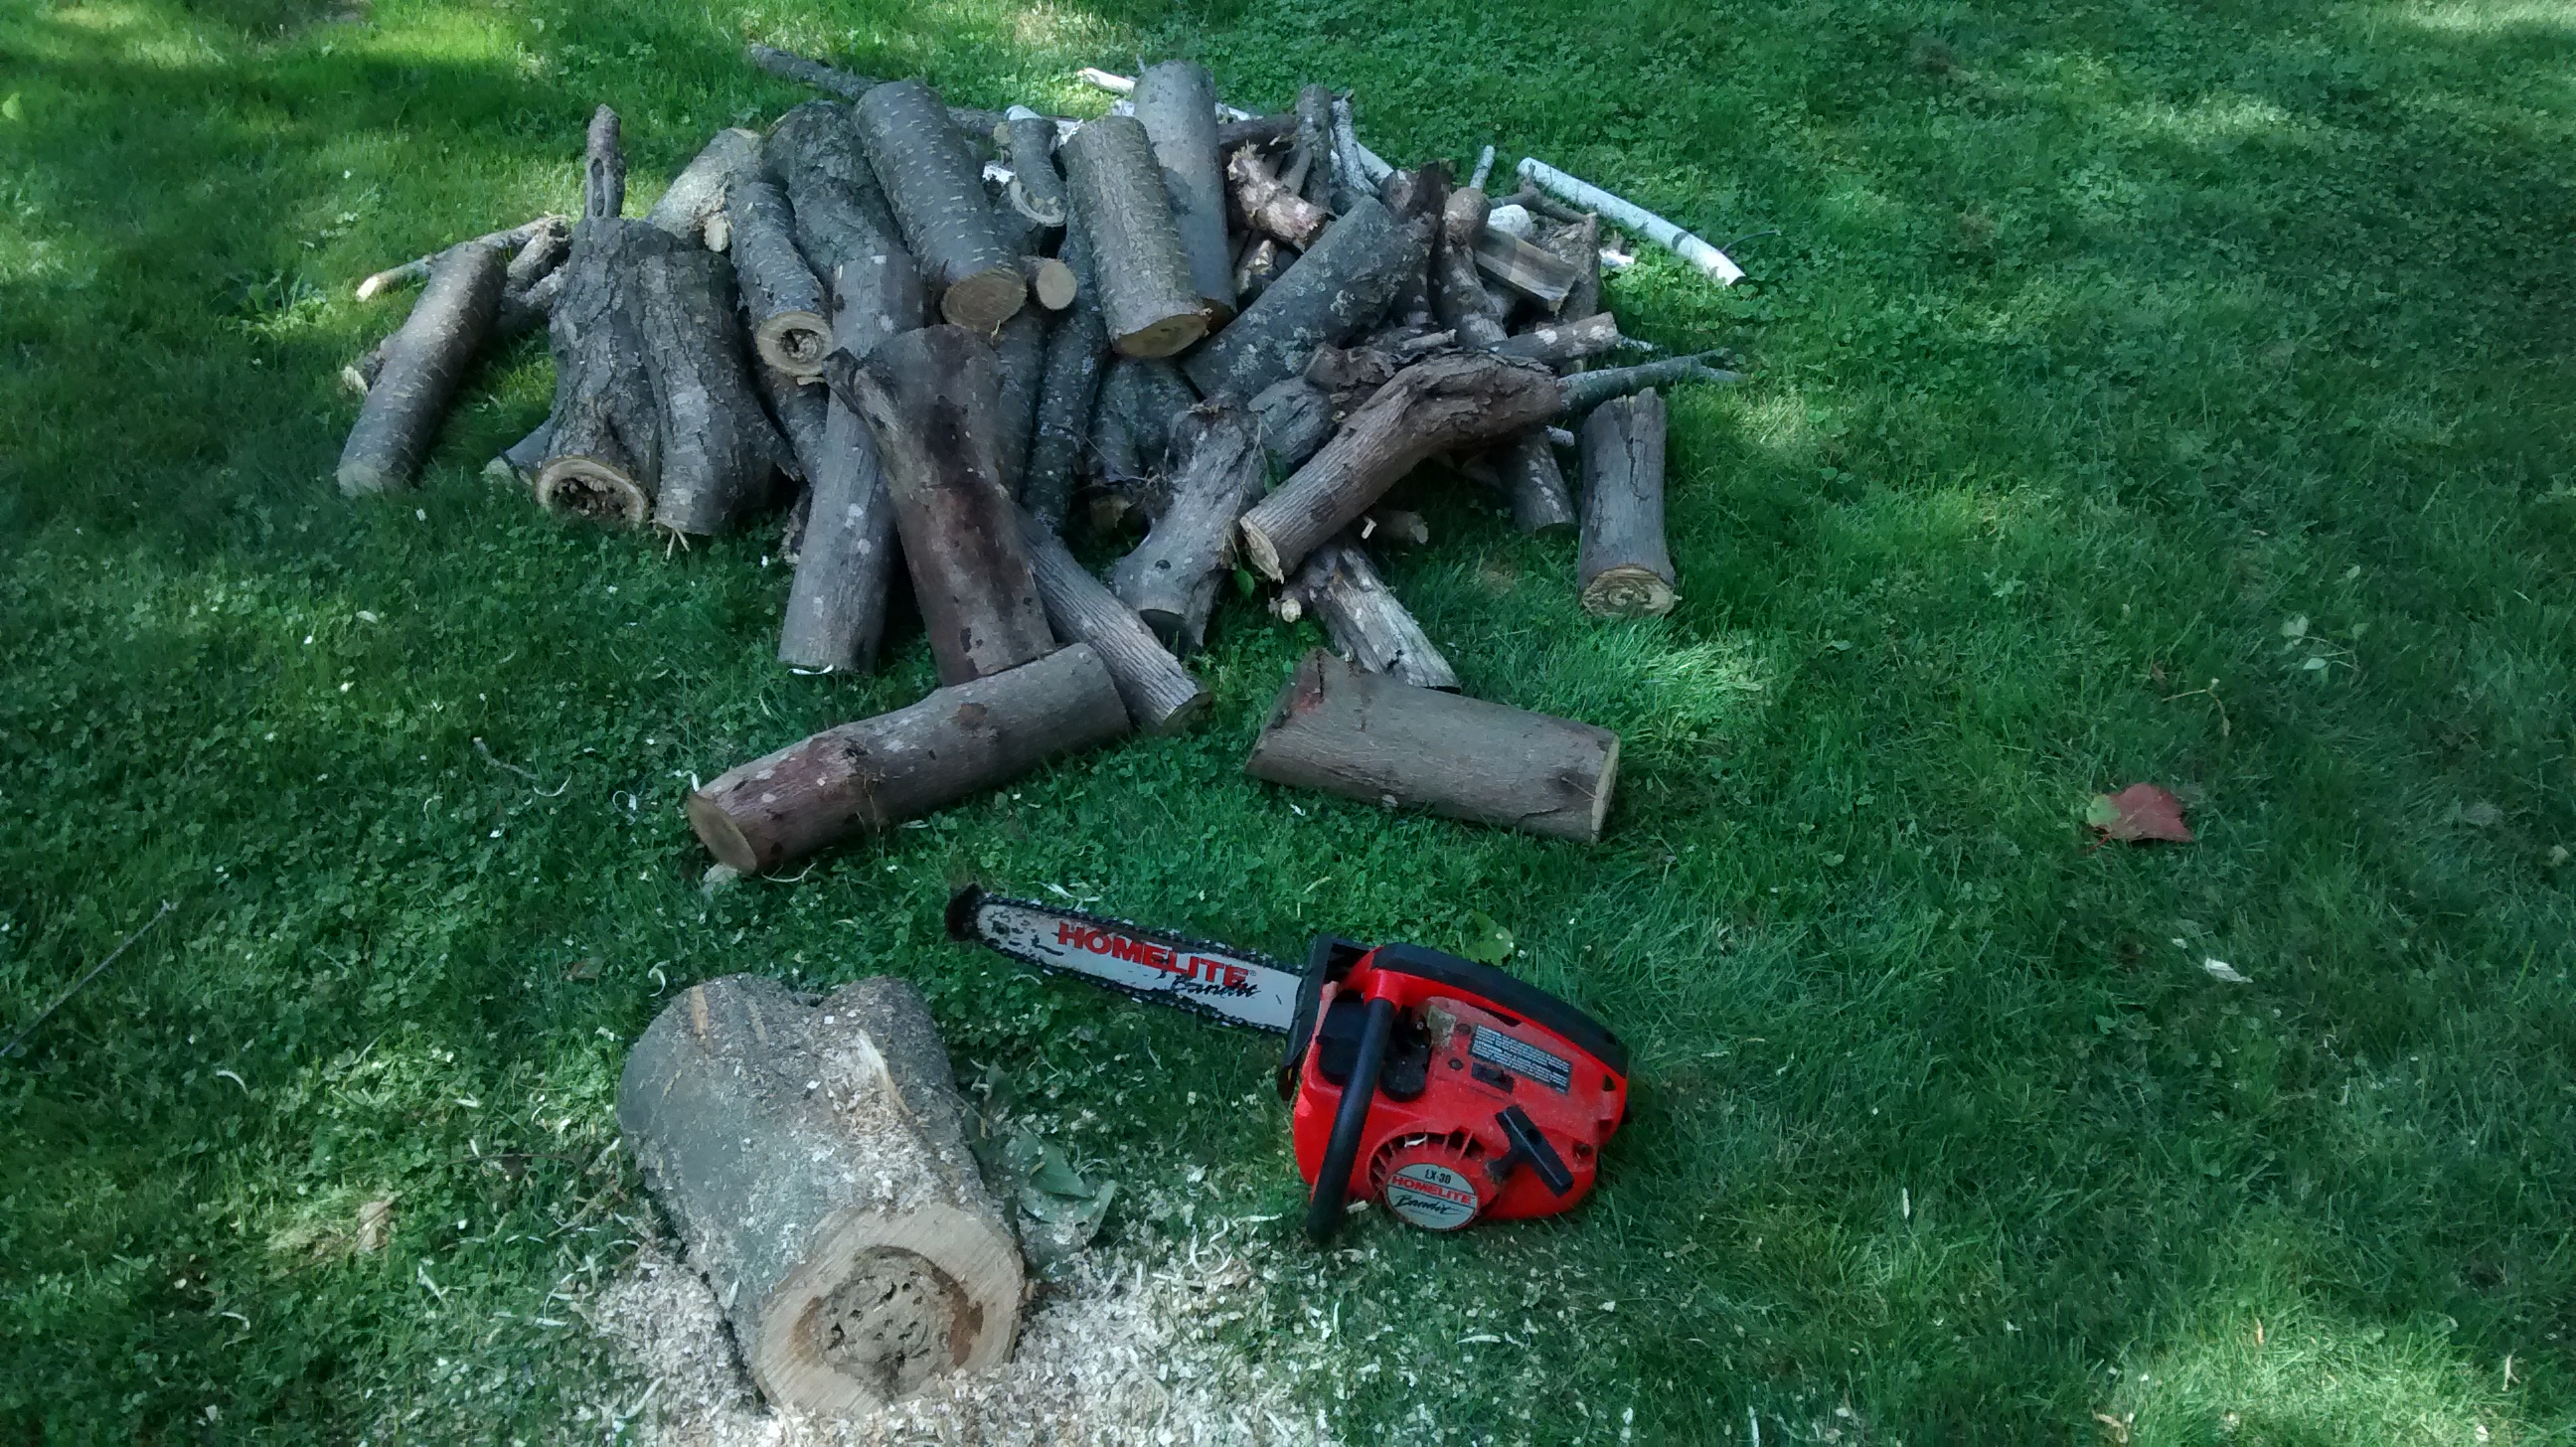
Now when it comes to chainsaws you can get some pretty big and really nice saws.  I’ve got a couple of bigger chainsaws, but a few years ago some friends were packing up and moving to the west coast to retire and were selling most of their kit.  Among the stuff on offer was a 12″ Homelite chainsaw, an LX-30 Bandit – it was the smallest gas chainsaw the wife could find when her husband insisted on getting a saw after the Ice Storm.  It was rather telling that she didn’t get the appropriate protective gear including a really good set of chaps since a 12″ saw is still plenty powerful to cut your leg off, nor did she get a saw with a chain brake.  .In all fairness the chain brake probably isn’t all that necessary on a saw this light – especially since it is furnished with a low profile – low kickback chain.

It hadn’t been abused – or really even seen much use – and I was able to pick it up for a good price once I assured them that I wouldn’t become an accident statistic due to them selling me the saw.  Part of the good price was because I didn’t particularly think I would use a saw that small while they didn’t want to give the saw to anyone that might then behave irresponsibly with it.

If I’d know then just how much I would end up using the small chainsaw I might have been willing to pay more.

017This saw is at the front of the line of all of my chainsaws and is used maybe 90% of the time I reach for a saw partially because it is so easy to use such a light saw and partly because it sees so much use I am pretty sure it is gassed and oiled.

Now, granted if I am going to be dropping trees I am going to be reaching for a bigger saw.  But that is more the exception than the rule.  Most of the trees I have dropped recently have been at my brother’s place or at the cottage not at my home.   I do end up bucking up a lot of wood that folks have tossed to the curb – everything from six to eight inch diameter trunk sections to loads of smaller branches and limbs.  All of which are quickly cut to length for drying and then use in the wood fired pizza oven.

The saw also gets employed a fair amount as a cordless circular saw for rough carpentry work, for some things it is much more suited to the task – like cutting 6x6s but for others it is often simply more convenient to grab the saw and the chaps than it is to fetch the circular saw and then get the extension cords.

I wouldn’t want to have this as my only chainsaw – when the job calls for it there is really limited alternatives to power and bar length – but added to the set of tools available it stands our wonderfully.  So if the opportunity comes along for you to add one to you tool collection consider picking one up, for most folks I imagine that it will become a valuable addition to your tool mix.


By

All American Pressure Canner – worth the investment if you use it

All American Pressure Canner - 941

All American Pressure Canner – 941

Ah preserving food,  there’s something romantic about it isn’t there?  Something that hearkens back to our forefathers – or more likely foremothers [if that is actually a term]  when life was simpler and things were more black and white. [ Or was that only Leave it to Beaver?]

The All American Pressure Canner likely marks the pinnacle of home food preservation – at least until home freeze dryers come down a bit more in price.

Boiling water bath canning allows you to preserve high acid and high sugar goods including things like pickles, jams, jellies and fruit in sugar syrup – that is definitely a little to no bar entry point for home food preservation, anyone can and should give it a go.

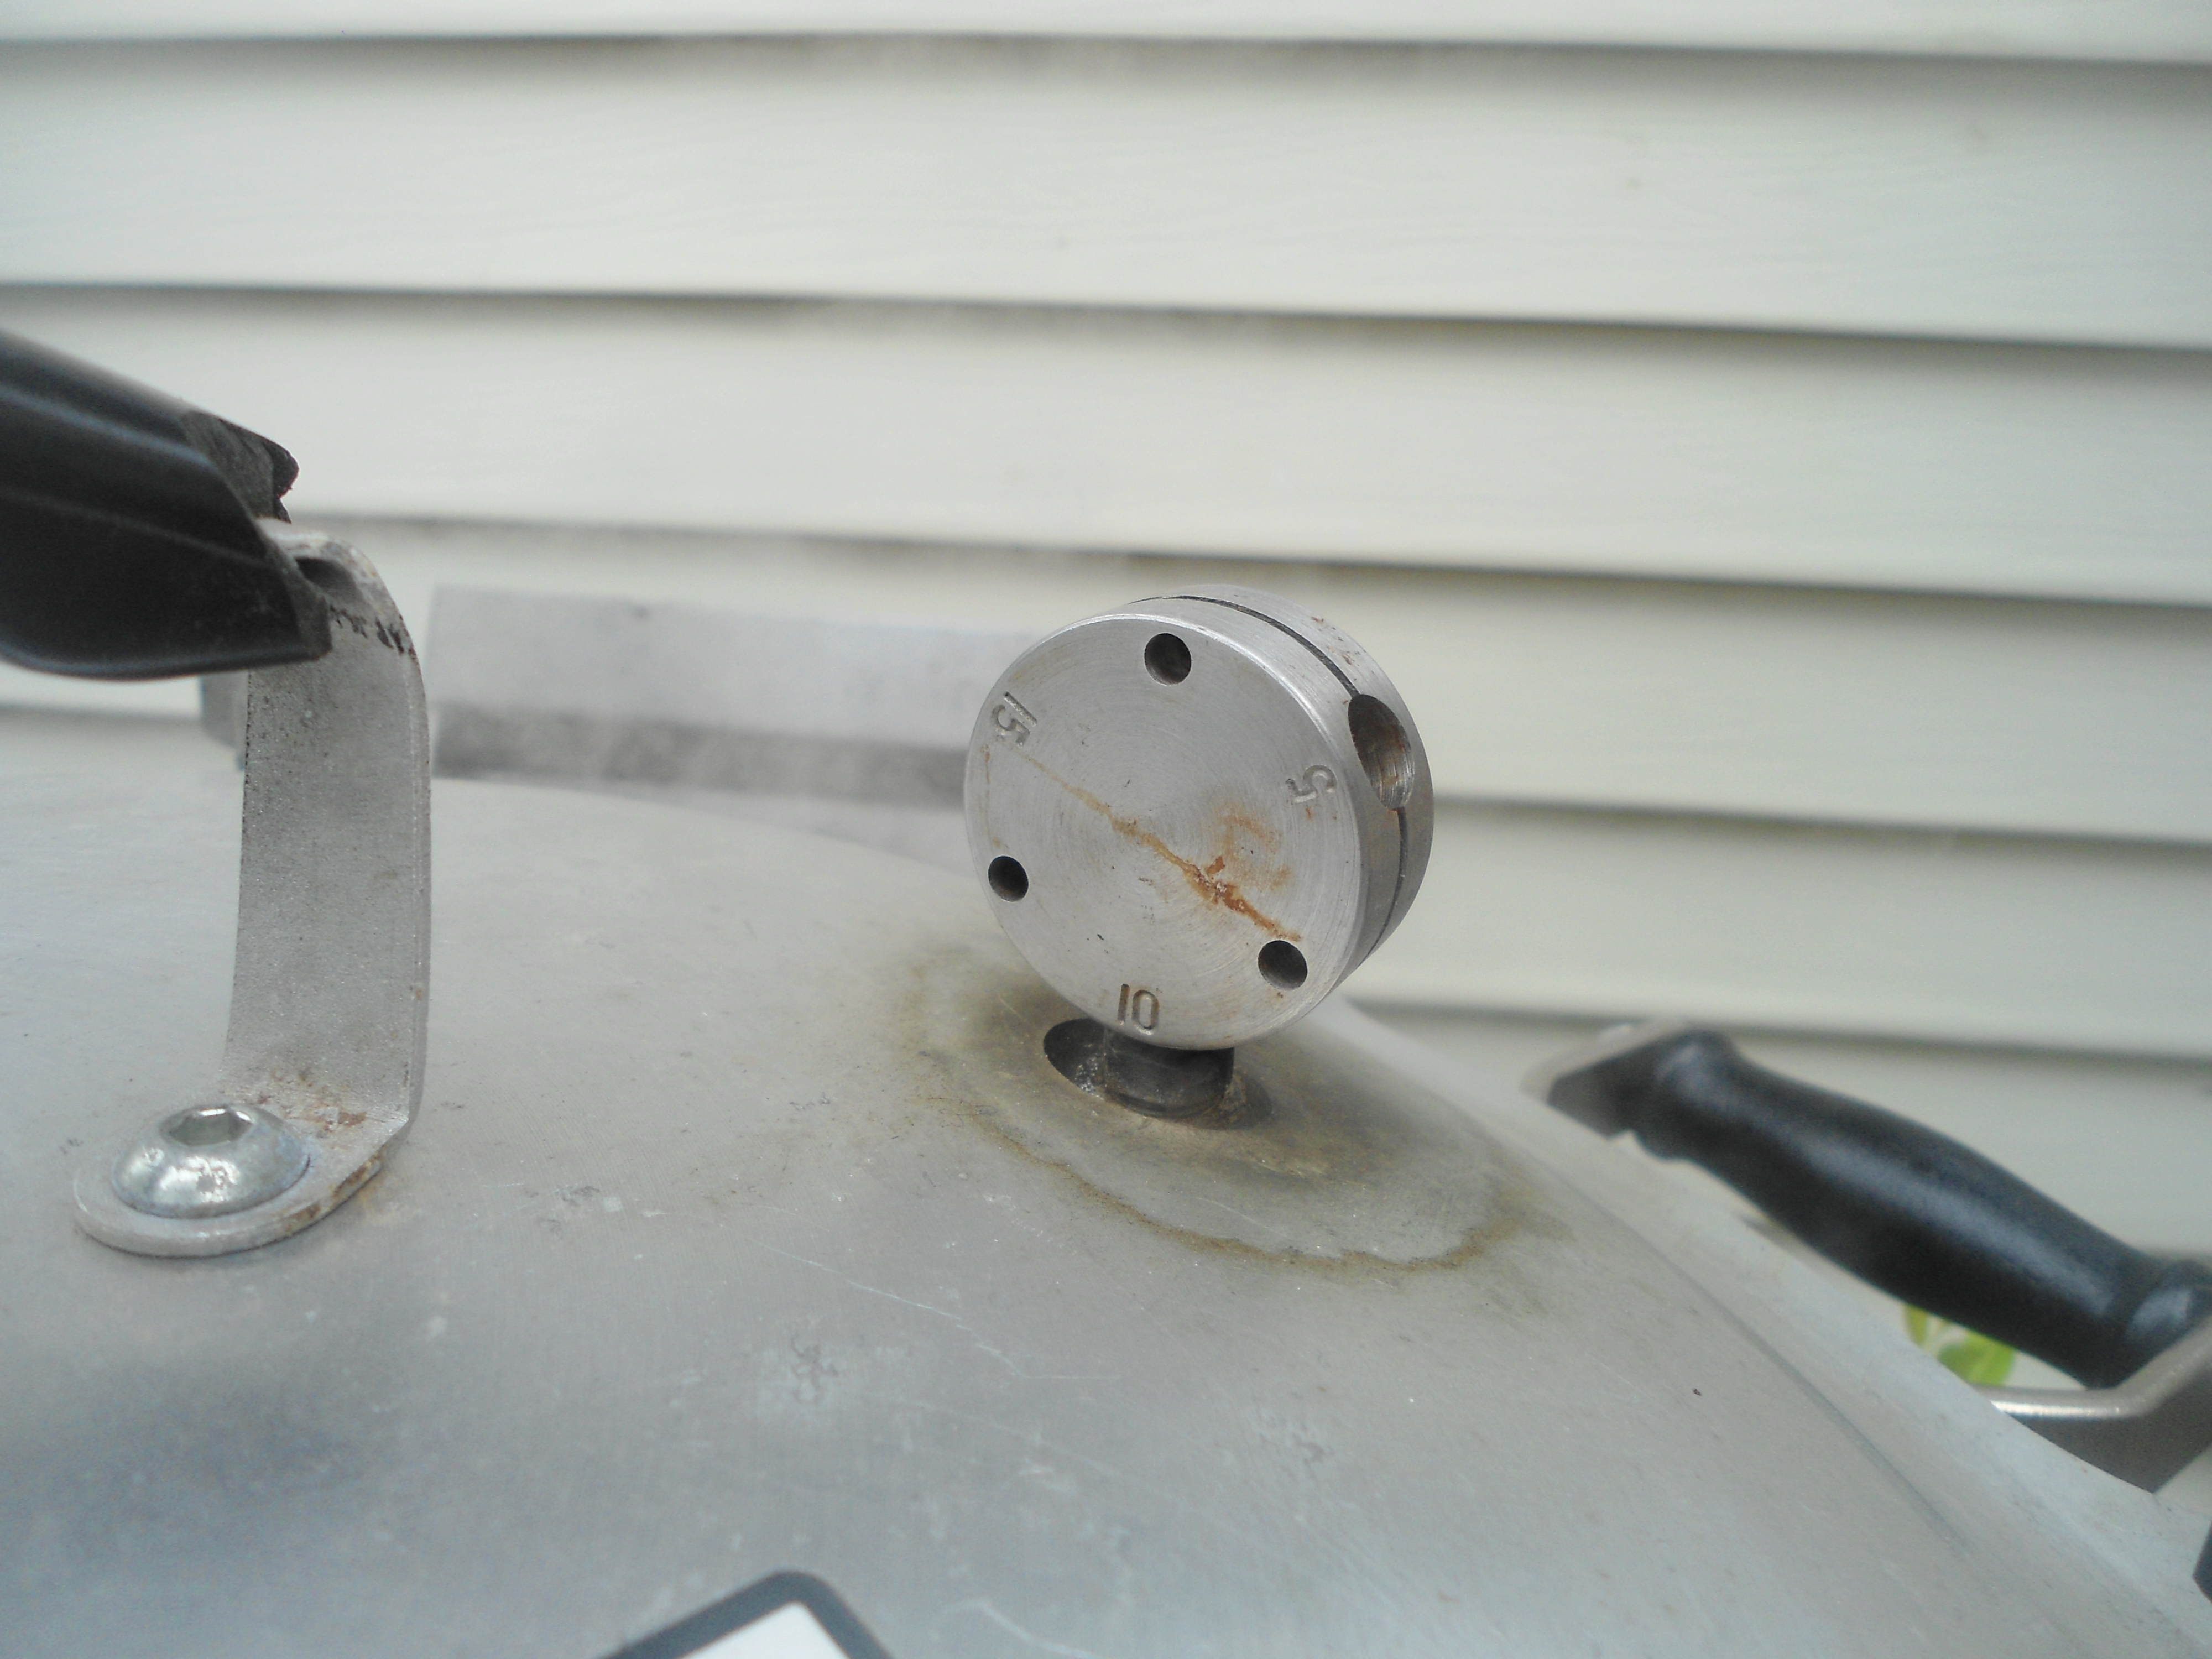
Take care not to misplace the pressure weight between uses

Take care not to misplace the pressure weight between uses

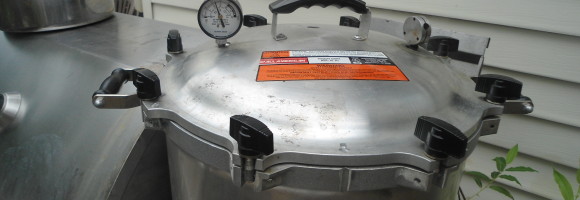
Pressure canning represents a considerable step up in cost – the canner itself often runs several hundred dollars, with the cream of the crop the  941 All American Pressure Canner clocking in at just under four hundred dollars [US]. Now that investment will allow you to safely put up meats, broths, low acid and low sugar vegetables and fruit but it is quite an investment.  That said if you take care of it the unit will likely be still serving your grandchildren it is built wonderfully sound and has no gaskets to fail and the only thing you could loose would be the pressure weight but that is simple enough to secure between batches.

But back to the issue of investment and payoff. I can be a bit of a romantic and an idealist, but there’s a pretty pragmatic streak in me too.  So, I have always had to smile when folks would talk about doing a day of preserving, and how wonderful it was, and how great the preserves are, and how quickly they go, only to find out that the sum total of their work was a half dozen jars of jam or pickles.  Now, I’m all for gaining experience so that you are comfortable taking on the next incrementally complex task, but this scale hardly makes the time and mess created by the process worth while.  Processing food is usually in my experience eminently given to efficiencies of scale. If you are preserving something from a bumper harvest or purchase make enough to last for your family – or even better enough to last for your immediate family and others around you.

Fresh Salmon on Special - a buying opportunity

Fresh Salmon on Special – a buying opportunity

A pressure canner can save you loads of money by allowing you to take advantage of buying opportunities and preserving food for yourself.  I’ve paid for my canner several times over by putting up jar after jar of hearty turkey stock, bone broth or fish.  Note I said “can save” not “will save” in order to realize the savings potential you have to use it – and invest the time in the process.

For example, yesterday alone I put up 25 pounds of salmon – now the store was selling it as a teaser at 2.48 a pound.  I would have purchased more but that was all I could over a couple of visits before they sold out.  As it happens canned salmon is also on sale a 213g tin for 2.97.  After you’ve sharpened your pencil and figured things out to buy the same quantity of salmon canned would cost a hundred and thirty-five dollars, a difference of eighty-two bucks.

The pricey alternative - already canned salmon

The pricey alternative – already canned salmon

Now granted I’ve already sunk the investment into the necessary jars and I use Tattler reusable canning lids which while more expensive than the steel ones are reusable time and again – even when pressure canned.  This latter point is especially relevant because while you can probably get away with reusing lids in good condition from water bath canned jars the higher vacuum drawn by the pressure canning process effectively sees you destroy the steel lids when you remove them from a pressure canned jar.  Even if they look like they are ok I’ve found that the failure rate shoots up making it too costly in terms of time to bother to attempt a reuse – so Tattler lids while initially expensive start to make a lot of sense.

Canning is also a great means to add cheap but healthy convenience foods to your pantry.  The goose and turkey stock form the backbone of loads of hearty soups served in our home throughout the cool months.  Being able to dump a jar of turkey meat and stock into the slow cooker toss in some frozen and dehydrated veggies and a couple of chopped up potatoes, rice or pasta and walk away knowing that lunch or dinner is pretty much ready when you want it – or more likely in our house is only going to require pulling together some quick whole wheat biscuits or popovers – is wonderfully convenient, and makes it easy to not be tempted to head out for ho-hum meals which can really add up financially.

Now if you are tempted to opt for a smaller pressure canner I’d advise you not to.  Where boiling water bath canning has fast cycles – often 10 minutes once a boil resumes – pressure canner cycles often span four or more hours and including the time to boil the water in the canner and begin venting steam for at least ten minutes, the process cycle itself – which for fish is 110 minutes, and then the time needed for the canner to cool down and see the pressure drop to zero.  This means that your capacity is going to be capped at two to maybe four loads per day rather than the dozens of batches that could be boiling water processed in the same time.  Remember, making the canner pay means using it and really taking advantage of it when opportunity comes – so spend the extra and buy the biggest unit you can get – which is the 941.

I’m going to offer a caveat to that advice – the 941 is really best suited to being on a BBQ side burner, a turkey burner or a big gas stove.  It is a bit too hefty to go on an electric range, so if you don’t have those options and will need to be using your electric stove to heat the canner – well you’ll have to step down in size.  Additionally, weight may be a factor.  The 941 weighs in close to 40 pounds empty which is a reasonably heavy load, though the handles are excellent making keeping a grip on it reasonable.  Don’t figure on moving it when full.

All in all these are great tools, that while expensive can pay for themselves and add a lot of convenience and resiliency to your family’s larder and budget.


By

Henrob welding torch – welding zen

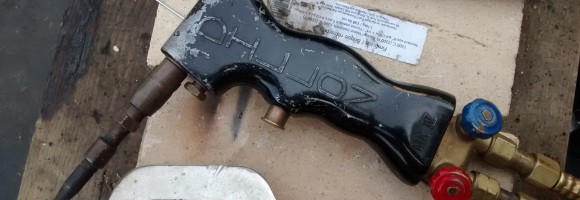
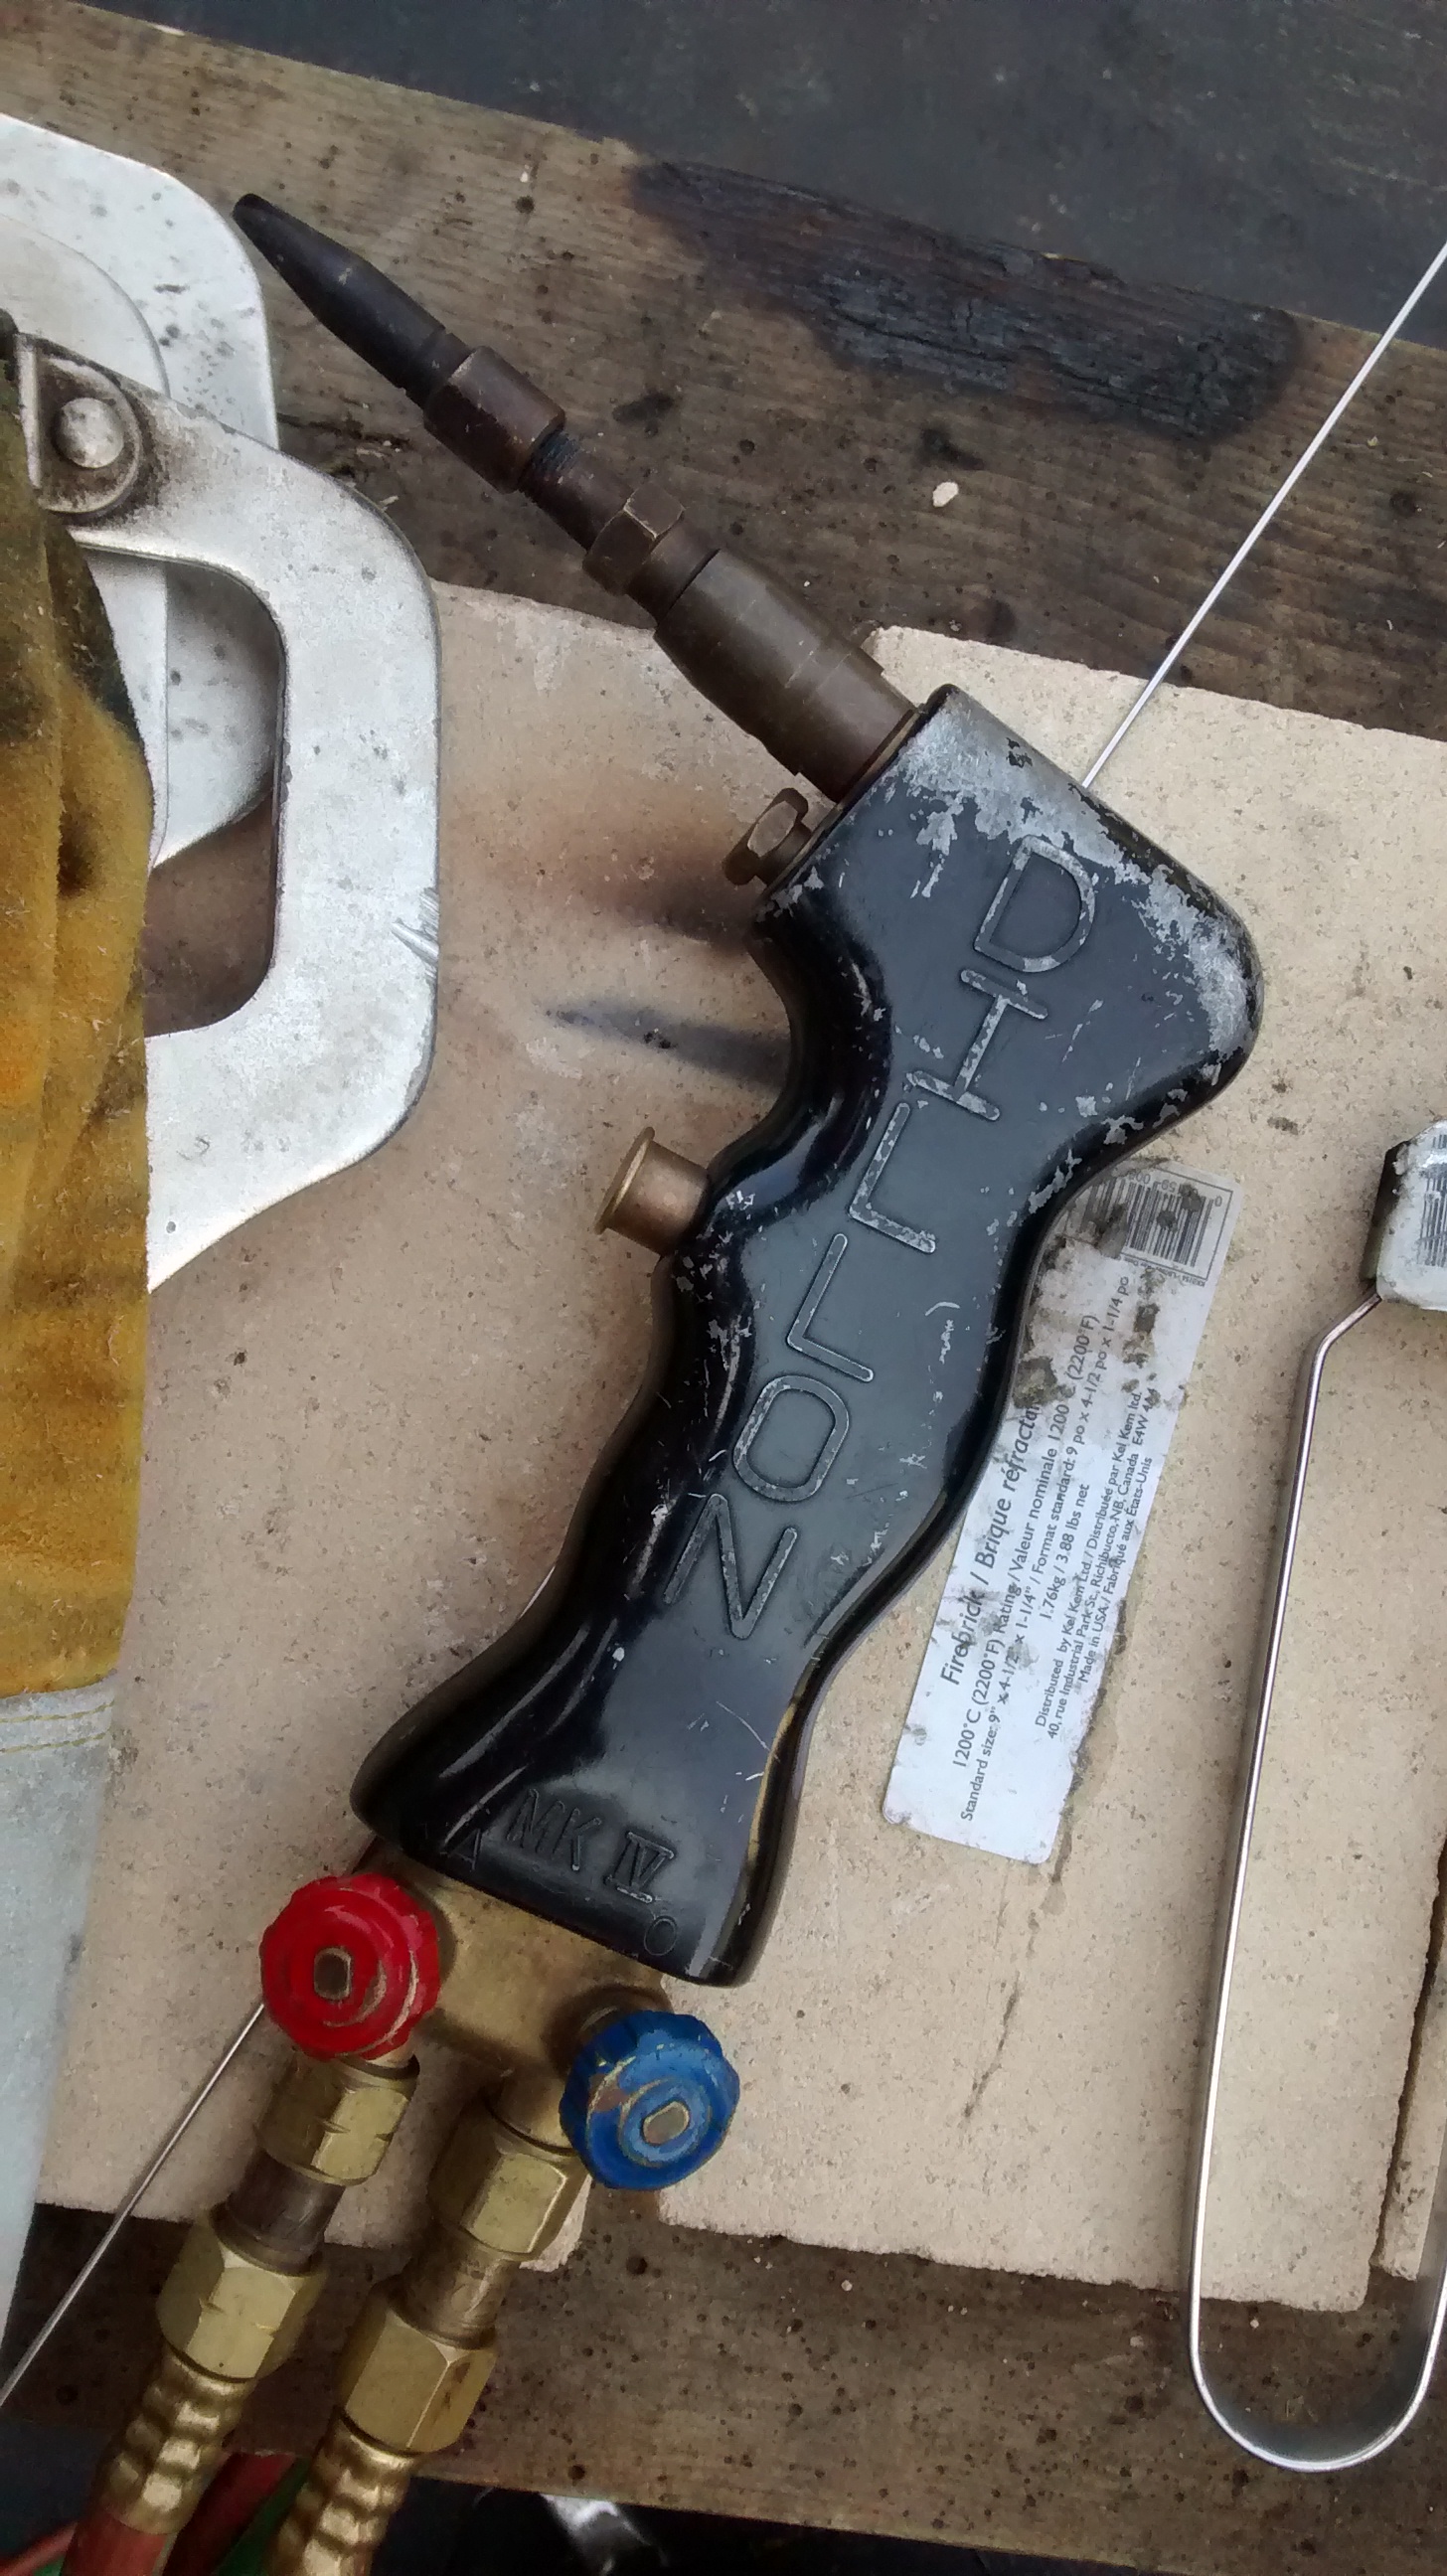
Known as the Henrob, Dillon, Cobra or DHC this oxy-acetylene torch represents welding zen.  The wiki definition of zen is achieving a meditative state – and that’s pretty much what you get with this torch, it’s not the fastest welding method but it is the most relaxing by far – and as a bonus it works a number of metals including steel and stainless.

Henrob, Dillon, Cobra, DHC welding torch

Henrob, Dillon, Cobra, DHC welding torch

I’ve had a Dillon for about 20 years and love it.  My first welder was a stick arc welder and I wanted to add the ability to work thinner steel and to be able to cut steel. It’s done a great job of that for me – and this past year has seen it’s use redoubled as I’ve discovered just how easily it welds stainless steel – really just as easily as regular steel.

The real reason for the zen feeling is the soft flame – the torch sees you set your oxygen and acetylene pressures very low – which means you won’t find yourself blowing out your welds.  This allows you to produce beautiful welds all the way down to very thin materials easily.

The torch also cuts your fuel use considerably compared to my victor set – this isn’t just a great financial benefit but its also a great time savings – oxygen and acetylene tanks are expensive and it’s usually a pain to swap them.  I started with a couple of Acetylene B bottles and the comparable size of oxygen cylinder.  I’ve found that this is about the right average for use.  These cylinders are the largest that my local gas supplier sells outright and will exchange.    Recently I also picked up a set of Q sized cylinders which are one and a half times the volume of a B from TSC stores, in part because they have much more reasonable store hours.

Other advantages – well these work great on autobody sheet steel.  I usually will do the bulk of my work repairing the sheet steel on the truck with my MIG, but then anyplace I blow out I do the repairs with the Henrob torch.  Oh and stainless – a real pleasure.

Another nice benefit comes from not having to wear a full face shield.  Here in the winter I find that it doesn’t take long for my breath to start condensing on the face shield when I arc weld – but OA torces only require glasses or goggles – making them cold weather friendly – which is pretty important to me.

Now, I picked up a plasma torch about five years ago that has the capacity of cutting right up to 1/2″ thick steel so I haven’t been using the cutting capacity for a while now, but when I did it genuinely did a nice job with much less gas consumption.  Sure, it is nowhere as easy to set up to cut as a conventional torch – which is basically twist and go, nor is it as easy to master but it does do the job very nicely once you get the hang of it – and again my gas savings seemed to be significant, but if you have plasma you’ll find it is beats anything else within it’s capacity.

Now, some folks will doubtless complain about the handle design – but I guess it all amounts to what you get used to, I like the pistol grip style handle.  Now, I wouldn’t go for this torch simply for the handle design but since it’s part of the package Iike it.

It’s also very nice to have an OA torch to heat up stubborn fasteners – and that capability can save you a lot of cash.  The Henrob saved me the ninety bucks that it would have cost me to replace the caliper assembly on my F250 when the brake bleeder valve stuck.  The torch freed it in under a minute – now that is handy.

So what’s the verdict.  I think it’s worth the four hundred dollars the torch kit sells for – though if you can pick up a used one as I did all the better.  You may want to also pick up a conventional Victor knockoff kit which often run around a hundred dollars simply as the cheapest way to get the regulators and hose – with the added advantage of being able to cut some really thick material with the included torch if need be.

Is it the first welder you should get?  Well if you are going to be welding a lot of stainless I’d say yes, otherwise I think a MIG is the easiest – both in terms of skill and finances – way to get welding.   But, if you have the means these torches are a great addition to your shop – and I think you will find using them to be an utter pleasure.

By

Tattler Reusable Canning Lids – Great But Tricky

Tattler Reusable Canning Lids

Tattler Reusable Canning Lids

I’ve been canning for years – small batches when I lived with my parents that then grew to be a bit larger when I got out on my own, and by a bit I mean I’d do things like I’d use my big outdoor gas burner and converted stainless steel keg to make 10 gallons of marmalade, jam, canned fruit or other preserves whenever some product became available for a great price.  Enough to share with friends and family and last a couple of years.

All of that processing was boiling water bath canning and quite often I would reuses the rubber gasketed steel lids for several batches – until it appeared that they were deteriorating or they failed to seal.  That worked very well for me and saw a minimum of new lids purchased every year.

Tattler lid and gasket on a jar of apple pectin

Tattler lid and gasket on a jar of apple pectin

But then I picked up an All-American pressure canner – the really big one.  It’s a great tool and has been great for making homemade low cost convenience foods.  The value derived from being able to can up turkey stock alone has been huge.

However, there is no way that you can reuse a metal lid from a pressure canned jar.  The vacuum is so great that inevitably they are bent enough that the risk of failure were they to be reused is great enough that it makes more sense to recycle them once the jar has been emptied.  Doing that saw me needing to buy quite a few boxes of lids.  That’s when I decided to try Tattler lids.

Tattler lids are basically a modern incarnation of the old glass lids with rubber gaskets – reusable time and again even after pressure canning.

So, what’s my verdict after about five years of using them?  Great but there is definitely a learning curve associated with their use.  They aren’t as easy to use as conventional metal lids – but once you get a feel for how to use them your failure to seal rate should be pretty close with either boiling water bath or pressure canning methods.

Check out the video for more on my preferred technique.  But until you get the process down I’d suggest you continue to do batches with the majority of the jars topped with metal lids to reduce your frustration.

There is no mistaking a jar properly sealed with a tattler lid

There is no mistaking a jar properly sealed with a tattler lid

Some folks have complained about the lack of ease in figuring out if the jar is sealed – sure you can’t push on the top of the lid and see if it has been sucked down but if you remove the ring you’ll see very quickly if the jar is sealed.  Really the danger is if the jar looks to be sealed but isn’t – that isn’t a problem with the Tattler lids – even with boiling water bath canned one litre jars the vacuum is great enough to allow you to hold the lid and suspend the jar – there is no guessing needed.  It is readily apparent if the jar is or isn’t sealed.

In terms of price – well I bought my first case of lids [and I have standardized with regular mouth masons jars] at regular price directly from Tattler and they do pay for themselves very quickly if pressure canning – less so if you are boiling water bath canning and can reuse the metal lids.  After getting hooked on them Tattler had a crazy special where they were offering their lids for around half price – and that’s when I purchased a couple of bulk bags of lids and gaskets – so I expect that I’ll be using Tattler lids for the the rest of my canning life.

Now I can principally with the Tattler lids – the steel tops are reserved for jars which will be given away with no expectation of return.

If you probably should give Tattler lids a try – play around with them a bit and I am pretty sure you’ll end up hooked on them.


By

Goodell Bonanza – the best homestead apple peeler

In good years I tend to pick put up a lot of apples – several hundred pounds – and much of those need to be peeled and cut.

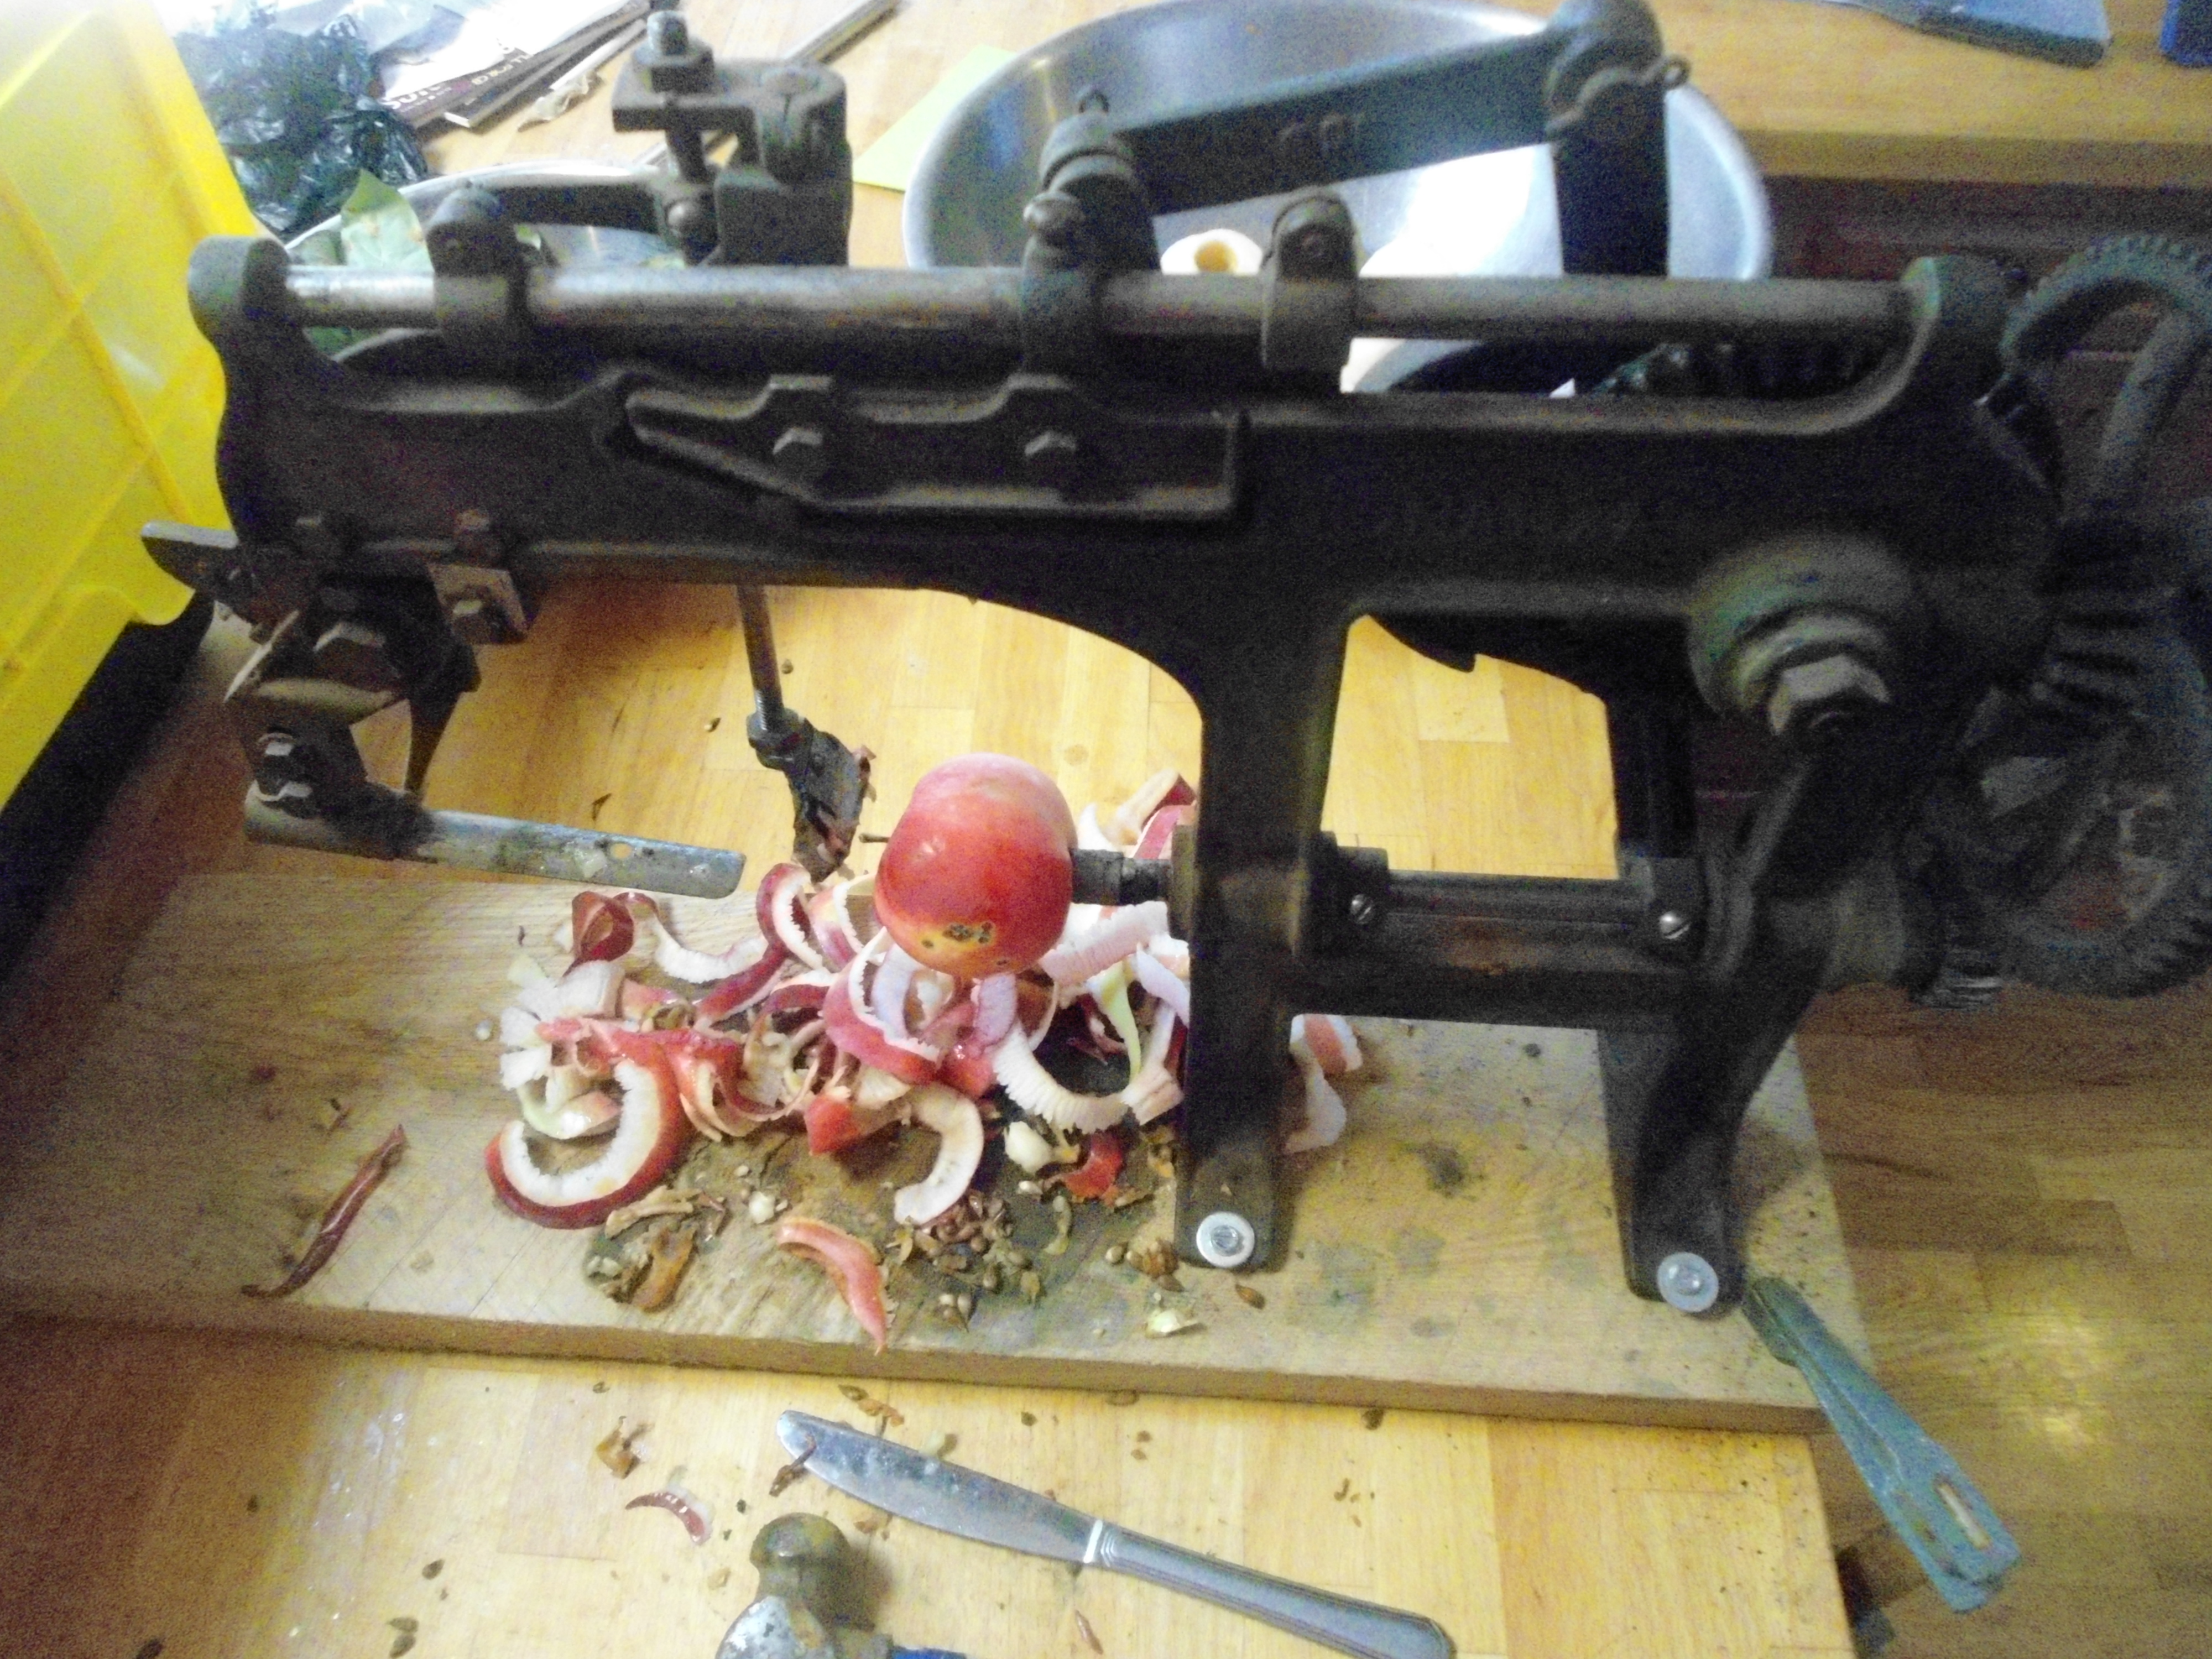
Goodell Bonanza about to start peeling an apple

Goodell Bonanza about to start peeling an apple

Over the years I’ve used a few different styles of apple peeler including the modern hand cranked unit that seems ubiquitous – and frankly for it’s low price is a pretty good deal.  What really sucks on it is the attachment – suction cup stink.

I’ve also used the Reading 78 peeler which is a design dating back to 1878.  It does and ok job but at the end of the day isn’t in my view significantly better than the much cheaper modern design.

Neither of these really are production units but they do get the job done.

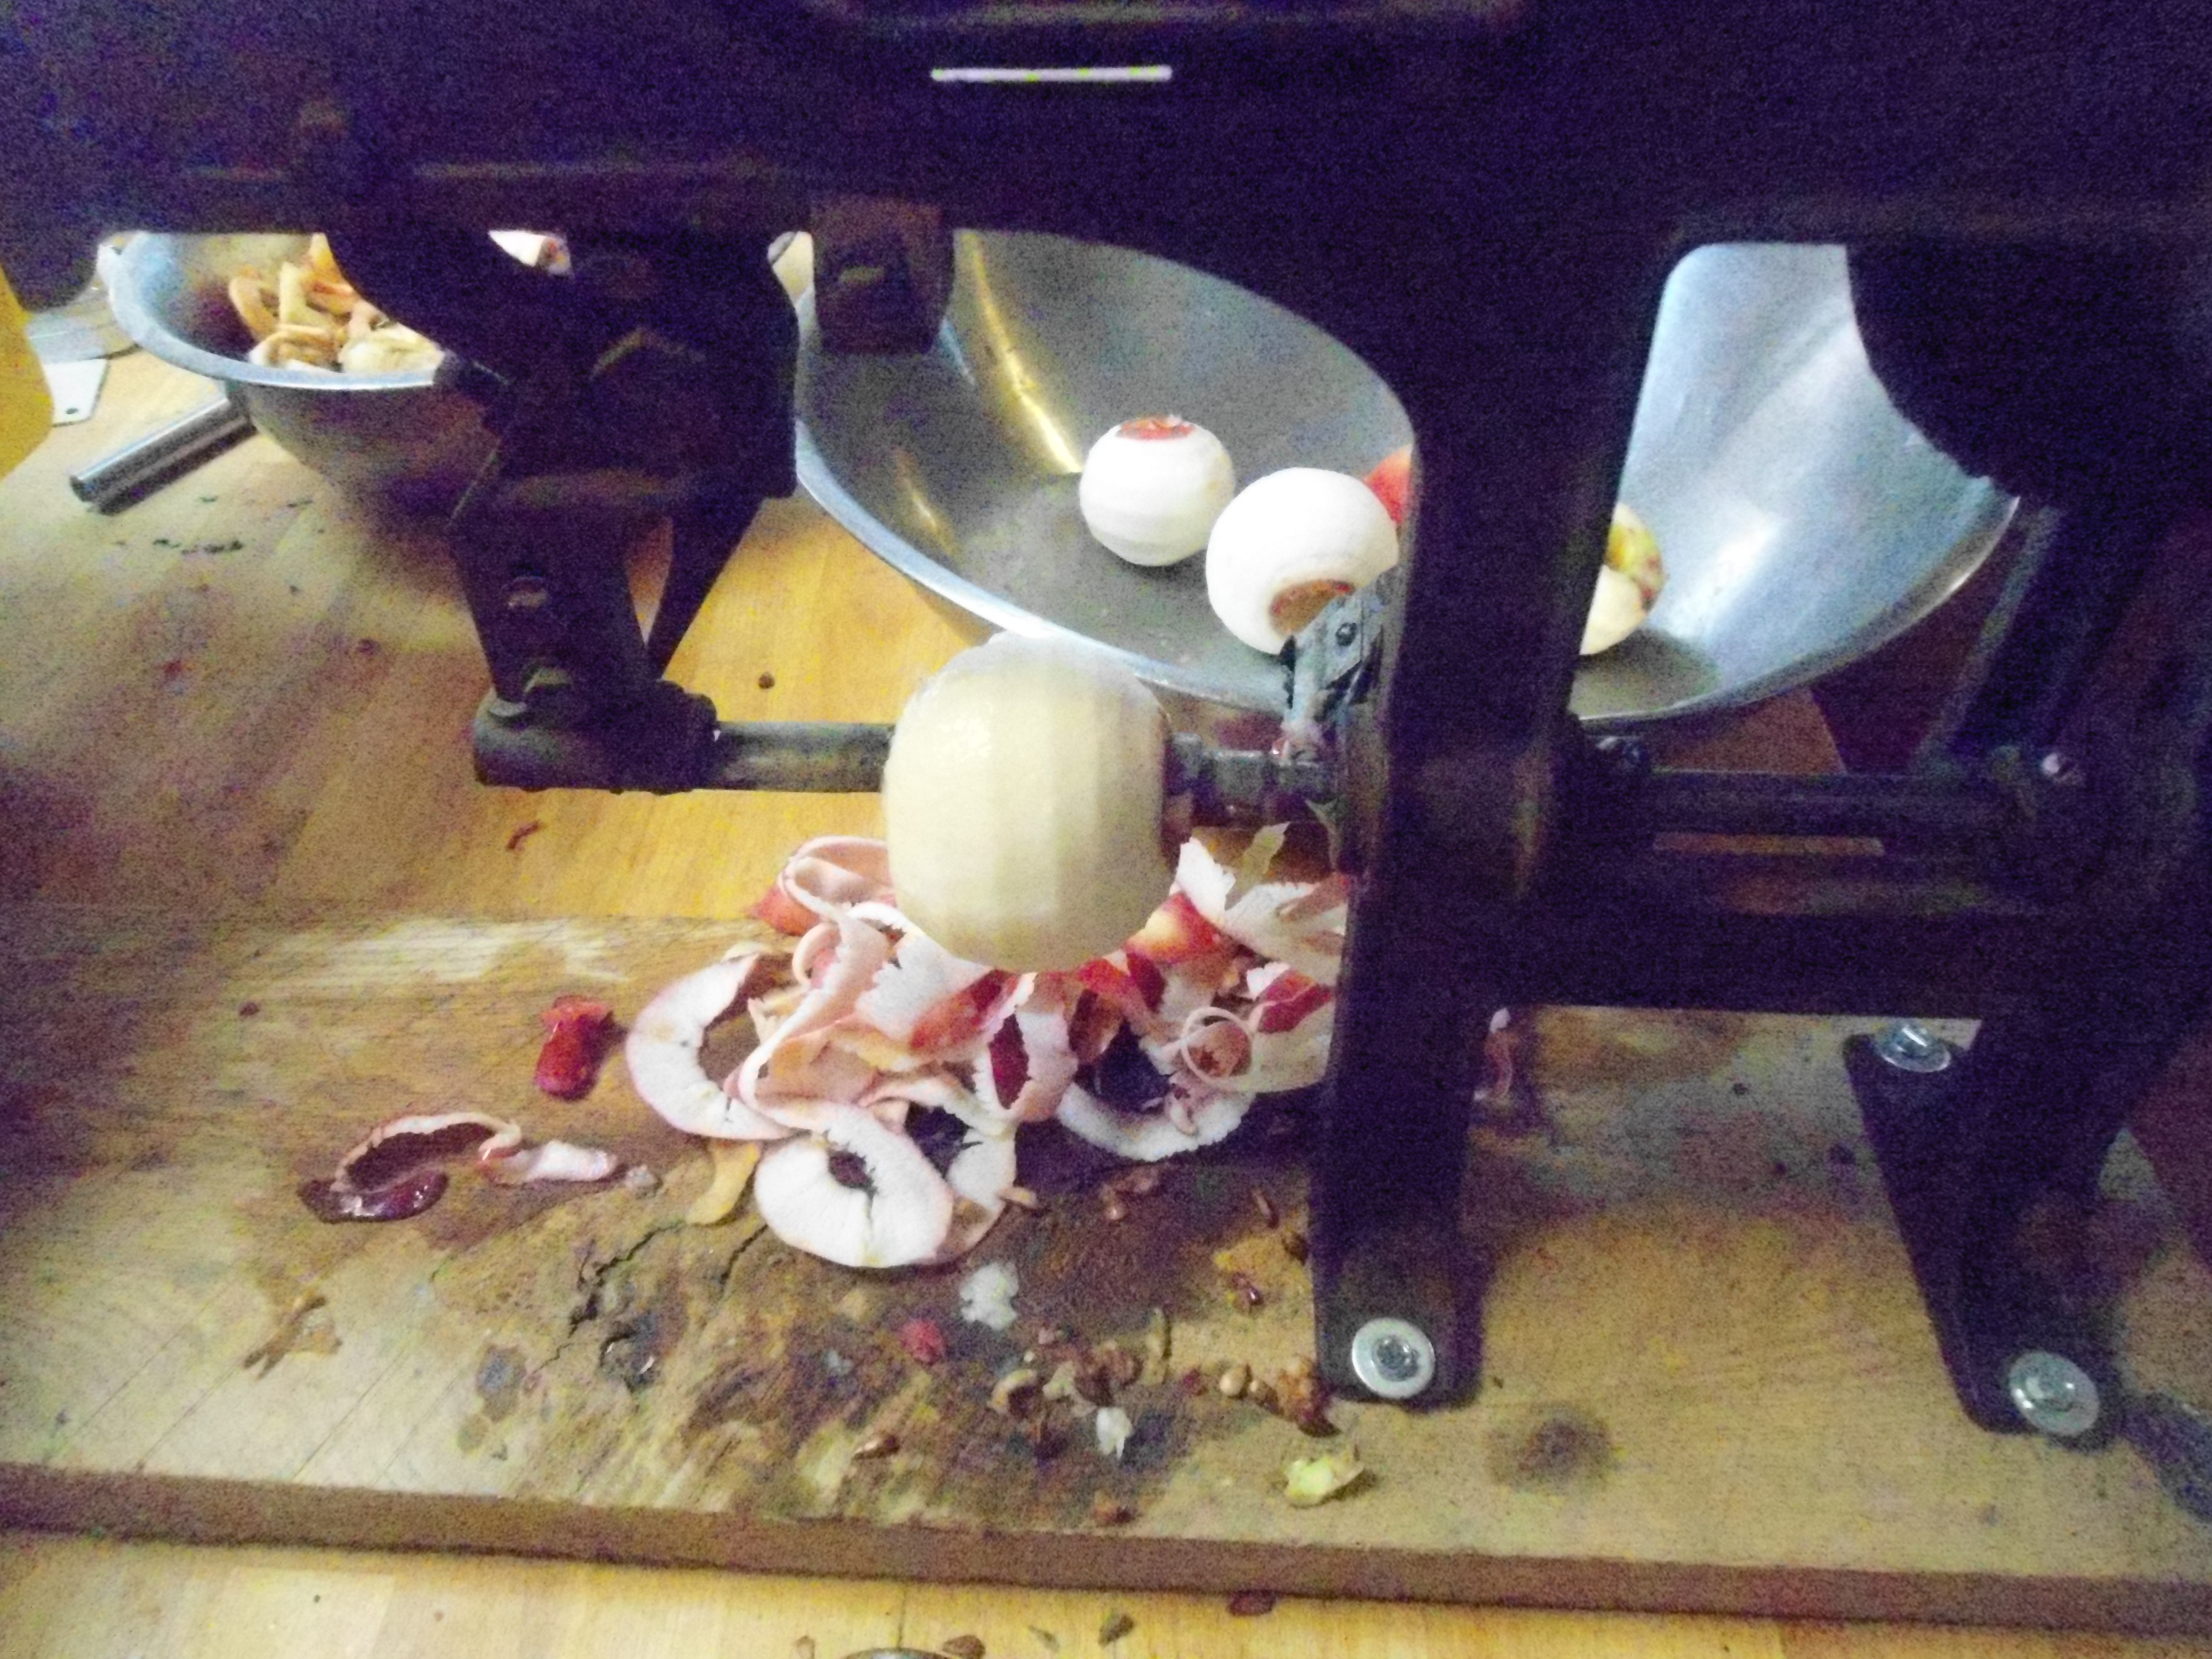
But, let’s be honest,  when the opportunity presents to pick and process bushels of apples the processing side needs to be fast and easy and that is where the Goodell Bonanza apple peeler comes in.  I think this has to be the best homestead apple peeler by far.  It peels and cores an apple in about a second and then is ready to go for another.  That type of production rate makes taking advantage of the opportunity to pick and process loads of apples realistic.

One second later the apple is peeled and the coring is nearly complete

One second later the apple is peeled and the coring is nearly complete

Perhaps then it’s reasonable for these units to routinely sell for many hundreds of dollars – nothing comparable has been produced in many decades and these are awesome pieces of kit.

But,  here’s where having some skills can really come in handy.  I was able to pick my Bonanza up for a fraction of the price that they usually change hands for because of a couple of cracks in parts.  I know that these faults scared away most other bidders – but I was confident that I could braze any broken cast iron parts or machine new ones if the cracks grew.  As it turns out that hasn’t been necessary even with the heavy use the unit has seen.

Already this season three bushels of early apples have been passed through this unit and since this is a great apple year – compensating maybe for the complete blueberry crop failure and the near failure of the strawberry crop in our area – its only the start having the Bonanza makes the process not just reasonable but pleasurable.


By

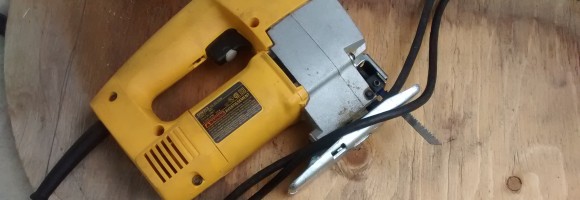
Essential Power Tools – The Jig Saw

The Jig Saw - an essential power tool

The Jig Saw – an essential power tool

If a scroll saw – or maybe a bandsaw – hooked up with a circular saw the resultant offspring would likely resemble a jig saw. This tool has some of the attraction of both tools – and some of the disadvantages of each.

Like the circular saw the jig saw as a handheld tool is able to go to the material rather than then other way around – this makes it infinitely easier to cut segments out of large sheets of plywood, or store the tool away in a small space if you don’t have a proper shop space.

Like a scroll saw or bandsaw it can handle free form cutting.  Got a curve to cut – it can do the job.  Of course as with any tool intended to cut curves you’ll have to select a blade of shallow enough depth to allow it to turn within the curf you are cutting.  At the same time you don’t want to select one too shallow since blade longevity and cutting speed is generally better with a deeper more solid blade.

You can also make acceptable cuts in light metals – either sheet metals or thicker light alloy materials such as aluminum.  It’s not the optimum tool to do much of this work – an angle grinder is faster at making straight cuts in ferrous metals and sheet material is better handled with a hand held powered shear – but the point is sometimes is more one of what is available – or what tools that are already paid for – that can be pressed into service to complete the task rather than which tools with complete it most efficient – and here the jigsaw is a can do piece of kit.

The Homebuilt Stainless Steel Wood Fired Pizza Oven

The Homebuilt Stainless Steel Wood Fired Pizza Oven

Showing just how much you can do with relatively little kit is part of what we’re interested in demonstrating here, which is one reason why instead of pulling out the metal shear to cut the stainless sheet for the wood fired pizza oven we stuck a metal blade in the jigsaw and forged right ahead after having used it to cut out our curved plywood patterns.

This isn’t a fast tool – which can be a downside – if you are cutting straight lines using the circular saw will be much faster.  BUT, as I said in the previous  piece on the scroll saw being a slower cutting tool can be a big advantage when you hand a tool over to less experience folks of any age.  Like the scroll saw the jig saw is on the friendly side of the power tool spectrum both in appearance and reality.

As we’ve proceeded through this list we started with some very reasonably priced [and sized] tools – ones anyone should be able to afford and store – but they we got into some more expensive and unwieldy pieces of kit.  Tools like the mill-drill, lathe and even the table saw add a lot of capacity to your shop – but they may exceed your monetary and space constraints.  The jigsaw fits firmly into the former category – low cost and small – making it an everyone tool.  So if you don’t have one in your shop consider adding one today.

By

Homemade Penetrating Oil

I often work on rusty kit -so I always ensure my tetanus vaccination is always up to date, and I have penetrating oil on hand to help free rusted parts.

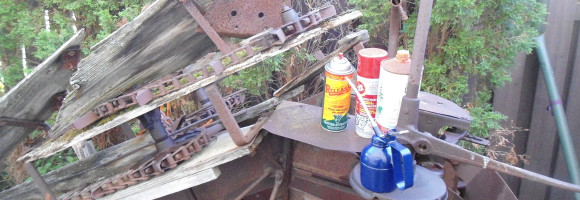
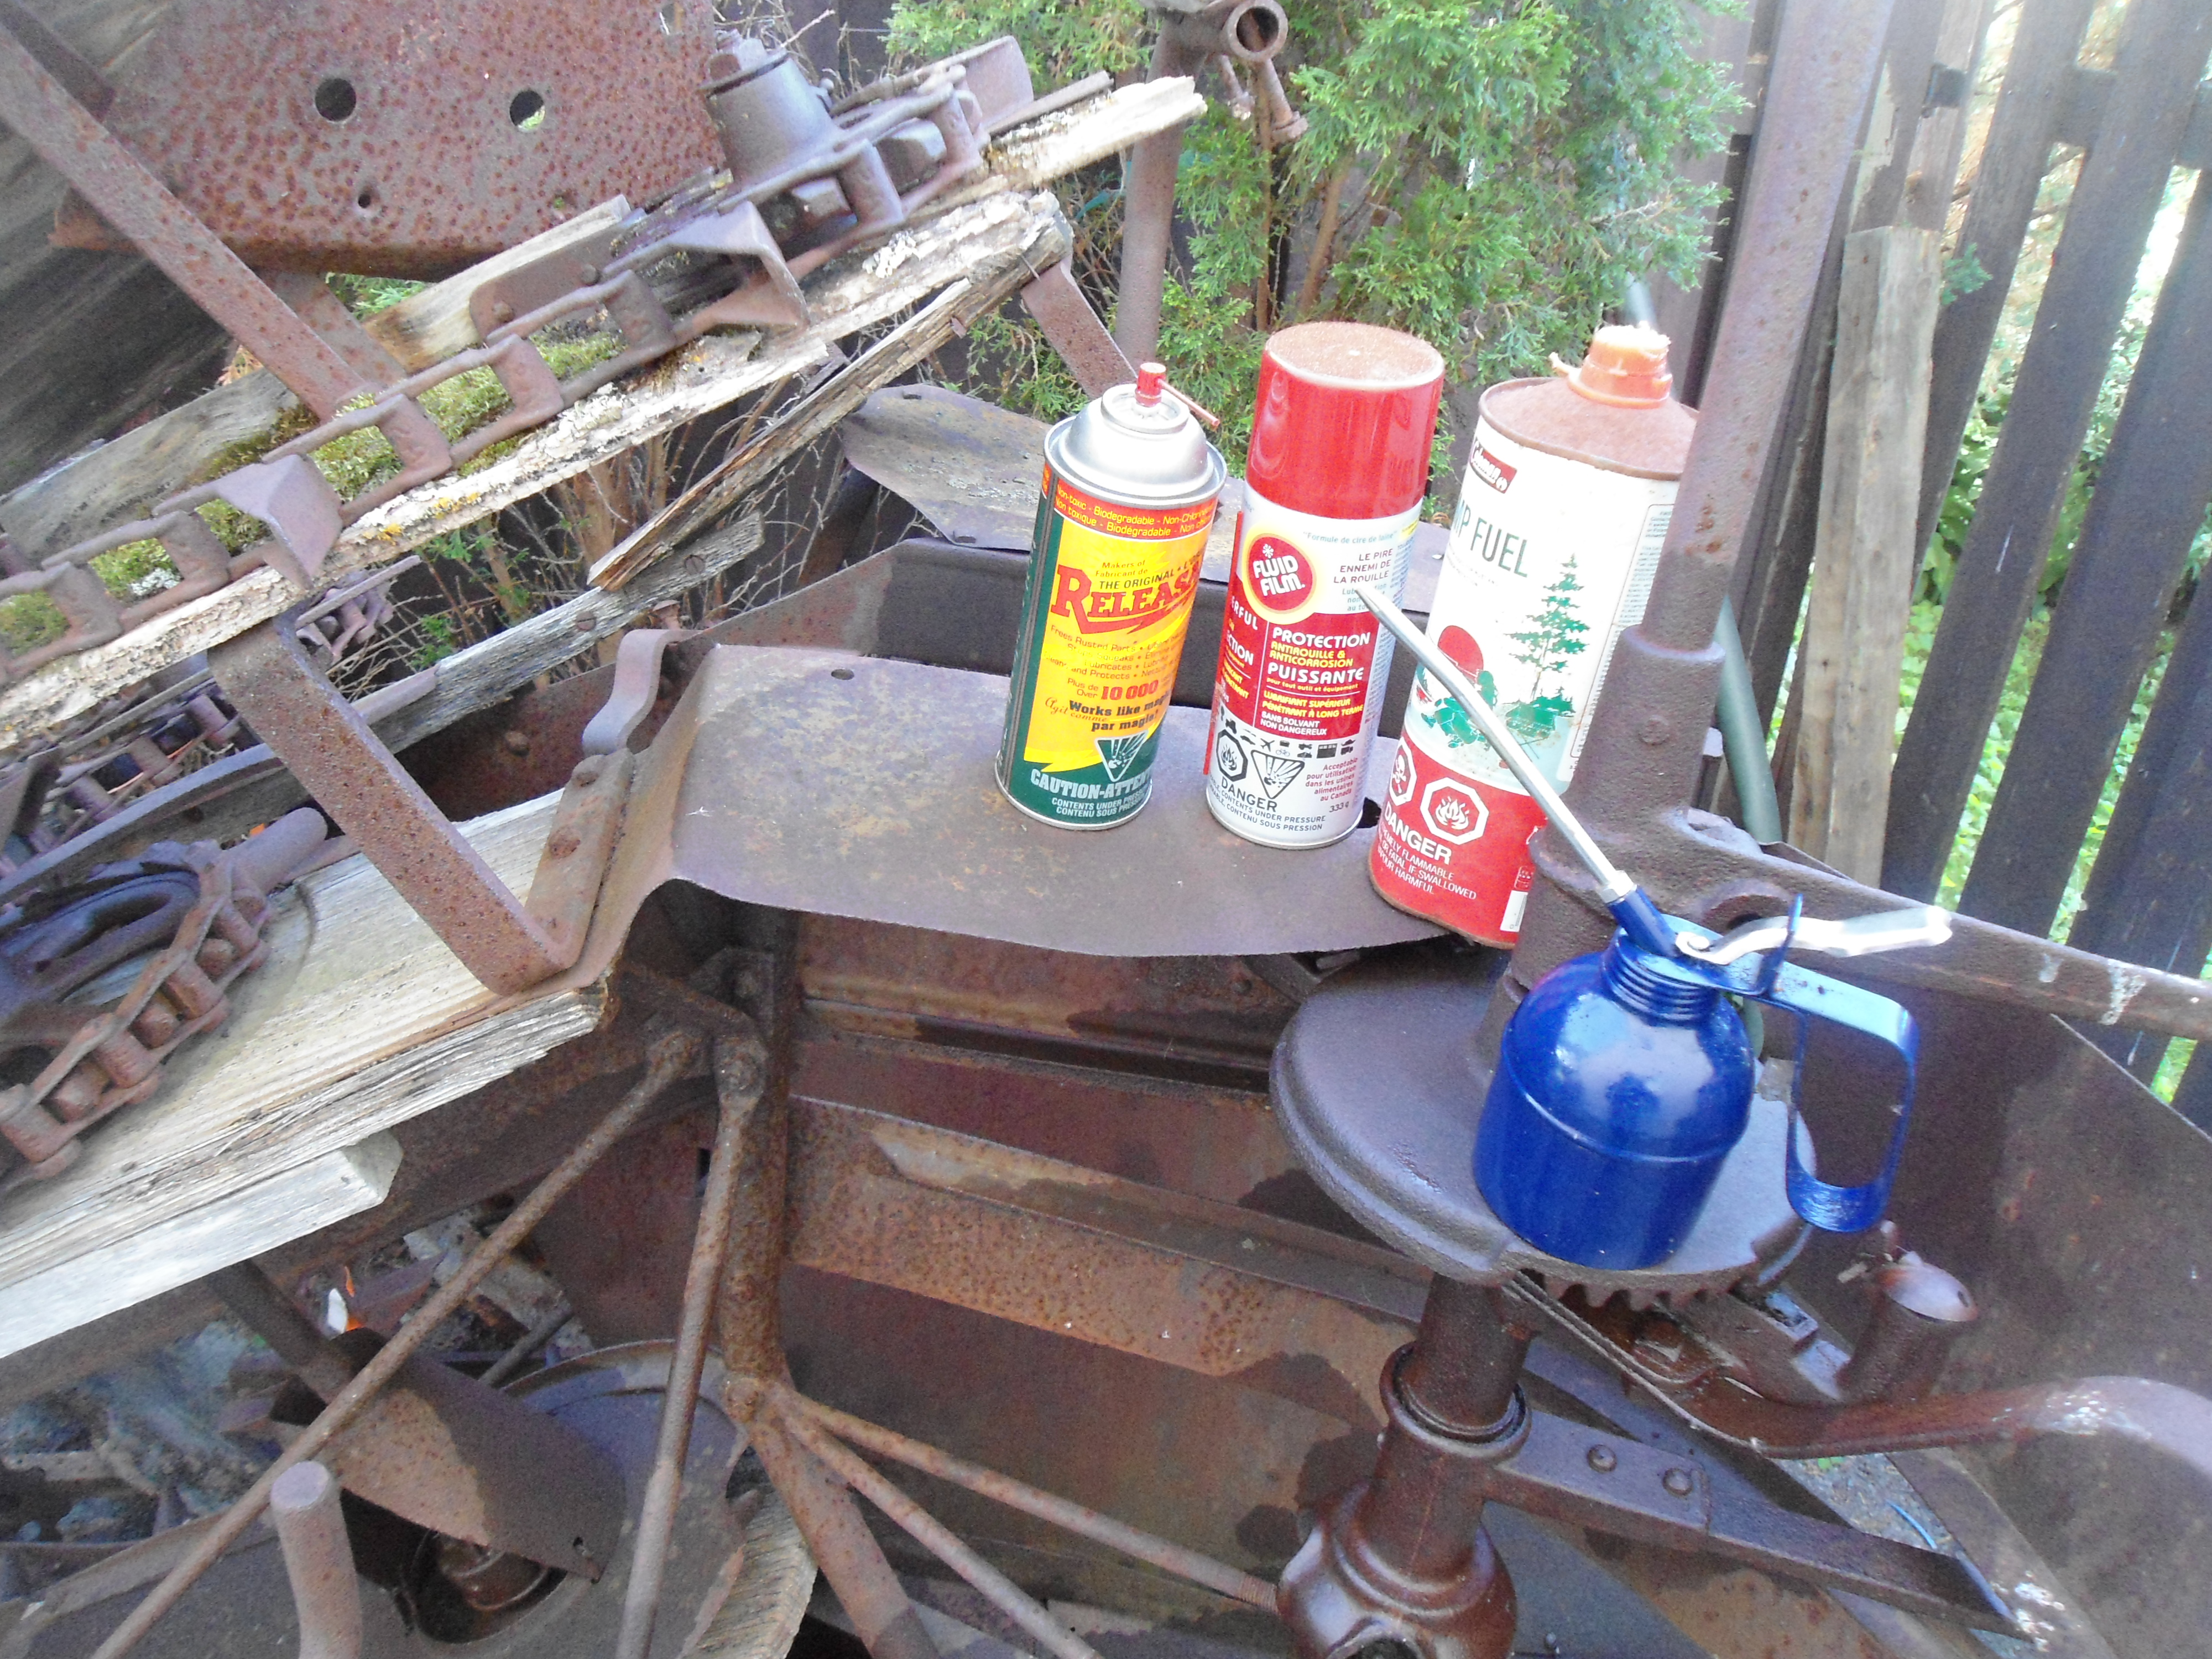
Homemade penetrating oil alongside commercial products and a can of white gas.

Homemade penetrating oil alongside commercial products and a can of white gas.

If the requirement is small or time sensitive I will generally use a commercial product.  The ones I make sure to keep on hand are lanolin (wool grease) based – because they are not only good penetrating oils, but because the lanolin is an excellent way to protect metal against rust without establishing a gummy surface that would require a lot of clean-up before the tool can be used.

But when I have bigger projects that require a lot of penetrating oil – such as the corn binder that I am rebuilding for sweet sorghum harvesting – I turn to homemade penetrating oil which costs a fraction of the commercial products, and while it may not work quite as quickly that price advantage is considerable.

Quite simply you want to use a light oil – that can be diesel – which I’ve used very successfully to free up stuck engines or a mix of a heavier oil – such as an engine or transmission oil – and a light solvent such as acetone, paint thinner or my favorite naphtha – also known as white gas or Coleman fuel.   All will work just fine but I keep naphtha on hand for my camping stoves and find that it doesn’t have the odor that acetone does.  Generally I add between 10 and 20 percent solvent to the oil depending upon the starting weight of the oil and how much I slop in (accuracy isn’t very important here in my experience).  Mix the two in a container and then use a regular oil can to dispense them.   Easy as can be and priced right.

By

Essential Power Tools – The Wire Feed (MIG) Welder

A visit to the local Princess Auto store (roughly the Canadian equivalent to the American Harbor Freight stores) when I was in high school netted me an arc welder that was heavily discounted because the manufacturer had mistakenly shipped the wrong model to the store.  That purchase proved to be the catalyst that saw me gradually get drawn deeper and deeper into metal working.

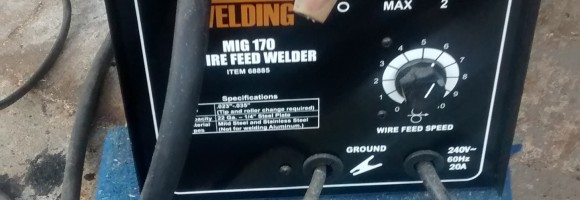
Wire Feed / MIG welder an important addition to the homestead shop

Wire Feed / MIG welder an important addition to the homestead shop

Since then I’ve picked up a number of different welding systems, oxy-acetylene, engine driven stick welders, plasma, MIG and finally a spot welder.

It’s the MIG / wire feed welder though that ends up being the sixth most important power tool (in my opinion) to add to your workshop – and the one that will really open up a big segment of metal working to you.

Since I have and regularly use a number of different welding systems you would be right to question why the MIG is the first one that I suggest you should get, particularly since it was one of the last to actually assume a place in my own shop.

Simply, a MIG/wire feed welder offers the best combination of capacity, learning curve and price among all of the welding systems I have.  On price – the 170 amp unit I have from Harbor Freight is on offer as I write this for $190, but I am reasonably sure that there will be some discount coupon in the next few months that knocks that price down to about $150 – which is very reasonable indeed.

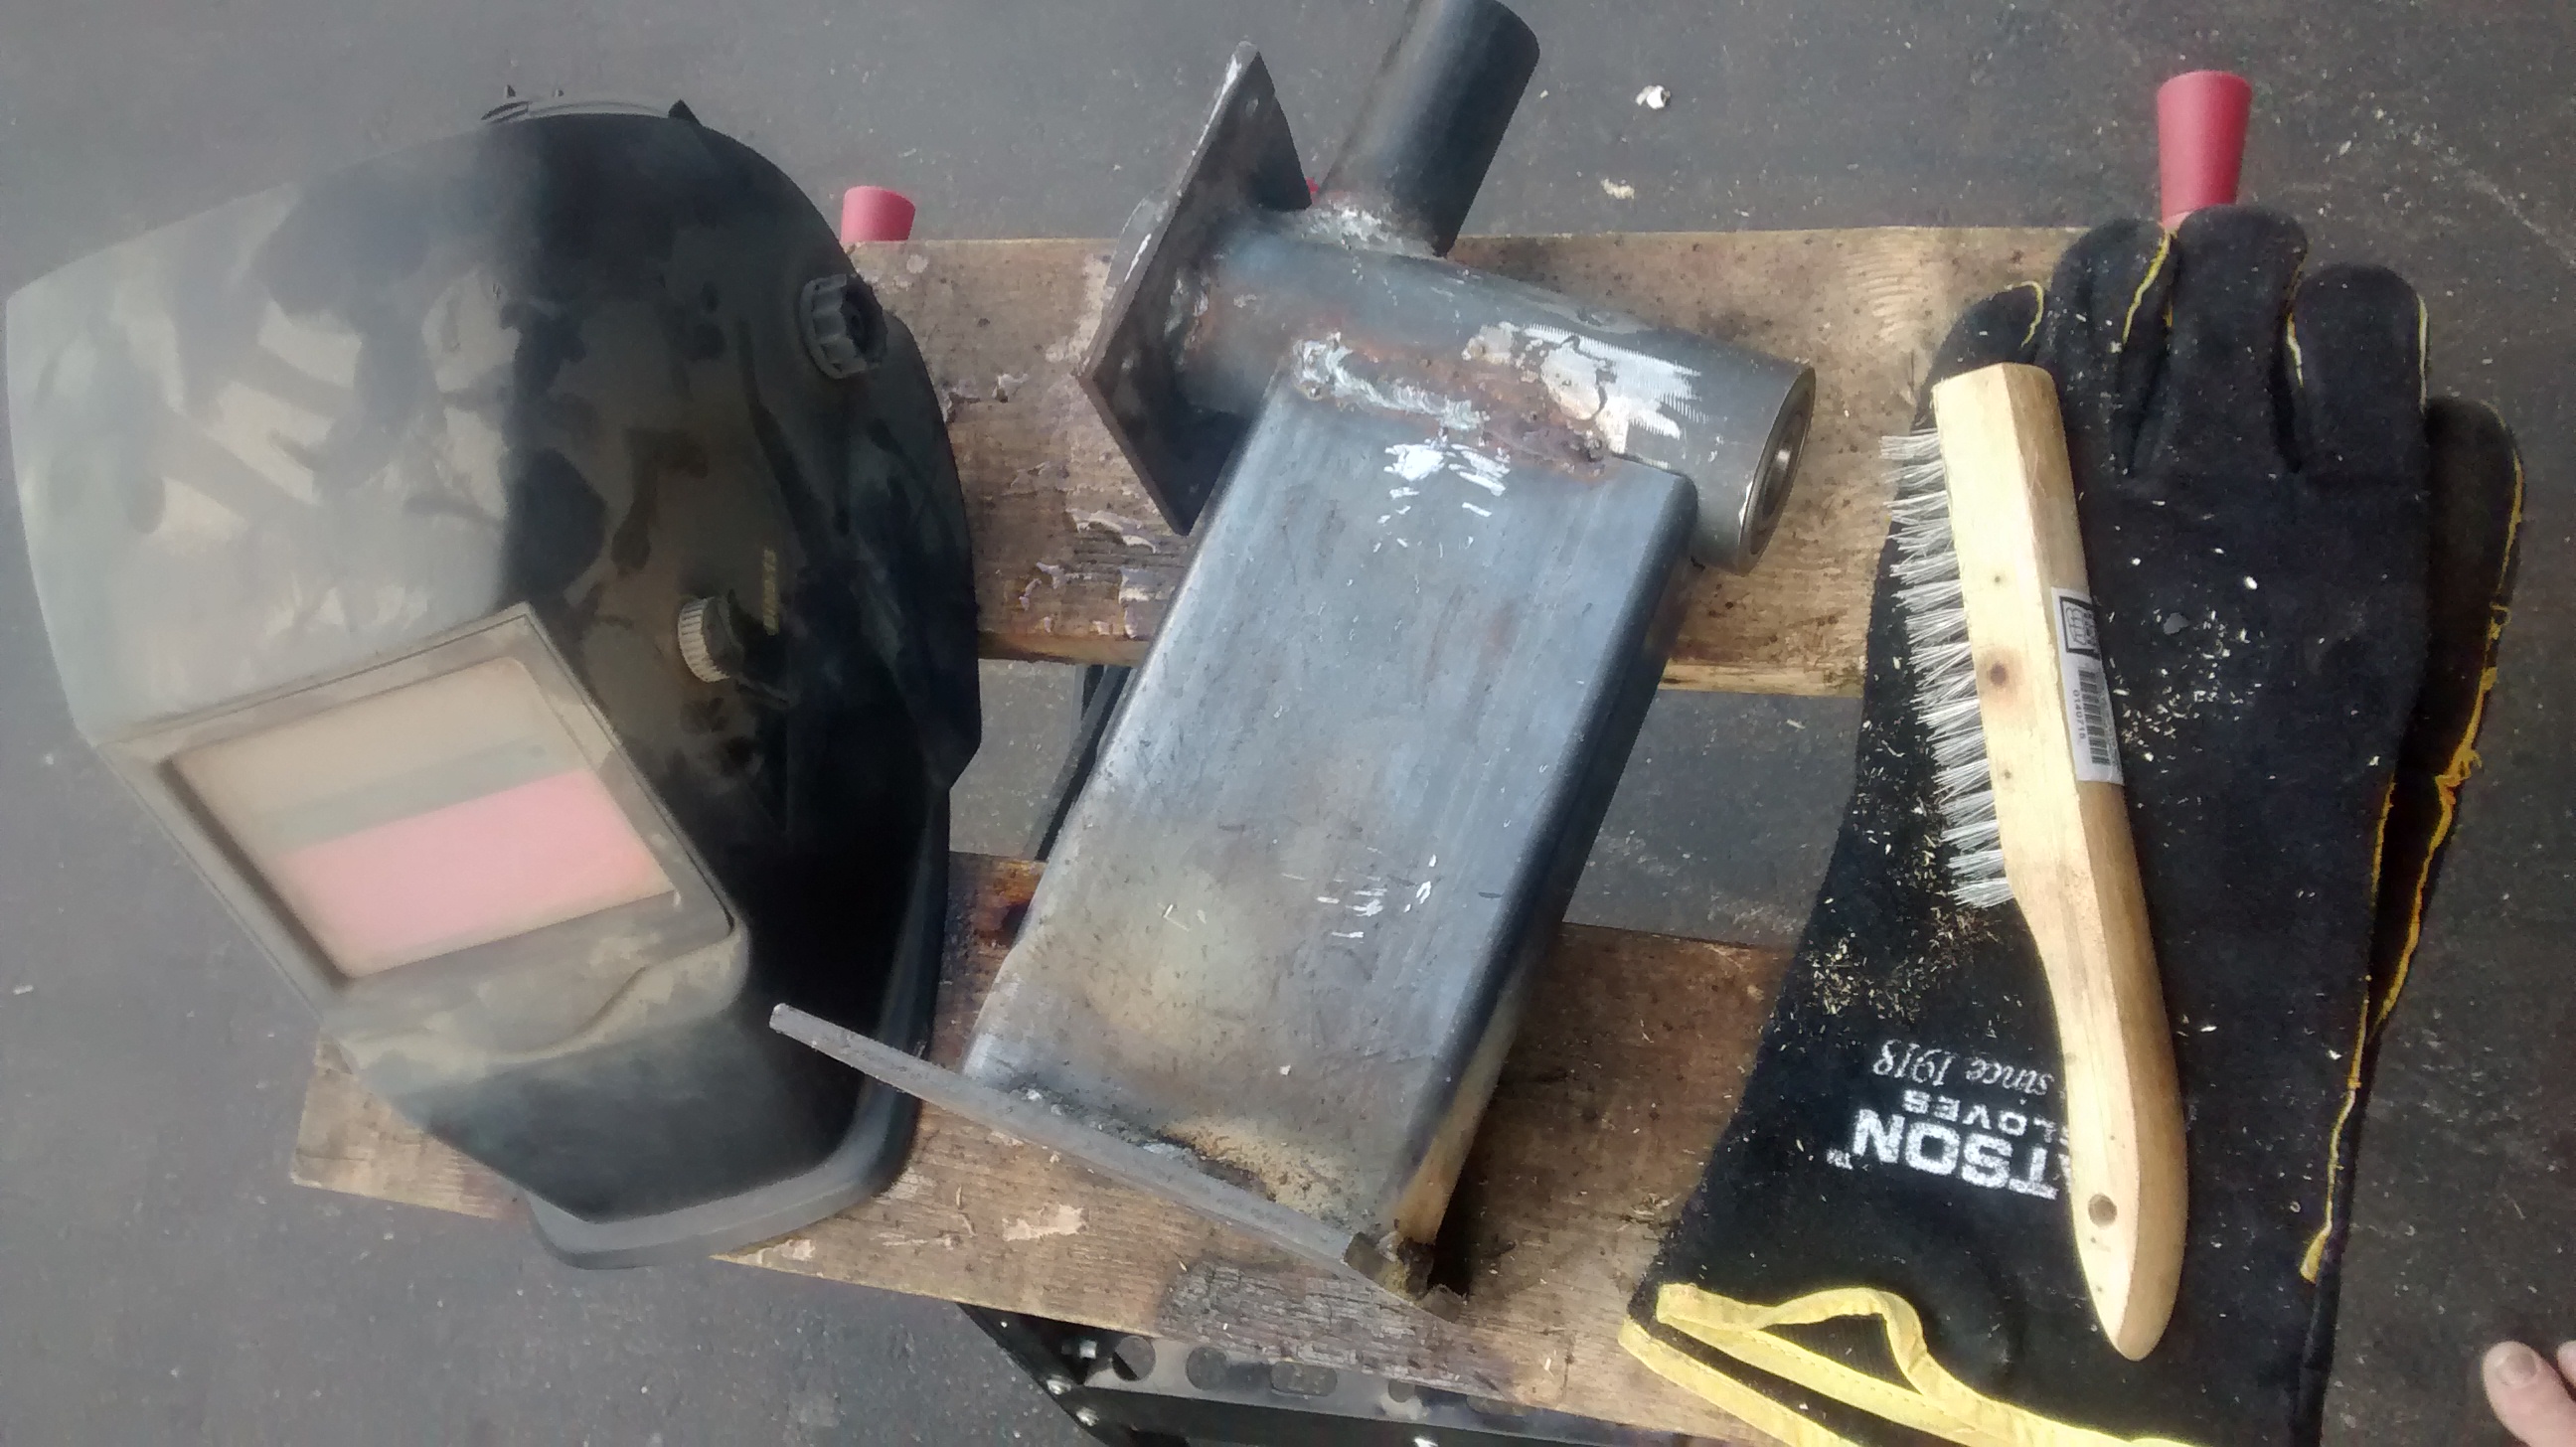
Necessary accessories - auto darkening welding helmet, gloves and wire brush

Necessary accessories – auto darkening welding helmet, gloves and wire brush – along with a partially finished grain mill

While a stick arc welder could be had at a similar price point, the learning curve for this latter welding setup is more difficult.  A wire fed rig by comparison is downright simple.  It’s not quite “If you can pull a trigger you can be a welder” but it’s not that far off.  Likewise, a wire fed rig will allow you to weld a greater range of material thicknesses that are of interest to a home shop fabricator.  You can work on fairly substantial thicknesses of steel – not as heavy as can be handled by stick arc welding – but probably most of what you’ll be doing on one side.  But then unlike the arc welder you’ll be able to effectively weld sheet steel – like car and truck panels – that a stick welder would find difficult to handle.

On the Oxy-Acetylene side the learning curve isn’t significantly different from a MIG.  It is probably even easier if you get a torch like the Henrob.  But, the cost – especially if you are going to be doing run of the mill work – is going to be several times what a MIG would run you when you figure in the cost of decent sized tanks.

Now, I really appreciate having both of those systems in my shop, but I have no hesitation in recommending folks grab a MIG/wire feed as their first welder.  For some it may prove to be all the welder you’ll ever need.  Others may find it simply serves as an introduction to what is possible for them to accomplish and serve as their own catalyst to broaden their metal welding systems.

By

Forming curves in sheet metal without slip rolls

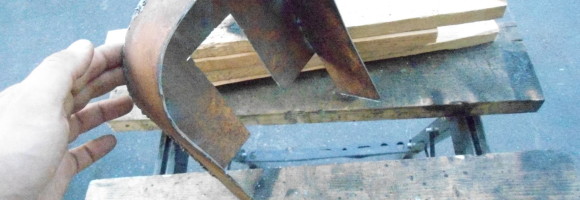
Sheet steel bent and welded to form shroud for the homestead grain mill

Sheet steel bent and welded to form shroud for the homestead grain mill

You might not expect this coming from someone who puts up a significant number of posts discussing tools and the projects that can be accomplished with them… deep breath – you can accomplish a lot without much in the way of tools.

Specialized tools can really speed up work and make projects easier – but you can accomplish some pretty cool things with very simple processes.  Case in point – forming curves aka radius bends in sheet steel would normally be done with slip rolls – but you can do a very acceptable work for a lot of jobs using only a piece of pipe mounted in a vice.  Sure it takes a bit longer than putting it through the rolls – but in a lot of cases it will get the job done just fine.

Build a grain mill

Build a grain mill

Frankly,  I really value the options and capacity my tools provide.  But, I have been building my workshop for over two decades, and while some folks might go out and drop several grand on tools it seems more reasonable to expect that most folks would want to dip their toes in the water first to see if doing more mechanical work is really something they want to take on before dropping big sums of cash (if they do have that financial freeboard).

Fortunately a lot can be done with relatively low cost tools and simple techniques.  I’m building another grain mill – this time for a friend so I decided I’d take a few short videos to show just how easy it is to build the grain mill since I know the finished product is probably pretty intimidating to most.  Check out the book Building the Homestead Grain mill for all of the detailed instructions on how you can build your own professional grade grain mill using simple tools.