[metaslider id=12]

By

Harbor Freight Spot Welder Review
I generally really like Harbor Freight products – and I have a lot of them.  I’ve got some of the largest of their tools – the 2hp mill-drill  and their 9×20 metal lathe, some of their smaller tools including the 170A mig welder and 9″ angle grinder as well as a bunch of their hand tools. Pretty much all hands down wins in terms of bang for the buck.

So when I decided that I was going to fabricate a wood fired pizza oven from stainless steel I figured I would pick up the very reasonably priced HF “Chicago Electric” spot welder.

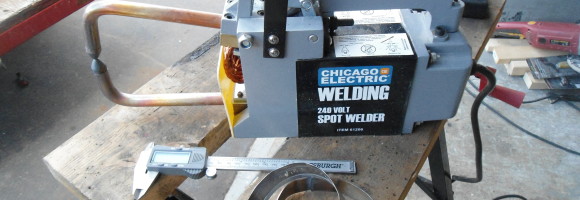
Harbor Freight "Chicago Electric" spot welder

Harbor Freight “Chicago Electric” spot welder

Spot welding was my first introduction to welding when in grade 7 metal shop classes at Shaftsbury High School in Winnipeg where we built wind chimes and the galvanized steel top section was joined by spot welding.  It was a real shop, and a real shop class, with a real shop teacher – who my father and I bumped into from time to time when we were out hunting upland game.  As a pretty good student (not just in shop class)  I got a bit more latitude in the class which was great.

Anyway,  my memory of using that spot welder was that it was a pretty useful piece of kit, which influenced my decision to go that route for joining the segments for the pizza oven.

Of all of the HF tools that I have, the spotwelder comes the closest to failing to deliver to my expectations, and that’s probably because I set my expectations too high.

The unit handles joining 0.0200 stainless steel pieces just great, it can’t handle 0.0400 pieces.  The other issue is that the points deform rather quickly and there is only one more set included with the welder.  Replacements are available for the miller welders but those are pretty expensive – as in $30 at my local welding shop.  If you have a lathe you can machine your own but it is a major hit that Harbor Freight doesn’t have replacements on the rack.

I guess my feelings towards the spot welder are colored by the fact that when I couldn’t weld the parts for the pizza oven I decided to try my hand at OA welding the stainless… which I had initially discounted as too hard (doooh stupid move that?).  I discovered that my Henrob torch was totally suited to welding stainless – with really no more difficulty than welding carbon steel.
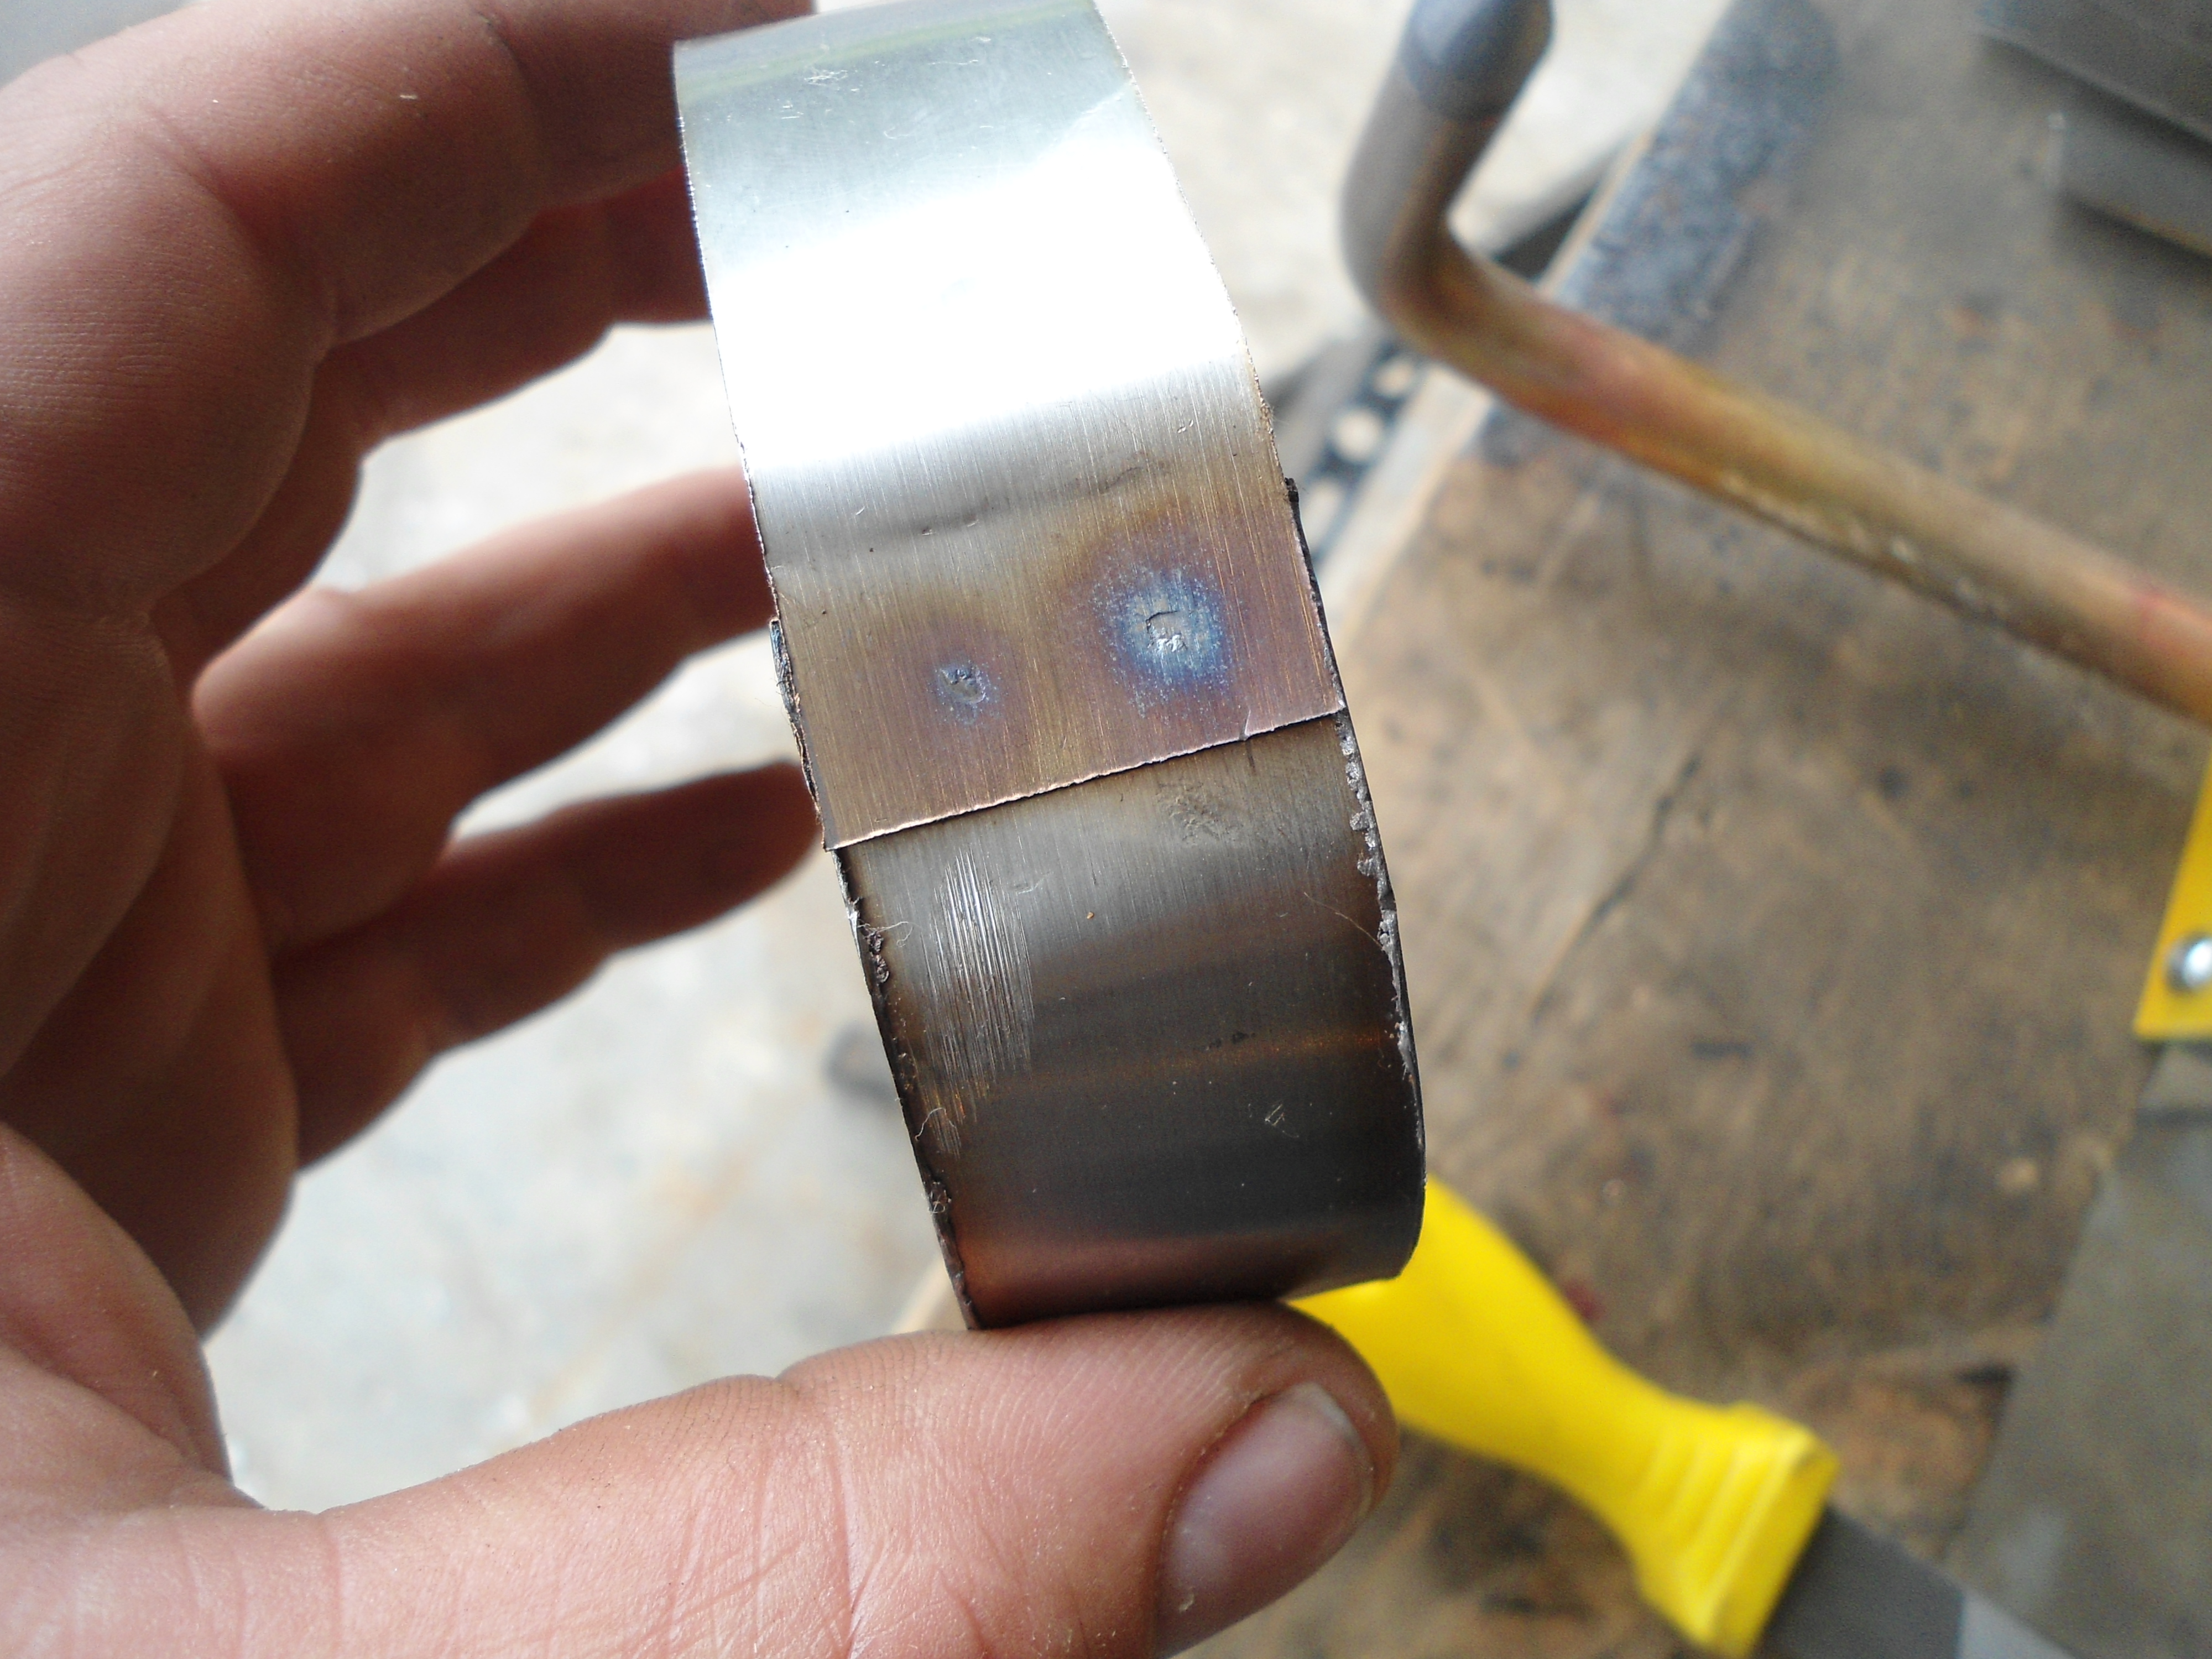
Completed spot welded stainless steel English muffin rings

Completed spot welded stainless steel English muffin rings

So,  with light materials and for a couple of quick welds it’s a good bet.  I really liked it for the English muffin rings I put together.

I also think it’s a good option for teaching kids basic metal working – which is basically what it was being used for when I was first introduced to it.

So, take home message… it’s limited in capacity so it’s probably the last welder I’d get but it looks just as solid when you acknowledge its limitations as the other HF kit I’ve grown to love.
By

Essential Power Tools – the table saw

We’re onto tool number five this week and that’s where the table saw fits in for me.  If you are working wood – and you should  – and are doing a lot of cutting or require a significant level of accuracy the table saw stands well above the circular saw that holds the number two spot on  the list.

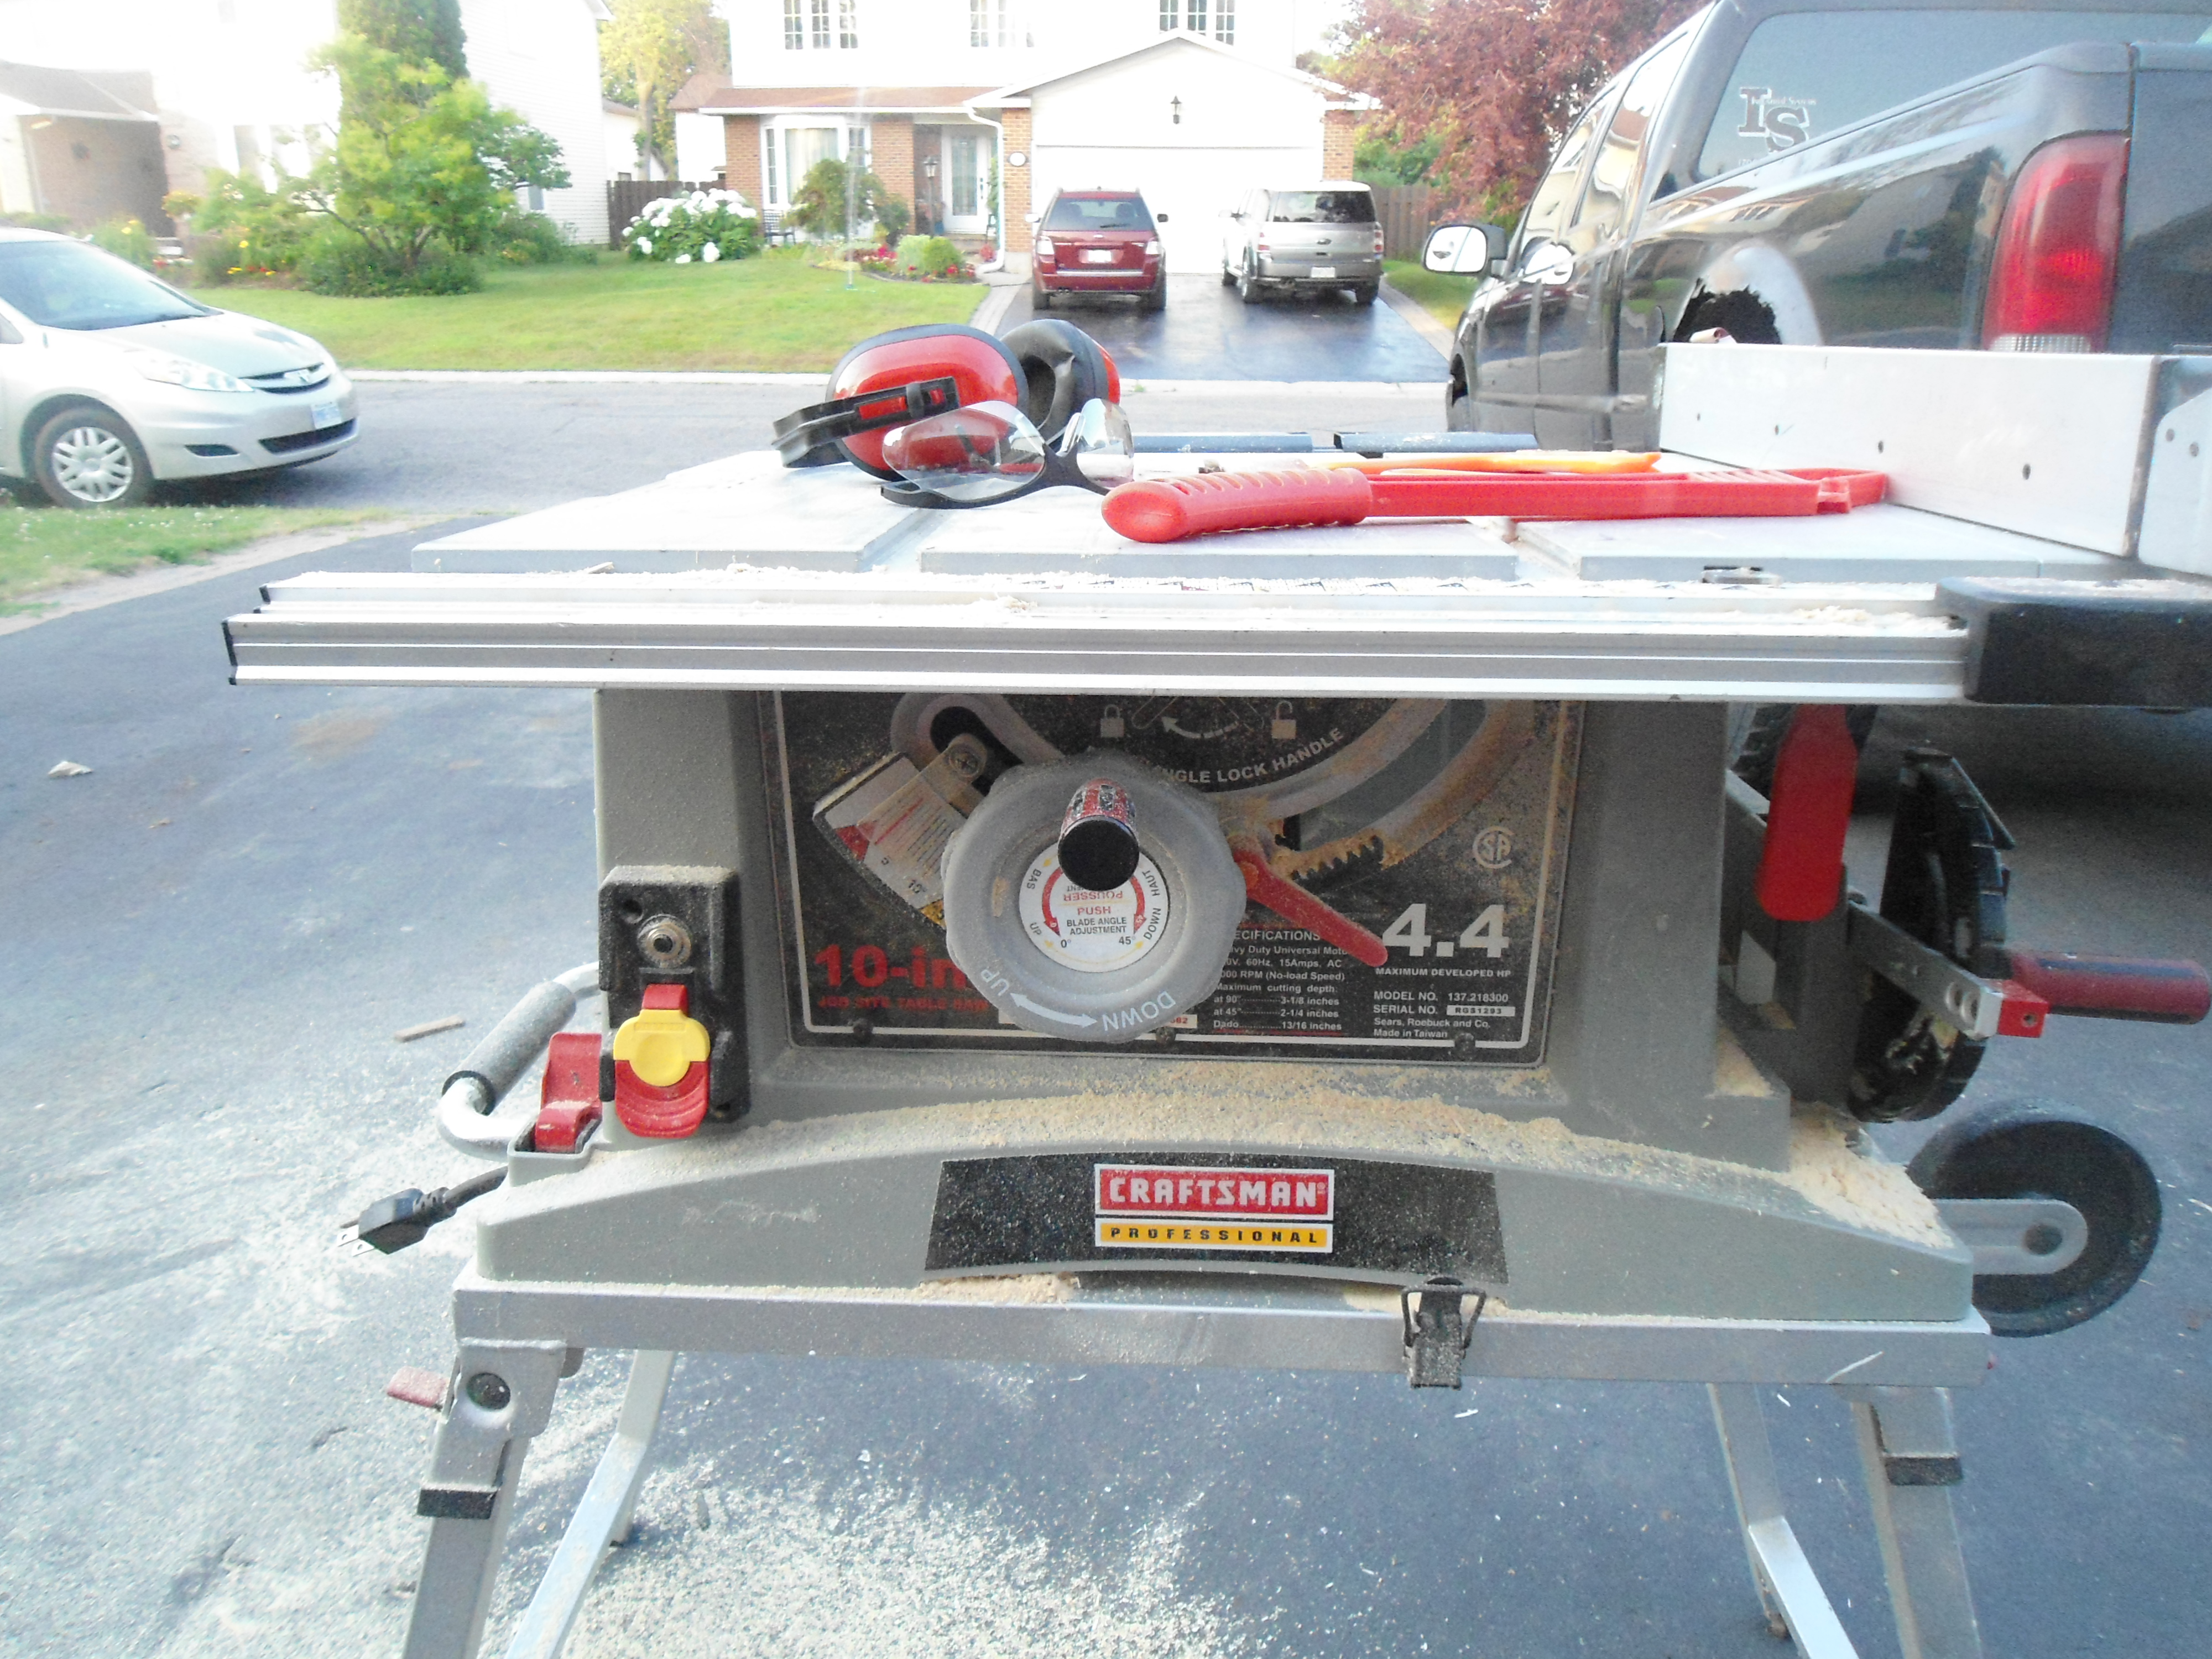
Craftsman contractor table saw

Craftsman contractor table saw

Now my table saw is a  craftsman contractor saw model.  Now, I chose the “semi” portability of the contractor saws because in the winter it sits in my basement workshop but as soon as the weather improves it gets moved into the garage – and when it’s getting used is placed in the driveway putting the dust outside.  It’s also been taken to projects at other homes.  I say semi-portability because it is awkward and is a good lift.  Now if you only need to roll it around on its wheels – it really is an easy move.  BUT, the heft does equate to some really solid construction – and that is key here.  DON’T bother cheaping out and getting a small wobbly table saw with a crappy fence – stick to your circular saw until you can afford to get a good saw.  As a reference point, the Craftsman I have runs something north of $400.  For my purposes it is the best compromise between accuracy, portability and price.

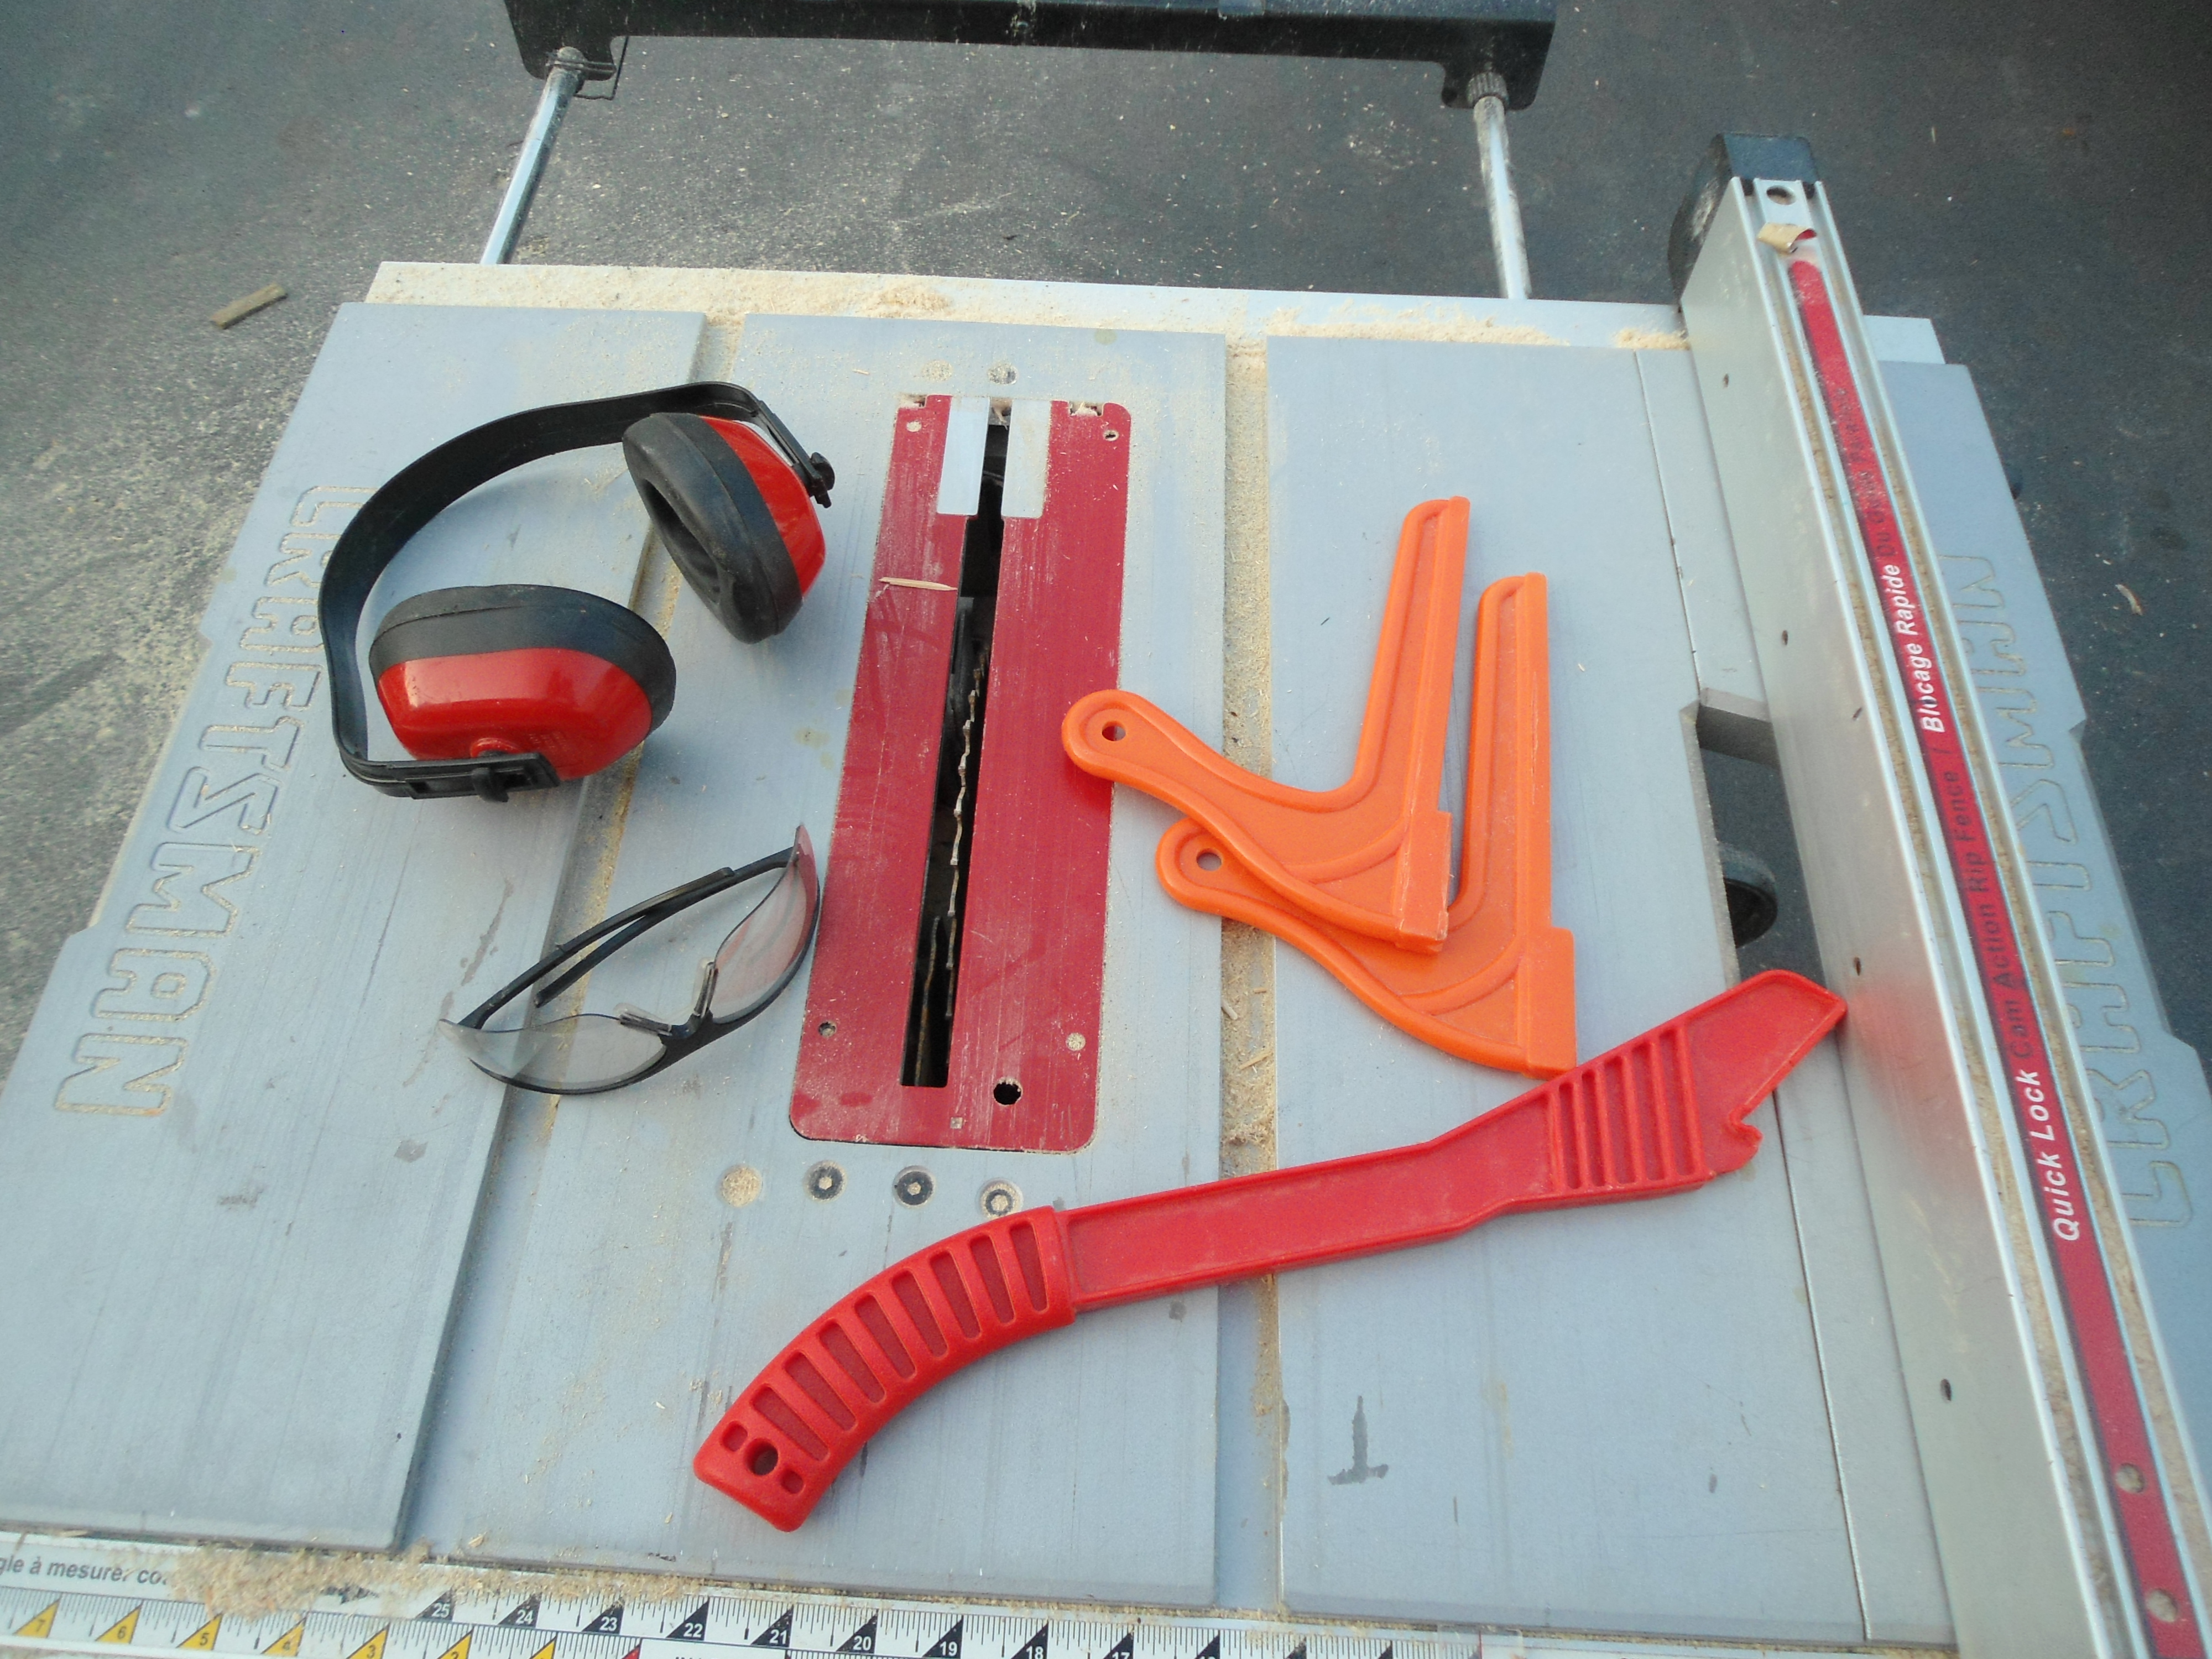
Push sticks, hearing and eye protection - not optional parts of your kit

Push sticks, hearing and eye protection – not optional parts of your kit

Now there are a few not so optional accessories you need along with the saw – the hearing and eye protection you should already have – but you will need some push sticks.  Push sticks are essential when you are working close to the blade.  You can cut these yourself, but purchased plastic ones are cheap and I particularly like the ones that have a grove in the lower surface which allows me to get better purchase on the material.

Now,  you’ll note that I don’t have the blade guard in place in the photo’s and videos.  Having an unguarded blade is a risk that I am willing to run – and it is a risk.  I run it in part because a significant amount of my work involves cutting blind groves in material.   That said, I am very careful around the saw, and don’t work with it when I might be tempted to be complacent or in a rush.  If you aren’t doing that type of work and prepared to accept the same elevated risk profile leave the blade guard in place.

Combination roller stand - a near necessity to go with your table saw

Combination roller stand – a near necessity to go with your table saw

If you are working with longer or larger materials – sheet goods or lumber you should probably get a roller stand that will allow you to avoid struggling with acquard material – and you don’t want to make a risky move around a saw blade.

My saw has found use building furniture, buildings and of late has seen a lot of work cutting materials to produce bee hive woodware.   It wasn’t cheap, but it certainly is a pleasure to use good tools – and it has paid for itself several times over.

If you don’t already have a table saw consider investing in one to add to your workshop as a means of empowering your independence.

By

Grinding Cornmeal with the Homestead Grain Mill

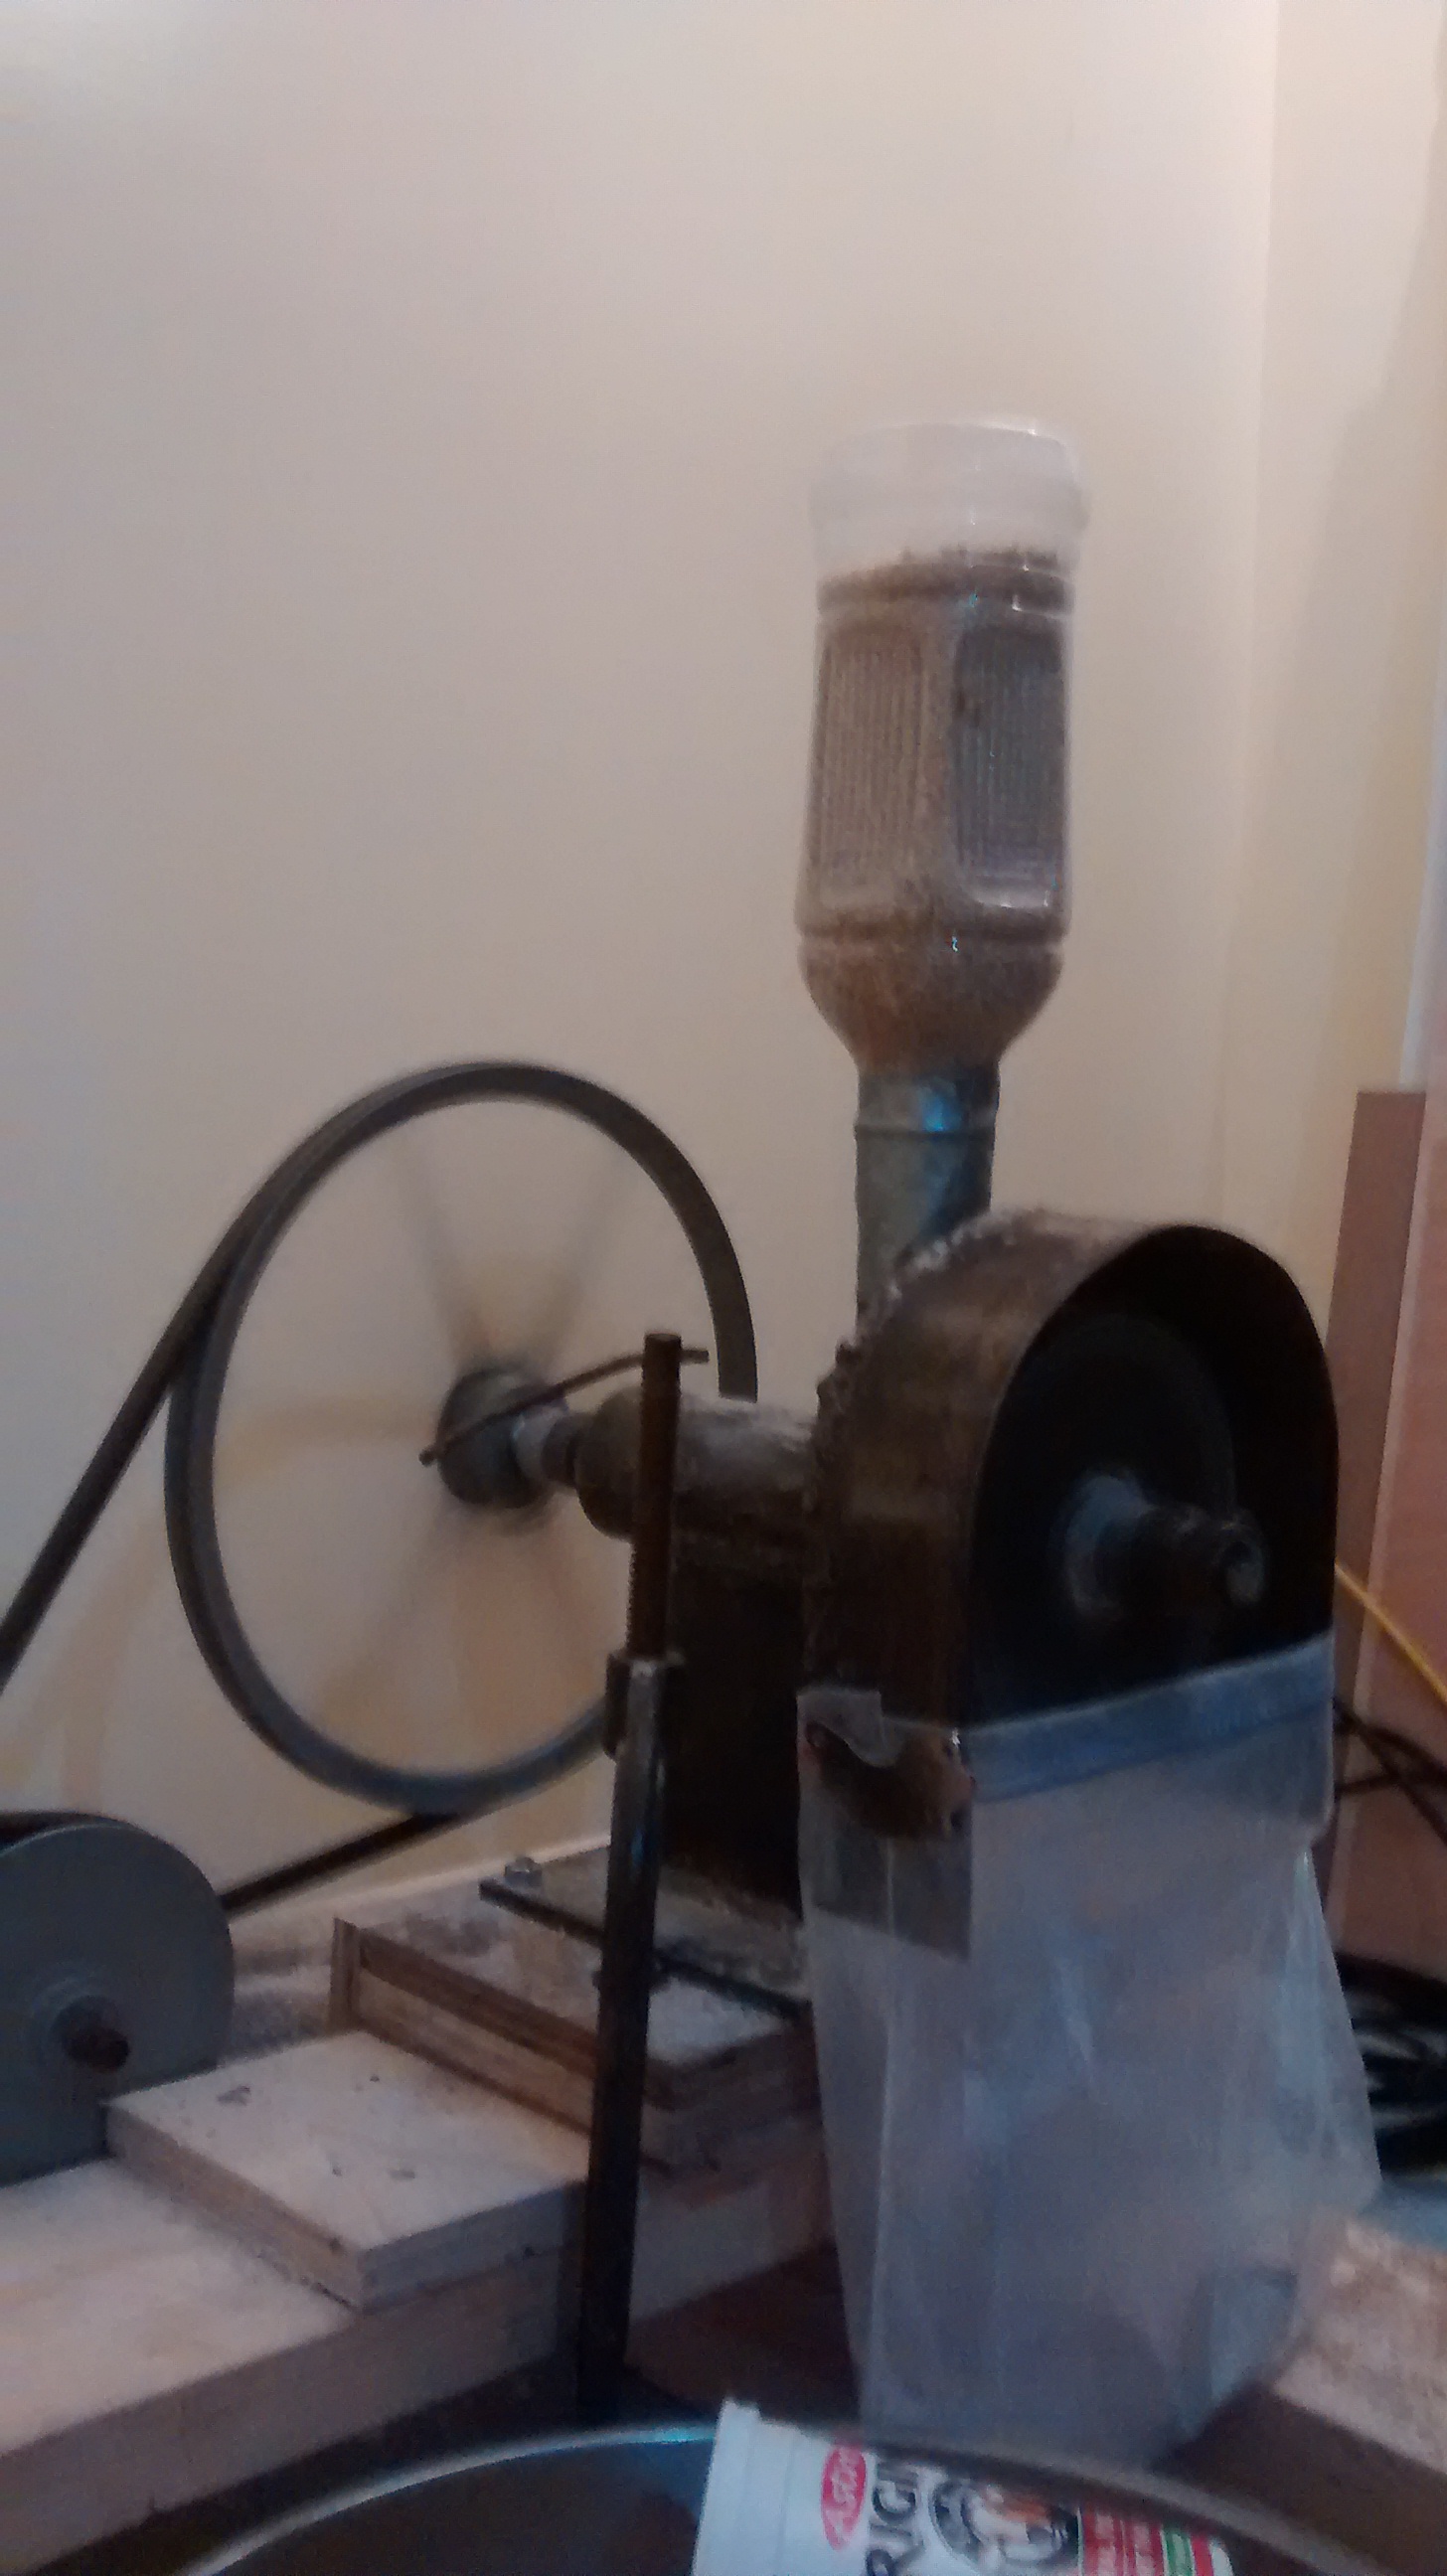
Homemade Grain Mill

Homemade Grain Mill

One of the great advantages of having your own grain mill is being able to grind a huge assortment of grains – and grind them as fine or coarse as you want… You get to make the choices!

The homestead grain mill is great for grinding corn for cornmeal or corn flour – but not masa… it’s a dry mill and not intended for grinding nixtamatal.  If you are going to do that – and you should – pick up a masa mill – they are very cheap.

Freshly Ground Cornmeal (R) beside Whole Wheat Flour (L)

Freshly Ground Cornmeal (R) beside Whole Wheat Flour (L)

But back to grinding corn for cornmeal or corn flour.  Now compared to grinding small grains there is one tweak you need to do in order to have a reasonable production rate.  You need to start with a greater gap between the burrs to accommodate the larger grain size.  That’s it… really that simple.  So add some whole grain corn to your larder and start using it in your baking.

So if you don’t have a mill, why not consider building one – it’s going to be much easier than you probably are contemplating, and it will leave you with the skills to tackle loads of additional projects that will likewise yield independence dividends around your home and homestead.


By

Essential Power Tools – The Air Compressor

So, leading up to this Tool Tuesday I faced a bit of a quandary… which tool was my No 4 most important power tool? That really hadn’t been a big factor with the first three… they fell into place very easily.  But with number four there were a bunch of contenders for the spot… you’ll see them all but it was a very close finish for the next group of tools.

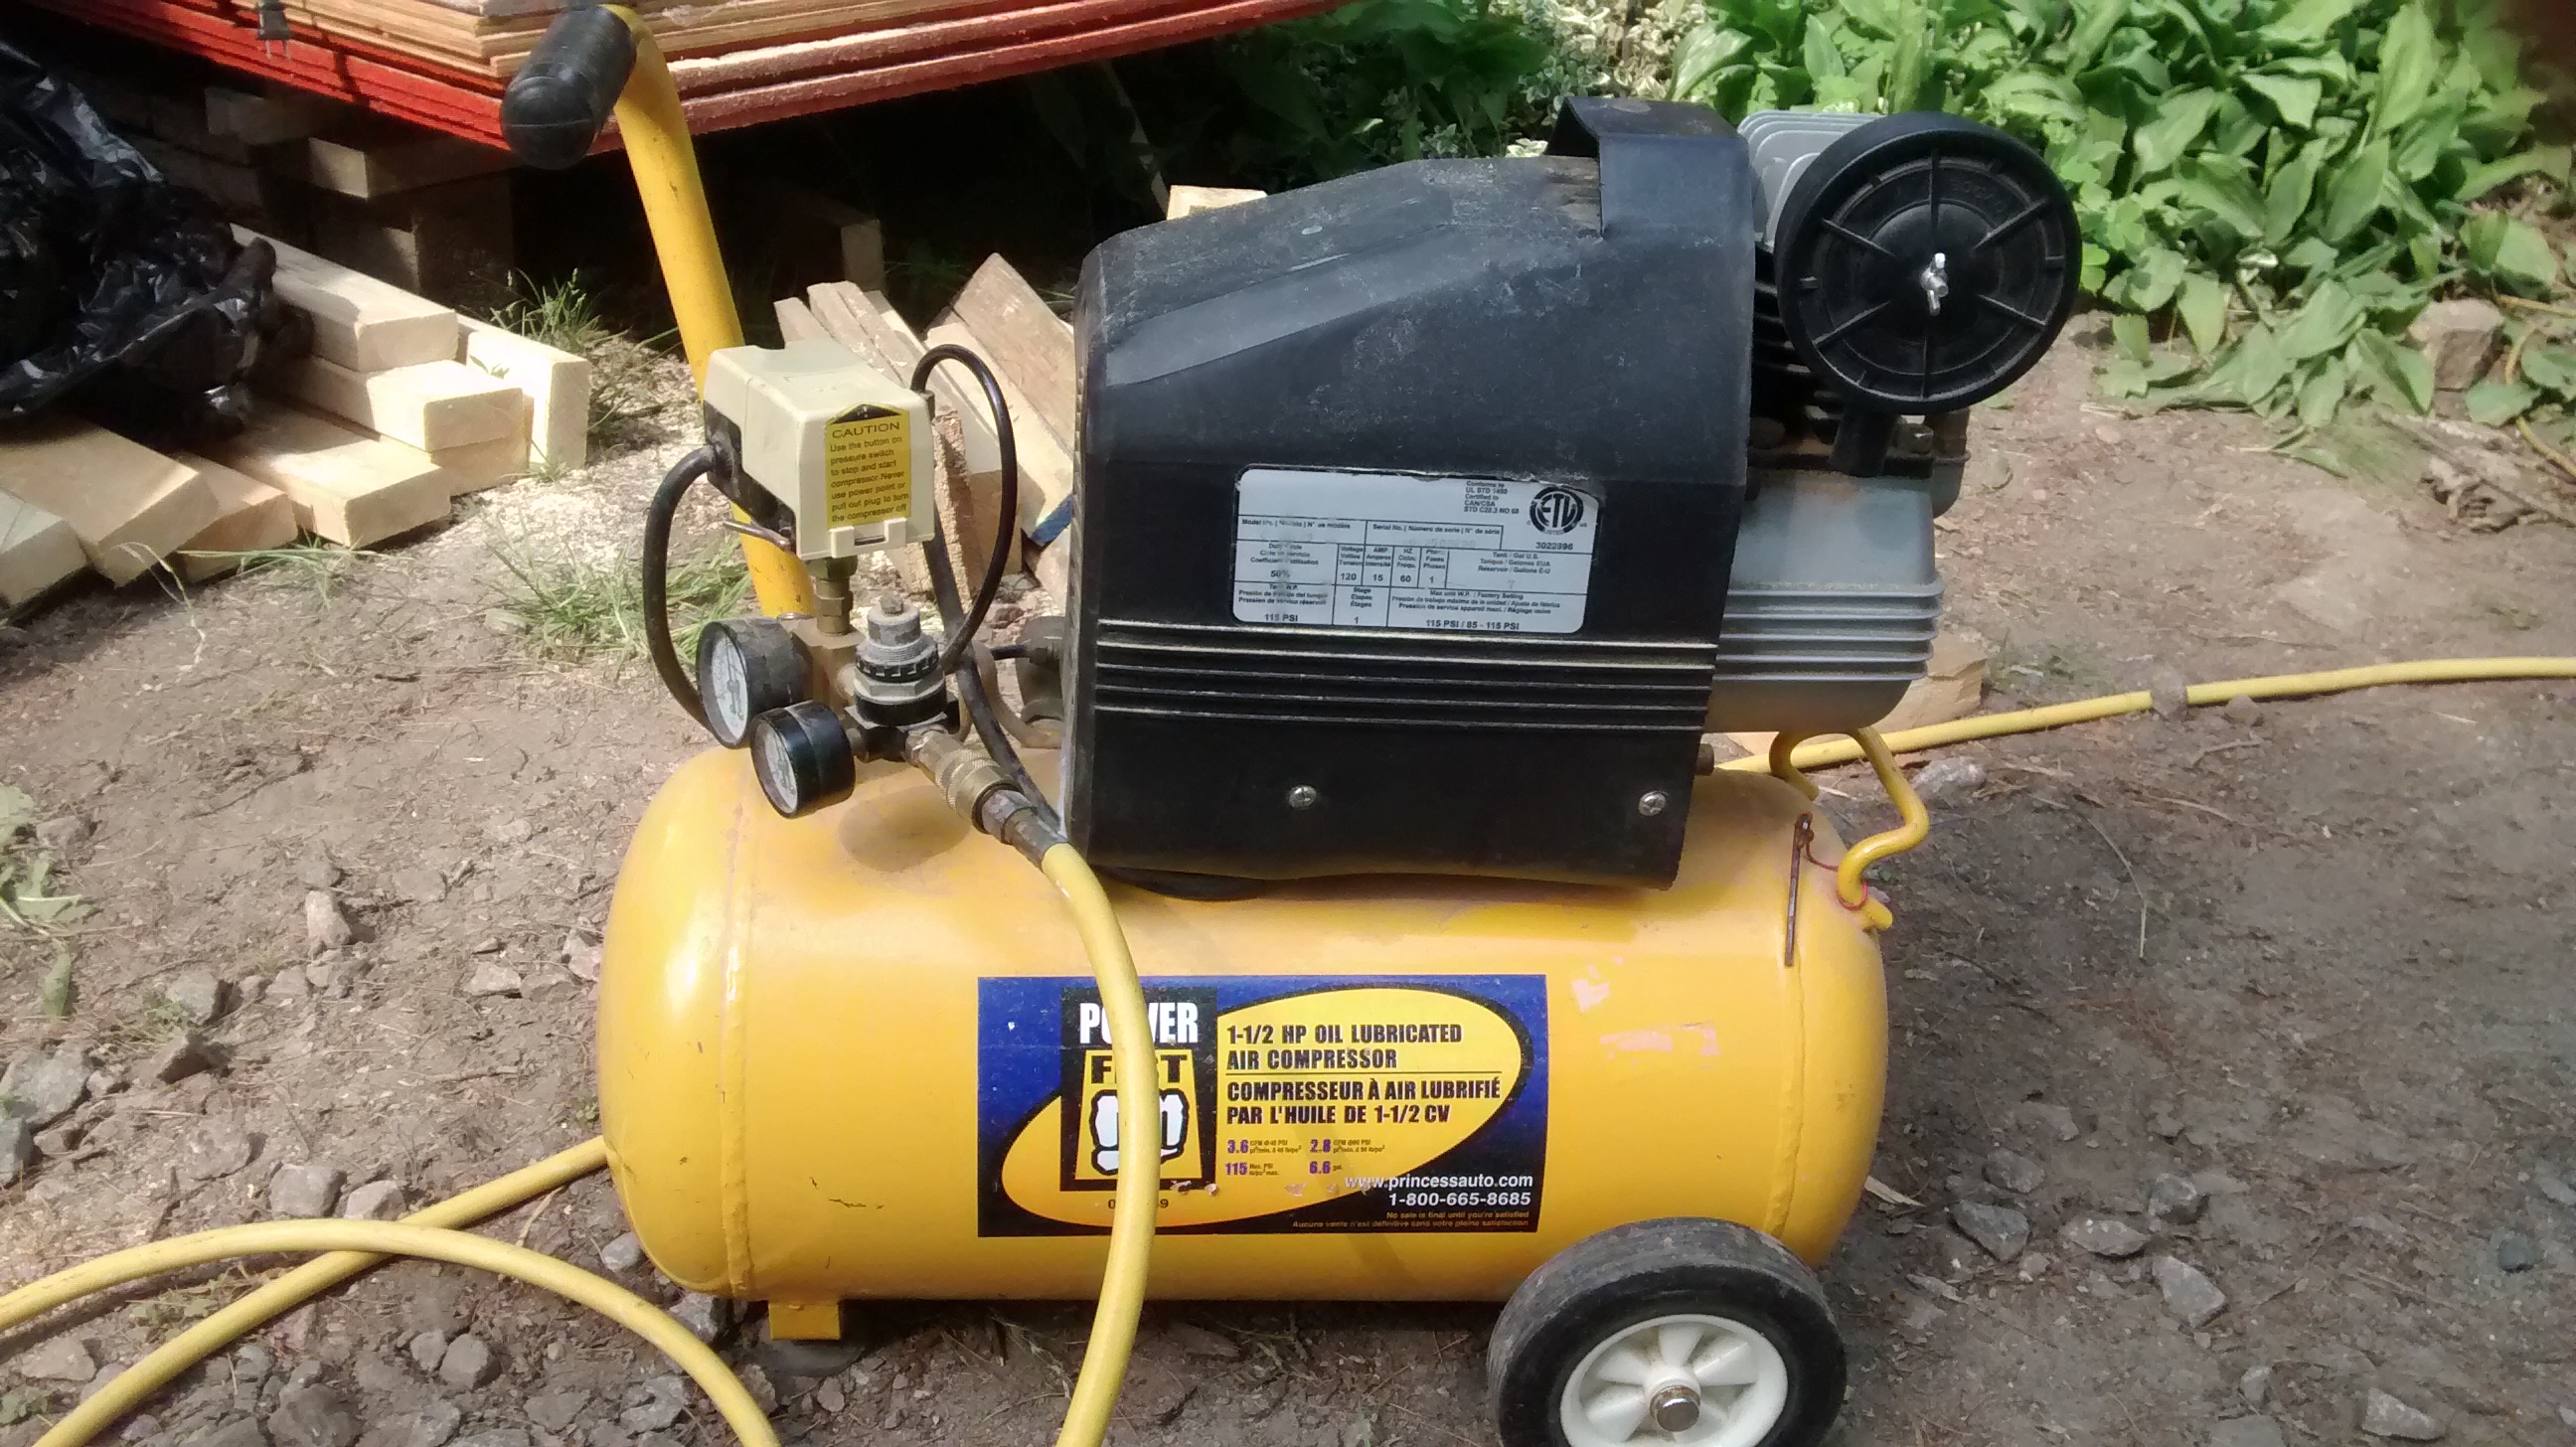
Air Compressor - An Essential Power Tool

Air Compressor – An Essential Power Tool

But of course if you can read the title you’ll know that the winner of spot Number 4 on my Essential Power Tools list is the air compressor.

So why did it win out.  Well, units that are capable of doing home shop level work are reasonably priced.  As I write this Harbor Freight has a 2.5hp unit on for $159, and it needs to be broadly applicable to the work you’ll find around the home, homestead and garage and shop – specialized tools aren’t in this list.

This package really needs a bit more to be of any use – the compressor is just the equivalent to buying a generator and being able to then use power tools.  Really the first air tools to pick up are a combination brad nailer / stapler (for $20) and a tire infiltrator.  This starting tool kit will allow you to do a lot of small and detailed woodwork – whether it is putting on baseboards or molding around the house or nailing together bee hive woodware (especially important while the glue is setting) the brad nailer and stapler is frequently used.  The same applies for the air chuck.  Sure I could go to the garage and use that compressor but having my own means I can top up my tires as part of my vehicle checks – which reduces my fuel consumption and extends my tire life – both money saving propositions.

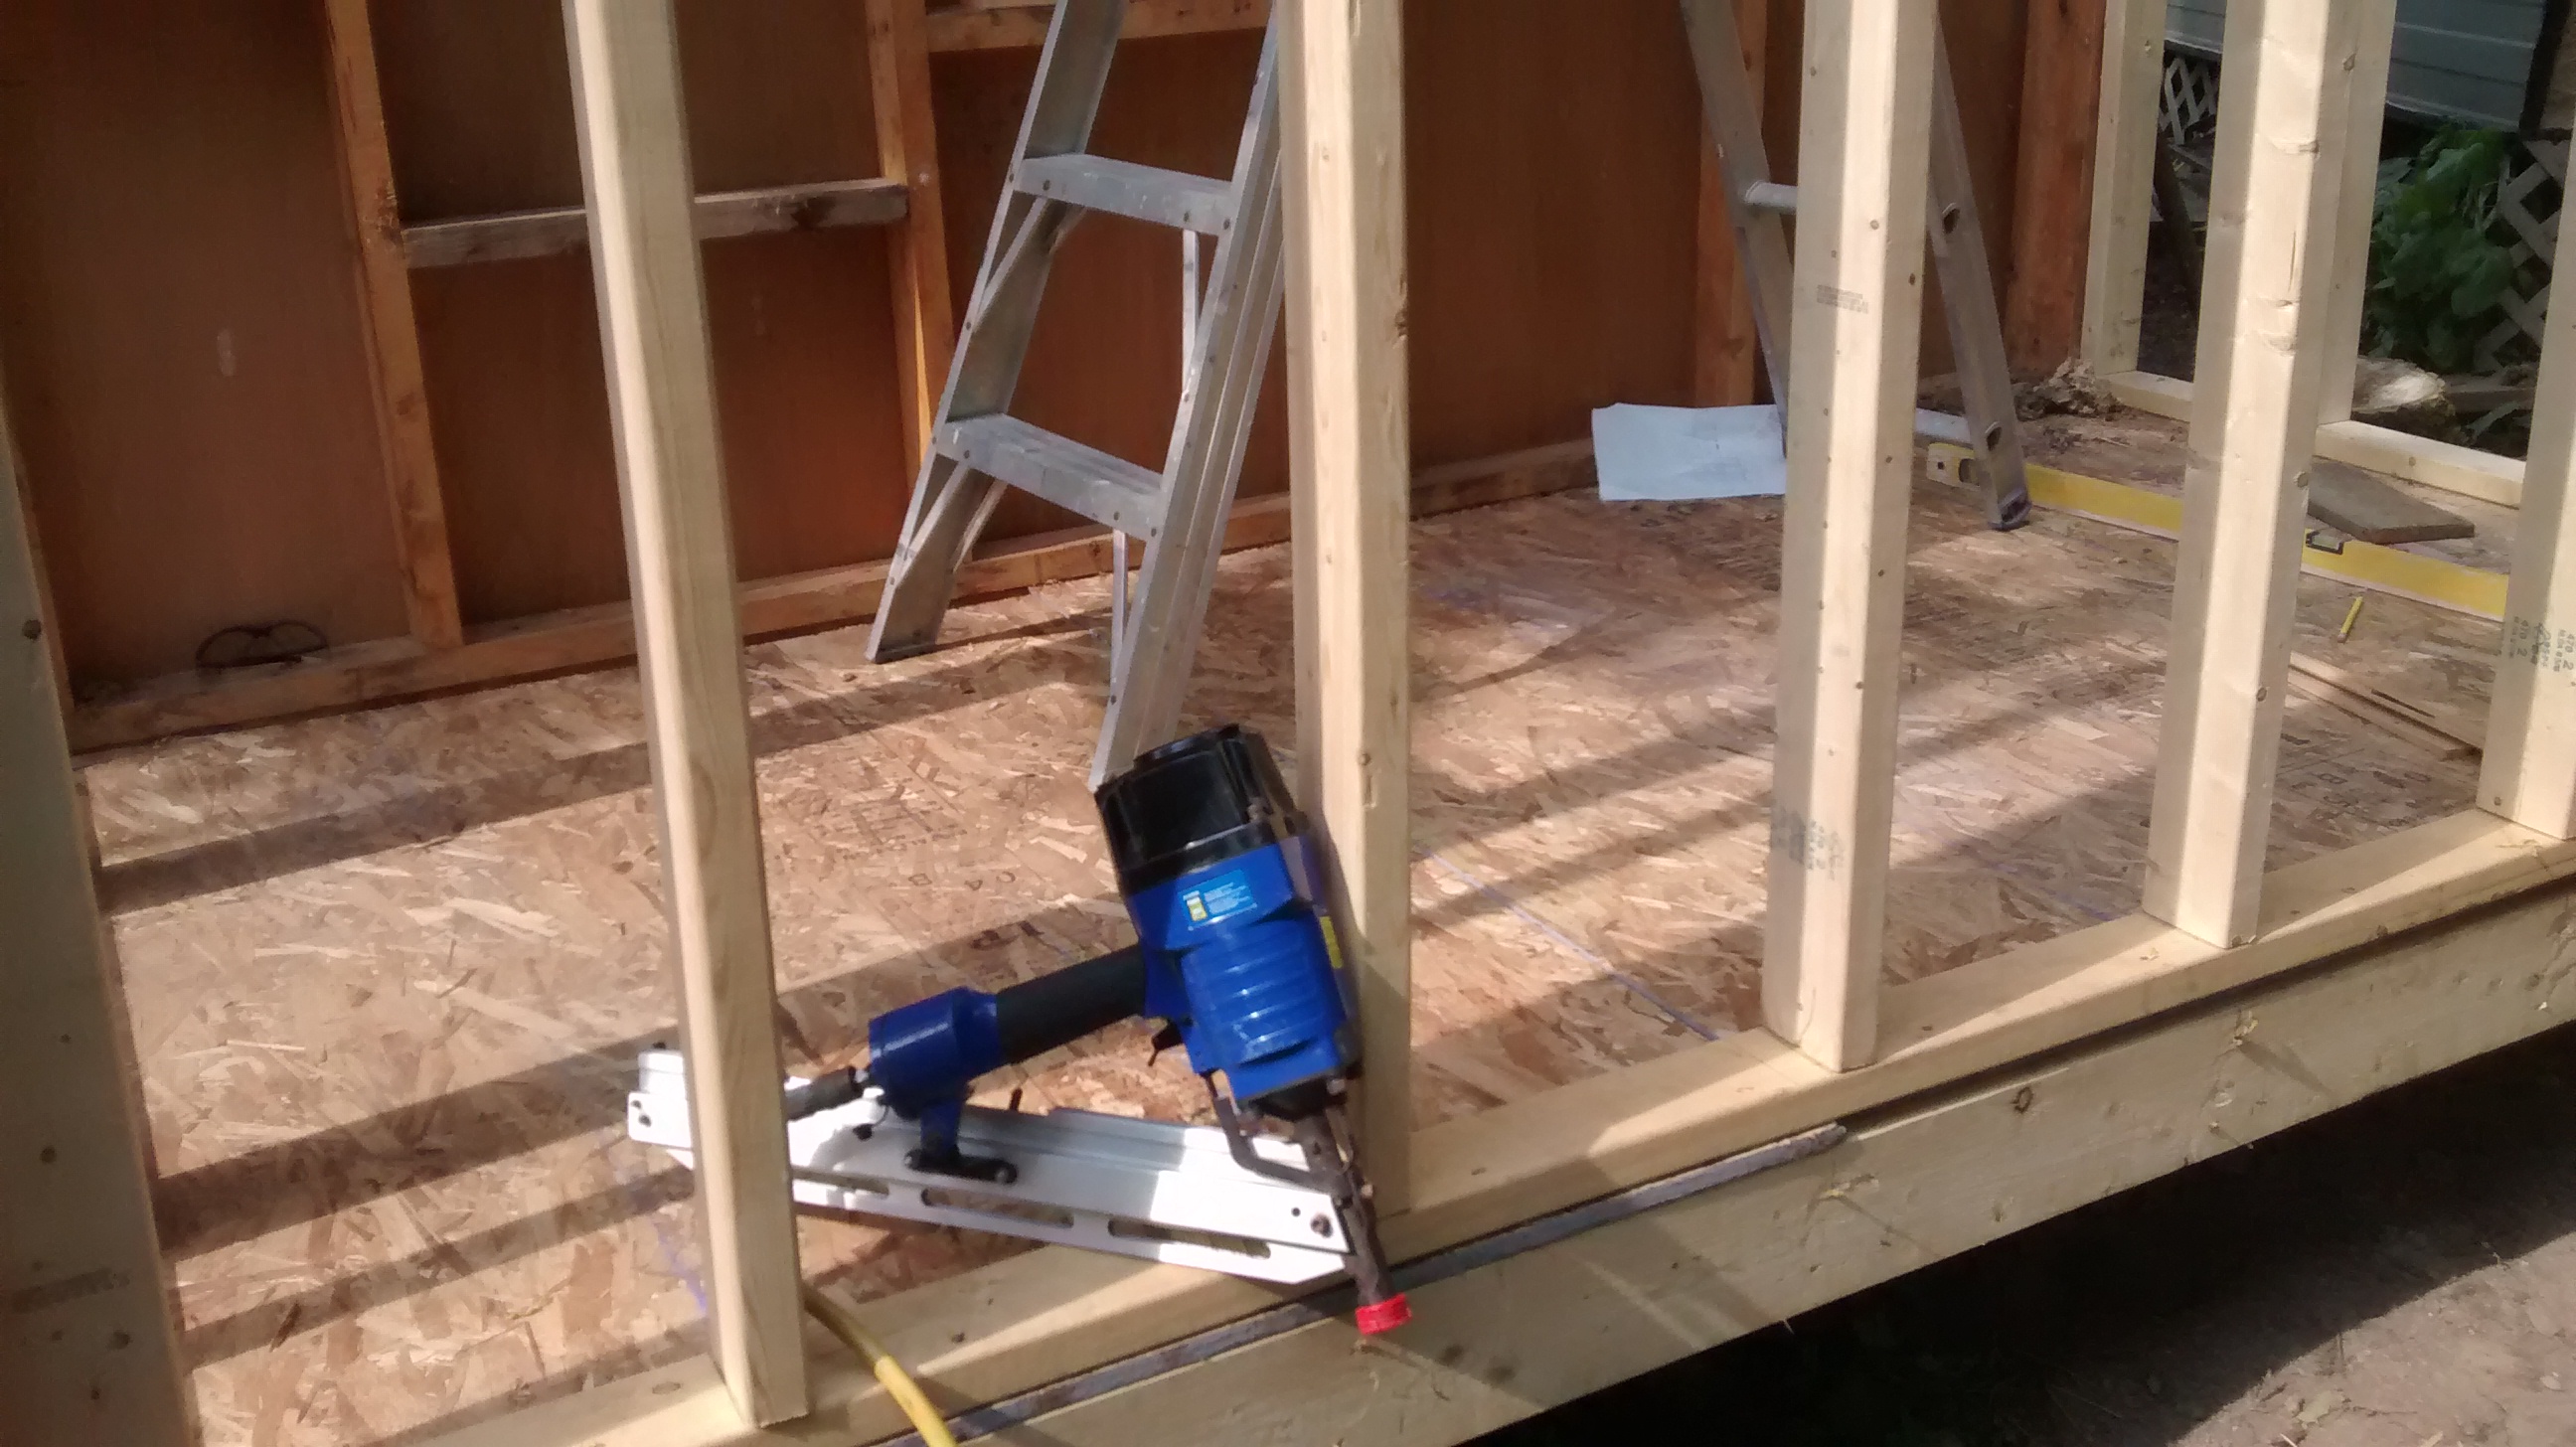
Air Tools - like this framing nailer - can significantly improve your productivity on the jobsite.

Air Tools – like this framing nailer – can significantly improve your productivity on the jobsite.

A smaller gravity fed HVLP spray gun runs about $15 and allows you to bypass the expensive cans of spraypaint an instead pick up liquid paints and a can of paint thinner.  In this role alone it’s saved me a load of cash!

Then there are the larger nailers – for framing, roofing and hardwood flooring.  These run about $75 and up for good quality units – but man are they ever a time and body saver.  I spend a great summer working as a caprenters assistant – earning an awesome education and getting payed as a bonus – but I can honestly say that swinging an eastwing 22oz head framing hammer for a summer is work.  Now I wouldn’t dispense with it by any means, but as we were putting up an addition to a bunky at the cottage my eight year old daughter was able to drive 3″ framing nails using the air nailer!  For an adult – well construction time was cut to about a quarter of what it would have been with only old fashioned manual nailing – and that is a pretty paying proposition.

Likewise, if you are installing hardwood flooring having the specialized air nailer for that task is practically a requirement.  I think mine has done at least two dozen homes as folks have borrowed it and it is no worse for wear.

The air die grinders and sanders, ratchets and impact wrenches are very nice pieces of kit as well and can be had on special at very reasonable prices.

But for all of this capacity and efficiency improvements you need to start with the compressor… so consider picking one (and a few accessories) up and adding them to your shop if they aren’t already there.

By

Making Icing Sugar at home

I’m probably not the type of neighbor that would be coming over to borrow a cup of sugar.   I usually have more that enough on hand to handle a season worth of not only preserving but also stimulating and then fall feeding for the bees.

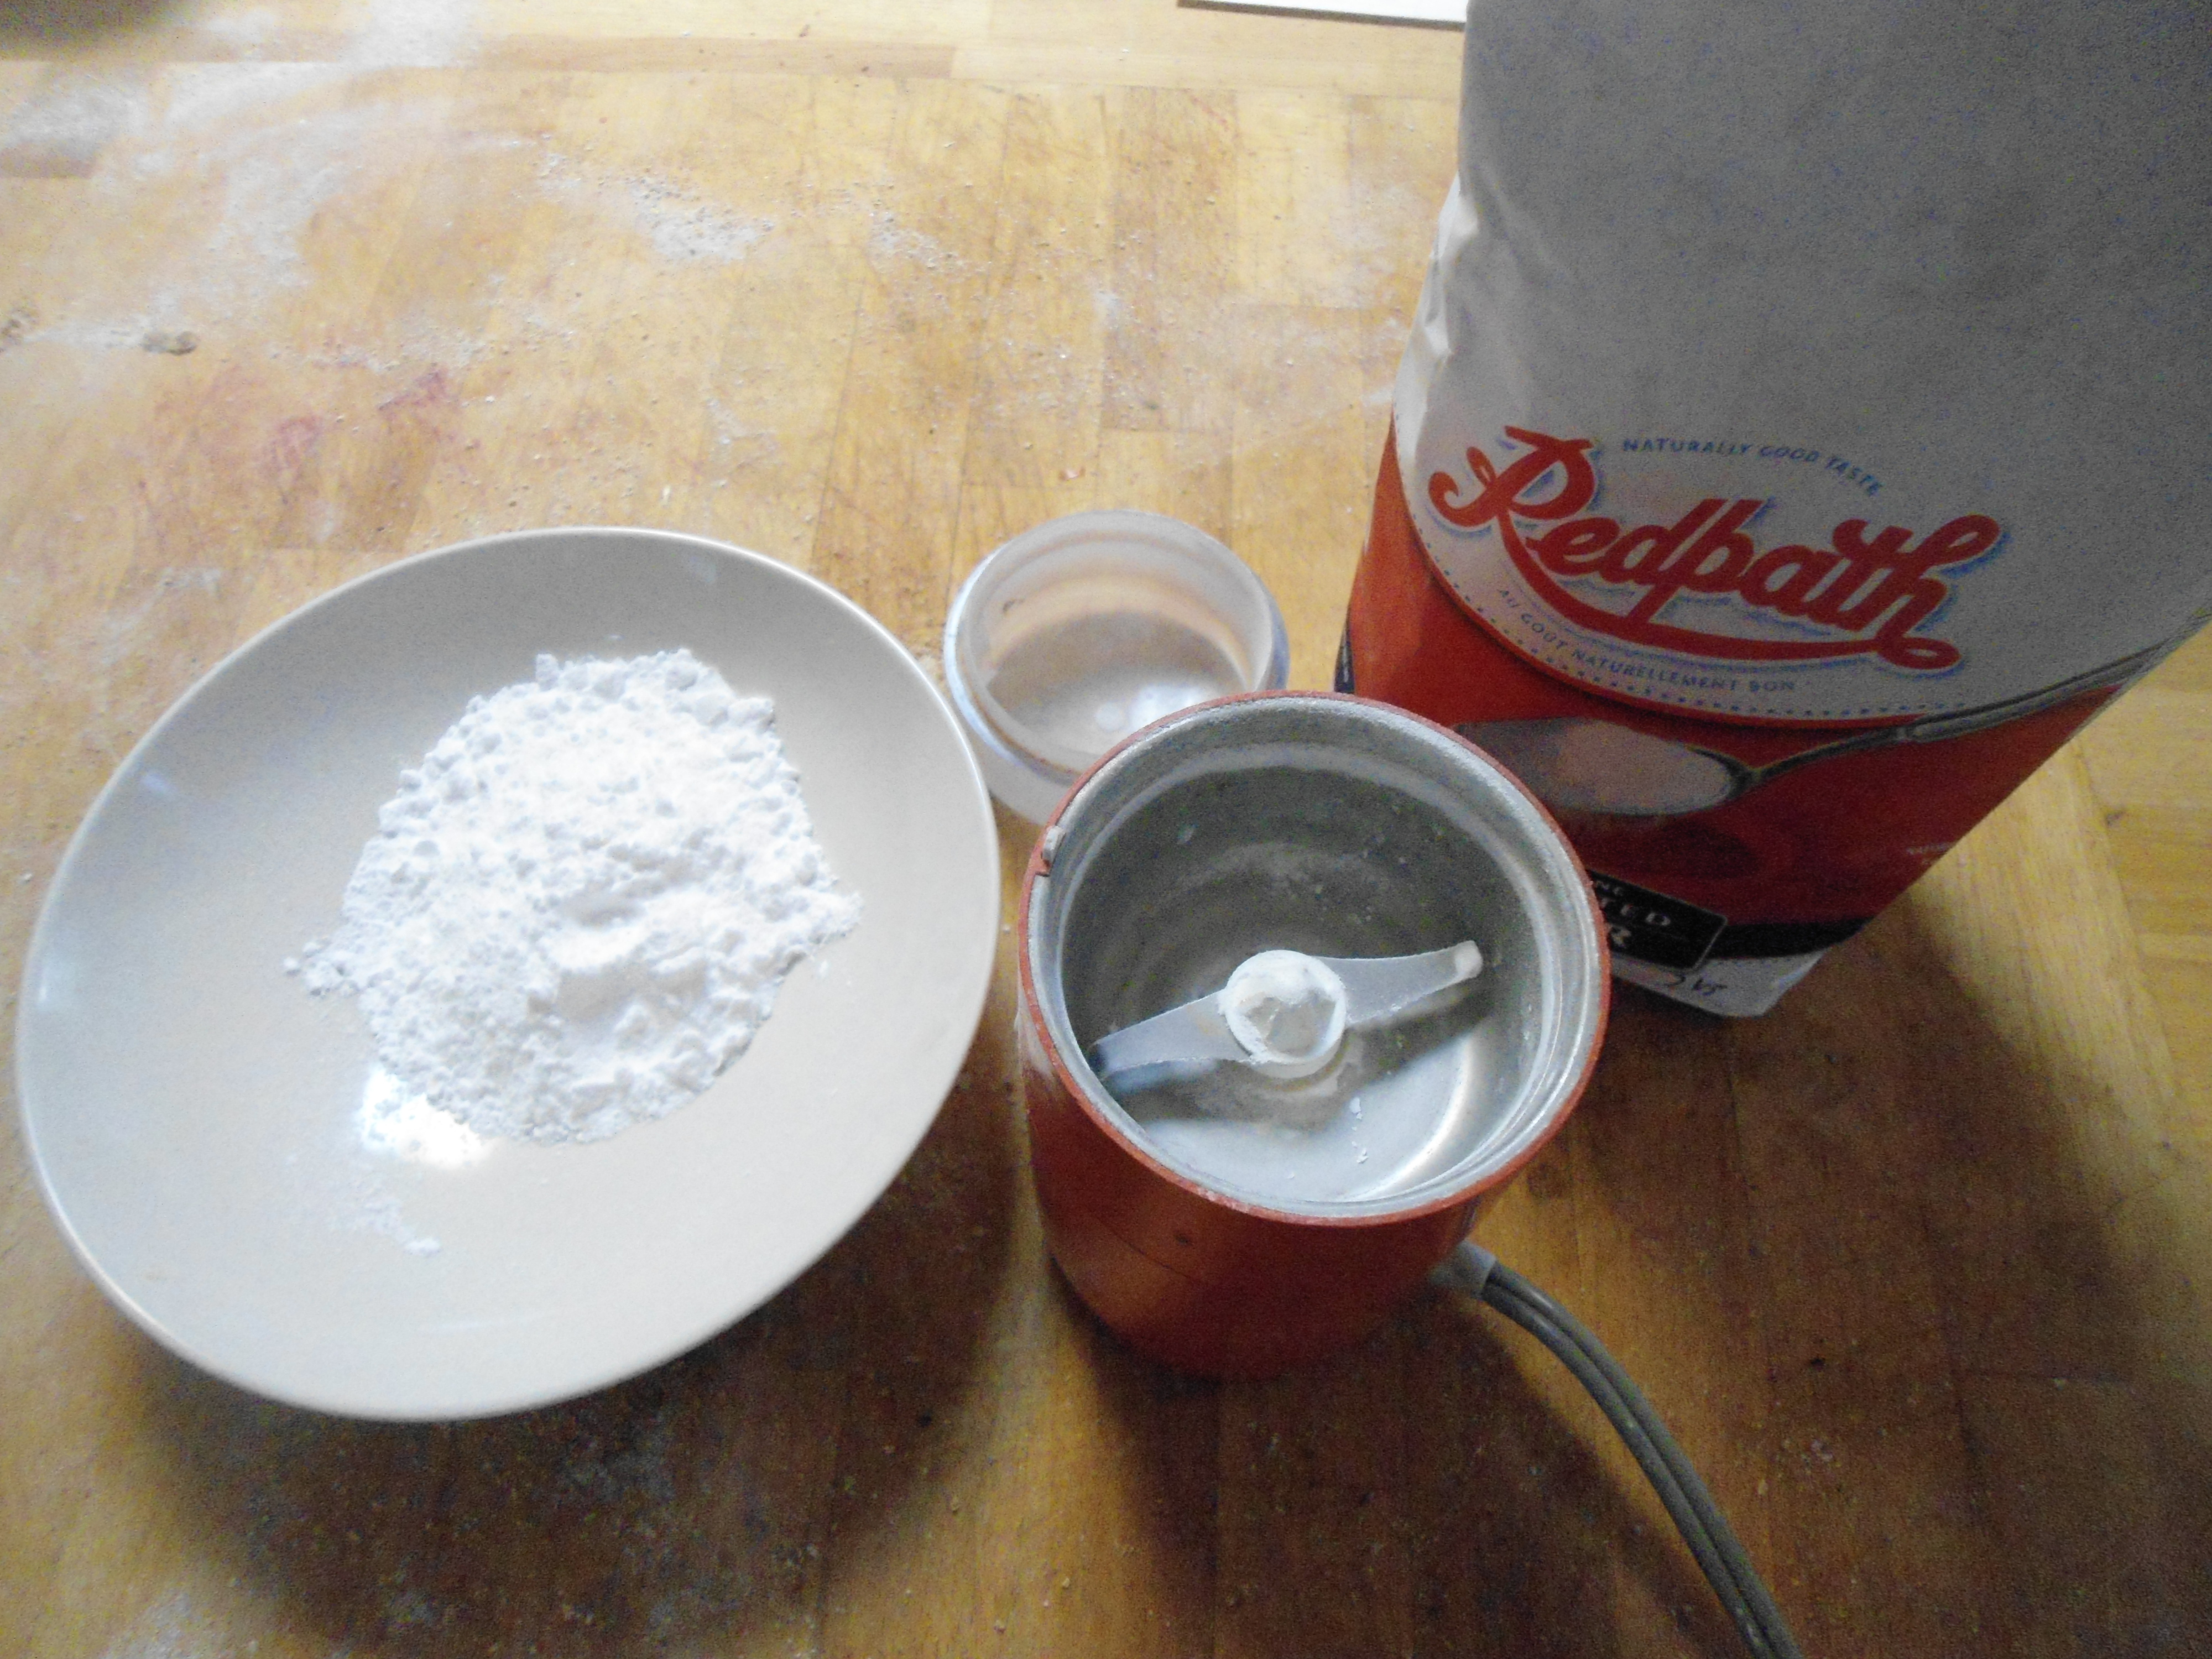
Granulated sugar, the "coffee grinder" and the resulting fine icing sugar (R to L)

Granulated sugar, the “coffee grinder” and the resulting fine icing sugar (R to L)

But,  I do run out of icing sugar… or rather I usually don’t maintain a stock of icing sugar.  But, one of the reasons I don’t really consider that a big deal is because I can produce my own icing sugar at home.

Of course icing sugar isn’t anything special, it is just regular granular sugar which has been reduced to a very fine powder.

You can do that same particle size reduction in an electric coffee grinder in your own kitchen.  Don’t overload the little hopper with granulated white sugar and a few pulses will reduce to something that is nearly as fine as the powdered icing sugar you would buy.

It’s really an easy way to simplify what you maintain stocks of, simplify your life (no longer do you need to run out to pick up icing sugar), and save money by doing the value added transformation at home.

https://youtu.be/KRm_aWQ135g


By

Essential power tools – the angle grinder

Welcome back to another “Tool Tuesday”.  Featuring prominently in the number three spot on our list of must have power tools is the angle grinder.

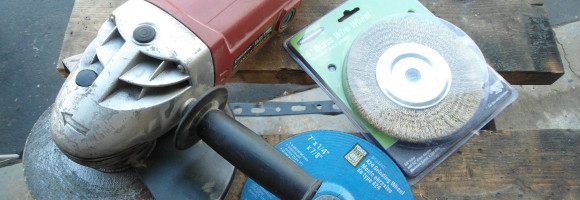
9" angle grinder and accessories

9″ angle grinder and accessories

The angle grinder is the power tool version of the hacksaw, the file and the wire brush all in one.  It is quite simply the most important tool to have in your shop if you are going to be working with metal (after the all purpose corded hand drill that was featured as the top must have tool of course).

There are multiple ways to join metal that are easy to accomplish including using pop rivets, metal screws and bolts – but before you start joining you need to have been able to form to shape and that means cutting and grinding and this is where the angle grinder shines.

You’ll want to pick up 1/8″ thick metal cutting disks, 1/4″ thick metal grinding disks and wire wheels (which make removing paint and rust a breeze).  If you are going to be cutting brick, concrete or tile you can pick up masonry cutting disks as well.

Now, you’ll find grinders come in a variety of sizes, from the 4 1/2″ models up to the beefier 9″ units.  While I have a smaller 5″ grinder my go to unit is a 9″ and it’s backup is a 7″.  For cutting and grinding disks I’ve pretty much standardized on 7″ diameter disks which I’ve found to be more common (and on sale more often) than the 9″ ones.  I also appreciate the extra power offered by the larger units.

That said,  the smaller ones are nice if you’ve got to work in tight spaces – such as under a vehicle or aren’t quite as comfortable with the heft and power of the larger ones.

Of course part of the process of determining what makes this list and where it ranks is price.  To give you an idea of the price these run between $20 and $65 at Harbor Freight as of now – without using one of their 20% off coupons they frequently circulate which would knock the price down to $16 to $52.

So if you don’t have an angle grinder yet pick one up today along with a selection of disks.

By

English Muffin Rings – easy welding projects

Stainless steel strips cut with angle grinder

Stainless steel strips cut with angle grinder

English muffins are great and so easy to make.  While not necessary, if you want to have all of the English muffins come out the same size you need to use rings.

Now you can buy these.  I checked and there are a bunch on Amazon for $6 for 4 tin plated steel rings.  You’ll need three sets to take care of a batch of dough, bringing the total to about $20.  That’s not crazy,  but you can make them for close to free.

I had quite a bit of stainless steel pieces left over from making the wood fired pizza oven – the materials for that build of course coming from old BBQ’s.

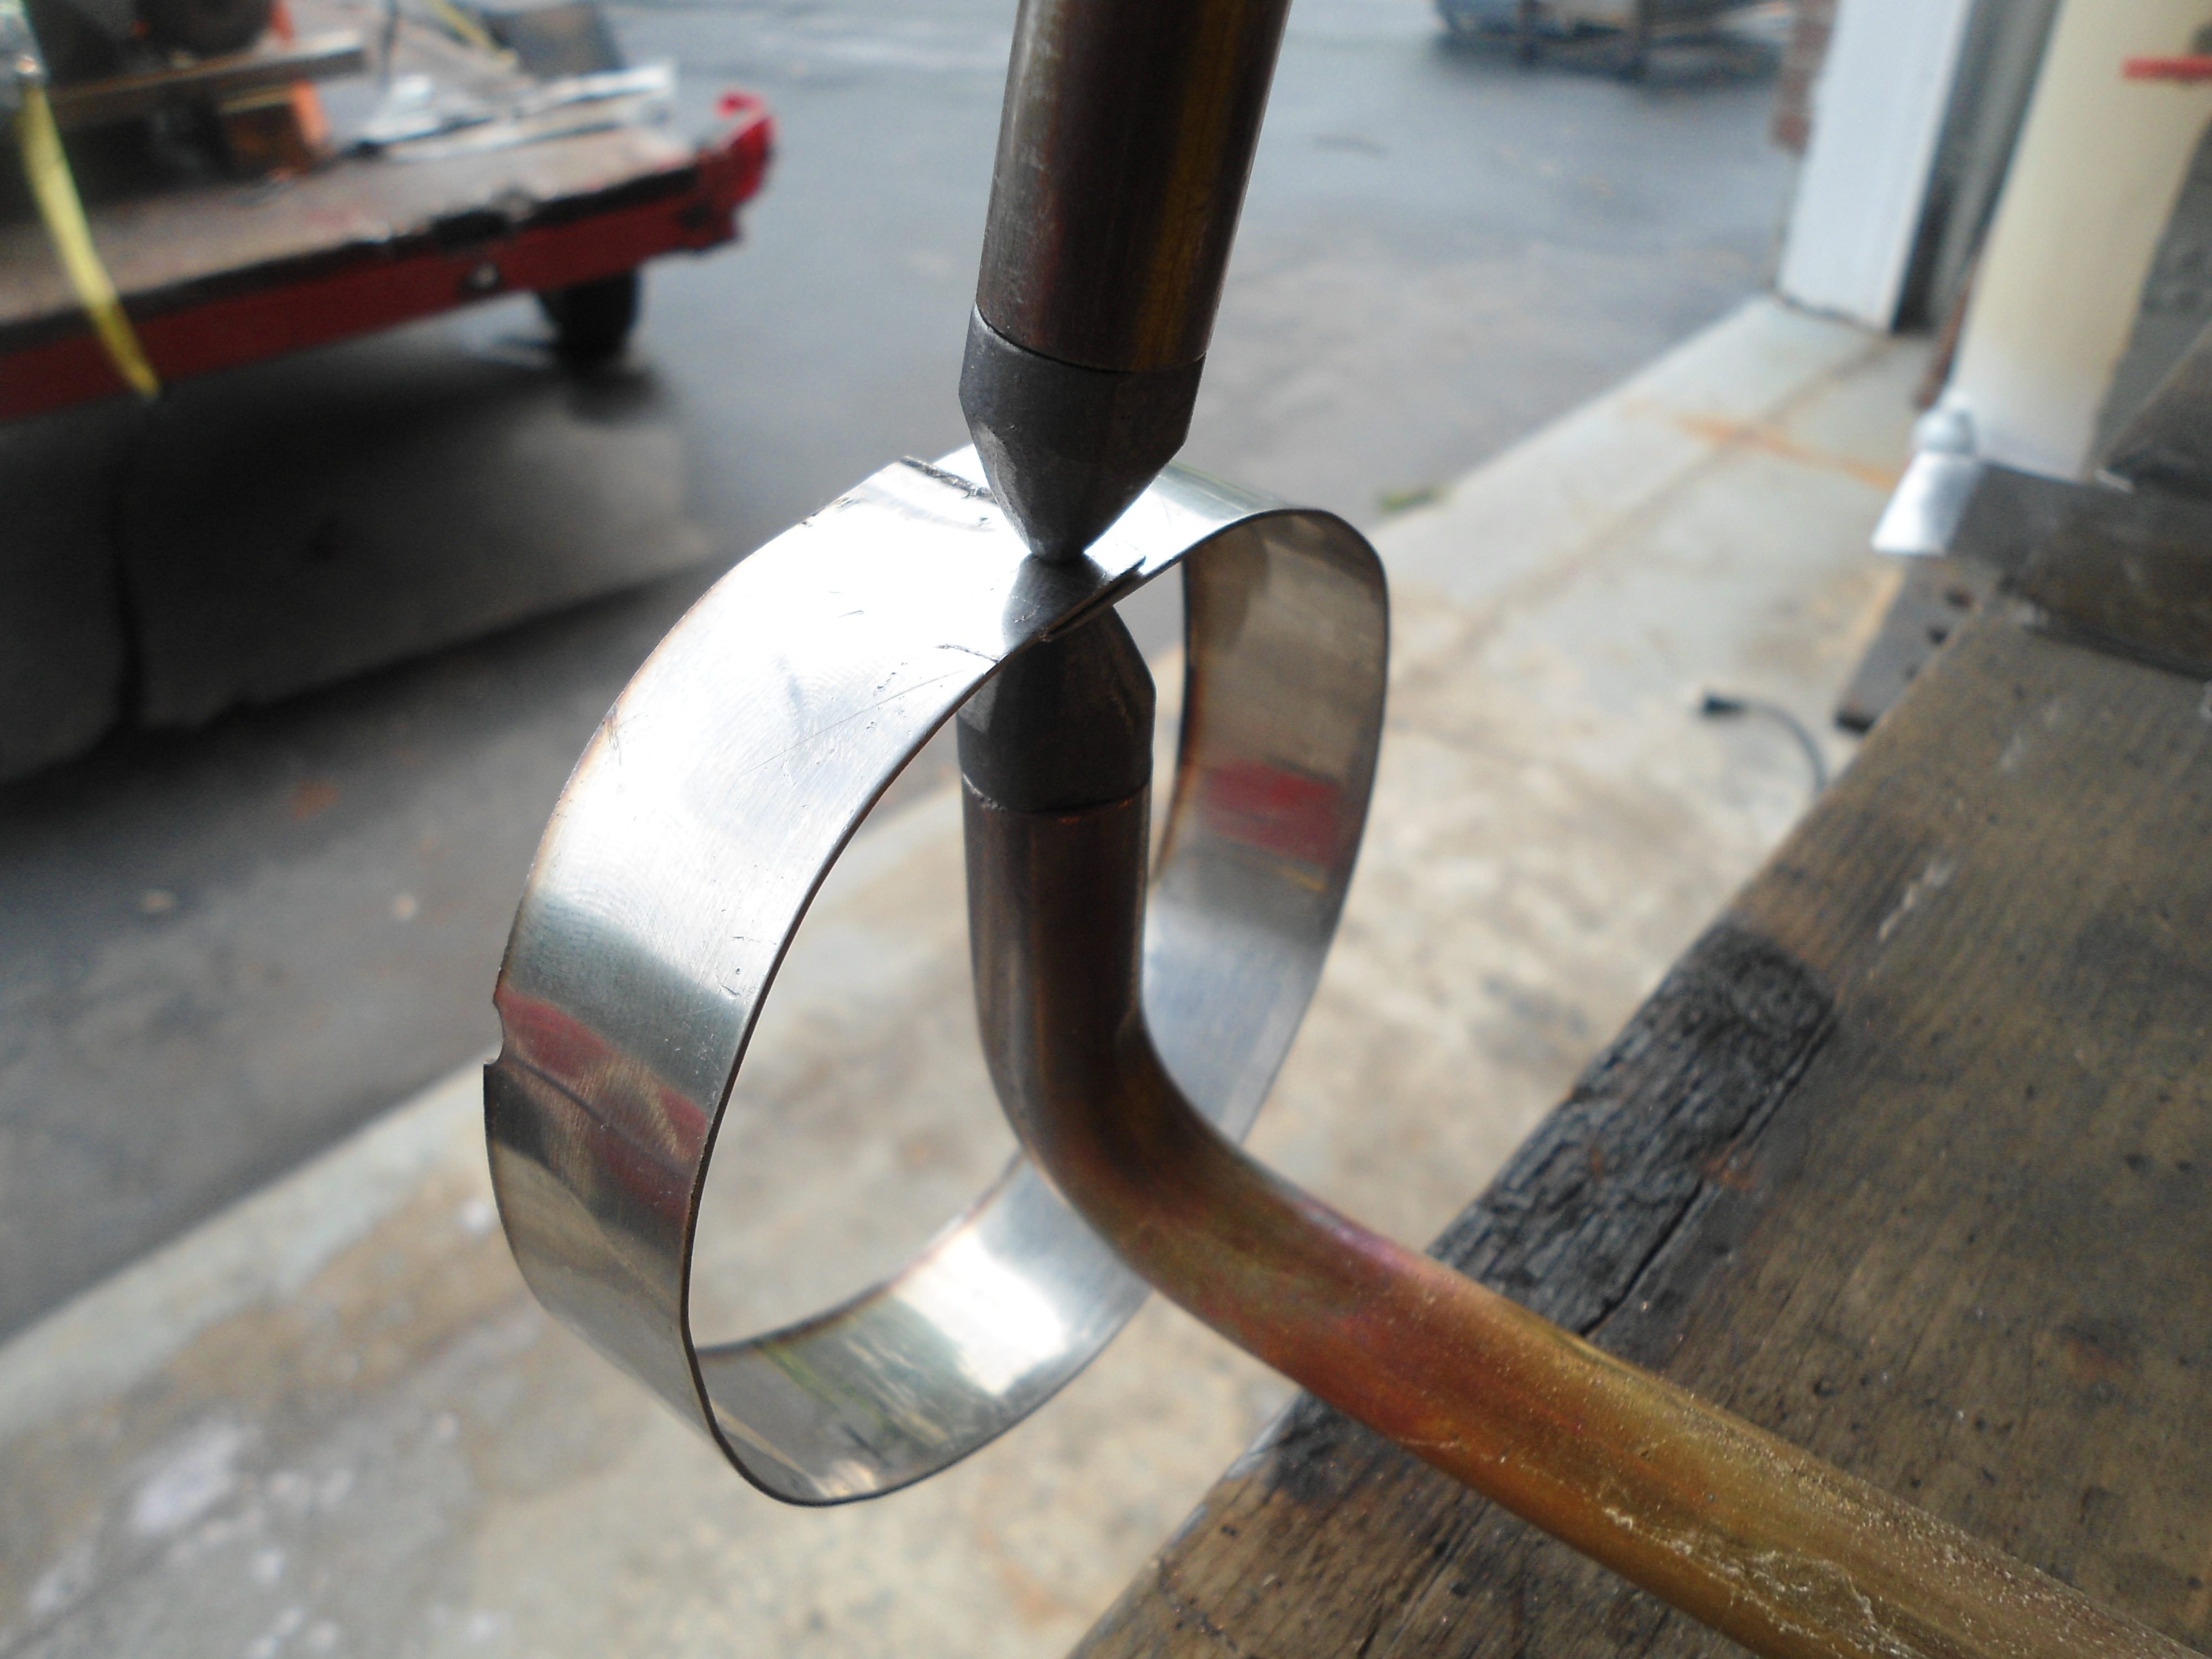
Spot welding the rings

Spot welding the rings

Strips 1″ wide and 12″ long were marked out and cut out with an 1/8″ thick cutting disk on the angle grinder.

The strips were cleaned up with a file to smooth the edges and then cleaned with soapy water and stainless steel pot scrubbers.

These were hand formed into rounds with approximately 1/4″ overlap and then given two spot welds.  Now that worked very well for the thinner material 0.0200″ thick, but not the heavier material.

For the heavier segments, which were 0.0400″ thick the spot welder just wouldn’t cut it… which was a repeat of the performance I experienced when building the pizza oven.  For these I switched over to using the Henrob OA torch.

So for relatively little effort and very little expense I managed to save $20 and get some more metal working practice.

By

Grain mill power drive improvement

I do a lot of baking, which means lots of flour – and since I grind nearly all of the flour I use (I do use commercial flour to cut my whole grain flours when I bake for friends) the homebuilt homestead grain mill gets a lot of use.  Now,  I regularly run through a loaf worth of grain by hand… but more often I grind up quantities of flour using the simple power drive.

Grain mill power drive powering through a few pounds of whole wheat

Grain mill power drive powering through a few pounds of whole wheat

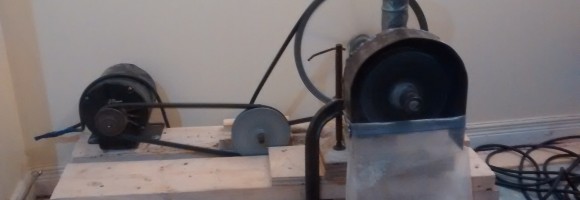
It is a simple drive, a 1/4hp archaic electric motor whose speed is reduced (and torque increased) with pulleys and an intermediary pulley set on pillowblocks.  All of this setup is mounted to a wood frame that allows me to clamp the grain mill to the base.

The drive was put together using what I had on hand and has worked very nicely.   But, the belt on the grain mill was originally one that was pulled off of my snowblower when it became too worn to serve in that capacity.  Snowblower belts are heavy duty, but it was frankly very worn, and worn unevenly.  Still….it worked as the final drive belt for the mill for about a year.

But, by last week it was pretty clear that the life was pretty much gone from the belt, so this weekend I decided to get a new replacement belt.

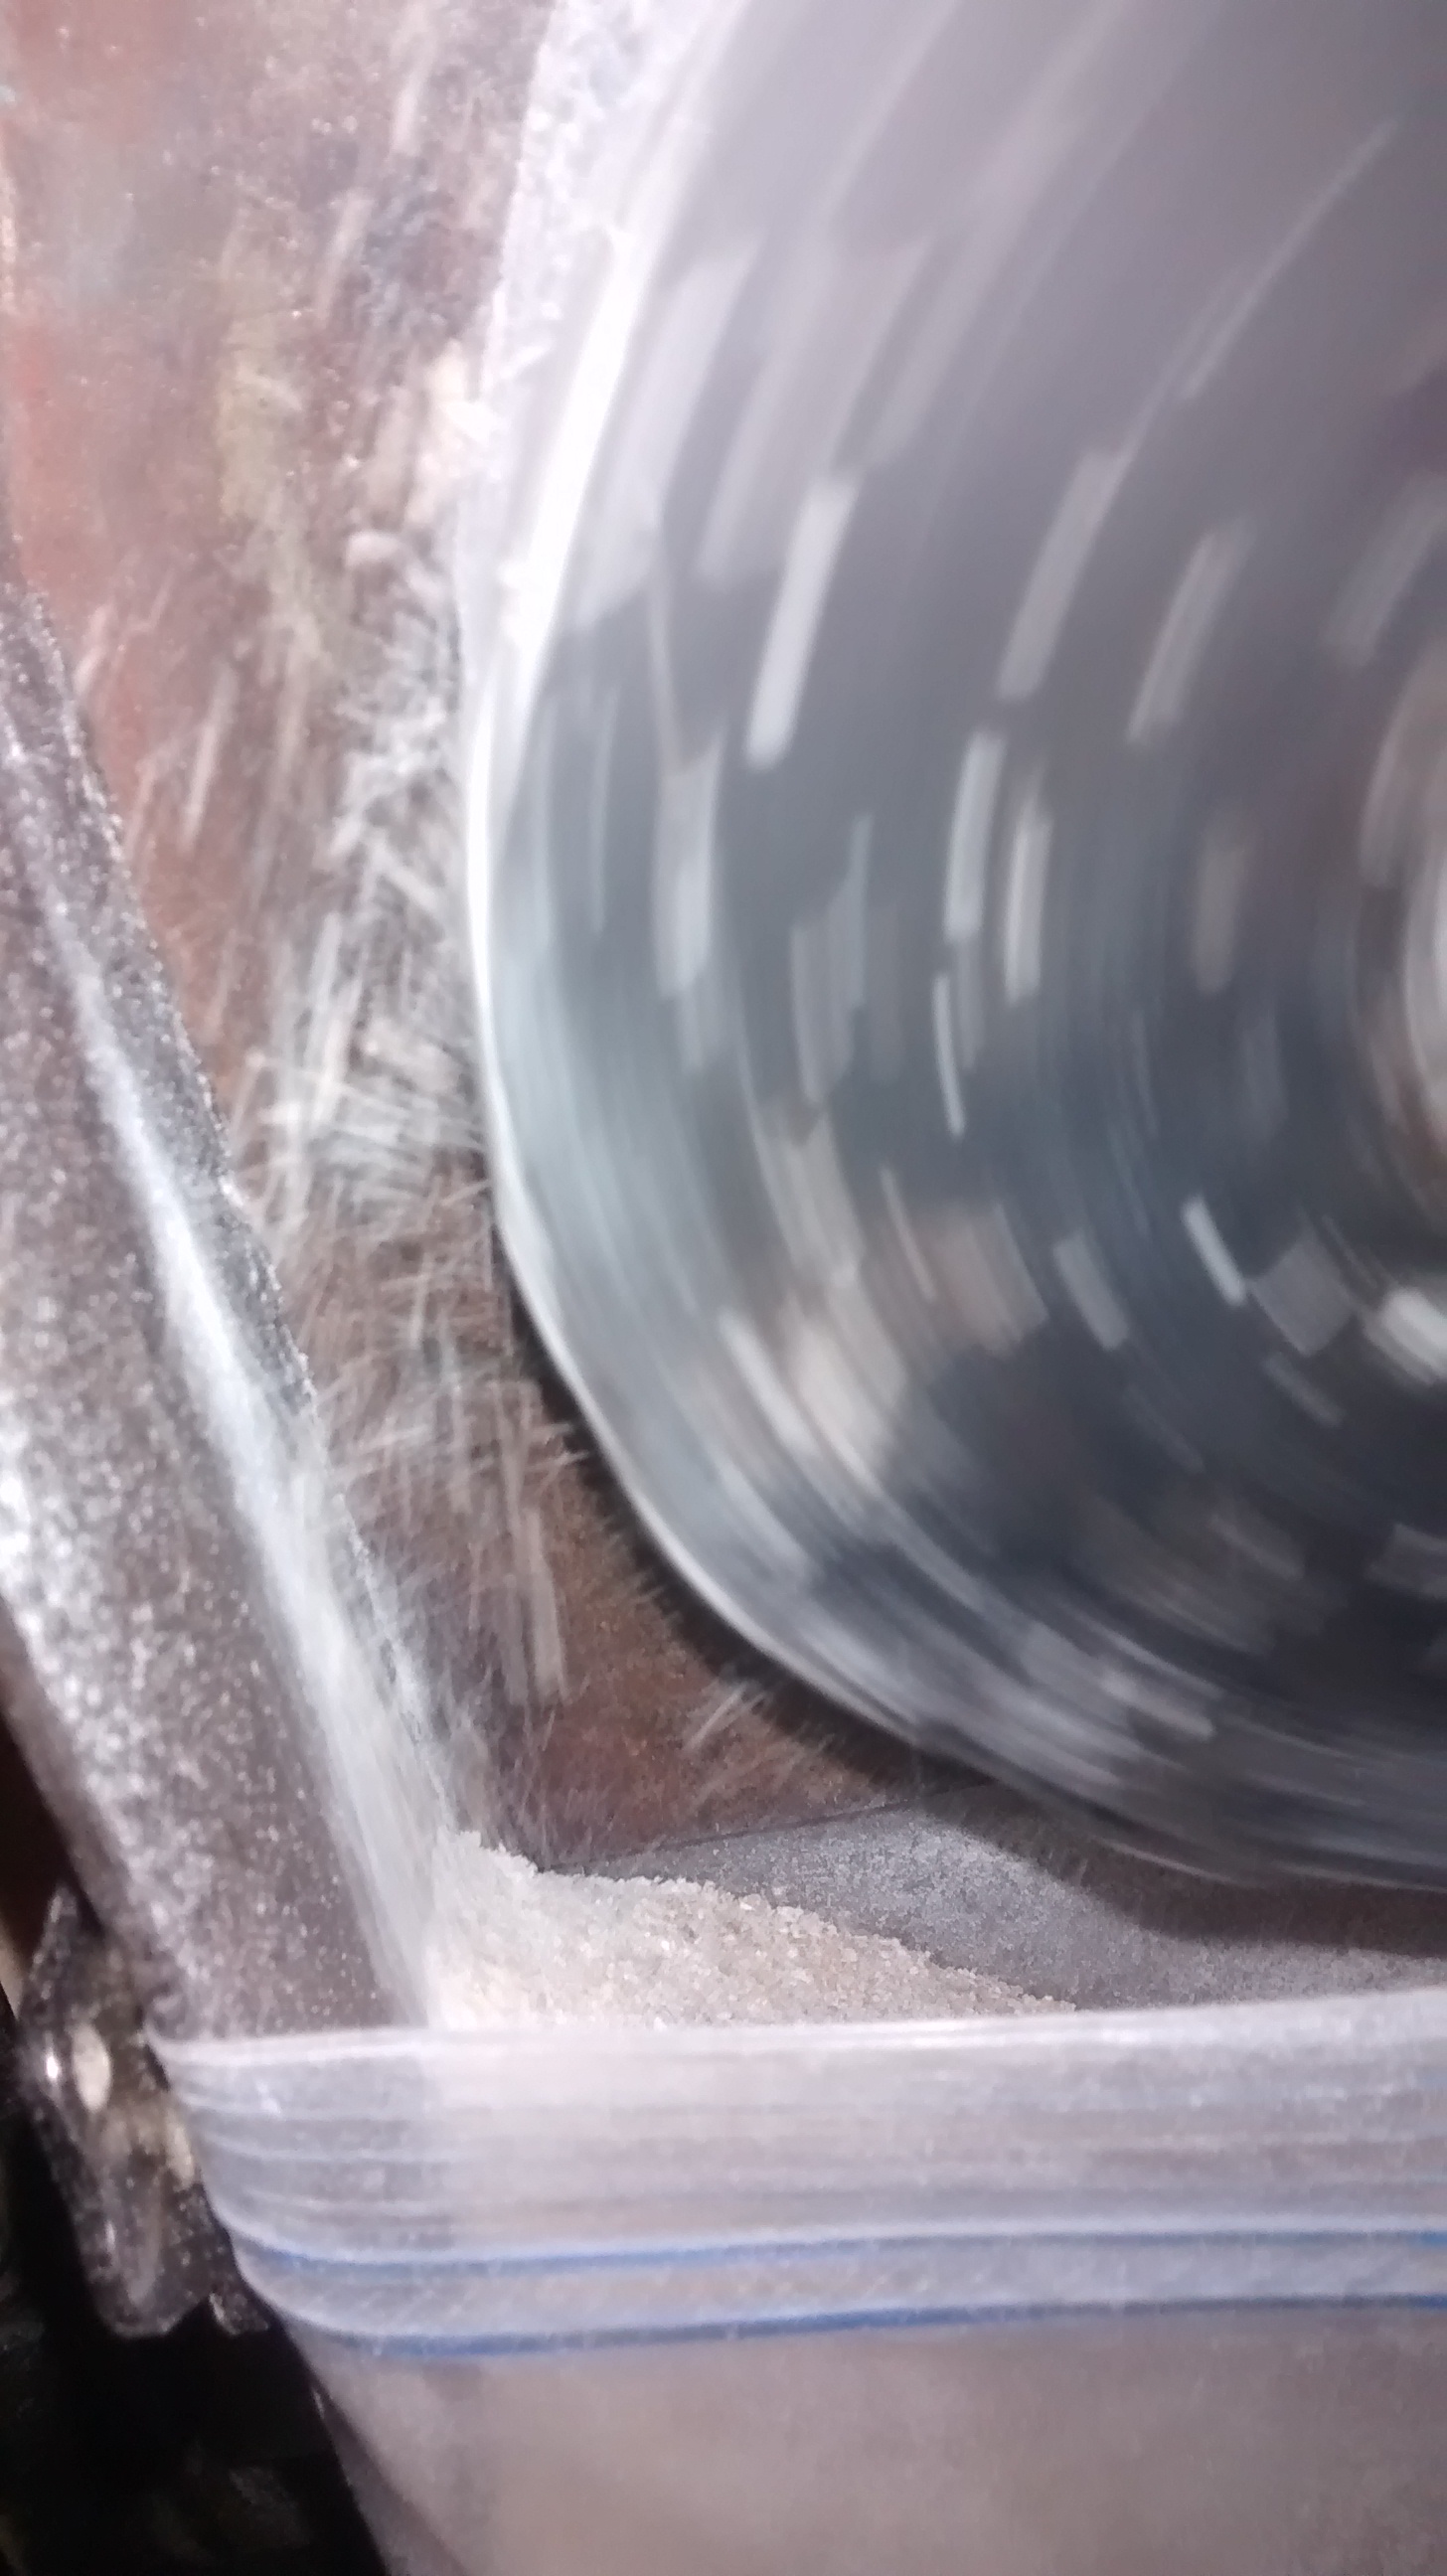
Whole wheat flour off the burrs

Whole wheat flour off the burrs

I had been putting the grain through to pastry flour fine in three passes in order to keep the belt from slipping.  I started to adopt the same strategy when I finished swapping in the new belt, but,  change a variable and you change the outcome right.  In this case two things became apparent.  The overall pace at which I could process the grain could be boosted with the new belt, and rather significantly, which wasn’t unexpected since the new belt would have a much greater contact area with the pulley sheaves therefore transferring more torque to the grain mill.  But, something else changed too.    The old belt had been unevenly worn which introduced a bit of shaking, the new belt didn’t do that so the feed rate for the grain though the mill was reduced… so instead of three passes it now makes sense to grind to pastry flour fine in just two passes.  That reduces the necessary adjustment, which while quick and easy is still an extra step, so all in all a nice bonus and one that I hadn’t really counted on…. now to get baking…


By

Goodell Cherry Pitter – First Try Pitting Bush Cherries

Now I really like my Goodell Bonanza apple peeler and corer.  It is fast and it does a great job.  It is probably the best hand cranked apple peeler out there – which is probably why they run a pretty penny.  I was lucky enough to get mine at a very attractive price at the stat of the last economic downturn and consider myself fortunate to have been able to take advantage of buying opportunities such as that one.

Ready to start processing the first harvest of bush cherries (that made it into the house)

Ready to start processing the first harvest of bush cherries (that made it into the house)

So when it came time to start shopping for cherry pitters to handle the cherries I was anticipating harvesting from my four bush cherries (Carmine Jewel,  Romeo, Juliette, Cupid) – those are the variety names in case you were wondering, I’m not generally in the habit of giving nicknames to my fruit trees – the Goodell Cherry Pitter stood out as one I though I would like to try.  I also noticed that it’s mechanical function has been copied in some more modern small commercial units – which spoke highly of its productivity and the lasting value of the operating principal.  After all, just because it can work doesn’t mean it will work well.

So with this the first real harvest year from my bushes and the harvest just started I got my first opportunity to give it a whirl.  I wanted to see if it worked as well as I thought it should, and if the pit holes might need to be bushed to accommodate the smaller bush cherries.

Two cherries pitted, impaled and about to be stripped from the prongs

Two cherries pitted, impaled and about to be stripped from the prongs

You can check out the video to see how it functions for yourself, but overall I am pretty satisfied.  Some of the pits were carried over along with the pitted cherries – so a few seconds of sorting was needed but overall the performance was pretty good, and I am fairly confident that I don’t need to machine and fit bushings into the pit holes.  The pits seem seem to be relatively similar in size to those in more common tree cherries even though the cherry itself is smaller.

So two thumbs up for the Goodell Cherry pitter.  Now I may still get a plunger unit just to see how those compare but for this season at least I am confident that I’ve got a fast and effective solution to processing what cherries make it inside for pies.  I’m pretty eager to make up a cherry cheesecake with my own cherries, and nearly as exicted to have a bunch of pitts to stratify and growout… maybe the next great bush cherry variety will originate from my backyard rather than the UofS… ahhhh aggie dreams.


By

Essential Power Tools – The Circular Saw

Welcome to the second installment of our Tool Tuesdays.  Last week we revealed the top power tool in our books – the corded hand drill.  This week we follow it up with a tool that is nearly as indispensable and similarly as reasonably priced – the hand held circular saw.

There are loads of wood working projects around most homes – once you start to get comfortable with developing your own capacity to do and recognize that most of what you want done is within your grasp.  A good circular saw will address most of your wood working needs – at least as you are starting out.  It can cut dimensional lumber to length as well as rip sheet goods like plywood and chipboard.  Add a chalk line to your tool kit and you’ll be able to mark out cut lines on sheet goods with

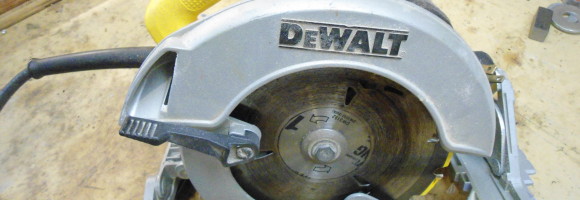
The Circular Saw

The Circular Saw

ease.

It is also eminently portable.  Heading out to do some woodwork somewhere and this is your compact do it all tool.  Now, certainly I’m not knocking the chopsaw.  If you are laying hardwood flooring or putting up a good sized building a chopsaw is well worth the investment.  Likewise I love my jobsite craftsman tablesaw (count on it featuring in this list in a bit) but while both of them are “portable” they aren’t what I am going to grab for a quick project in the back yard or a job at the camp or a buddy’s.  That role, especially if I’m not completely sure what is going to be involved goes to the circular saw.  It’s easy to tote along, can do pretty much everything that the table saw or chop saw can do and if you are careful (read take your time) you can achieve results that are for most purposes close enough.

If you are wondering why my number two tool wasn’t more into the metal working sphere it’s because as much as I love metal working being able to do simple carpentry is going to find a lot more application for most if not all folks.

So if you are in the process of building up a workshop in order to become more self reliant and you don’t already have a circular saw add one to your list to pick up (new or used) and begin to figure out a few projects to exercise your kit and build your skills.