[metaslider id=12]

By

Grain mill power drive improvement
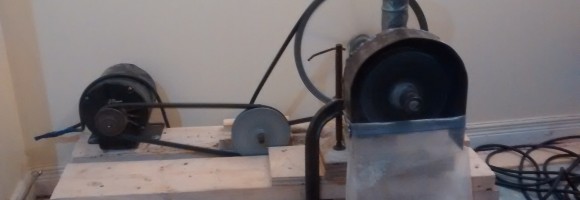
I do a lot of baking, which means lots of flour – and since I grind nearly all of the flour I use (I do use commercial flour to cut my whole grain flours when I bake for friends) the homebuilt homestead grain mill gets a lot of use.  Now,  I regularly run through a loaf worth of grain by hand… but more often I grind up quantities of flour using the simple power drive.
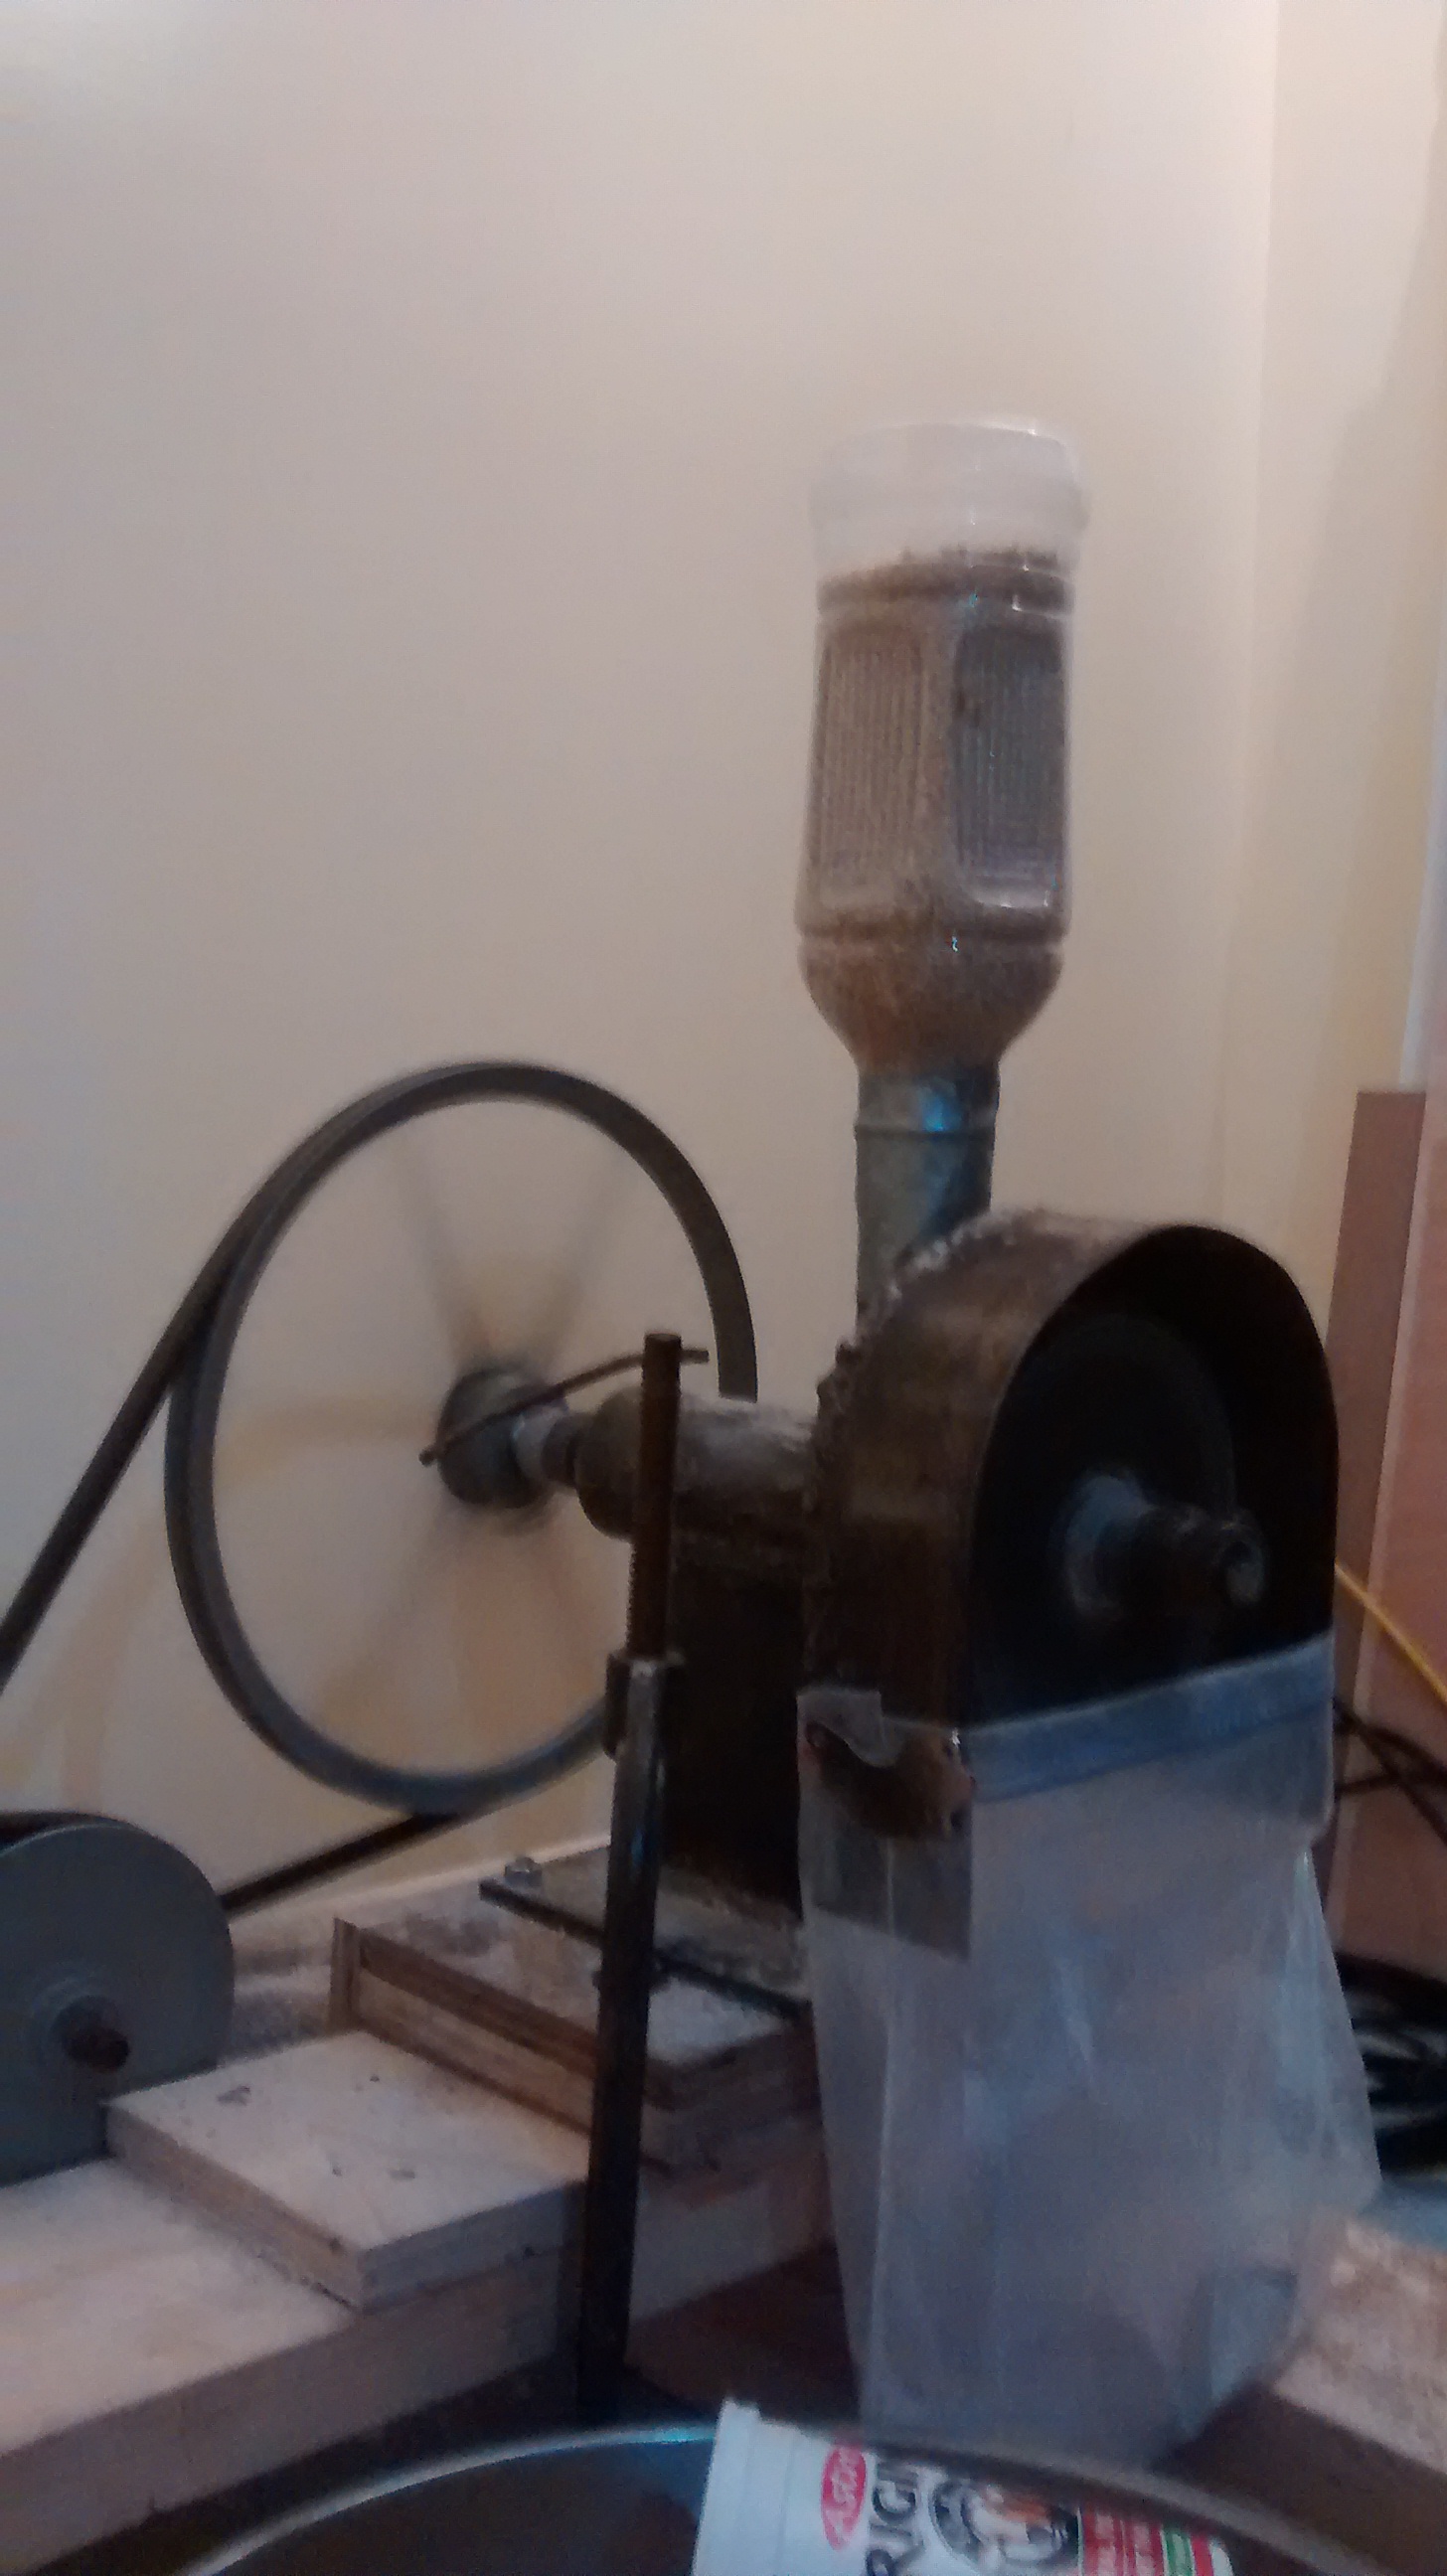
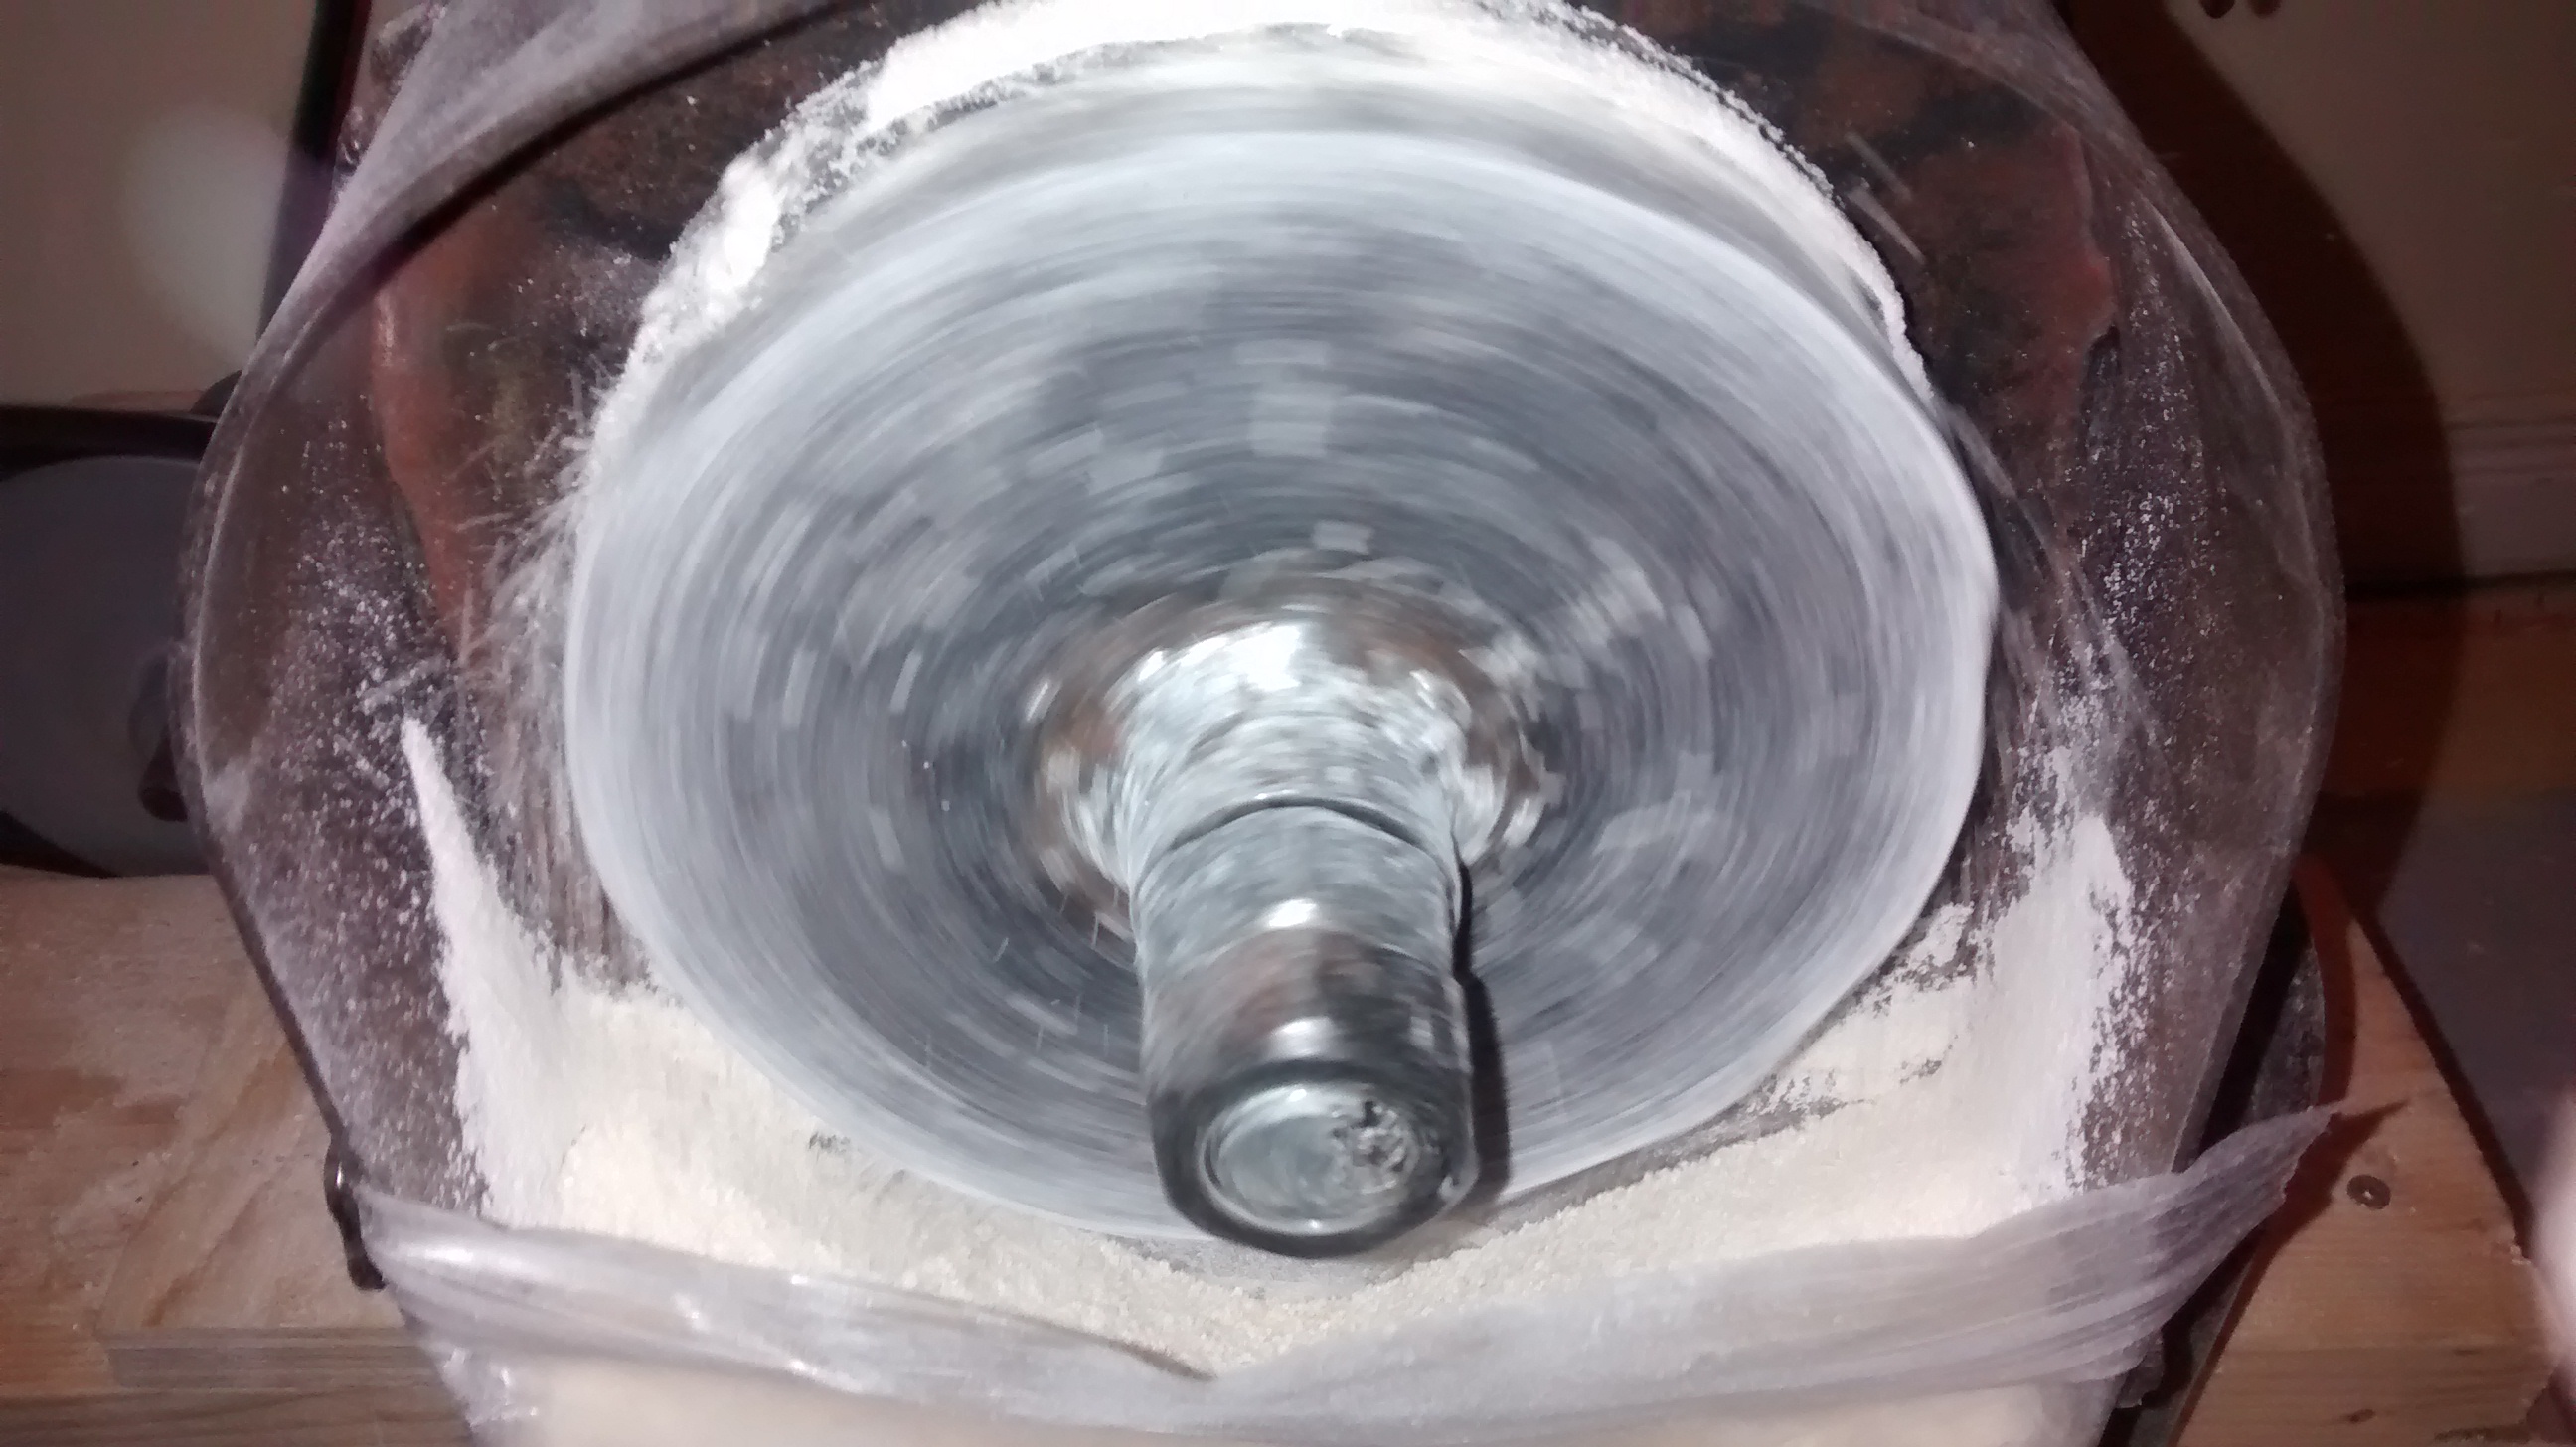
Grain mill power drive powering through a few pounds of whole wheat

Grain mill power drive powering through a few pounds of whole wheat

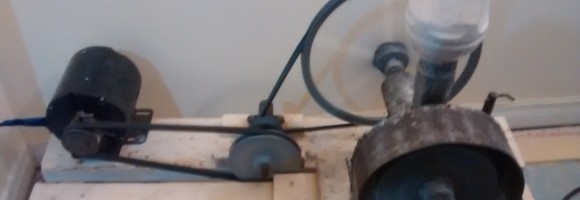
It is a simple drive, a 1/4hp archaic electric motor whose speed is reduced (and torque increased) with pulleys and an intermediary pulley set on pillowblocks.  All of this setup is mounted to a wood frame that allows me to clamp the grain mill to the base.

The drive was put together using what I had on hand and has worked very nicely.   But, the belt on the grain mill was originally one that was pulled off of my snowblower when it became too worn to serve in that capacity.  Snowblower belts are heavy duty, but it was frankly very worn, and worn unevenly.  Still….it worked as the final drive belt for the mill for about a year.

But, by last week it was pretty clear that the life was pretty much gone from the belt, so this weekend I decided to get a new replacement belt.
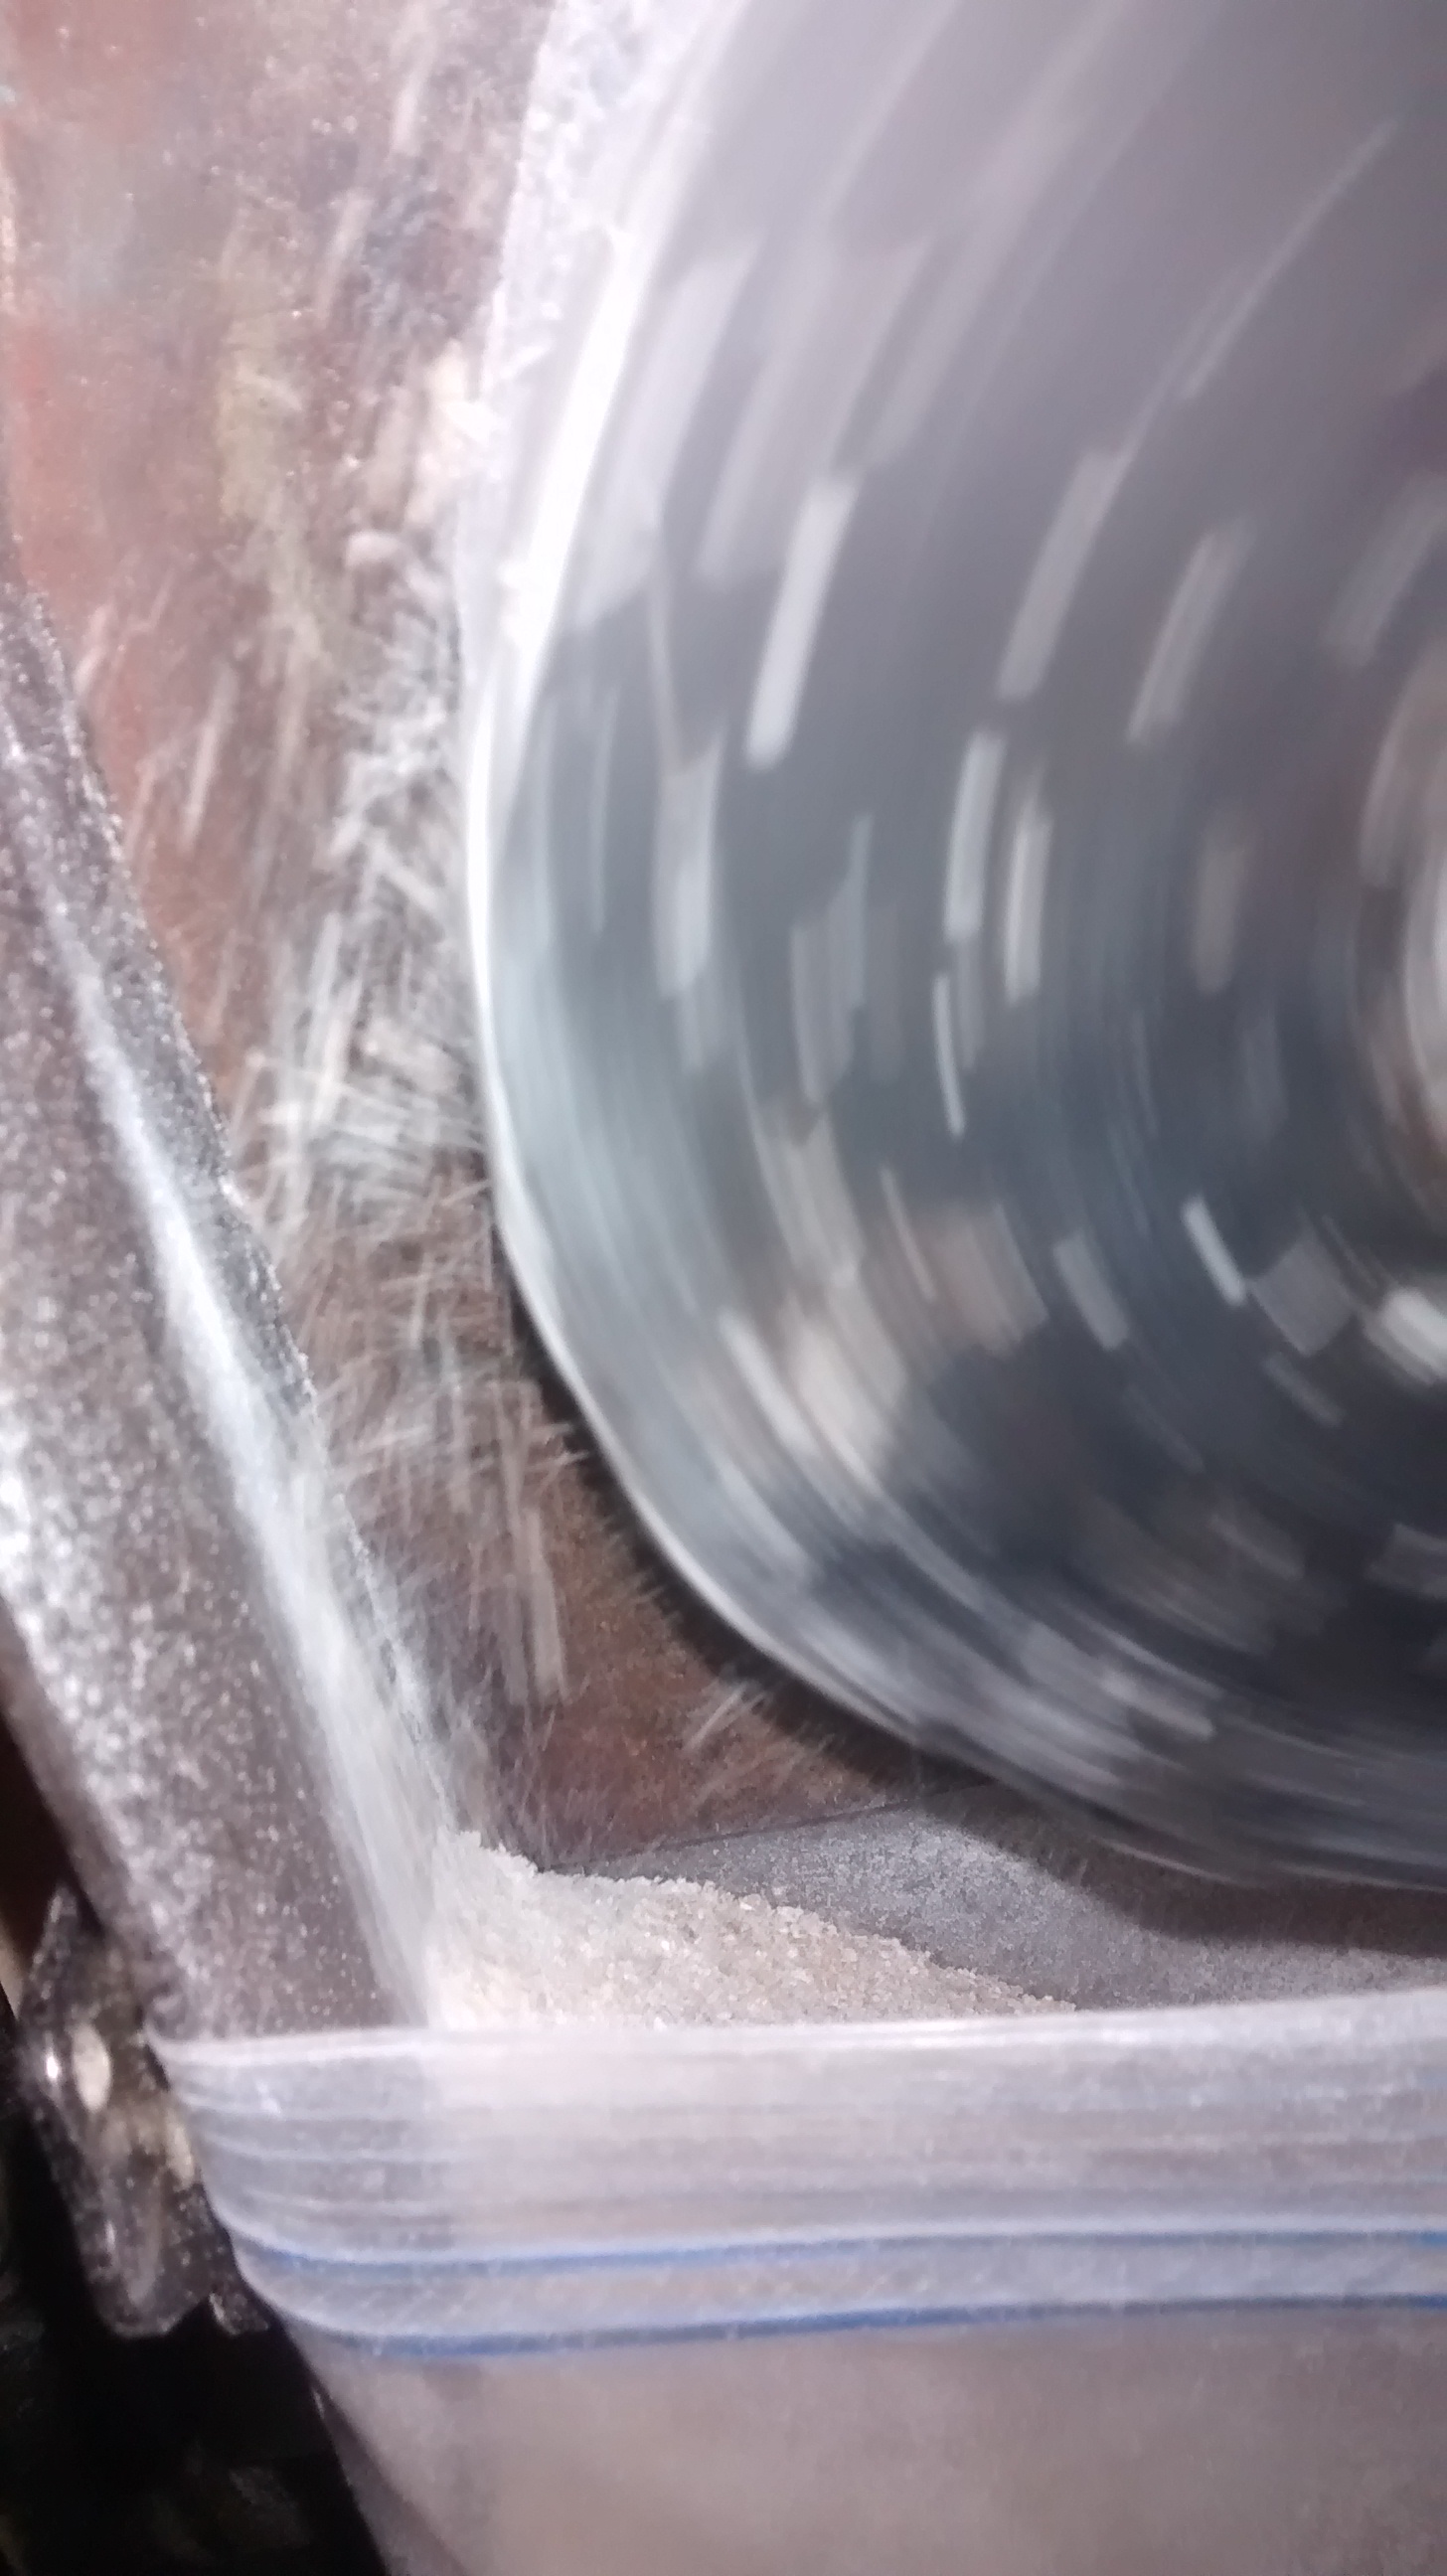
Whole wheat flour off the burrs

Whole wheat flour off the burrs

I had been putting the grain through to pastry flour fine in three passes in order to keep the belt from slipping.  I started to adopt the same strategy when I finished swapping in the new belt, but,  change a variable and you change the outcome right.  In this case two things became apparent.  The overall pace at which I could process the grain could be boosted with the new belt, and rather significantly, which wasn’t unexpected since the new belt would have a much greater contact area with the pulley sheaves therefore transferring more torque to the grain mill.  But, something else changed too.    The old belt had been unevenly worn which introduced a bit of shaking, the new belt didn’t do that so the feed rate for the grain though the mill was reduced… so instead of three passes it now makes sense to grind to pastry flour fine in just two passes.  That reduces the necessary adjustment, which while quick and easy is still an extra step, so all in all a nice bonus and one that I hadn’t really counted on…. now to get baking…
 

By

A Grain Mill Power Drive

Adding a simple power drive to a grain mill – be it the homestead grain mill you can build yourself or a good quality commercial mill like the Grainmaker or the country living mill – is nearly as essential as the mill itself.   The reason is simple.  Even a small electric motor can make grinding flour at home from whole grains nearly effortless.

Whole grain flour without effort using the power drive

Whole grain flour without effort using the power drive

That means you will grind the grain into flour and in turn use that flour to produce your own baked goods regularly rather than relegating the mill to a dusty corner of your pantry and leaving buckets of grain in the corner of your larder.  Shouldn’t that be your goal – live better today – and fresh baking using whole grain flours is a nice component of that philosophy.

If your grain mill is of any size, and if you intend to use it, it should be large – the homestead grain mill for instance features 6″ burrs – it will take quite a bit of torque to turn those burrs as you will no doubt have discovered if you’ve hand cranked one.

This means you will need to step down the speed of an electric motor which increases the torque.  You can do this with a worm gear speed reducer, with a gear drive speed reducer – either one integrated into the motor or separate – or the most easy route with belts and pulleys.

I’ve used all three routes, employing the first ones on my previous iterations of the homestead grain mill as I worked to perfect the design.  But the design is now much better (and simpler) and I have settled on a correspondingly simple power drive using pulleys and belts.

Grain mill power drive - view from the top

Grain mill power drive – view from the top

There is an intermediary pillow block to allow me to slow the speed of the vintage 1/4hp motor down from 1725rpm to about 45 rpm on the mill.  The belt design is also allows me to quickly clamp the mill to the power drive setup and is forgiving of slight miss-alignments – my previous mill used a chain drive that would rip the mill from the mounting blocks if the alignment wasn’t close to perfect.

As discussed in an earlier post you can’t expect to bake fine products with coarse flour – so I always grind to pastry flour fineness.  By hand that usually takes three passes with the burrs progressively closer together.  With the power drive I tend to do that reduction in four passes.  Not being quite as aggressive ensures that the drive system isn’t inclined to stall out – though it sometimes does need a pull on the pulley mounted to the mill to get started.

I use a couple of super magnets to hold plastic bags to the mill shroud to catch the flour.which works wonderfully.

Build a grain mill

Build a grain mill

I wouldn’t give up the hand crank – I think it’s essential not only to ensure that you can produce flour if the lights go out, but more importantly I think cranking out the flour to bake a loaf of bread every once and a while really increases your appreciation of how great mechanization can be.  However, just as I think a bread machine is a nearly essential kitchen appliance because it makes baking easy I think the same can be said of the power drive for a grain mill.  Make things easy and it’s more likely you will actually incorporate them into your life.

While my setup for the power drive isn’t part of the Building the Homestead Grain Mill book, I should have a supplement done up shortly that will be in new copies of the book and will be sent to those who have already purchased a copy.

So if you already have a grain mill that isn’t motorized – motorize it.  If you don’t yet have a grain mill – you should probably get one, either by building it yourself or by purchasing a quality mill – and when you do motorize that one.


By

Whole wheat breads – dough moisture levels

So it’s probably pretty obvious that I grind a lot of whole grain flours and do a considerable volume of baking with them.  I’ve learned a couple of secrets over time.

1. You need fine flour to get something that is acceptable quality, you can do that on the home built grain mill or a good quality one you purchase.

2. You need a really good recipe to make a whole wheat breads that is something folks will be happy eating day after day.

3. You need to ensure there is adequate moisture in the dough at when it is just starting out to compensate for the slower

Desired moisture level in whole wheat dough at the start of the cycle

Desired moisture level in whole wheat dough at the start of the cycle

absorption of the liquid into the whole wheat flour.  This is something I always monitor at the start of the bread machine cycle and add water as necessary to achieve the consistency I am looking for.  While the consistency is always the same the amount of water can vary depending upon the moisture content in the flour and things like the size of the eggs.

You want the dough at the start of the cycle to look considerably more moist than you would want to achieve with a white dough.

I shot a video to give you a better idea of what you are looking to achieve.


By

Grind it fine – whole grain flour

In real estate the three factors that are said to matter are “Location, Location, Location”.  A similar thing might be said of baking – the secret is all in the ingredients.

So, it’s somewhat surprising then when folks use whole grain flour that has the consistency of sand and wonder why their whole grain baking doesn’t match up with what they can produce with the super fine white flour.

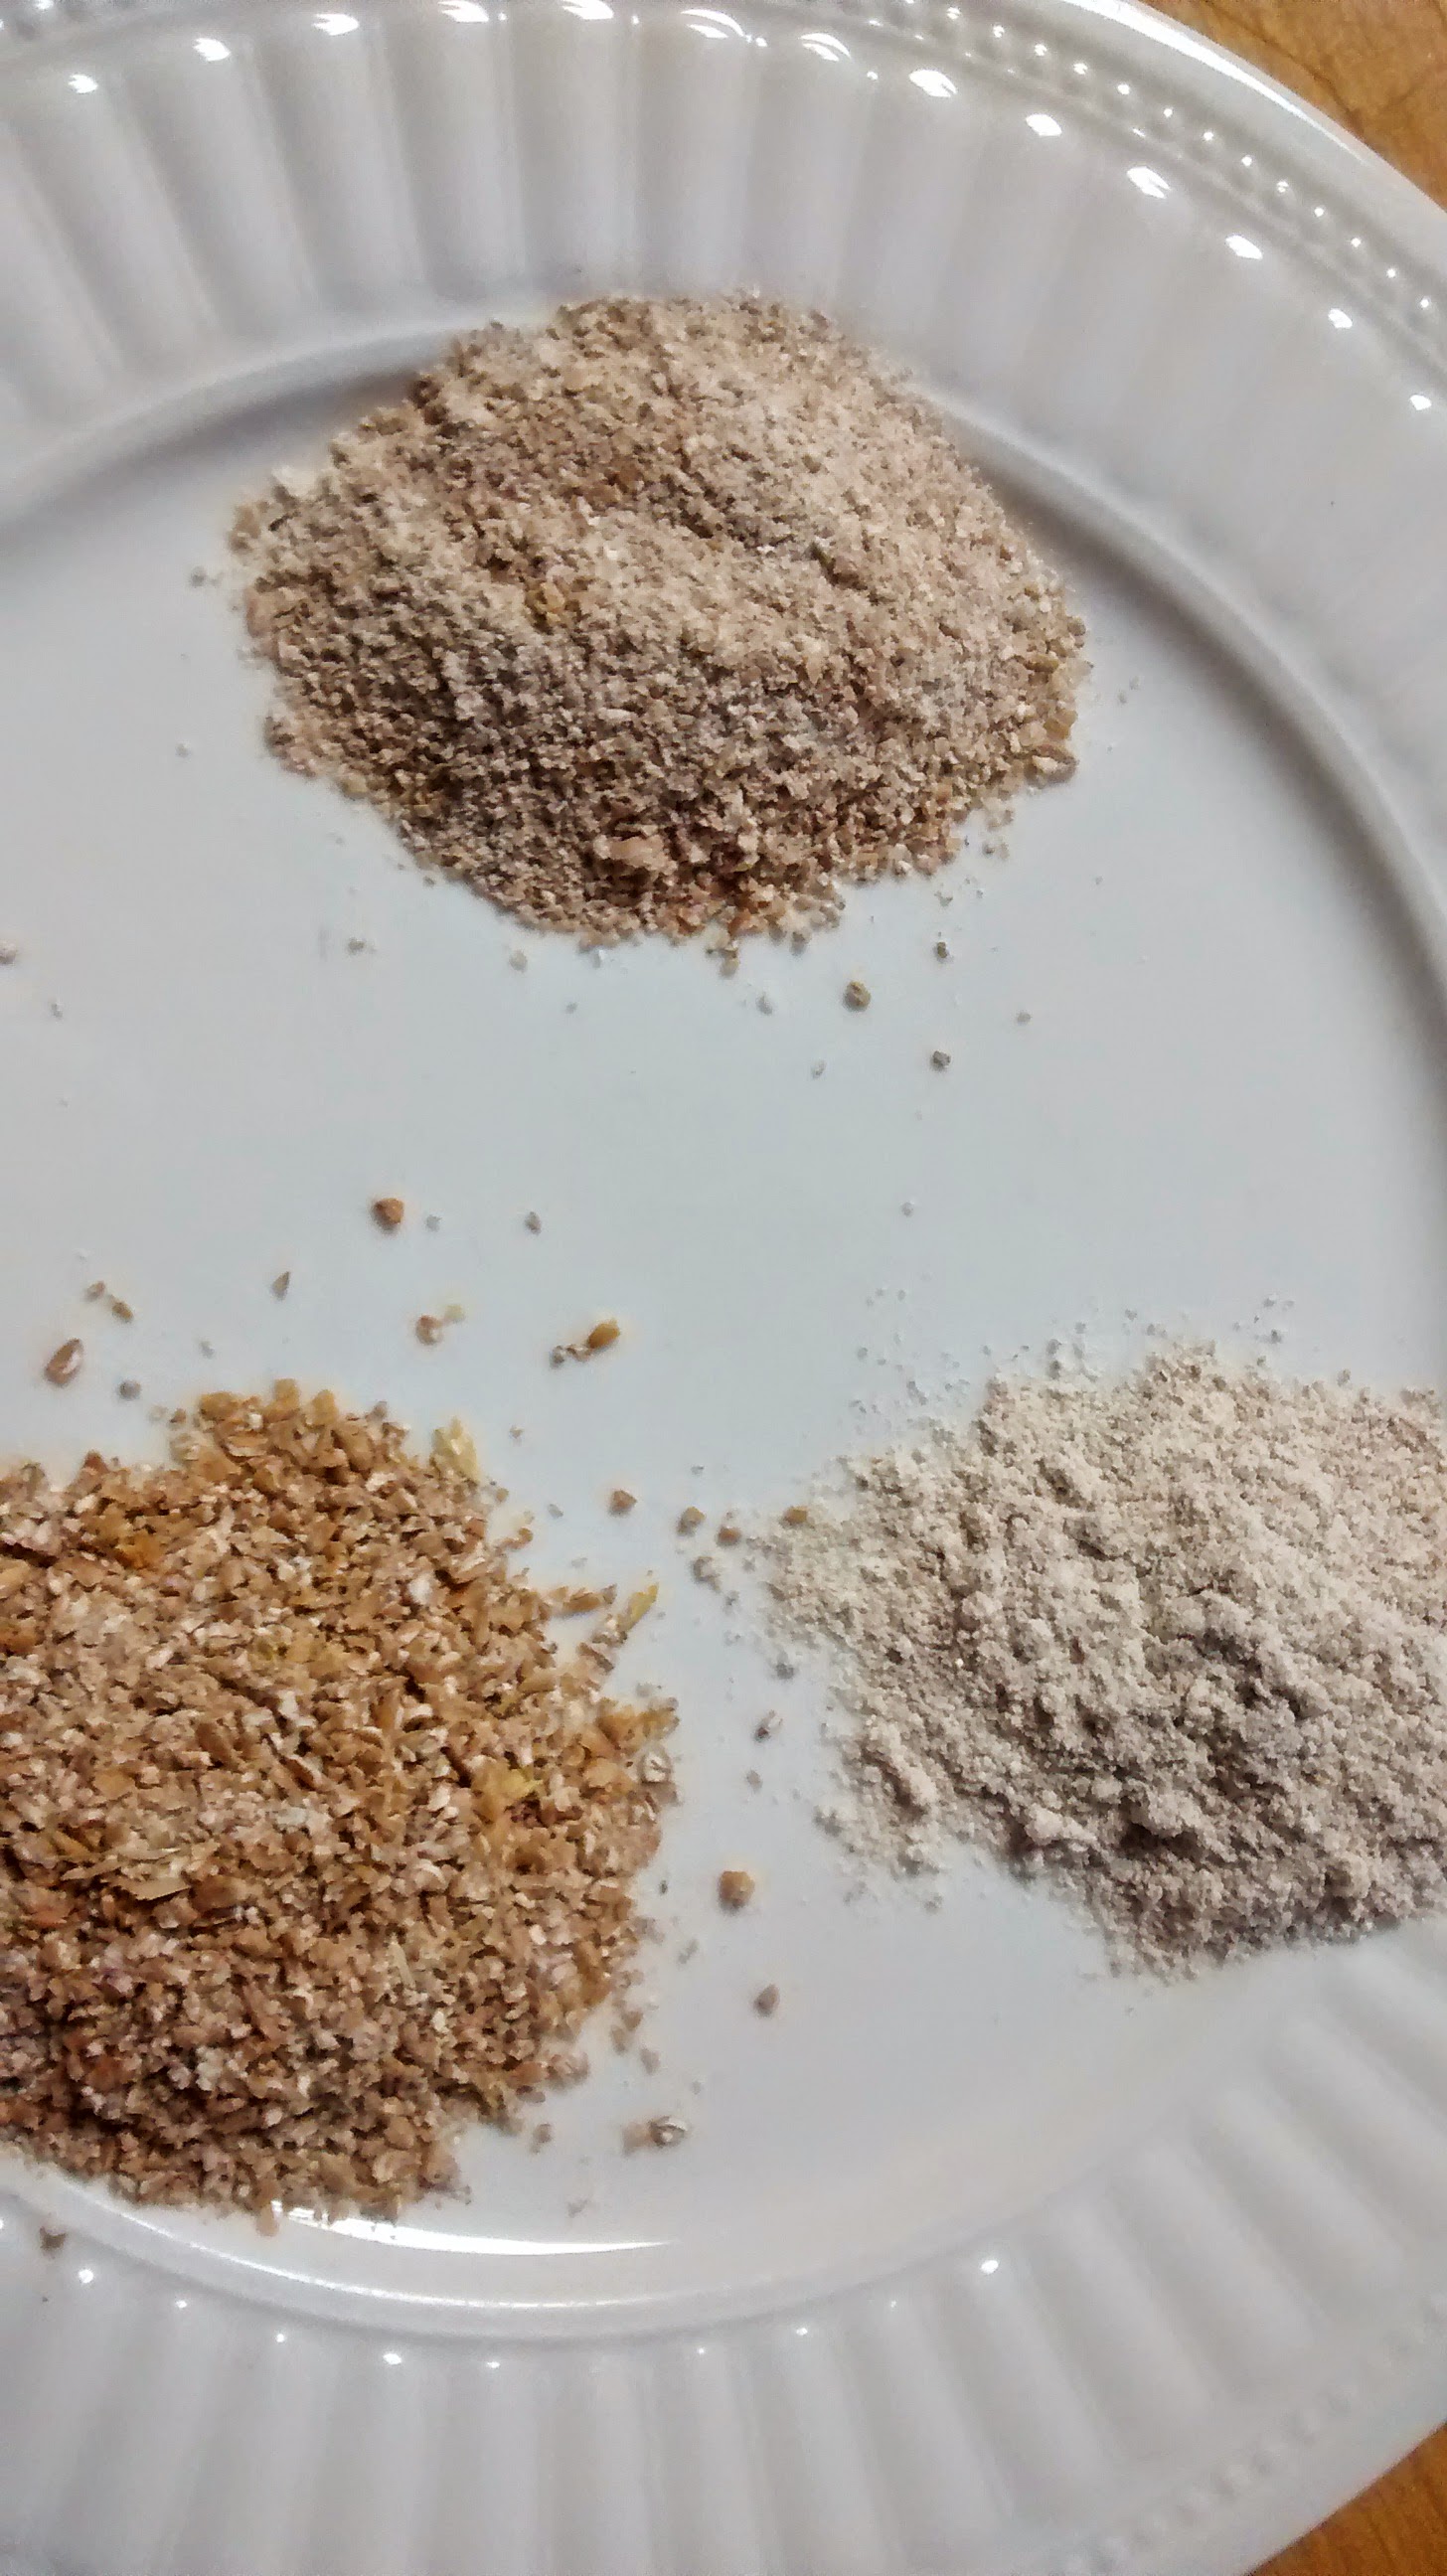
Whole grain flour Lower Left - Cracked Top - Second pass Lower Right - Pastry fine

Whole grain flour
Lower Left – Cracked
Top – Second pass
Lower Right – Pastry fine

Really?  It’s all in the ingredients, so when starting with a coarse flour it is hardly surprising that you get a coarse product.

The homestead mill will produce pastry fine flour – and that is the grade that I aim to produce and use in all of my baking.  If anything using fine flour is more important with whole extraction flours than with white since the lower proportion of gluten in whole grain flour and the slower absorption of liquid due to the higher fiber content benefits significantly from the smaller particle size.

Now, I think that one of the reasons folks go coarse is because they expect to produce suitable flour in one pass through the burrs.  I guess that with a tiny mill it might be possible enough to muster the torque to produce that quality

of flour in a single pass – but you certainly wouldn’t be doing it very quickly.  As soon as you step up the burr size that becomes nearly impossible.  Move up to a six inch burr like those on the Homestead Grain Mill and you’re up for a real challenge.

Instead of struggling to do it in one pass I usually do it in at least two passes, and more often three.  The first pass is just to crack the grain, the second brings it down to a much finer but still cracked consistency, with a third pass to get it pastry flour fine.  If I  am using the power drive I usually end doing the reduction in four passes.

With finely ground flour I think you’ll find that your whole grain baking gains a whole new level of endorsement from your family and friends.


By

Build a grain mill, grind flour at home

There are some great grain mills out there that you can purchase.  Both the Grainmaker and the Diamant look like great mills.

So, why would you want to build one?  I think there are a bunch of reasons.

First off, you get a great mill – one I think you’ll find is equal to those other two great options you could buy.  I don’t think you give up anything in terms of performance.  Fundamentally that is what you are after right.

The cost of the materials though is a fraction of what it costs to purchase one of the commercial mills.  Even if you have to purchase the tools – the principal ones being a welder, an angle grinder and a 3/8″ drill you’ll still likely find yourself ahead financially.

Build a grain mill

Build a grain mill

If you build more than one grain mill or already have some of the tools you’ll be even further ahead – and you’ll have the start of a nicely equipped metal working shop.

But more than that you’ll have gained the experience and insight needed to use those tools productively, and that is a pretty cools skill set to have in my book, and you’ll have gained those while building something very useful.

Now if you are a true novice to metal working you might want to tackle the tortilla press first.  You’ll use many of the same skills but turnaround is much faster.  It should serve as a good confidence builder.

By

Why get a grain mill

So why would you want a grain mill to produce whole grain flour at home?

Well, I can share a few of the reasons why I value my grain mill.

First, I like the health benefits offered by whole grain, 100% extraction flours.  By producing my own whole grain flour at home I can get everything that is in those seeds and put it in my baking.  I can’t easily buy 100% extraction flour, in part because once the endosperm is ground the oils in the seed start to go rancid.

Second,  I like the financial advantage of baking at home. I can bake a loaf of bread for a fraction of the price of a white loaf from the store – let alone the cost of a premium priced whole grain loaf.  That financial savings is a nice gain especially since it comes not from sacrifice but from a significant gain.

Third,  I like being able to purchase and store whole grains.  Not only can I purchase them in bulk for a fraction of the price of white flour from the store but I can also purchase them at low cost and avoid price fluctuations and provide a hedge against my own income disruption.

Now, let’s be honest.  It does take time to grind grain.  But, if I don’t feel like hand cranking out a loaf worth of flour I can always use my power drive, and quite often grind enough for a couple of days.  Combine the power drive for the grain mill with a bread machine and mechanization does most of the work.

I also find it’s a pain to have to head out to the grocery store to pick up a loaf of bread, and would take considerably more time than producing flour and baking at home.

In my home home ground wins hands down and it has for over a decade.