[metaslider id=12]

By

Egg ‘n Ham Breakfast Bagels – breakfast on the go done right

Let’s give credit where credit is due.  Fast food gets loads of flack including the blame for making folks fat.  But consider that McDonalds – the quintessential fast food chain has been around for decades – including a whack load of time during which folks were in pretty good shape.  No question the portion size has a bunch to do with it as well as the frequency of a patron’s visit – but those are in the full dominion of the patron.

Ham and Egg breakfast bagel - whole wheat

Ham and Egg breakfast bagel – whole wheat

OK, so  where am I going with this – well to some of the fast food breakfast offerings.  Not only did the introduction of these mark a capital utilization and financial breakthrough for the fast food joints but also in many respects created many new food  items in the form of breakfast sandwiches.  Moreover, those breakfast sandwiches are great!

But just like you can make a better burger at home you can also upgrade the breakfast sandwiches by making them chez vous.  In my home I know that whenever I make up a batch of whole wheat bagels (which are so simple that you need to try them now) I had better have cream cheese and a fillet of our home smoked salmon or trout as well as eggs so that I can make bagels with lox and then breakfast egg bagels if any last to the next morning.  Failure to properly plan ahead – or at least warn the other occupants of the house that some component is missing (usually we’ve eaten though all of the smoked salmon) – will trigger a cascade of complaints.  And this is for something that is whole grain and pretty healthy no less.

So what are you waiting for?  Take the food you love from out there and make it better at home – starting with whole wheat bagel breakfast sandwiches.

By

Greenhouse vents from Harbor Freight

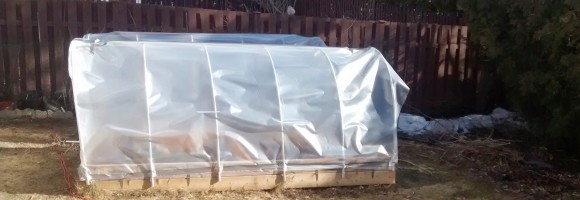
So last weekend a couple of nice medium high hoop houses went up.  The only item of any significance left to do to finish them off was to build and install vents so that the spaces wouldn’t overheat.

Harbor Freight greenhouse vent mounted to frame

Harbor Freight greenhouse vent mounted to frame

Often it is hard to remember that even when the outside is cool the solar gain in a cold frame or greenhouse can be significant.  Now before you’ve got plants growing I think it makes sense to limit air exchange so that you build up the thermal reserve in the soil – especially if that soil was frozen just a few weeks ago.  But once the soil is thawed and plants go in it becomes imperative to ensure that they aren’t baked.

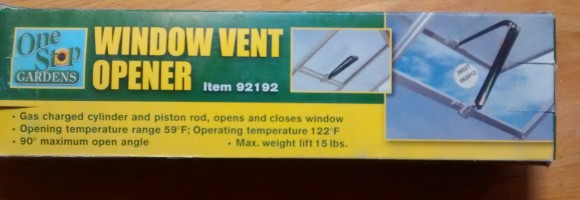
There are thermostatically controlled vents of course – but those rely on and use electricity.  When I had my solar greenhouse I came to really like the vents that rely on the expansion within in a cylinder pushing on a lever to open vents.  These have the advantage of being completely non electric and in my experience completely dependable.  They aren’t nearly as controllable as electro-mechanical systems would be but they are pretty fool proof, low cost and get the job done.

Now, they are limited in what they can lift – think plastics not glass.  If the bulk of your cold frame or greenhouse is glass just make your vents out of plastic material and you’ll be fine.

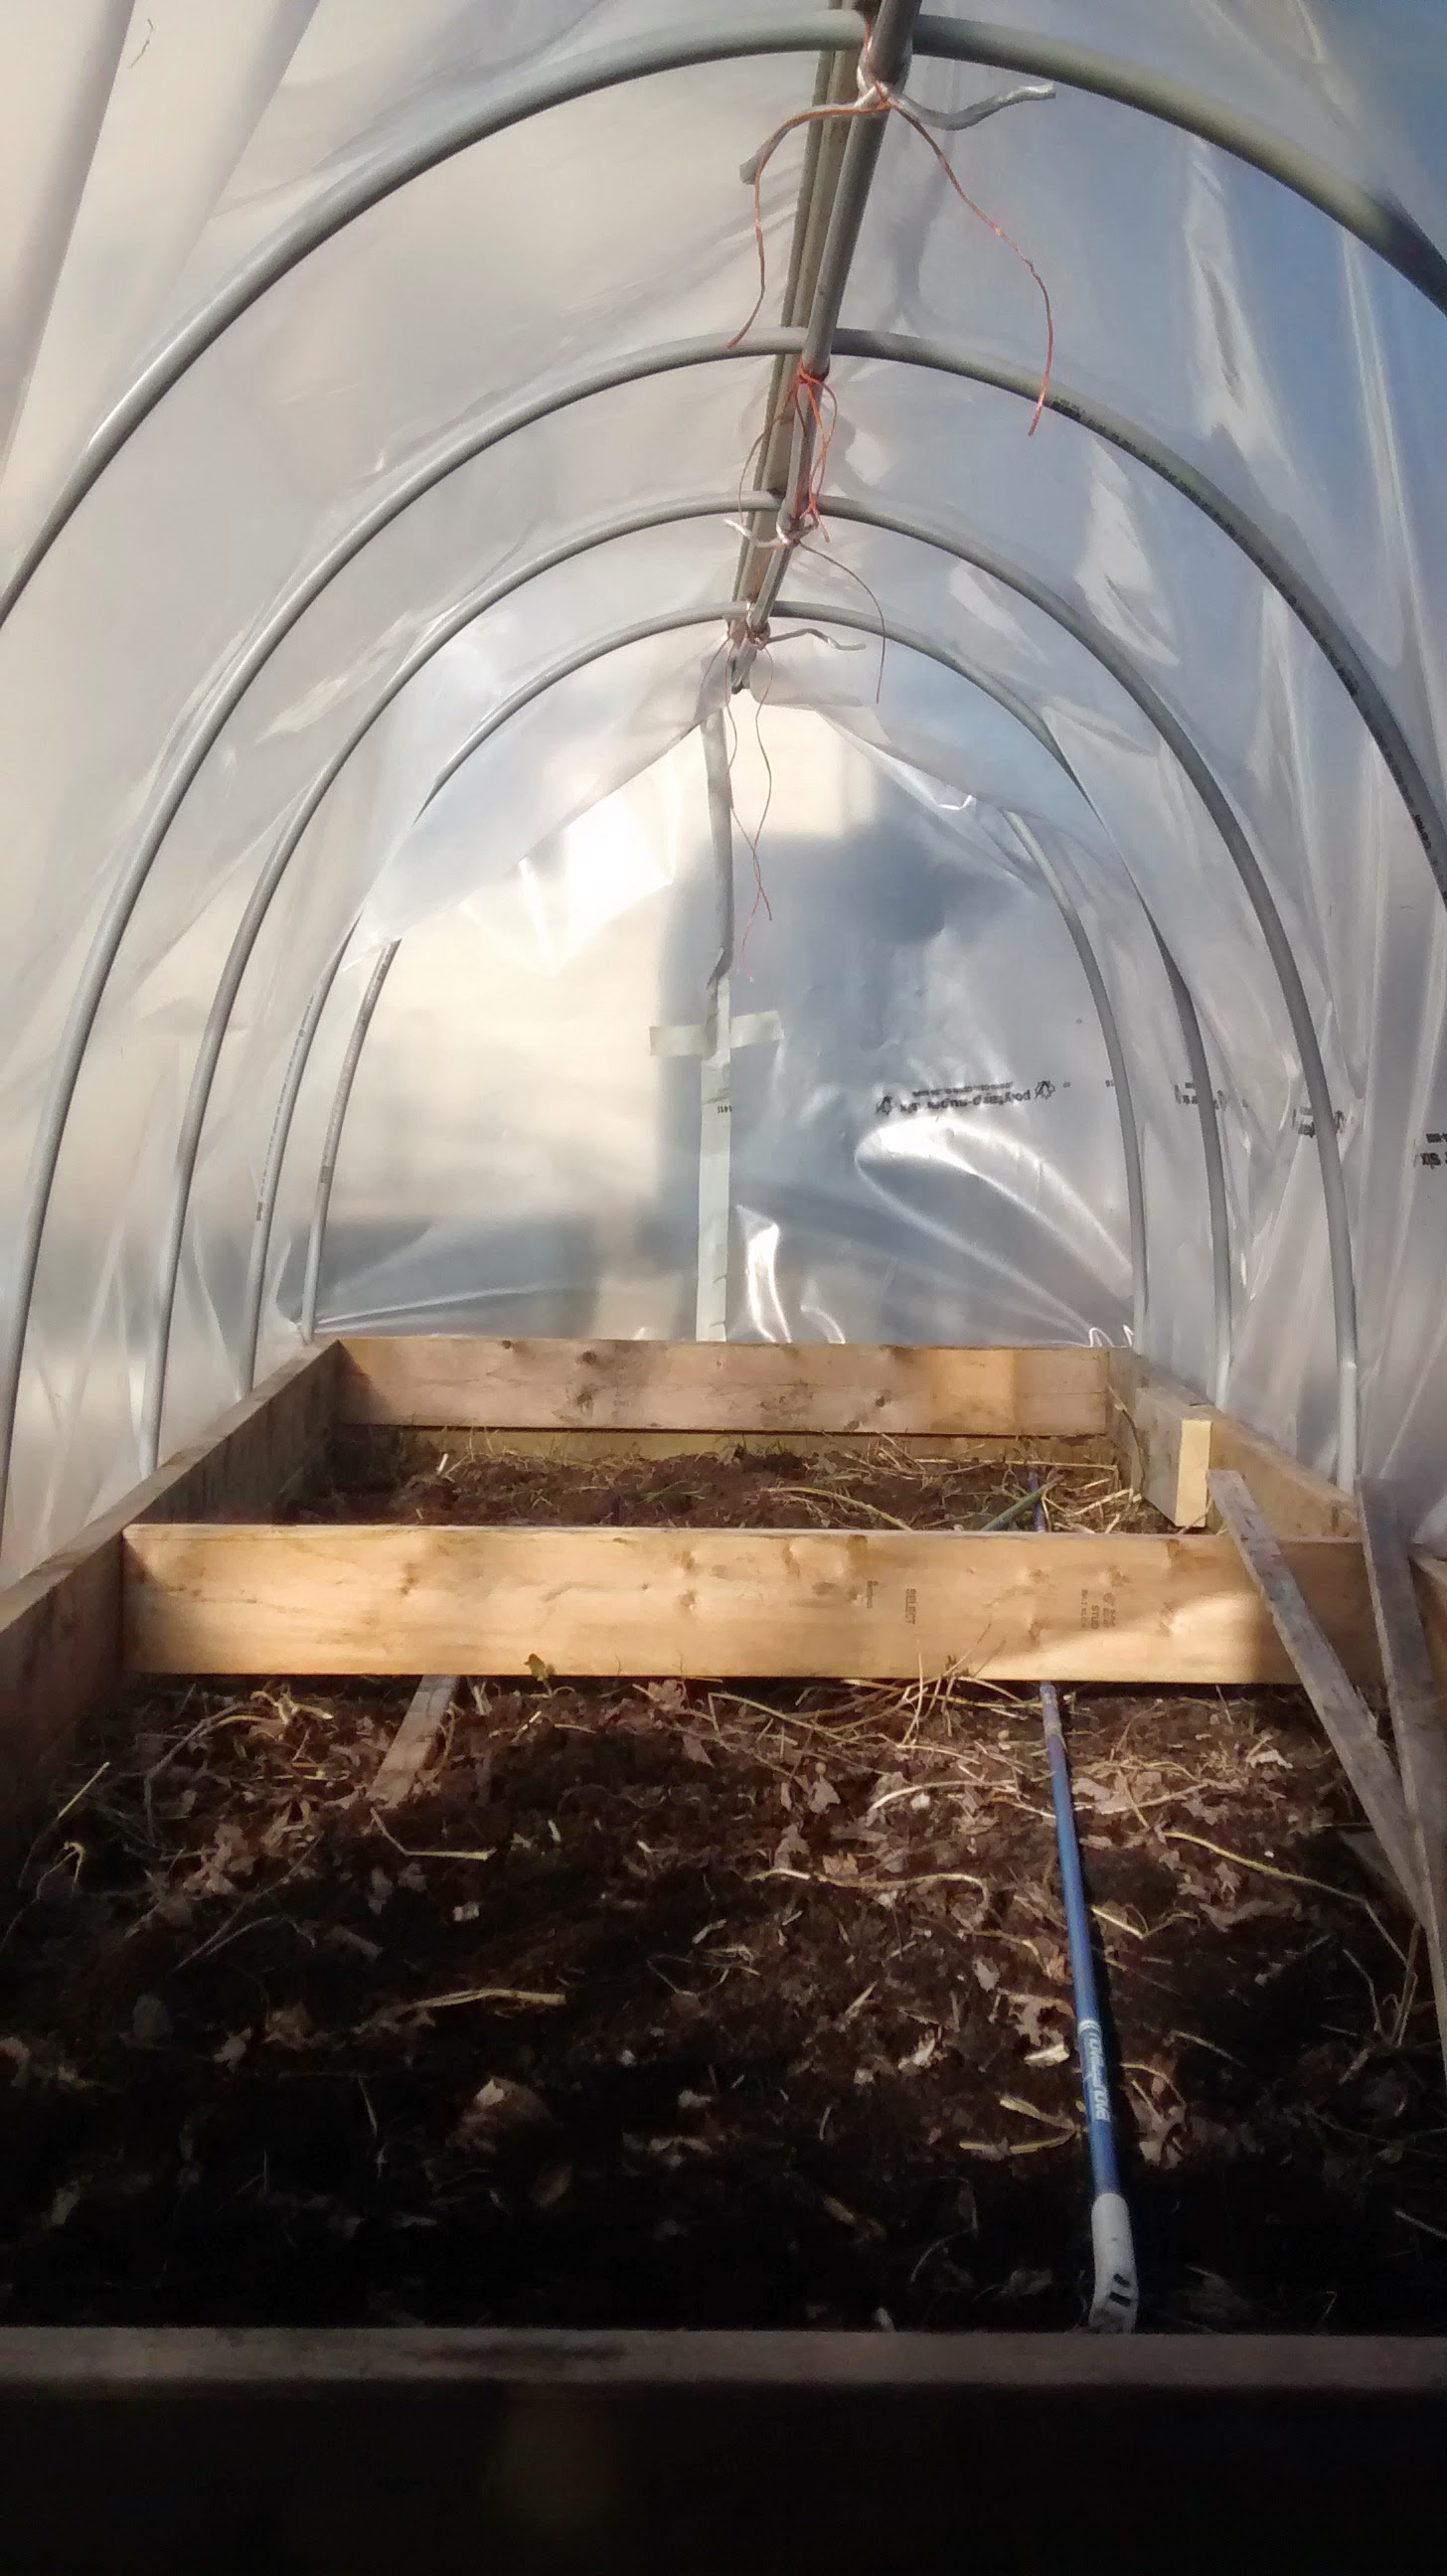
Vent frame in place with hoop house plastic attached

Vent frame in place with hoop house plastic attached

For my setup I made a frame to fit a couple of pieces of plexiglass that I was given when I purchases a pantograph from a sign shop in Montreal that had served Zellers stores but when that retailer shut down the sign company closed the associated shop. The owner offered me all the plastic offcuts – some of significant size – and professional paints and hardeners that I wanted.  With the pantograph on my trailer I piled the bed of my truck high with the free material.  As luck would have it I drove back through a massive police presence – escorts for a Hell’s Angels and Associates motorcycle ride that traveled along with me.

Heat activated hoop house vent open

Heat activated hoop house vent open

Anyway the frames were built from the remaining used pieces of 2×4 and some plywood offcuts.  The plexiglass pieces were hinged at the top, with the screws extending through the sheet into hardwood sections salvaged from hockey sticks.  The opener itself is fixed to the lower portion of the window frame and the action arm was bolted with the included bolts through holes drilled in the lower part of the plexiglass window.

By the afternoon the greenhouse was hot enough that the widow had opened, so now I have no more excuses to delay planting… maybe I’ll take that on tomorrow if it’s nice.

By

Ham and cheese melt – Good food doesn’t need to be complicated

There probably aren’t too many among us who aren’t busy and find ourselves at points particularly pressed for time.

At those point it would be particularly easy to head out for a meal out.  Those meals in my view tend to be a bit of a waste – it’s not like most folks go out to a great restaurant for an awesome meal at these times… it’s more likely you’d head to a mid to low grade restaurant and plunk down between $7 and $30 for a “whatever” meal.  What’s the point of that?

Instead there are some great last minutes meals that can be pulled together that are not only healthy but taste great – especially if you mix them up a bit.

Take a simple grilled cheese and shift it up by making it with the whole wheat baler twine bread add ham and spice it up with dijon mustard and hot pepper rings.  You get a satisfying meal for a fraction of the price and with a fraction of the effort that it would otherwise take to drive yourself to a restaurant to wait for service.  Plus, if you’ve cracked open a bottle of wine or tapped the keg of beer you can begin refreshing while you’re cooking.

By

Get your tools to pay rent…

So I am being slightly facetious here but I think it is underlain by a solid point.  Tools are cool, be they for your shop, kitchen or garage – but are you getting your money’s worth?

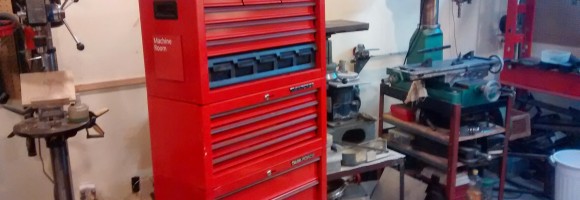
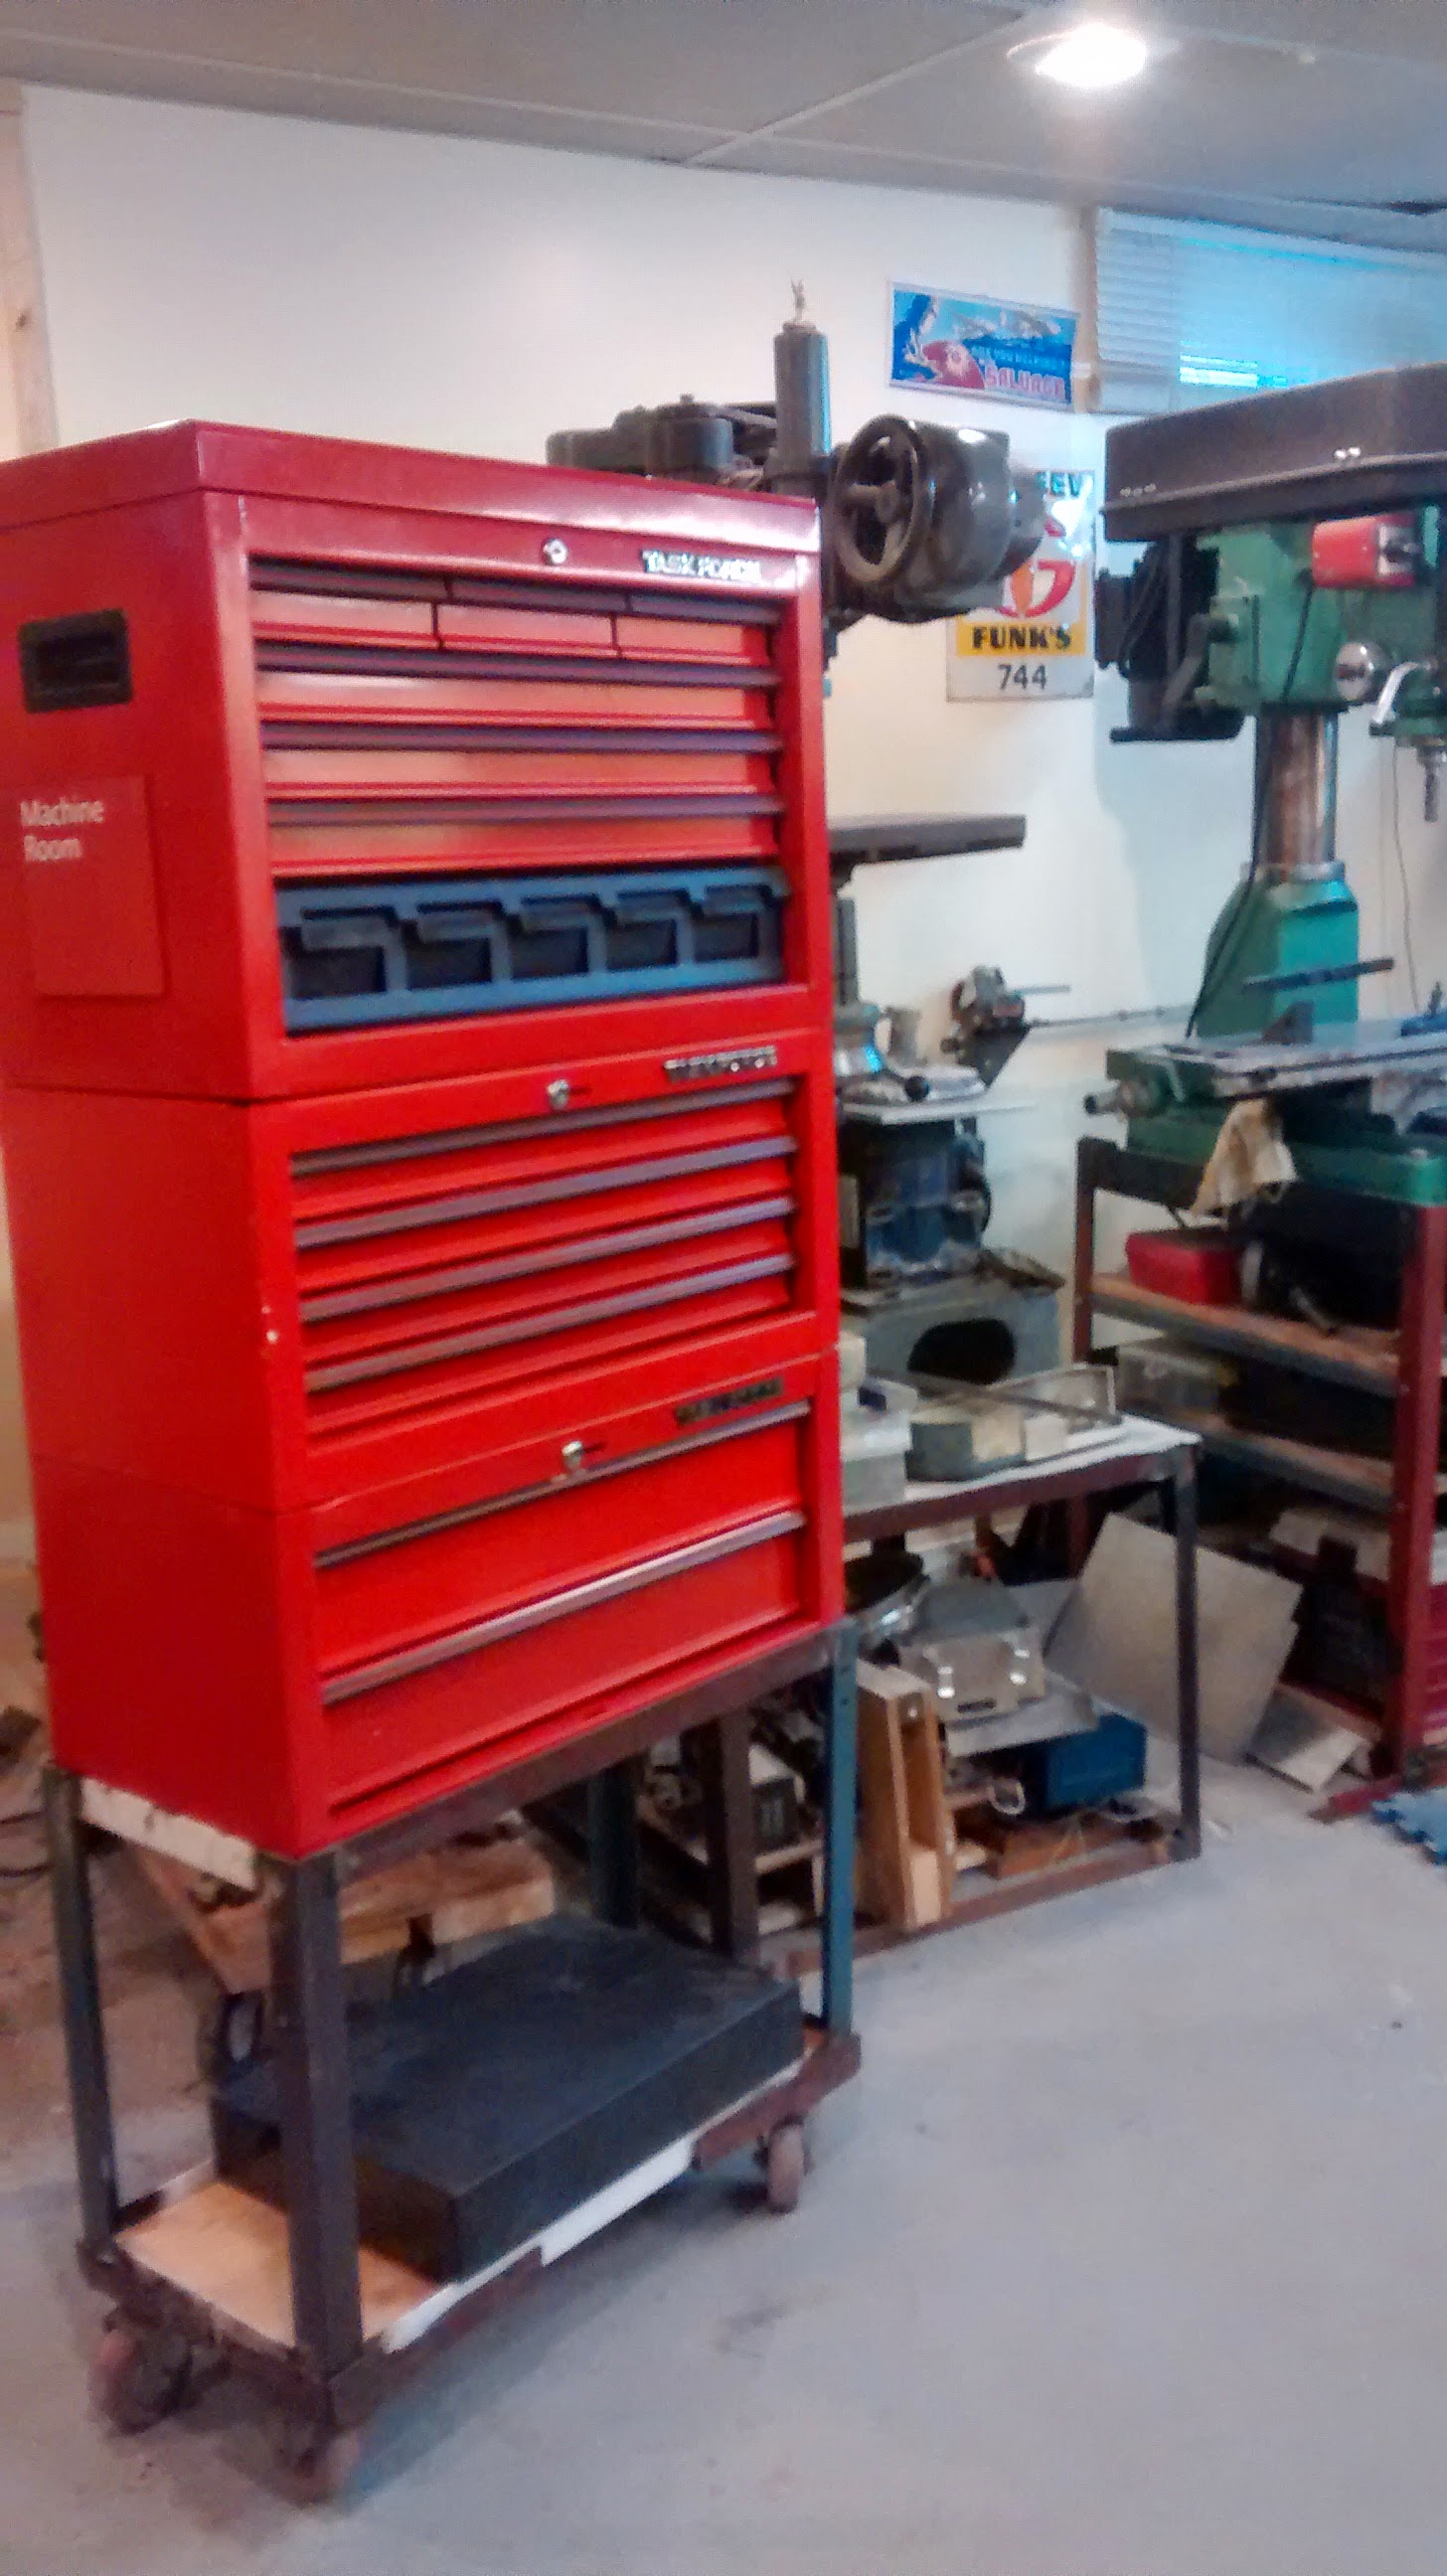
Rolling tool cabinet in the shop on its welded base

Rolling tool cabinet in the shop on its welded base

If you aren’t using your tools you aren’t just not getting the value from the kit – you aren’t getting the experience of how to use them that you should.

Now, you don’t need to necessarily do some big projects to get the tools to pay their rent.  That said, doing something like building your own grain mill for $40 worth of materials when a comparable unit is pushing close to a grand pays a lot of rent.

In my experience though, some pretty good rent payoffs can come from pretty quick and easy projects that capitalize on presented opportunities.

Case in point my $23 rolling tool cabinet. While down visiting my brother at Christmas we took a trip to Lowes to price out materials for one of his projects and a couple of employees dropped off a bunch of tool boxes in the as-is section – one was a bit dinged but the others were fine – the price $7, $7 and $9 for the upper cabinet.  Now these aren’t terribly of much use without a rolling base.

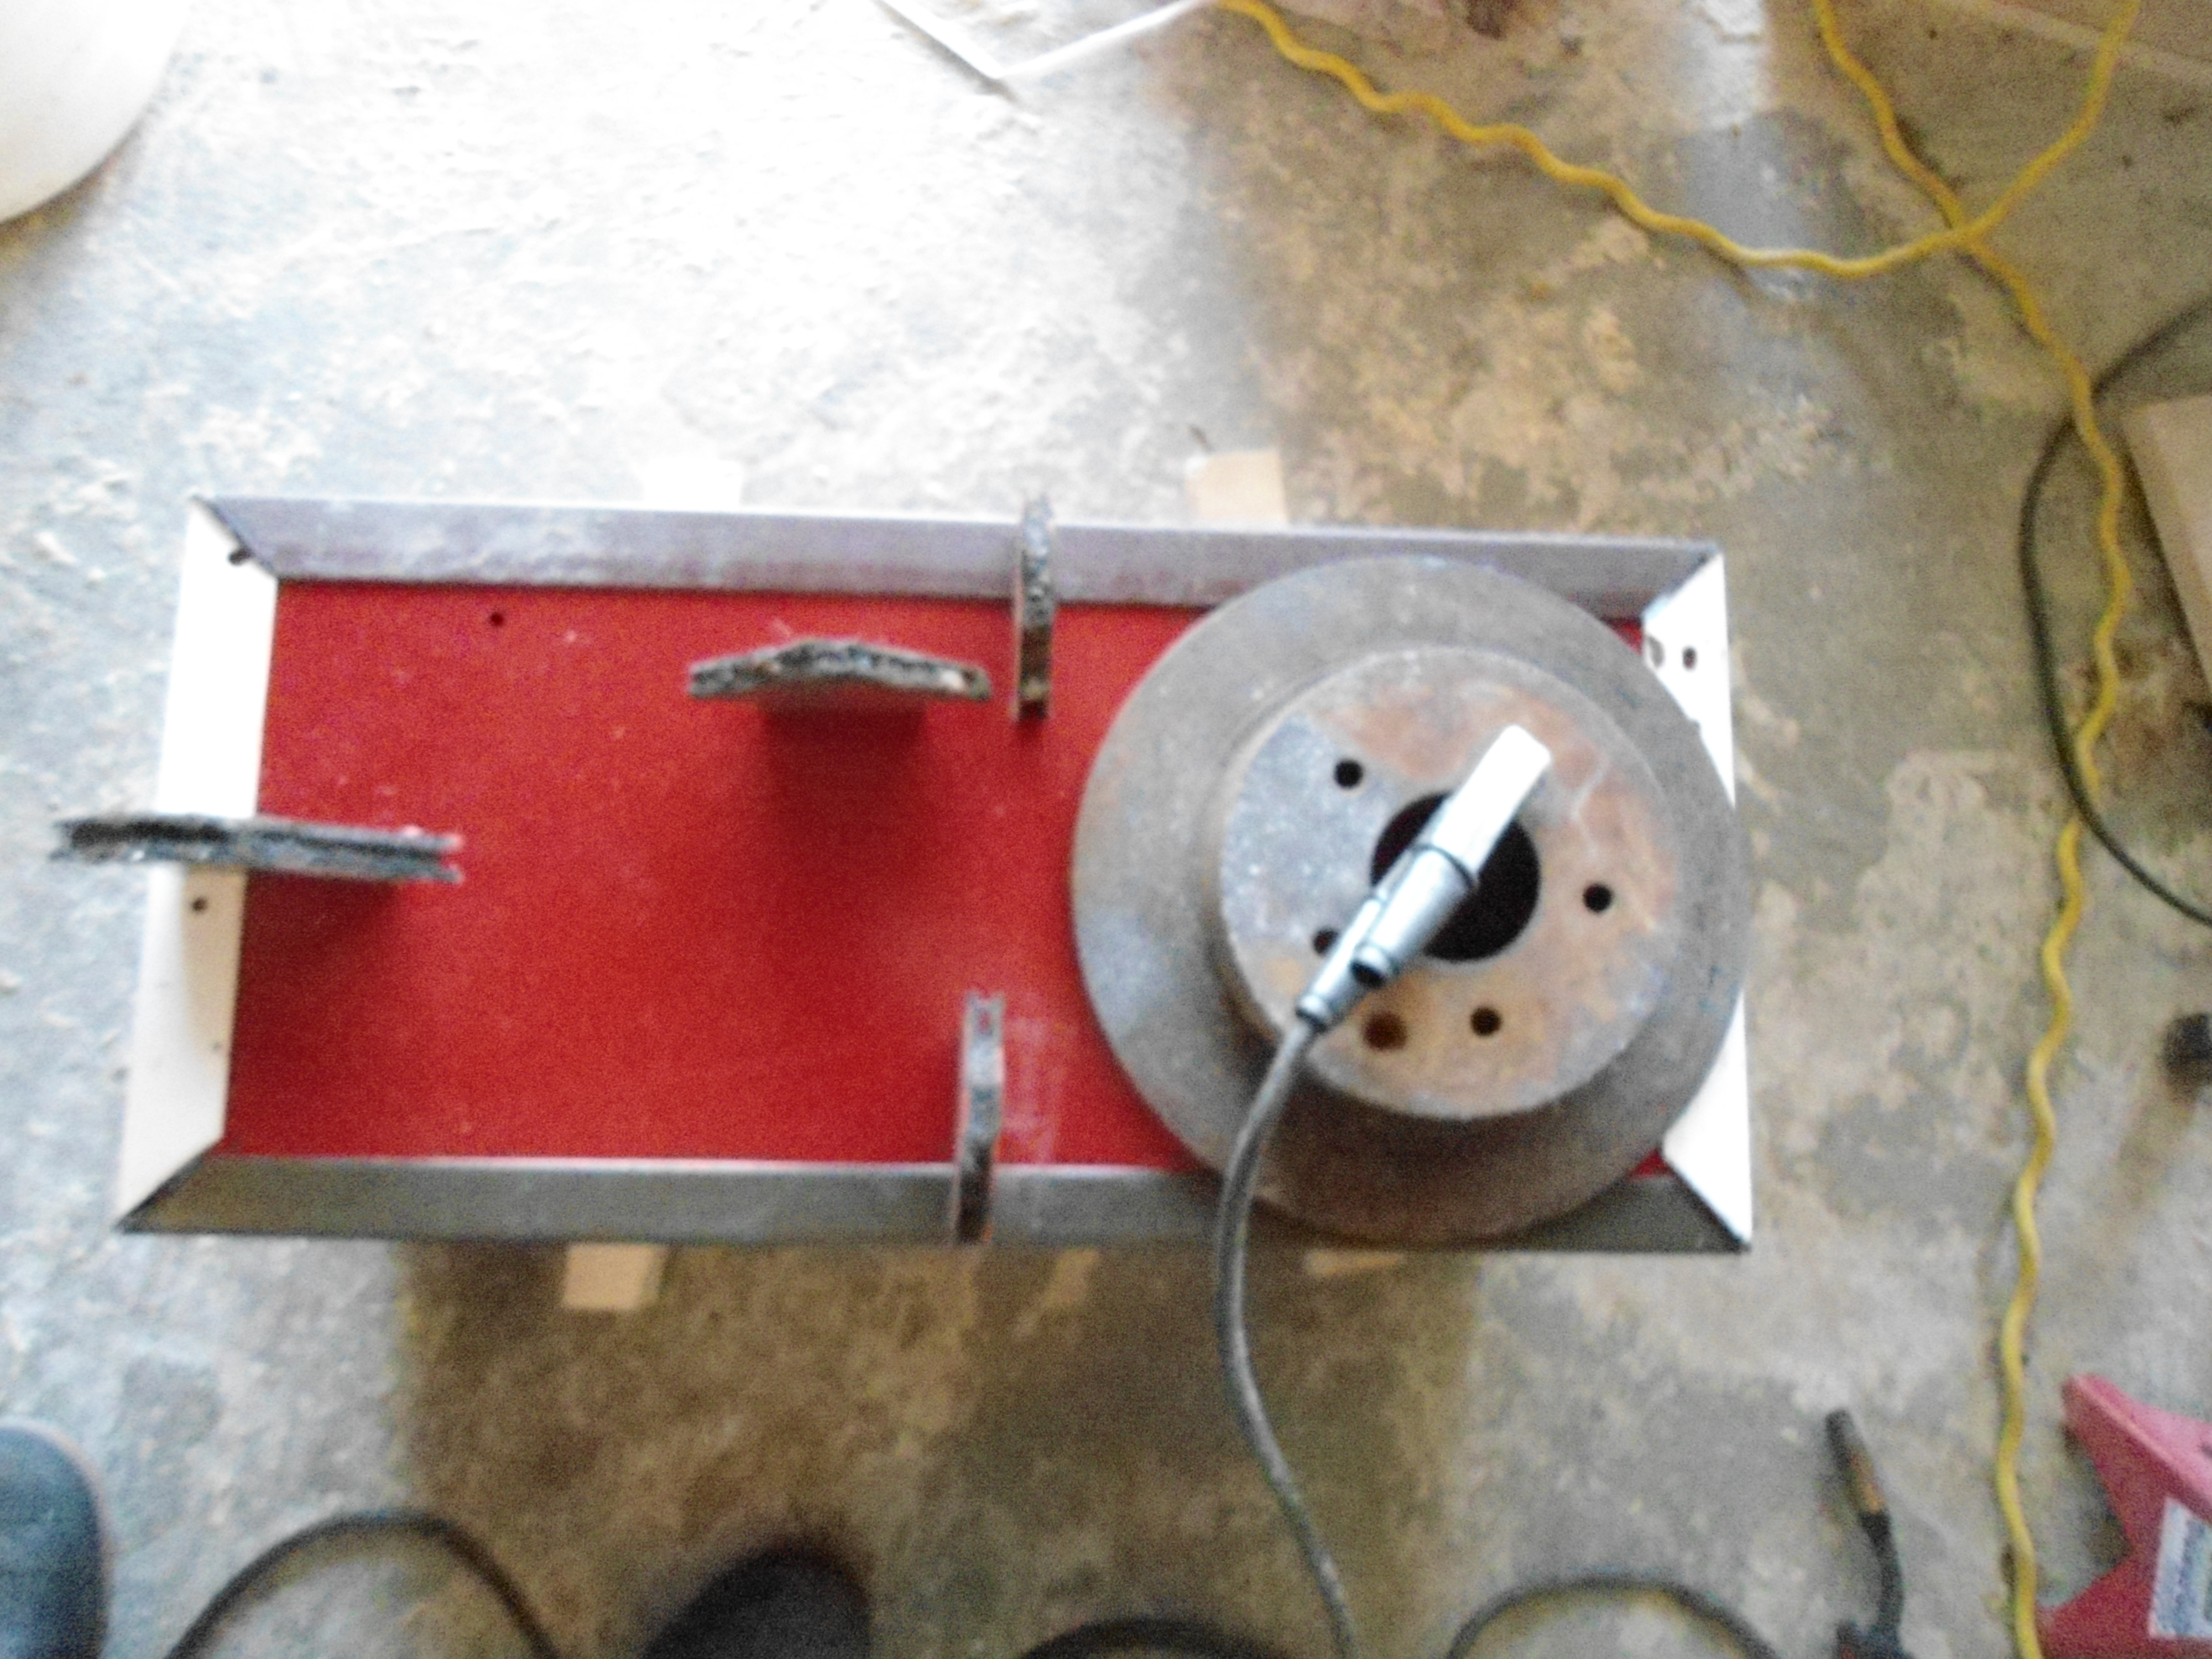
Rolling base for tool cabinet set up for tack welding

Rolling base for tool cabinet set up for tack welding

So I fabricated one from angle iron salvaged from old bed frames and a few old castors.  It was a quick job with the cutoff saw followed by some welding.  The end product wasn’t perfect but for $23 it was a pretty solid step to organizing the shop and a good payoff.

So the chop saw and welder paid their rent for at least the month… and now I’ve got to figure out how that new rolling tool chest is going to start making it’s rent payments.

By

Hoop houses – the fast passive solar greenhouse alternative

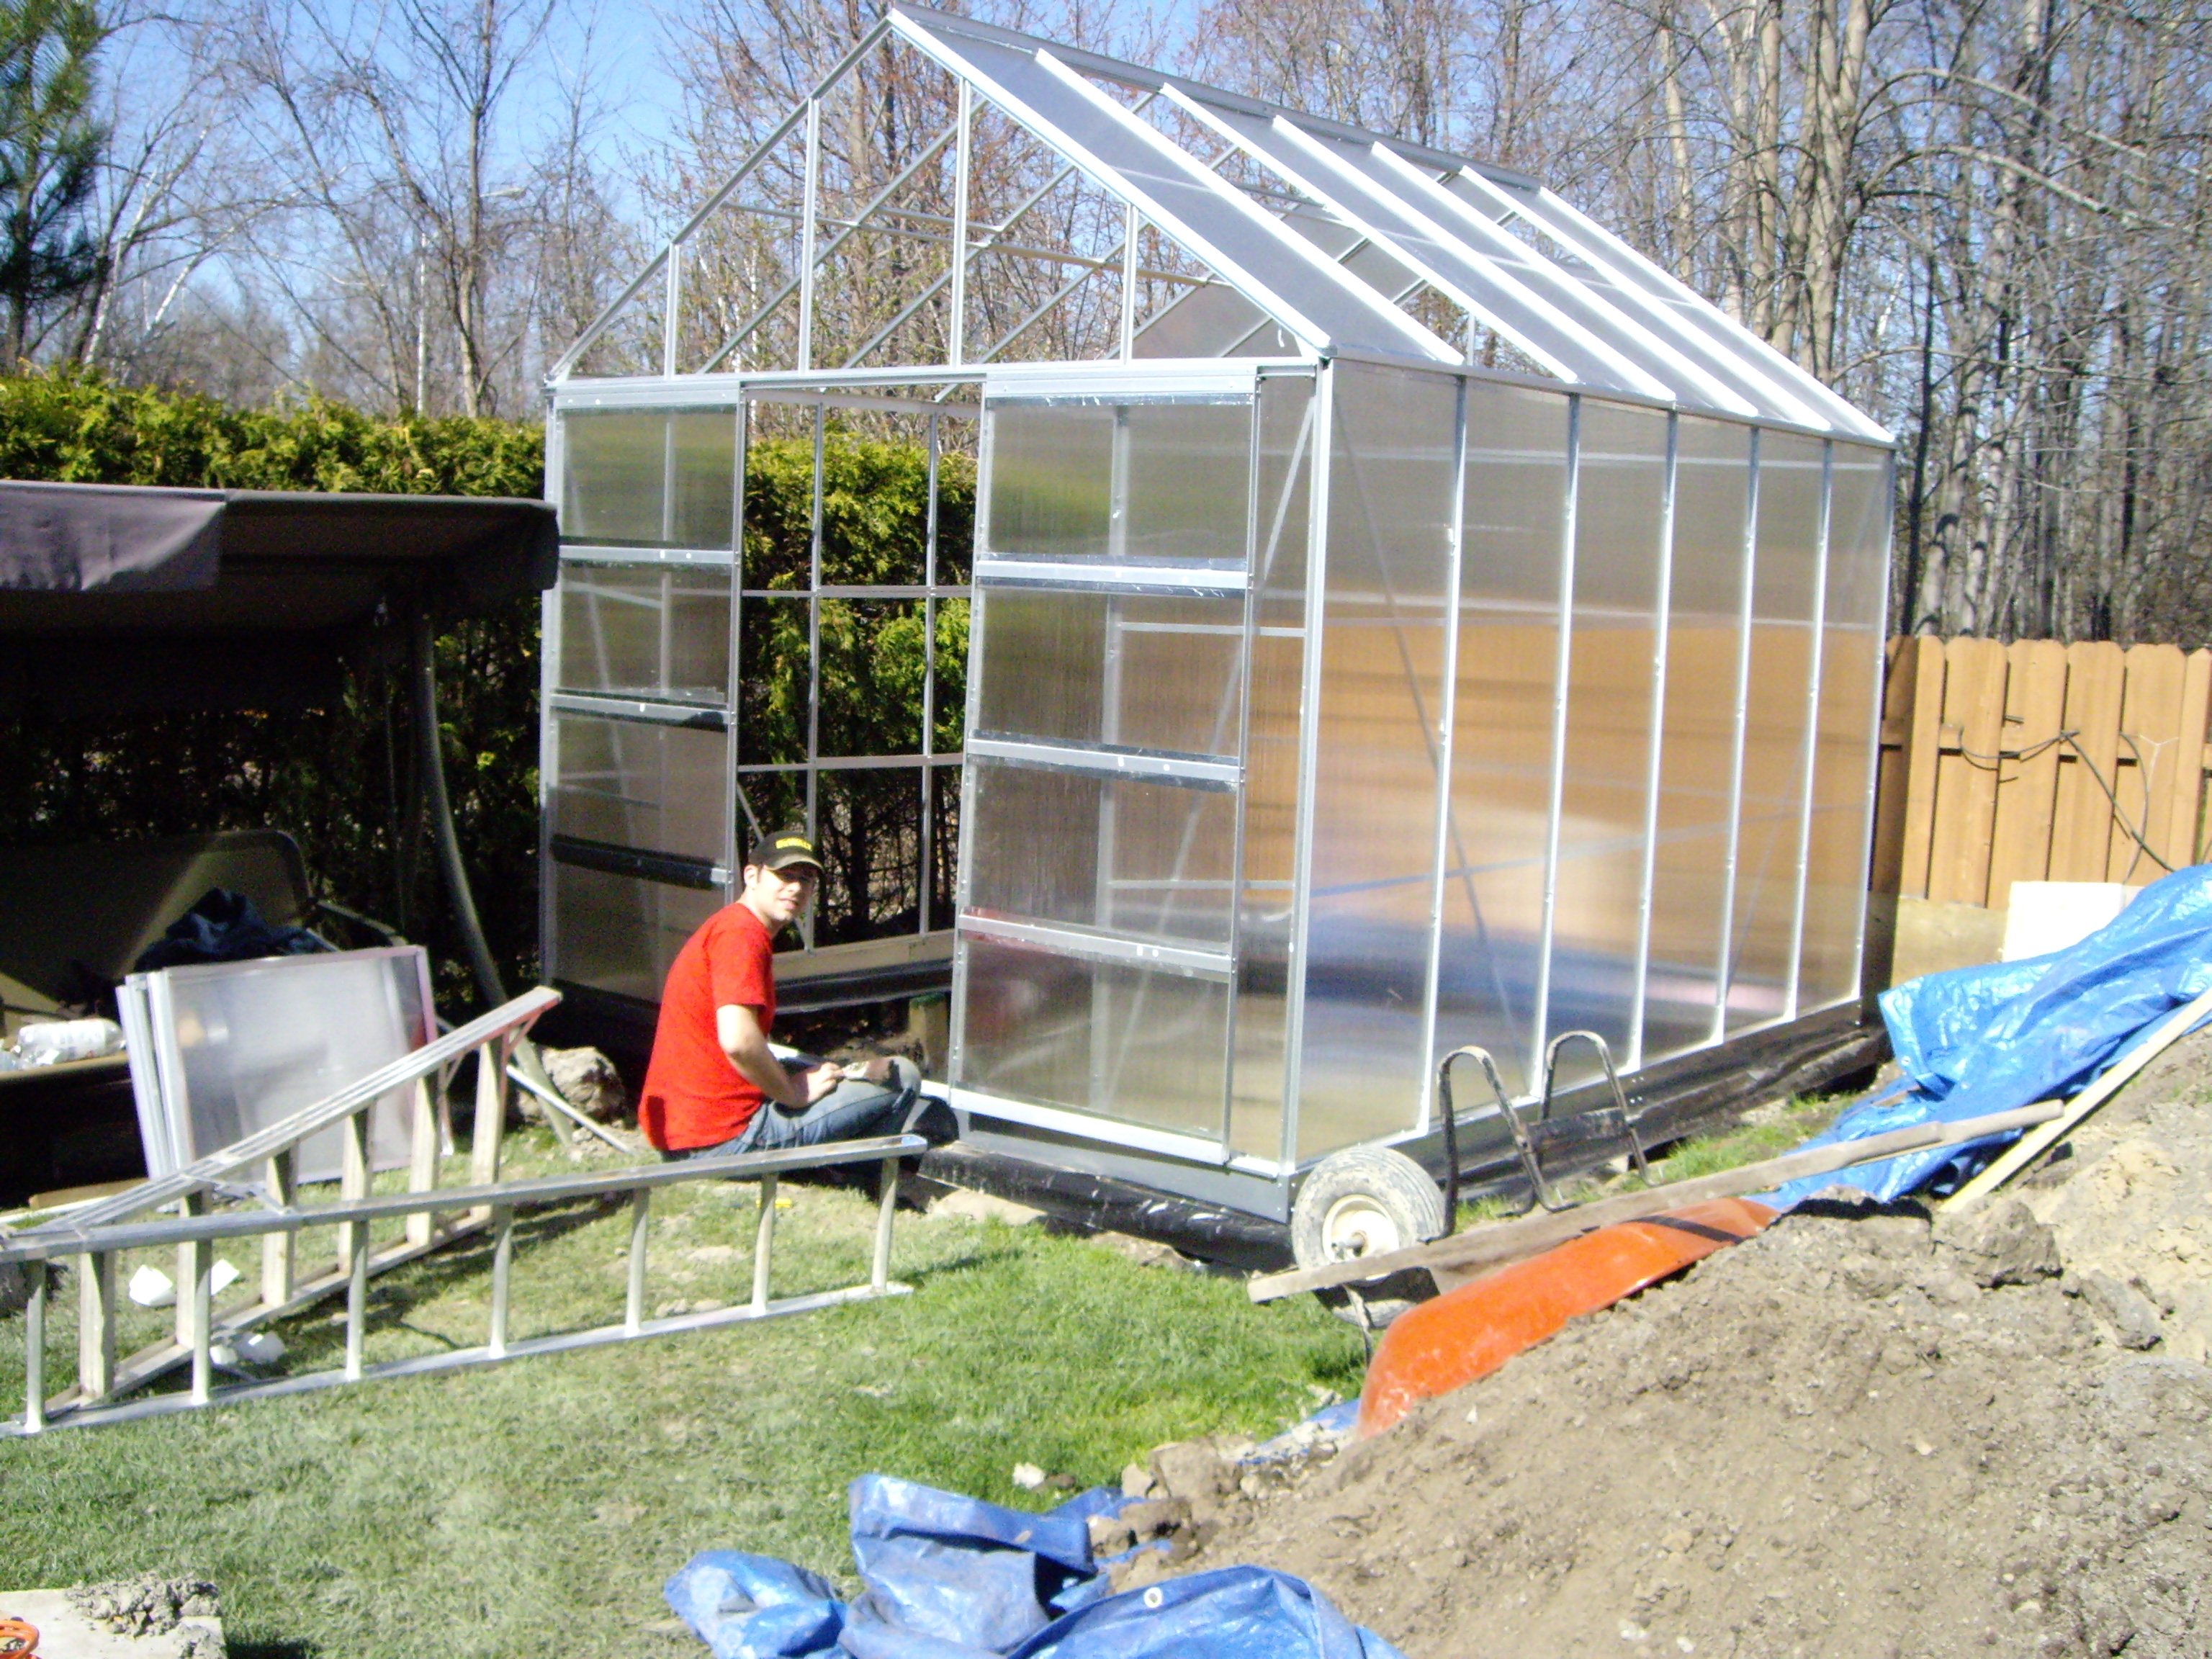
At my previous home I had a 10′ x 12′ polycarbonate greenhouse from Harbor Freight.  Now I got it on sale and stacked on a 30% off coupon that brought the price down to about $500 if memory serves correct – a fraction of what I would have had to pay for the panels alone from other vendors.
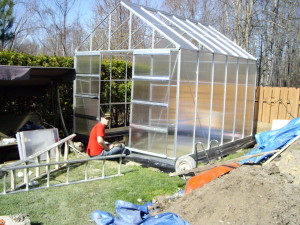
Building a passive solar modified Harbor Freight Greenhouse

Building a passive solar modified Harbor Freight Greenhouse

The aluminum frame was pretty light, and I think they got away with this by putting in only a few of the clips that would hold the polycarbonate panels in.  The smart engineers must have thought – if we allow the panels to blow out in high winds the remaining frame won’t buckle, which is true enough. All and well for wind but confronted with snow and… well snow presses in rather than blows out… leading to likely failure.

So I ended up building a reinforced internal frame for the greenhouse with post footings below the frost line.  While I was at it I dug down two feed under the footprint of the greenhouse, lines the excavation with Styrofoam insulation and snaked corrugated drainage tile from the middle of the back wall to the middle of the front wall.
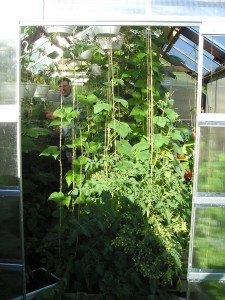
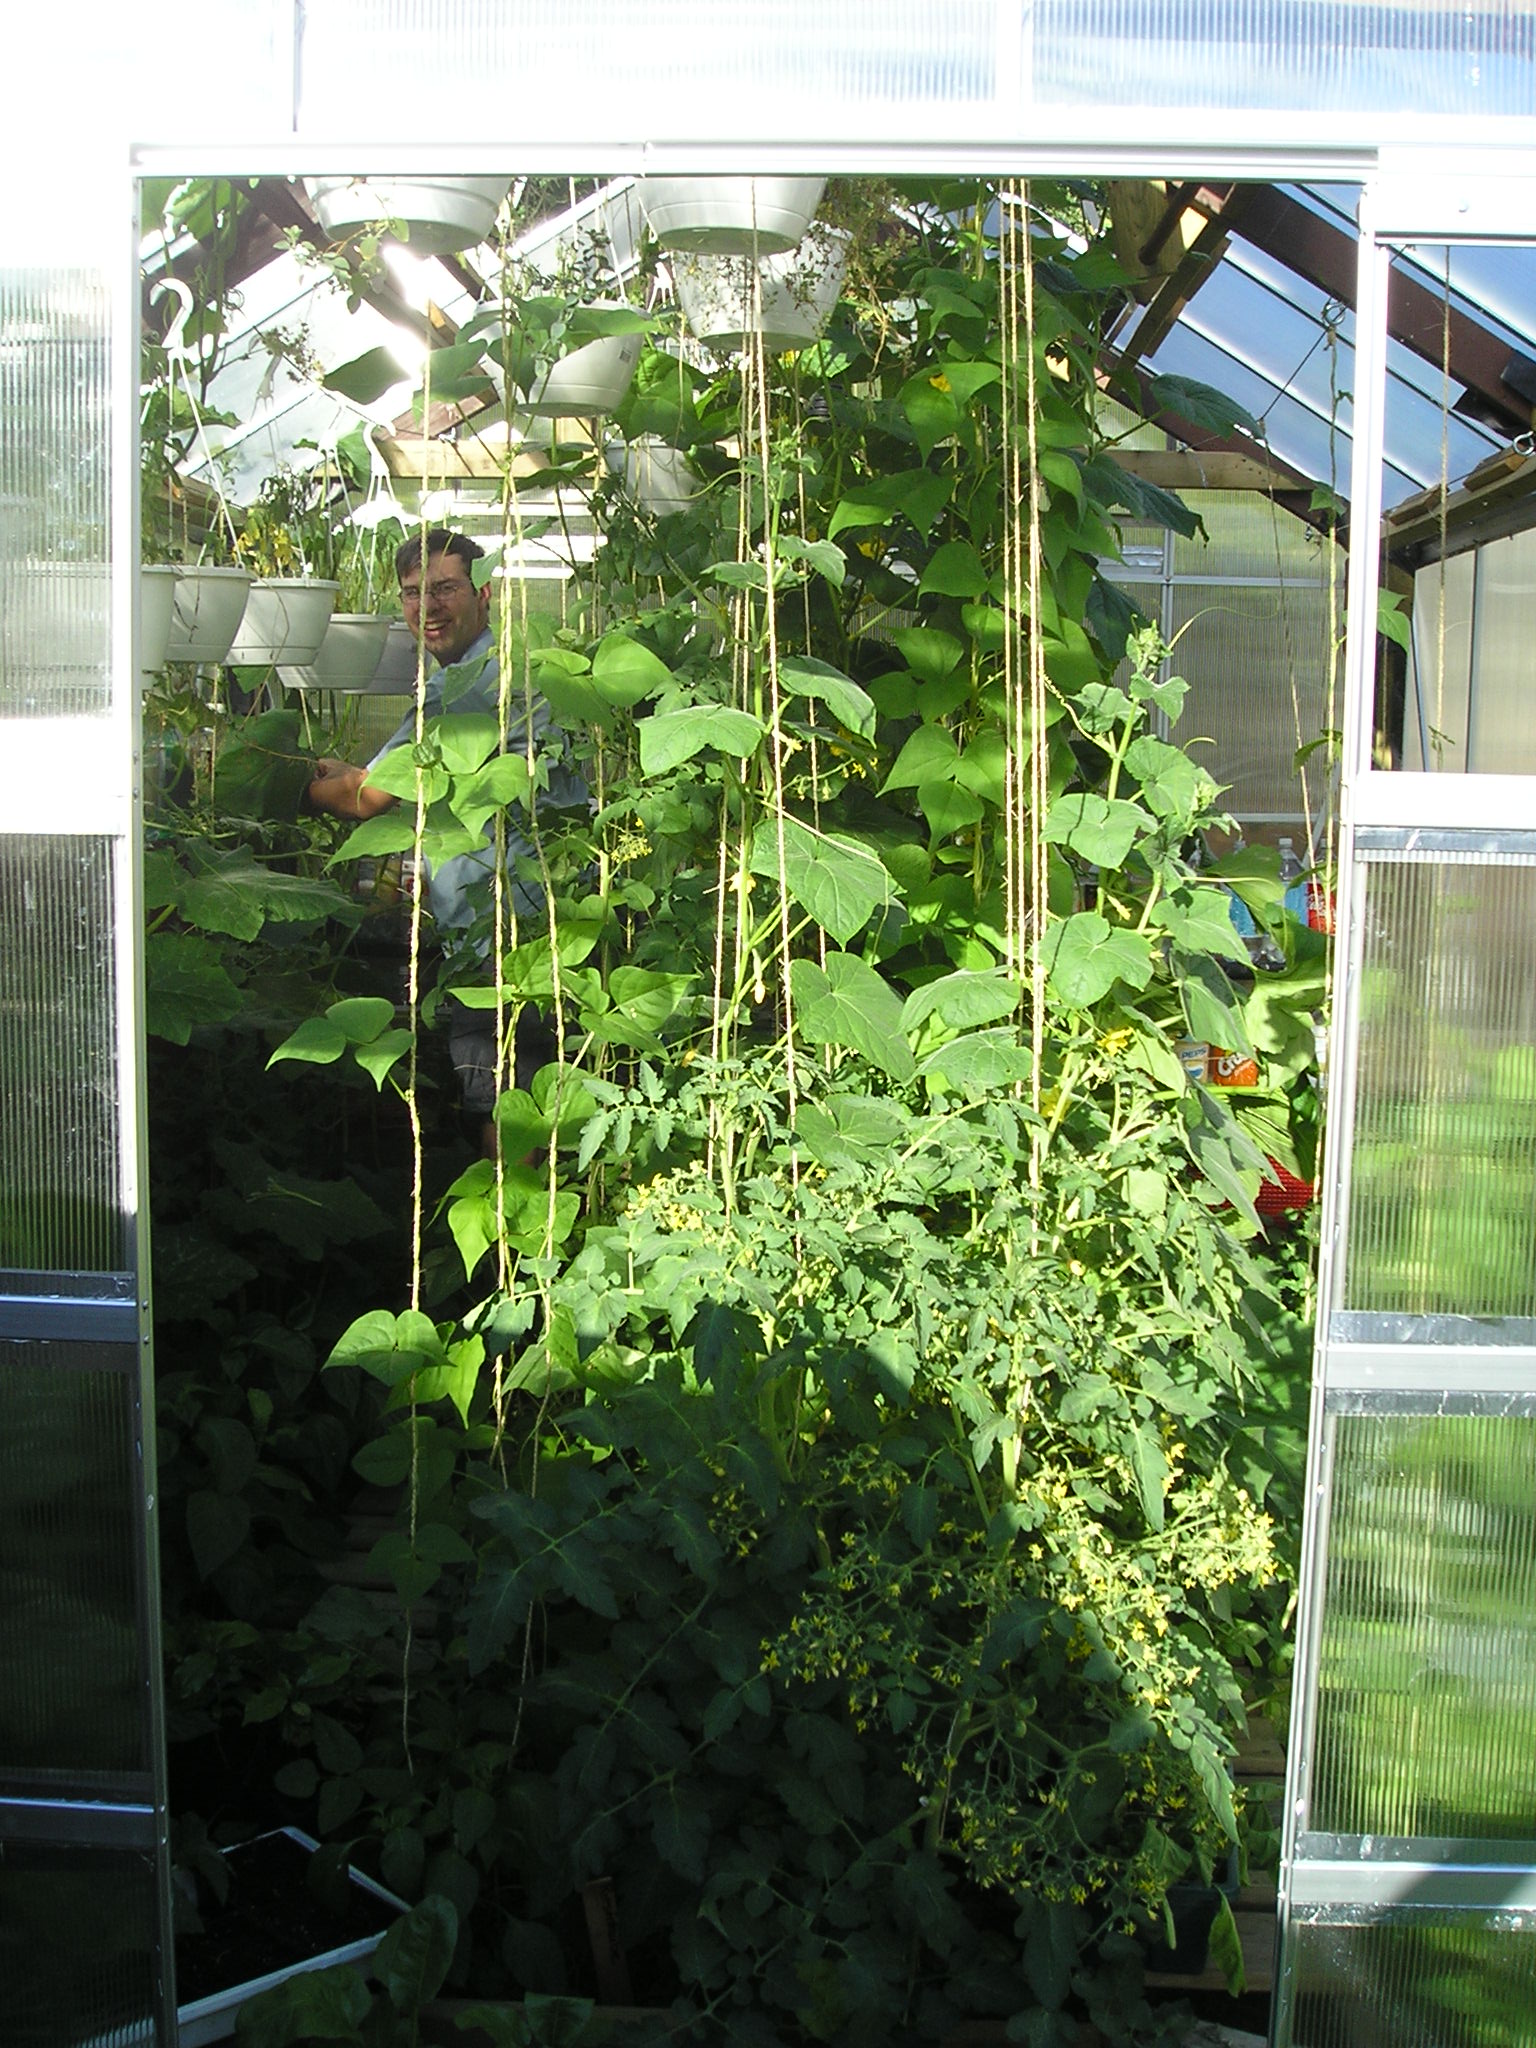
Abundance and extended harvests in a passive solar Harbor Freight Greenhouse

Abundance and extended harvests in a passive solar Harbor Freight Greenhouse

I rigged a thermostatically controlled fan located in the peak of the greenhouse to ducting which connected to the drainage line at the back wall.   When the system was on, if the temperature at the peak was greater than the soil temperature the fan turned on and effectively heated the soil mass from the bottom.  If the temperature in the greenhouse dropped to 3C the fan would turn on again in an effort to use the heat stored in the soil to ward off frost.  As added security if the temperature hit 1C a switch would turn on an electric heater – in my case an old hair dryer to provide a thermal boost.  The added boost was usually only required at the start and end of my seasons and for a very brief period before sunrise on cold mornings making it rather thrifty.

This system worked great.  Our safe planting date here is usually the end of May – but I was able to be harvesting salads starting at the beginning of April, and tomatoes in mid-May.  I’d also be eating fresh veggies until Christmas on the other end of the season.

Since moving I’ve missed my greenhouse – but my new yard doesn’t have room for a similar setup.  I have used low tunnels of hooped 1/2 inch pvc pipe to support spunbond fabric as a season extender – but it doesn’t come close to stretching the season near a much.
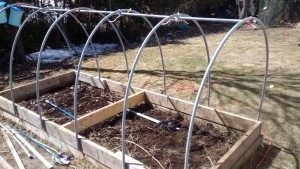
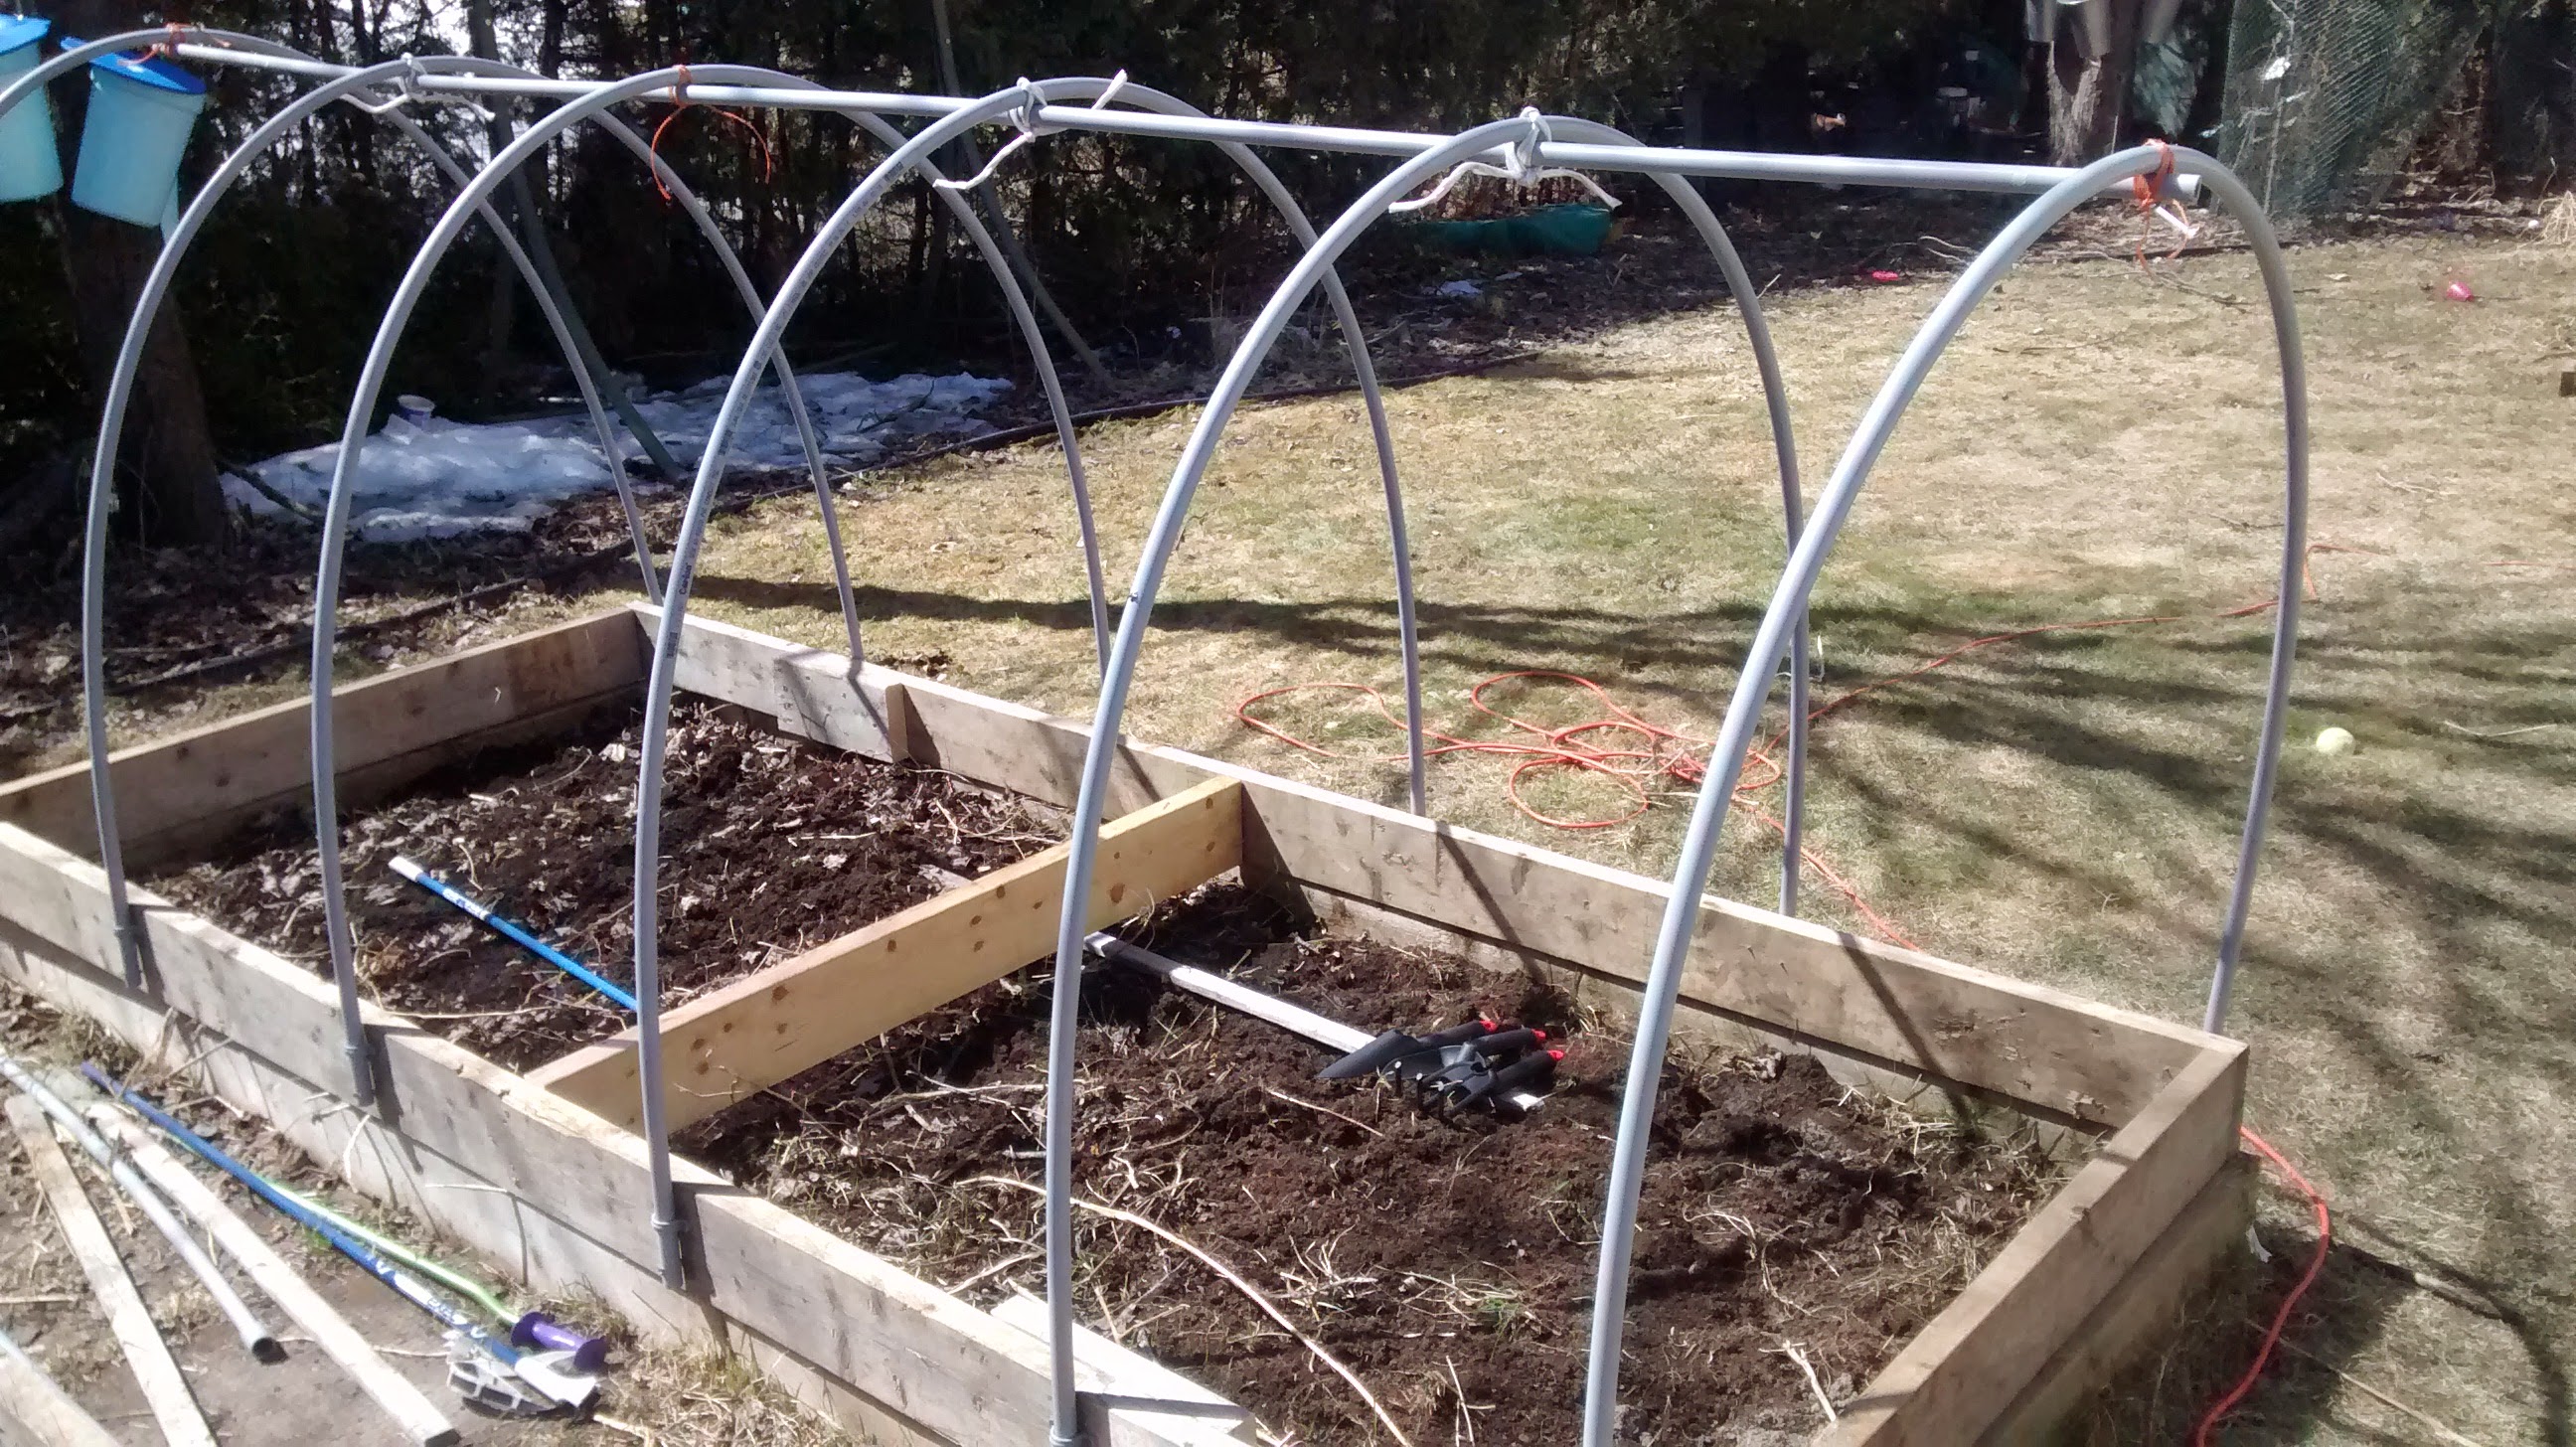
Frame of the medium height hoop house constructed

Frame of the medium height hoop house constructed

So this weekend I set out to rectify the situation with a couple of mid-height hoop houses over my two raised wood core beds which are 4′ wide and 10′ long.  I took inspiration from the hinged cold frames used by the folks at Wild Gourd Farm. 

My upper frames are heavier than need be 2×6’s rather than 2×4’s but I had all those on hand, left over from the ramps needed to get my two letter-press printing presses home… but that is a story for another day.  Given the heavier materials I added a 2×6 cross piece at the halfway point for rigidity. Four 2″ hinges are positioned a 1′ and 3′ in from each of the ends on one side.
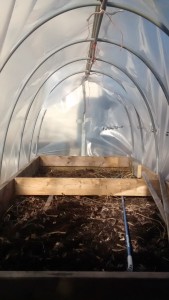
Nice height afforded by 10 foot long conduit segments over a 4' gap

Nice height afforded by 10 foot long conduit segments over a 4′ gap

The 10 foot lengths of 1/2″ plastic conduit give a nice amount of headroom under the curve.  I chose to use 10′ wide building plastic.  I know it will yellow, but like the wild gourd farm folks I used duct tape along the lower portions that I stapled to the frame to preserve it’s integrity and I stapled it a the rigeline to a 1″ x 2″ that I laced to the top of the hoops.

My intent is to be able to install the plastic in the spring – use it until the end of May, remove the lower staples, and roll it up around the ridgeline 1×2 and stow it in the garage attic until fall when I reverse the process.  When the season become too much I can again take it down.

So the weekend saw the project 90% completed – the only remaining task is to build a wax cylinder thermally operated vent for each hoop house to prevent overheating, but that should only be an evening worth of effort.

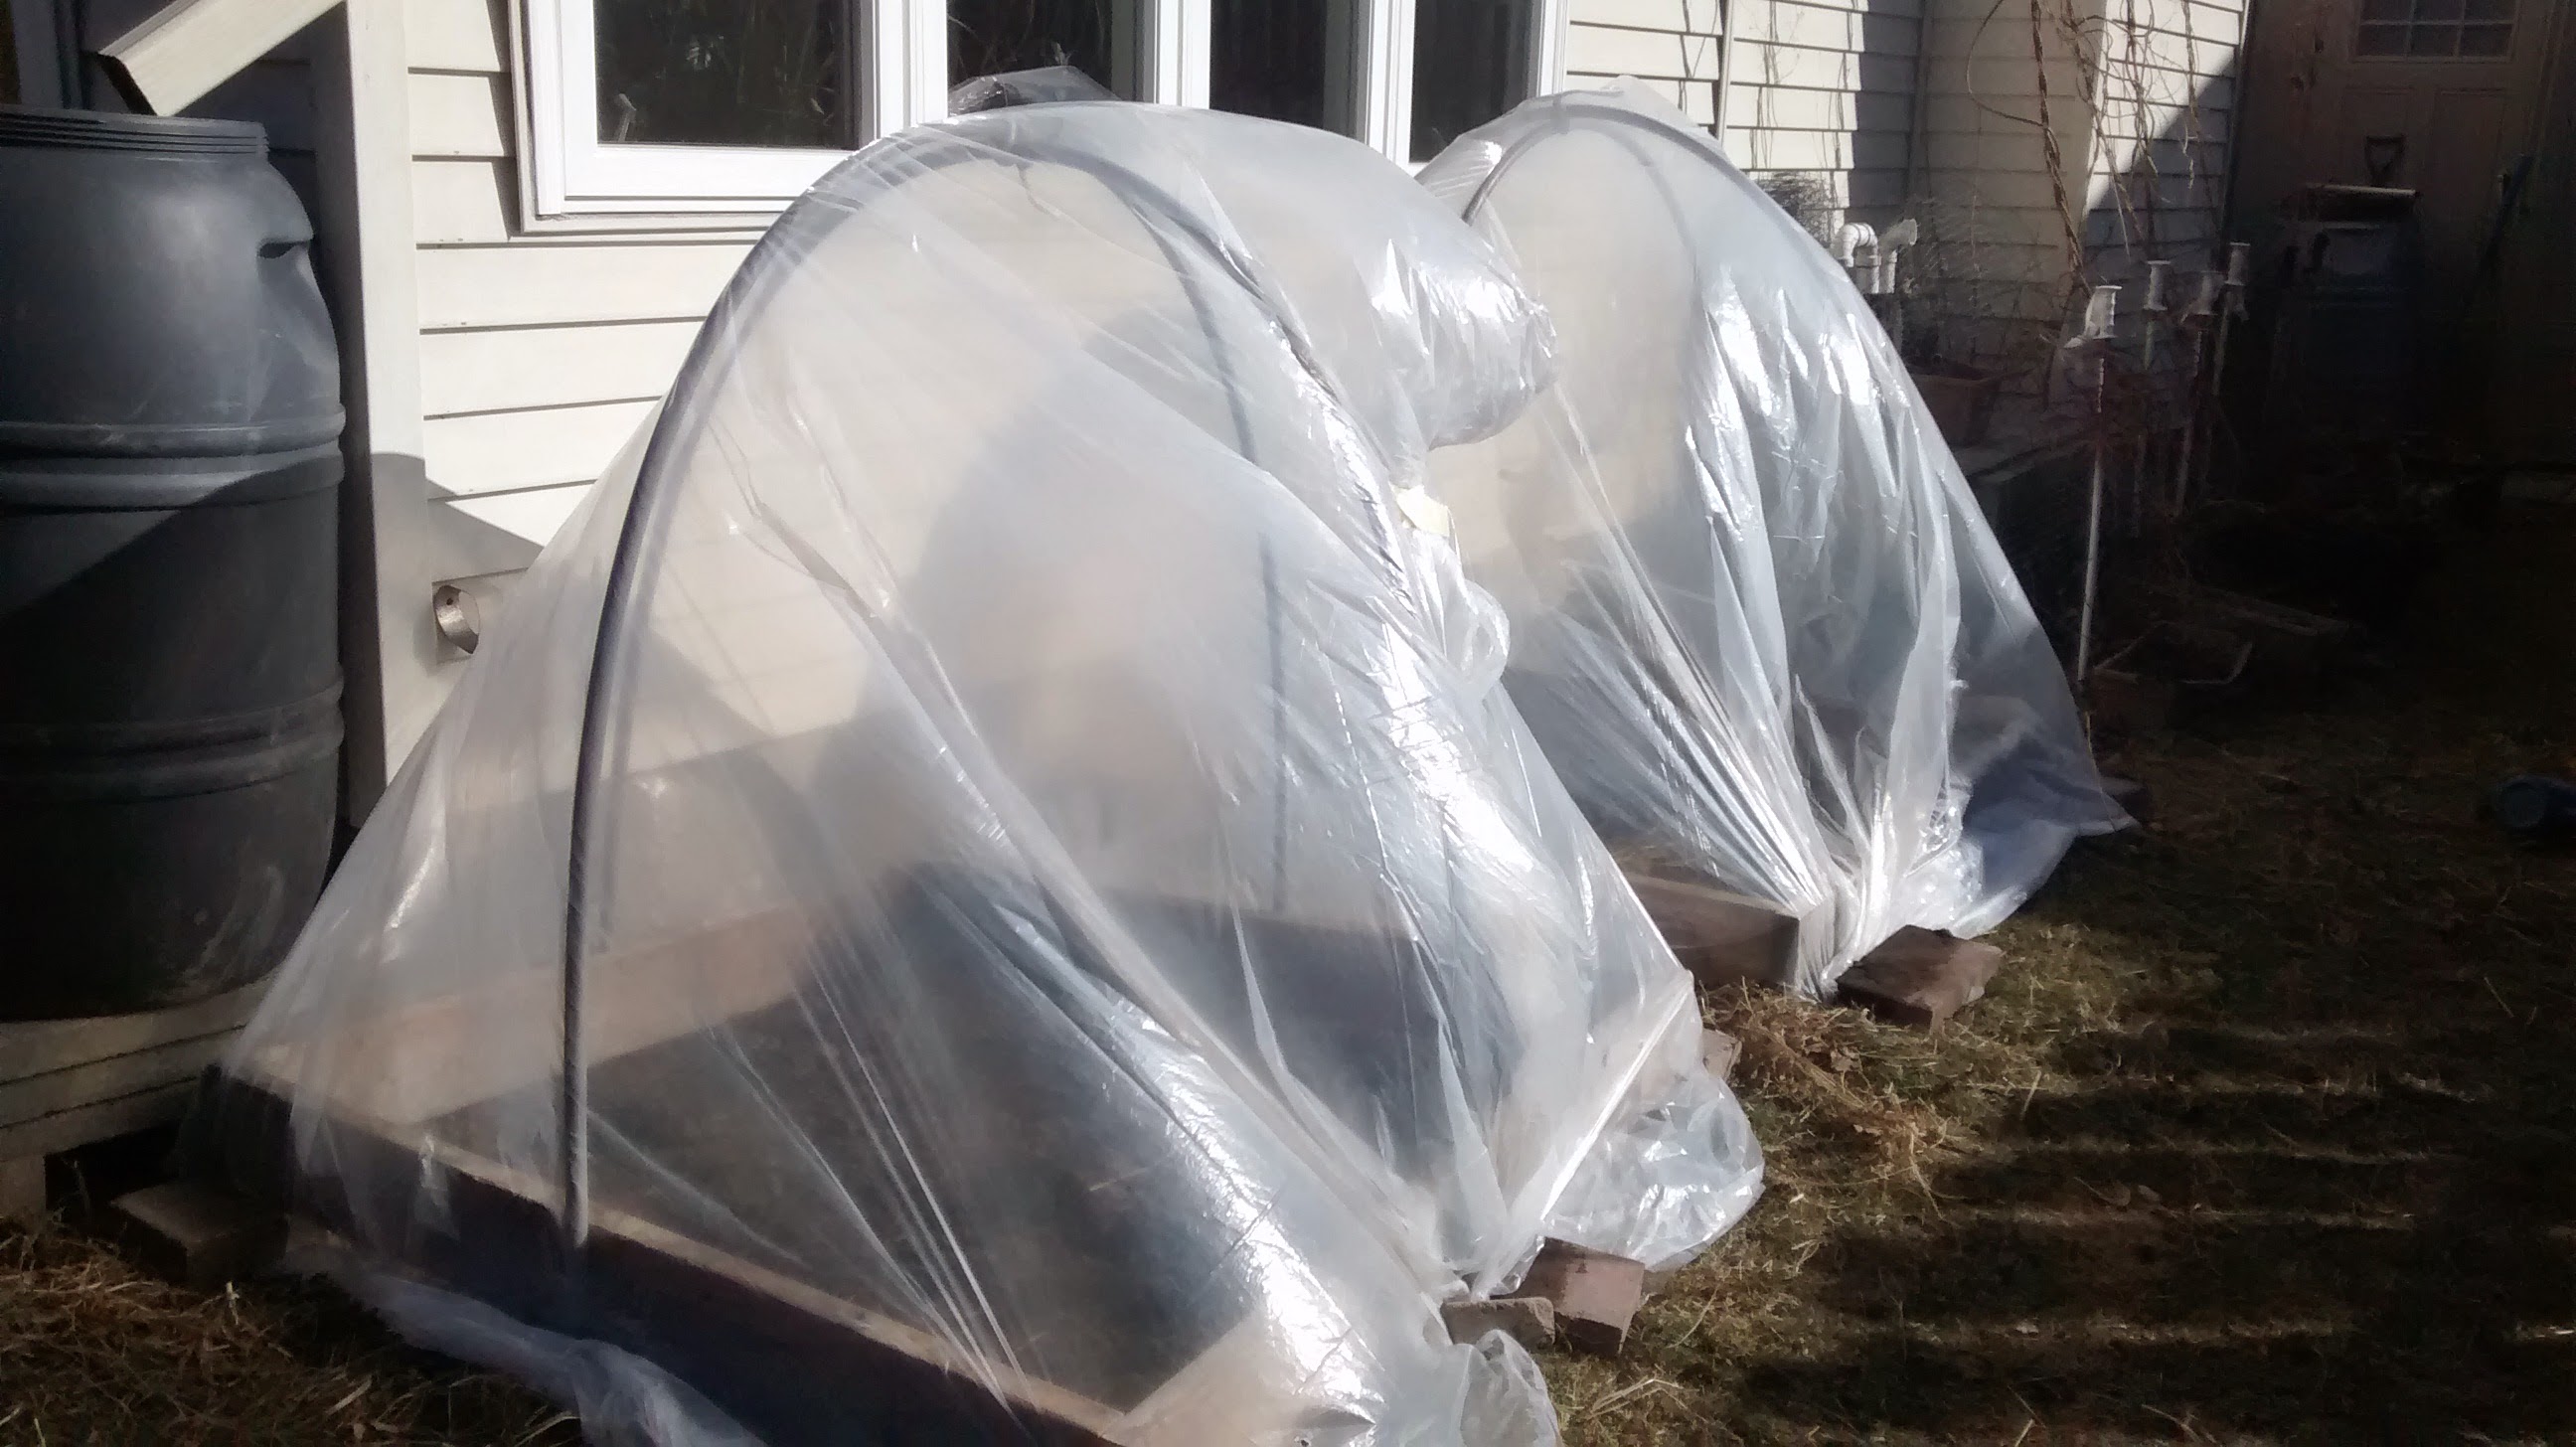
At the same time, the kids were so enthused with the project that they each wanted their own hoop house to cover their 4’x4′ garden plots.  So together we built the frames, and then on two adjacent sides attached the pvc conduits and bent them over to their respective opposing sides giving a wigwam shape over which we put a piece of dollar store painters plastic drop cloth weighed down by bricks.  The light plastic won’t last super long but it should last long enough to get us well into May.
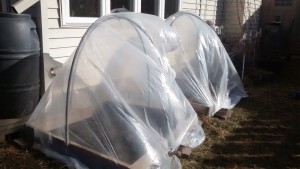
Wigwam style hoop houses 4' x 4'

Wigwam style hoop houses 4′ x 4′

The project was an easy and pleasant way to spend a portion of a sunny weekend, I’m already looking forward to recapturing some of the season that I gave up when I lost that other greenhouse…  Forget sweet dreams, I have green dreams.

By

Grind it fine – whole grain flour

In real estate the three factors that are said to matter are “Location, Location, Location”.  A similar thing might be said of baking – the secret is all in the ingredients.

So, it’s somewhat surprising then when folks use whole grain flour that has the consistency of sand and wonder why their whole grain baking doesn’t match up with what they can produce with the super fine white flour.

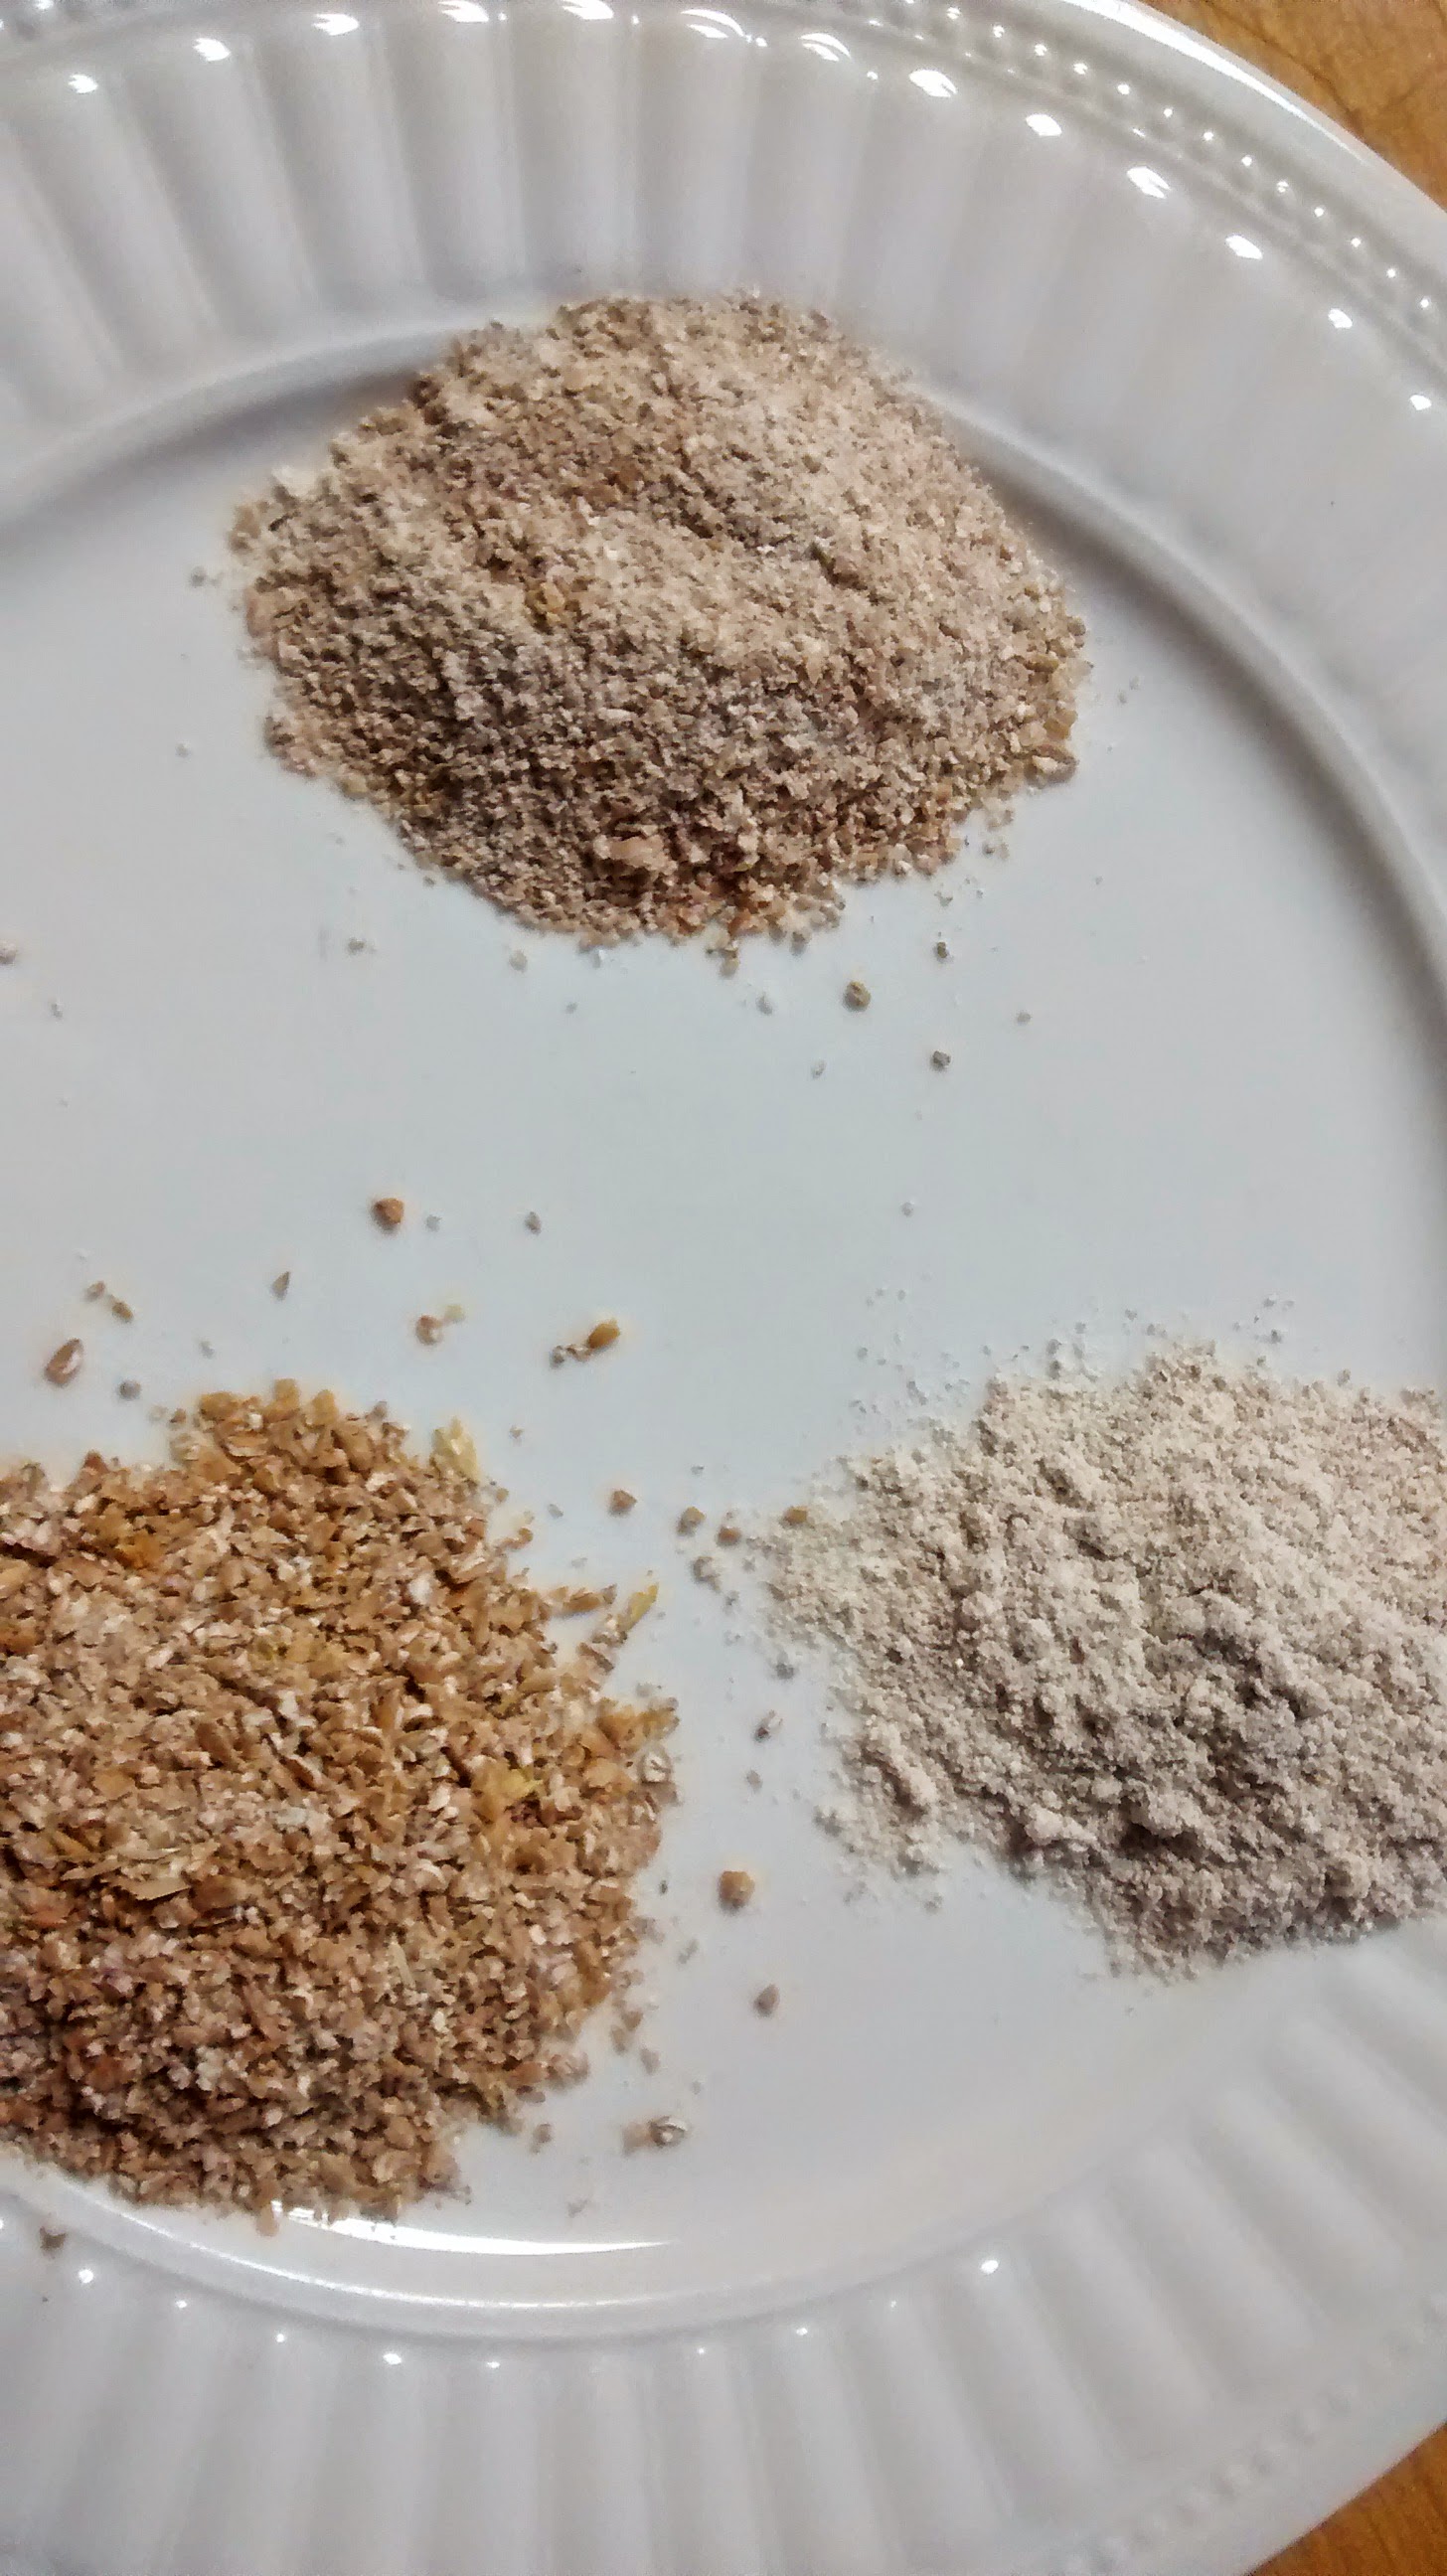
Whole grain flour Lower Left - Cracked Top - Second pass Lower Right - Pastry fine

Whole grain flour
Lower Left – Cracked
Top – Second pass
Lower Right – Pastry fine

Really?  It’s all in the ingredients, so when starting with a coarse flour it is hardly surprising that you get a coarse product.

The homestead mill will produce pastry fine flour – and that is the grade that I aim to produce and use in all of my baking.  If anything using fine flour is more important with whole extraction flours than with white since the lower proportion of gluten in whole grain flour and the slower absorption of liquid due to the higher fiber content benefits significantly from the smaller particle size.

Now, I think that one of the reasons folks go coarse is because they expect to produce suitable flour in one pass through the burrs.  I guess that with a tiny mill it might be possible enough to muster the torque to produce that quality

of flour in a single pass – but you certainly wouldn’t be doing it very quickly.  As soon as you step up the burr size that becomes nearly impossible.  Move up to a six inch burr like those on the Homestead Grain Mill and you’re up for a real challenge.

Instead of struggling to do it in one pass I usually do it in at least two passes, and more often three.  The first pass is just to crack the grain, the second brings it down to a much finer but still cracked consistency, with a third pass to get it pastry flour fine.  If I  am using the power drive I usually end doing the reduction in four passes.

With finely ground flour I think you’ll find that your whole grain baking gains a whole new level of endorsement from your family and friends.


By

Embrace the opportunity to fail – Building Capacity

Failure sucks. I mean hey we all want to succeed right? So why do I value failure and hope you’ve recently experienced it? Simple, if you aren’t failing you aren’t testing the limits, you aren’t growing.

Now let’s be realistic don’t fail by doing stupid stuff – getting injured or messing stuff up that could have been easily avoided doesn’t make sense.

Nor does making mistakes that could reasonably easily have been avoided by learning from the experiences of others – build upon per-existing foundations where you can – that’s smart.

Rather, push the boundaries for opportunities to learn, experience and grow.

Take this weekend for example. I had nearly 300 board feet of 1″ thick, 12″ wide rough pine lumber to turn into standard supers for the bees. A simple woodworking exercise right – even had one of the standard Langstroth hives I’d purchased last year from Dancing Bee Apiaries but kept unassembled to act as a pattern. I’ve even got pretty nice tools and quit a bit of experience with them. So it should have been comparatively easy to secure success right?

But, in spite of all of that there were still a fair number of failures. I thought that I was being smart using a nice 12″ compound miter saw to cut the boards which were up to 12′ long down to the appropriate size. Turns out that wasn’t such a great idea in practice. Once the boards were planed and ripped down to length the ends that had been cut on the miter saw weren’t at right angles to the long edges… and I’d been so efficient that I hadn’t left extra for trimming later. Oops, and it also was a real pain to try to pin the boards to the fence on the miter saw, which resulted in a fair number of edges that weren’t parallel to the long edges even before the other operations.

Also sub-standard was the cutting of the finger joints. There were a lot of finger joints to cut, and I found that the the key moved ever so slightly and the tolerances became looser as I progressed. Add onto that the number of keys to cut and it became a sizable job, oh and those not quite right angles caused by using the miter saw… since I was using the ends a the reference, it added to the problem.

So, the end product leaves something to be desired to say the least. Oh sure with a bit of extra trimming and some extra glue and paint they will get the job done. But, definitely not a pro-job.

Now, I did look for suggestions on how to tackle the task before I started out – but I didn’t find that much beyond plans.

So there will definitely be a number of sub-par supers in my apiary as a result of this weekends work and failures.

But I did learn a lot from each point of failure. The ugly supers were the price for the opportunity to lean and figure out how to refine the process. i haven’t squandered that.

Now I know how I am going to cut the boards to length next time. I’ve got a sketch of a special guide for the circular saw that should allow me to do a better job faster than would be possible with the miter saw.

For the finger joints – I’ve got another design sketched up for a jig that should make it possible to not only make a bunch of fingers at the same time, but also takes care of the indexing – and uses the long edges as the reference sides.

Will those modifications to the process work? I think they stand a good chance – but, but I know that failure there will simply see me go back to the drawing board.

So, take the opportunity to see where you can fail, paradoxically I think it’s the quickest way to success.

By

Build a grain mill, grind flour at home

There are some great grain mills out there that you can purchase.  Both the Grainmaker and the Diamant look like great mills.

So, why would you want to build one?  I think there are a bunch of reasons.

First off, you get a great mill – one I think you’ll find is equal to those other two great options you could buy.  I don’t think you give up anything in terms of performance.  Fundamentally that is what you are after right.

The cost of the materials though is a fraction of what it costs to purchase one of the commercial mills.  Even if you have to purchase the tools – the principal ones being a welder, an angle grinder and a 3/8″ drill you’ll still likely find yourself ahead financially.

Build a grain mill

Build a grain mill

If you build more than one grain mill or already have some of the tools you’ll be even further ahead – and you’ll have the start of a nicely equipped metal working shop.

But more than that you’ll have gained the experience and insight needed to use those tools productively, and that is a pretty cools skill set to have in my book, and you’ll have gained those while building something very useful.

Now if you are a true novice to metal working you might want to tackle the tortilla press first.  You’ll use many of the same skills but turnaround is much faster.  It should serve as a good confidence builder.

By

Assisted natural selection

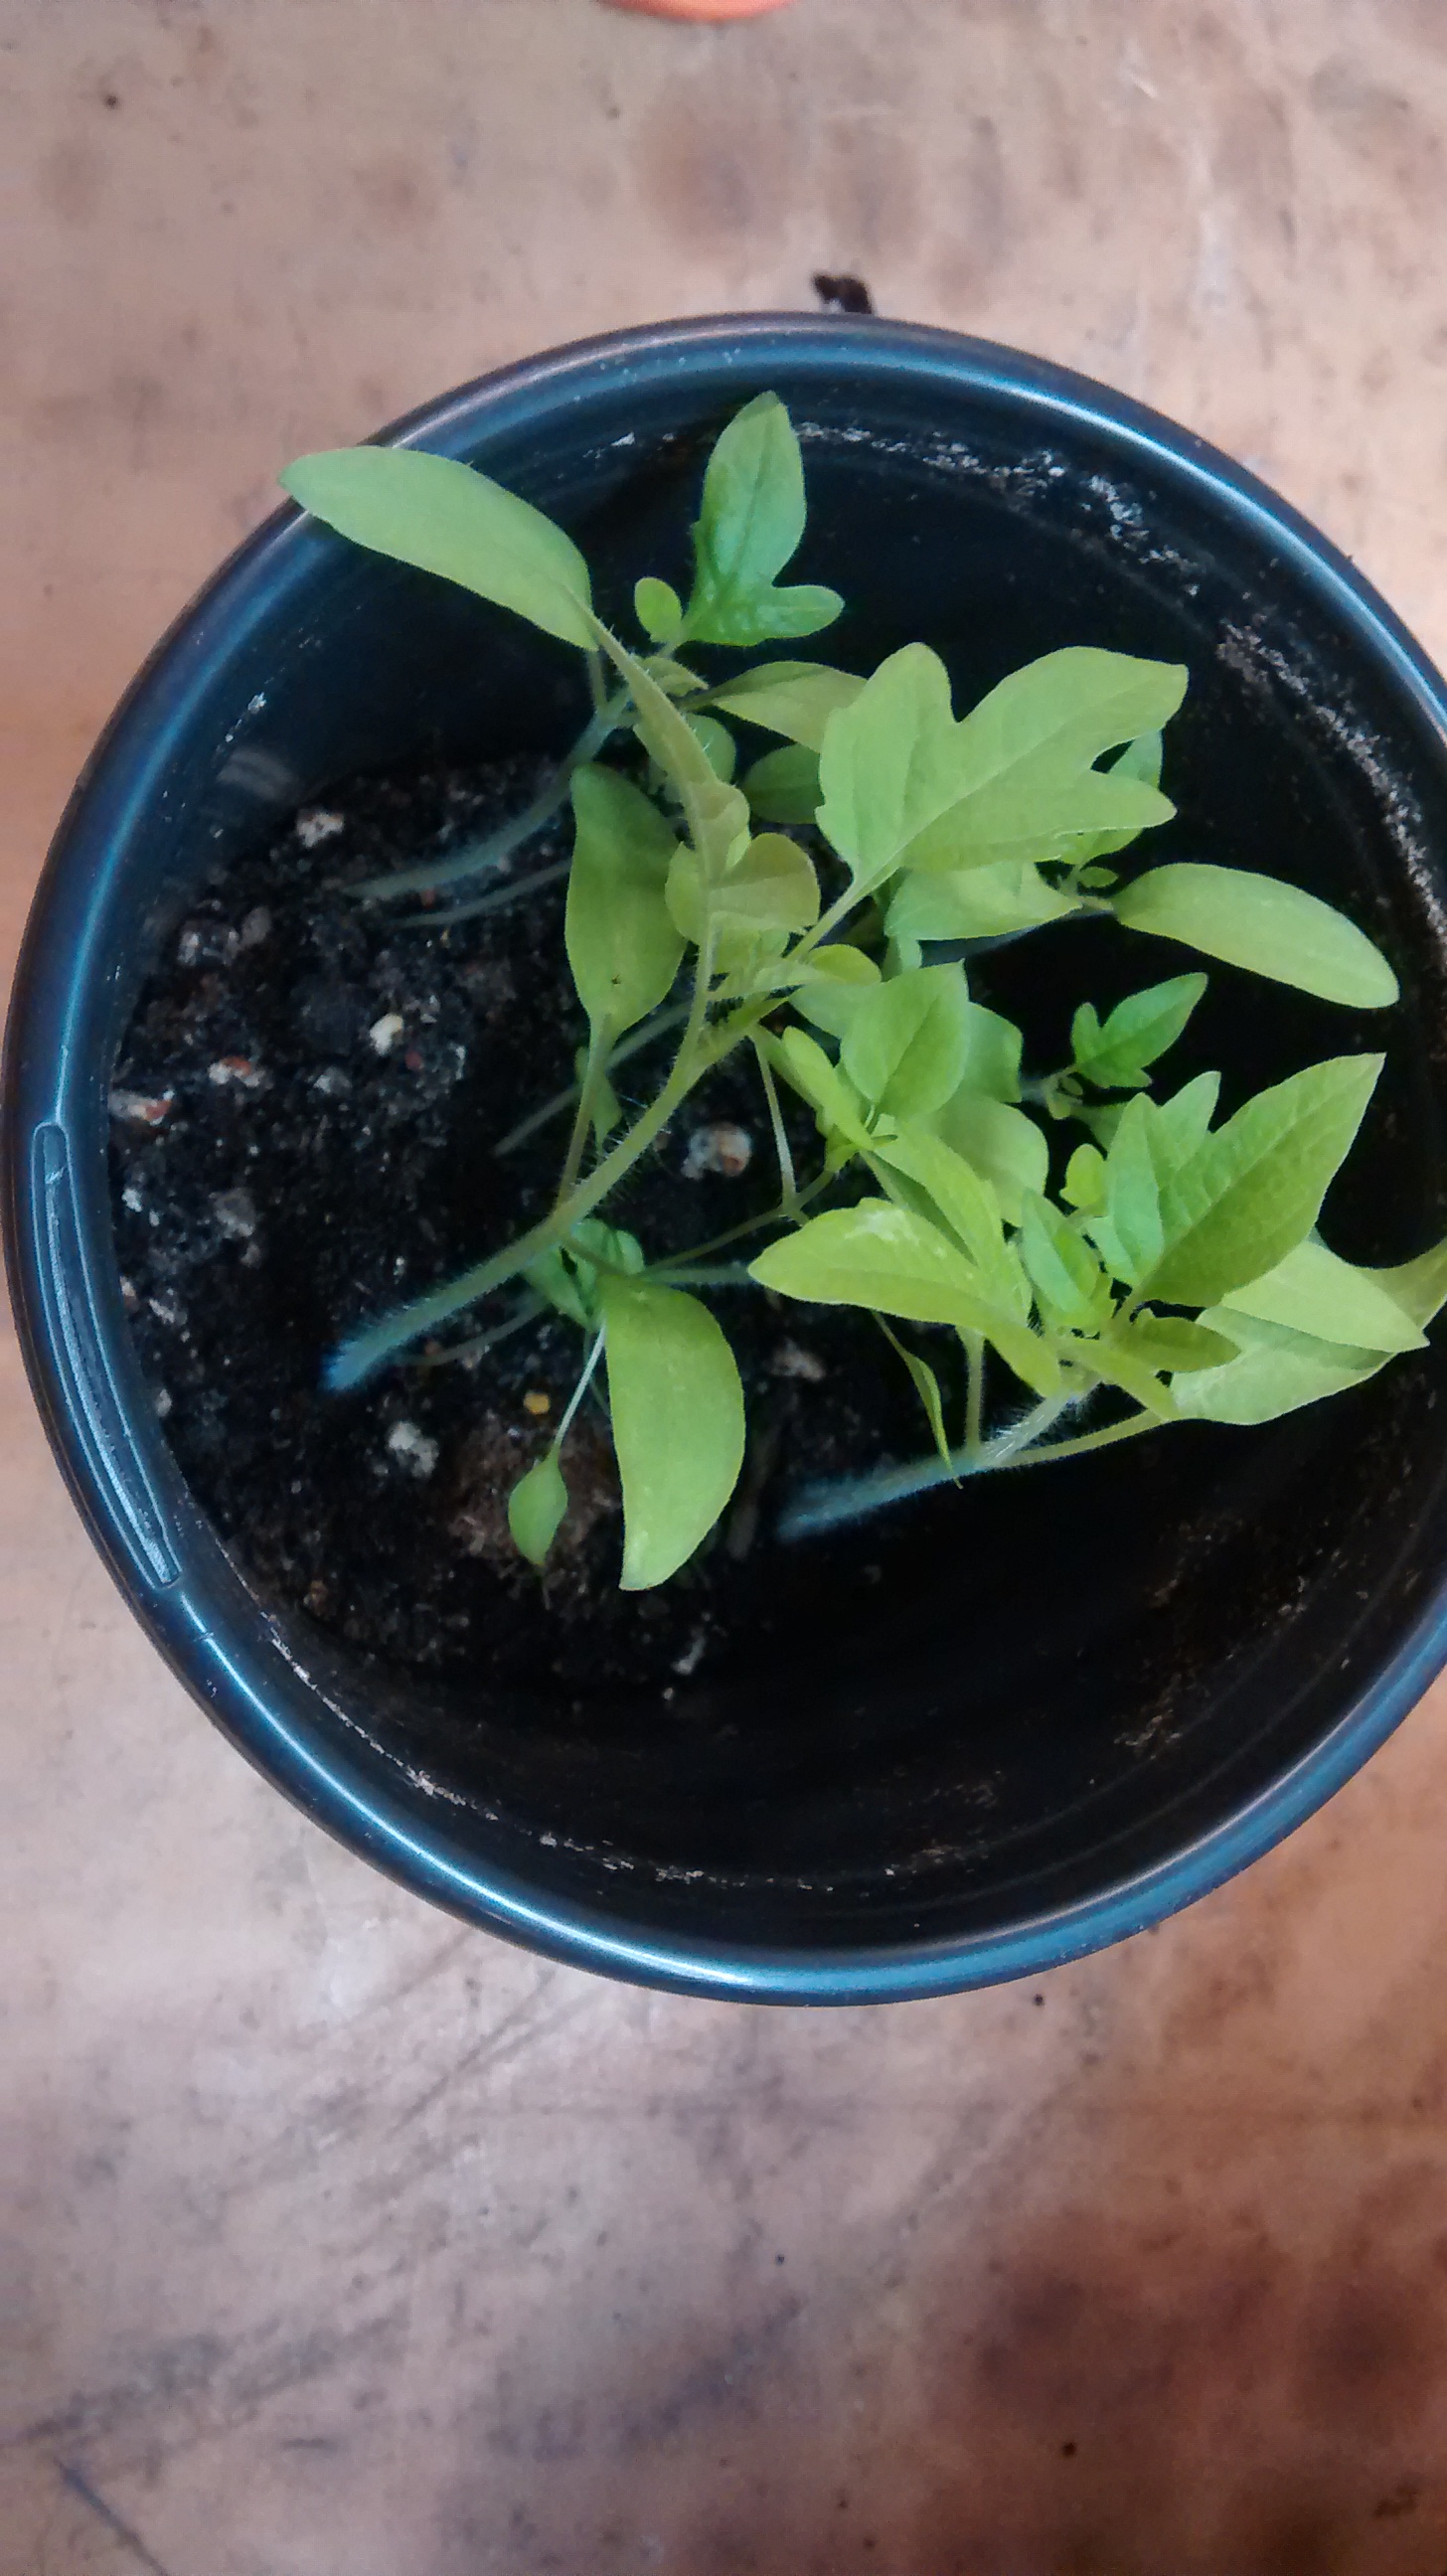
The seeds that were started a few weeks ago have now for the most part germinated.  In many cases the five or six seeds planted into each pot have germinated and are now in need of trimming.

This is especially true for the tomato seedling.  It won’t be long before the pots which were only filled a third of the way with potting mix need to have more mix added – giving an extra long rooting surface… but we aren’t there yet.  Today is the cull day.

A crowded pot before the cull

A crowded pot before the cull


The start of process of selecting the traits I value in the plants.  At this point it’s all about vigor and health.  Fail to make the grade – and about two-thirds don’t and your traits are removed from the gene pool.  The scissors are swift.

As the season goes on, the cull rate will decline but the selection process continues. In the case of the tomatoes I look for strong healthy plants that not only start producing early but yield heavily and do so thought the season and as far into the fall as possible, at the same time I want them to have the taste profile I expect.  The wild tomatoes that the kids love need to be sweet, but for the rest I want really well balanced tomato flavor.

The winners whose fruit is selected to provide seed for next year aren’t necessarily the ones that excel in only one of these traits but rather the ones that provide the best combination of these traits.  That said, if a plant is exceptional in one regard and only one I’m going to keep seed – but I’ll keep it apart from the rest for further evaluation.

Of course what I am looking for is subjective.  I like pushing the season at either end, I garden intensively and don’t bother to try to control for plant diseases, I like indeterminate plants with their long season.  my flavor tastes are of course even more subjective.  Even my soil and growing conditions play a role in determining what does well, attracts my attention and gets selected to remain in the gene pool.

Now these traits might not always have what it takes to survive.  The ash tree that graced my front yard – a massive, strong and beautiful tree – whose limbs supported more that a few large machine tools being raised with a chain hoist either out of or into my truck bed – is gone, a victim of emerald ash borer that has now killed most of the ash trees of any size in the region.

Still, in the absence of radical selection pressures such as this one, my tomato gene pool evolved at a more leisurely pace, but it still moves in lock step with my actions driven by what I value in practice.

This of course is no different than any other aspect of our lives.  Who and what we are is driven by our true actions.  As with the evolution of my tomato populations the theory doesn’t matter – it’s all about the reality of actions (or inaction) that determines which way the gene pool moves.

The strongest survive for further evaluation

The strongest survive for further evaluation

So today’s cull reflected not only the start of the selection for what I value in the tomatoes I grow this year, but in many ways a continuing selection within my own life for what I value – which includes the value I place on growing at least a portion of my family’s food and doing so in the most sustainable fashion possible.

So what are you selecting for?


By

Why get a grain mill

So why would you want a grain mill to produce whole grain flour at home?

Well, I can share a few of the reasons why I value my grain mill.

First, I like the health benefits offered by whole grain, 100% extraction flours.  By producing my own whole grain flour at home I can get everything that is in those seeds and put it in my baking.  I can’t easily buy 100% extraction flour, in part because once the endosperm is ground the oils in the seed start to go rancid.

Second,  I like the financial advantage of baking at home. I can bake a loaf of bread for a fraction of the price of a white loaf from the store – let alone the cost of a premium priced whole grain loaf.  That financial savings is a nice gain especially since it comes not from sacrifice but from a significant gain.

Third,  I like being able to purchase and store whole grains.  Not only can I purchase them in bulk for a fraction of the price of white flour from the store but I can also purchase them at low cost and avoid price fluctuations and provide a hedge against my own income disruption.

Now, let’s be honest.  It does take time to grind grain.  But, if I don’t feel like hand cranking out a loaf worth of flour I can always use my power drive, and quite often grind enough for a couple of days.  Combine the power drive for the grain mill with a bread machine and mechanization does most of the work.

I also find it’s a pain to have to head out to the grocery store to pick up a loaf of bread, and would take considerably more time than producing flour and baking at home.

In my home home ground wins hands down and it has for over a decade.