[metaslider id=12]

By

Building the Wood Fired Pizza Oven – Laying out the material
With a stack of flattened stainless steel sheets my next task was to figure out dimensions for the pizza oven.

I started with dimensions for the commercial units I liked which was 27″ x 27″ for the interior dimension.  Recall that as an insulated stainless steel unit there is both an inner and outer. shell.

Laying out the template for the wood fired pizza oven.

Laying out the template for the wood fired pizza oven.

The standard fire bricks I am using are 9″ x 4 1/2″.  So three bricks placed long way wide gives 27″  and six bricks deep makes 27″.

To get a handle on what I could accomplish using the materials at hand I labeled each piece of stainless steel and measured them up and then set about with a pencil and pad of paper figuring out designs.

The oven shape is simple enough- half circles.  The formula for the circumference of a circle is 2 x 3.14 x radius, so the half circle shape amounted to half that or 3.14 x radius.

So, long story short,  the material I had to work with dictated that the inner shell have a diameter of 27″ wide by 22 1/2″ deep.

The outer shell would have a radius 3″ greater to provide a gap for insulation between the inner and outer shell.

Getting ready to cut out the templates with the jigsaw

Getting ready to cut out the templates with the jigsaw

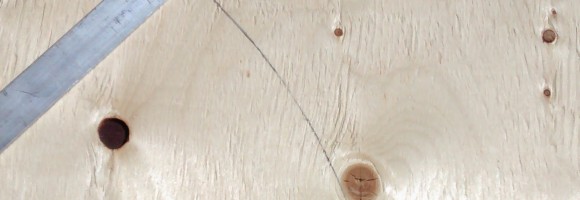
To make layout work a bit easier I grabbed a piece of 3/4″ thick plywood to make a master pattern with.  To draw the half circle I picked a piece of aluminum flat from my scrap pile and drilled a bunch of 1/8″ holes in it.  The first near the end would serve as the pivot point – when placed over a finishing nail tapped into the plywood – and other holes were drilled 13.5″ and 16.5″ further out from this point – the inner and outer curves respectively.

I used a jigsaw to cut the plywood curve out.  This then served as the template for laying out the back inner wall, the back outer wall, and the front curved piece.  One thing to take not of is that I marked out the initial curve described by the template but then added another inch to use to make tabs to bend over to provide additional structural support as well as give a place to spot weld the backs and fronts to the flat outer pieces…

Stay tuned for the next steps as we work towards a  really cool pizza oven made from stainless steel scrap.
 

By

Don’t sweat the smoke

If you are familiar with electronics you may be familiar with the line “Don’t let the smoke out”… the idea being that electronics run on smoke and if you let electronics smoke… well you let out the working essence out and they cease to exist.

That’s all very cute, and you don’t want your kit to stop working but I wonder how much the fear of letting the smoke out keeps us from actually risking to fix our kit.

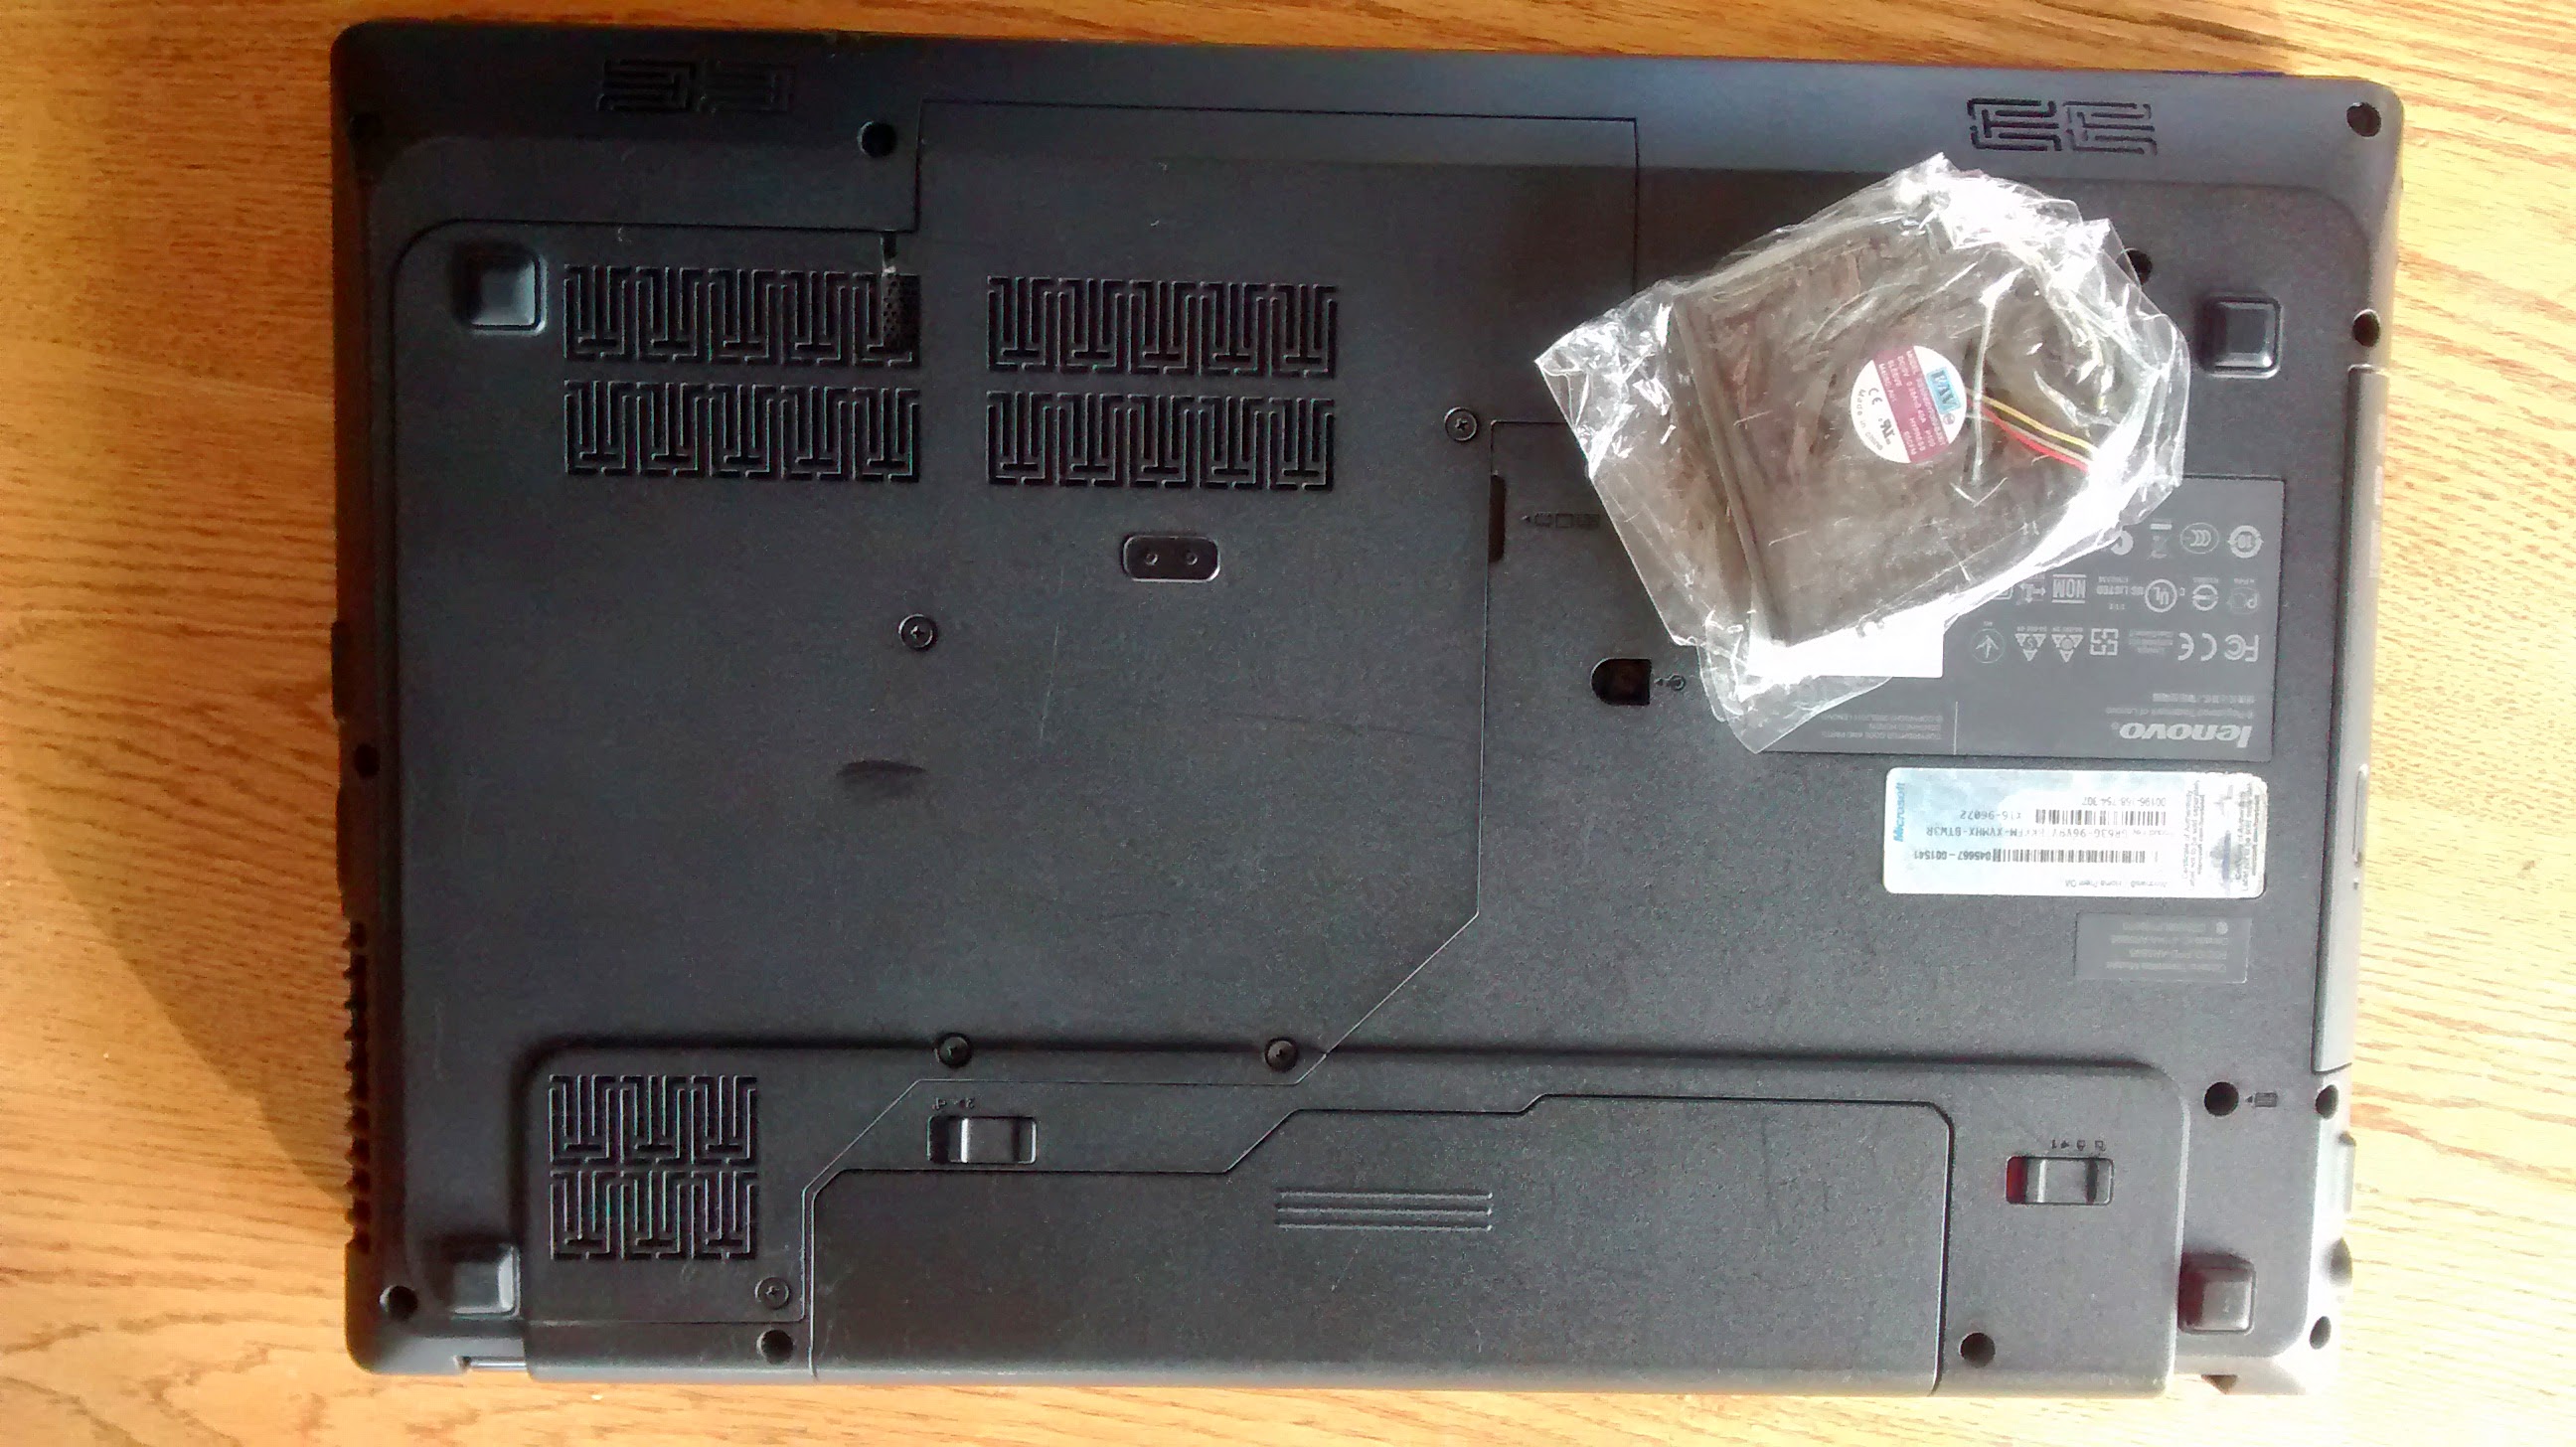
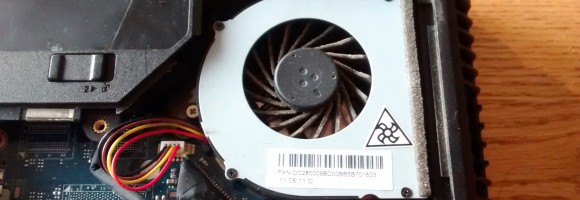
Bottom of the laptop along with replacement fan

Bottom of the laptop along with replacement fan

Case in point, the laptop I’m using now slowed way down… the issue – well it’s about four years old and the fan failed and that really kills performance.  Now it would have been easy to drop a few hundred and get a new unit.

But, if that is the alternative – giving up what you’ve got, where’s the risk in trying to fix it?  Let the smoke out and… well I’m no further back than I was if I had to get another machine.

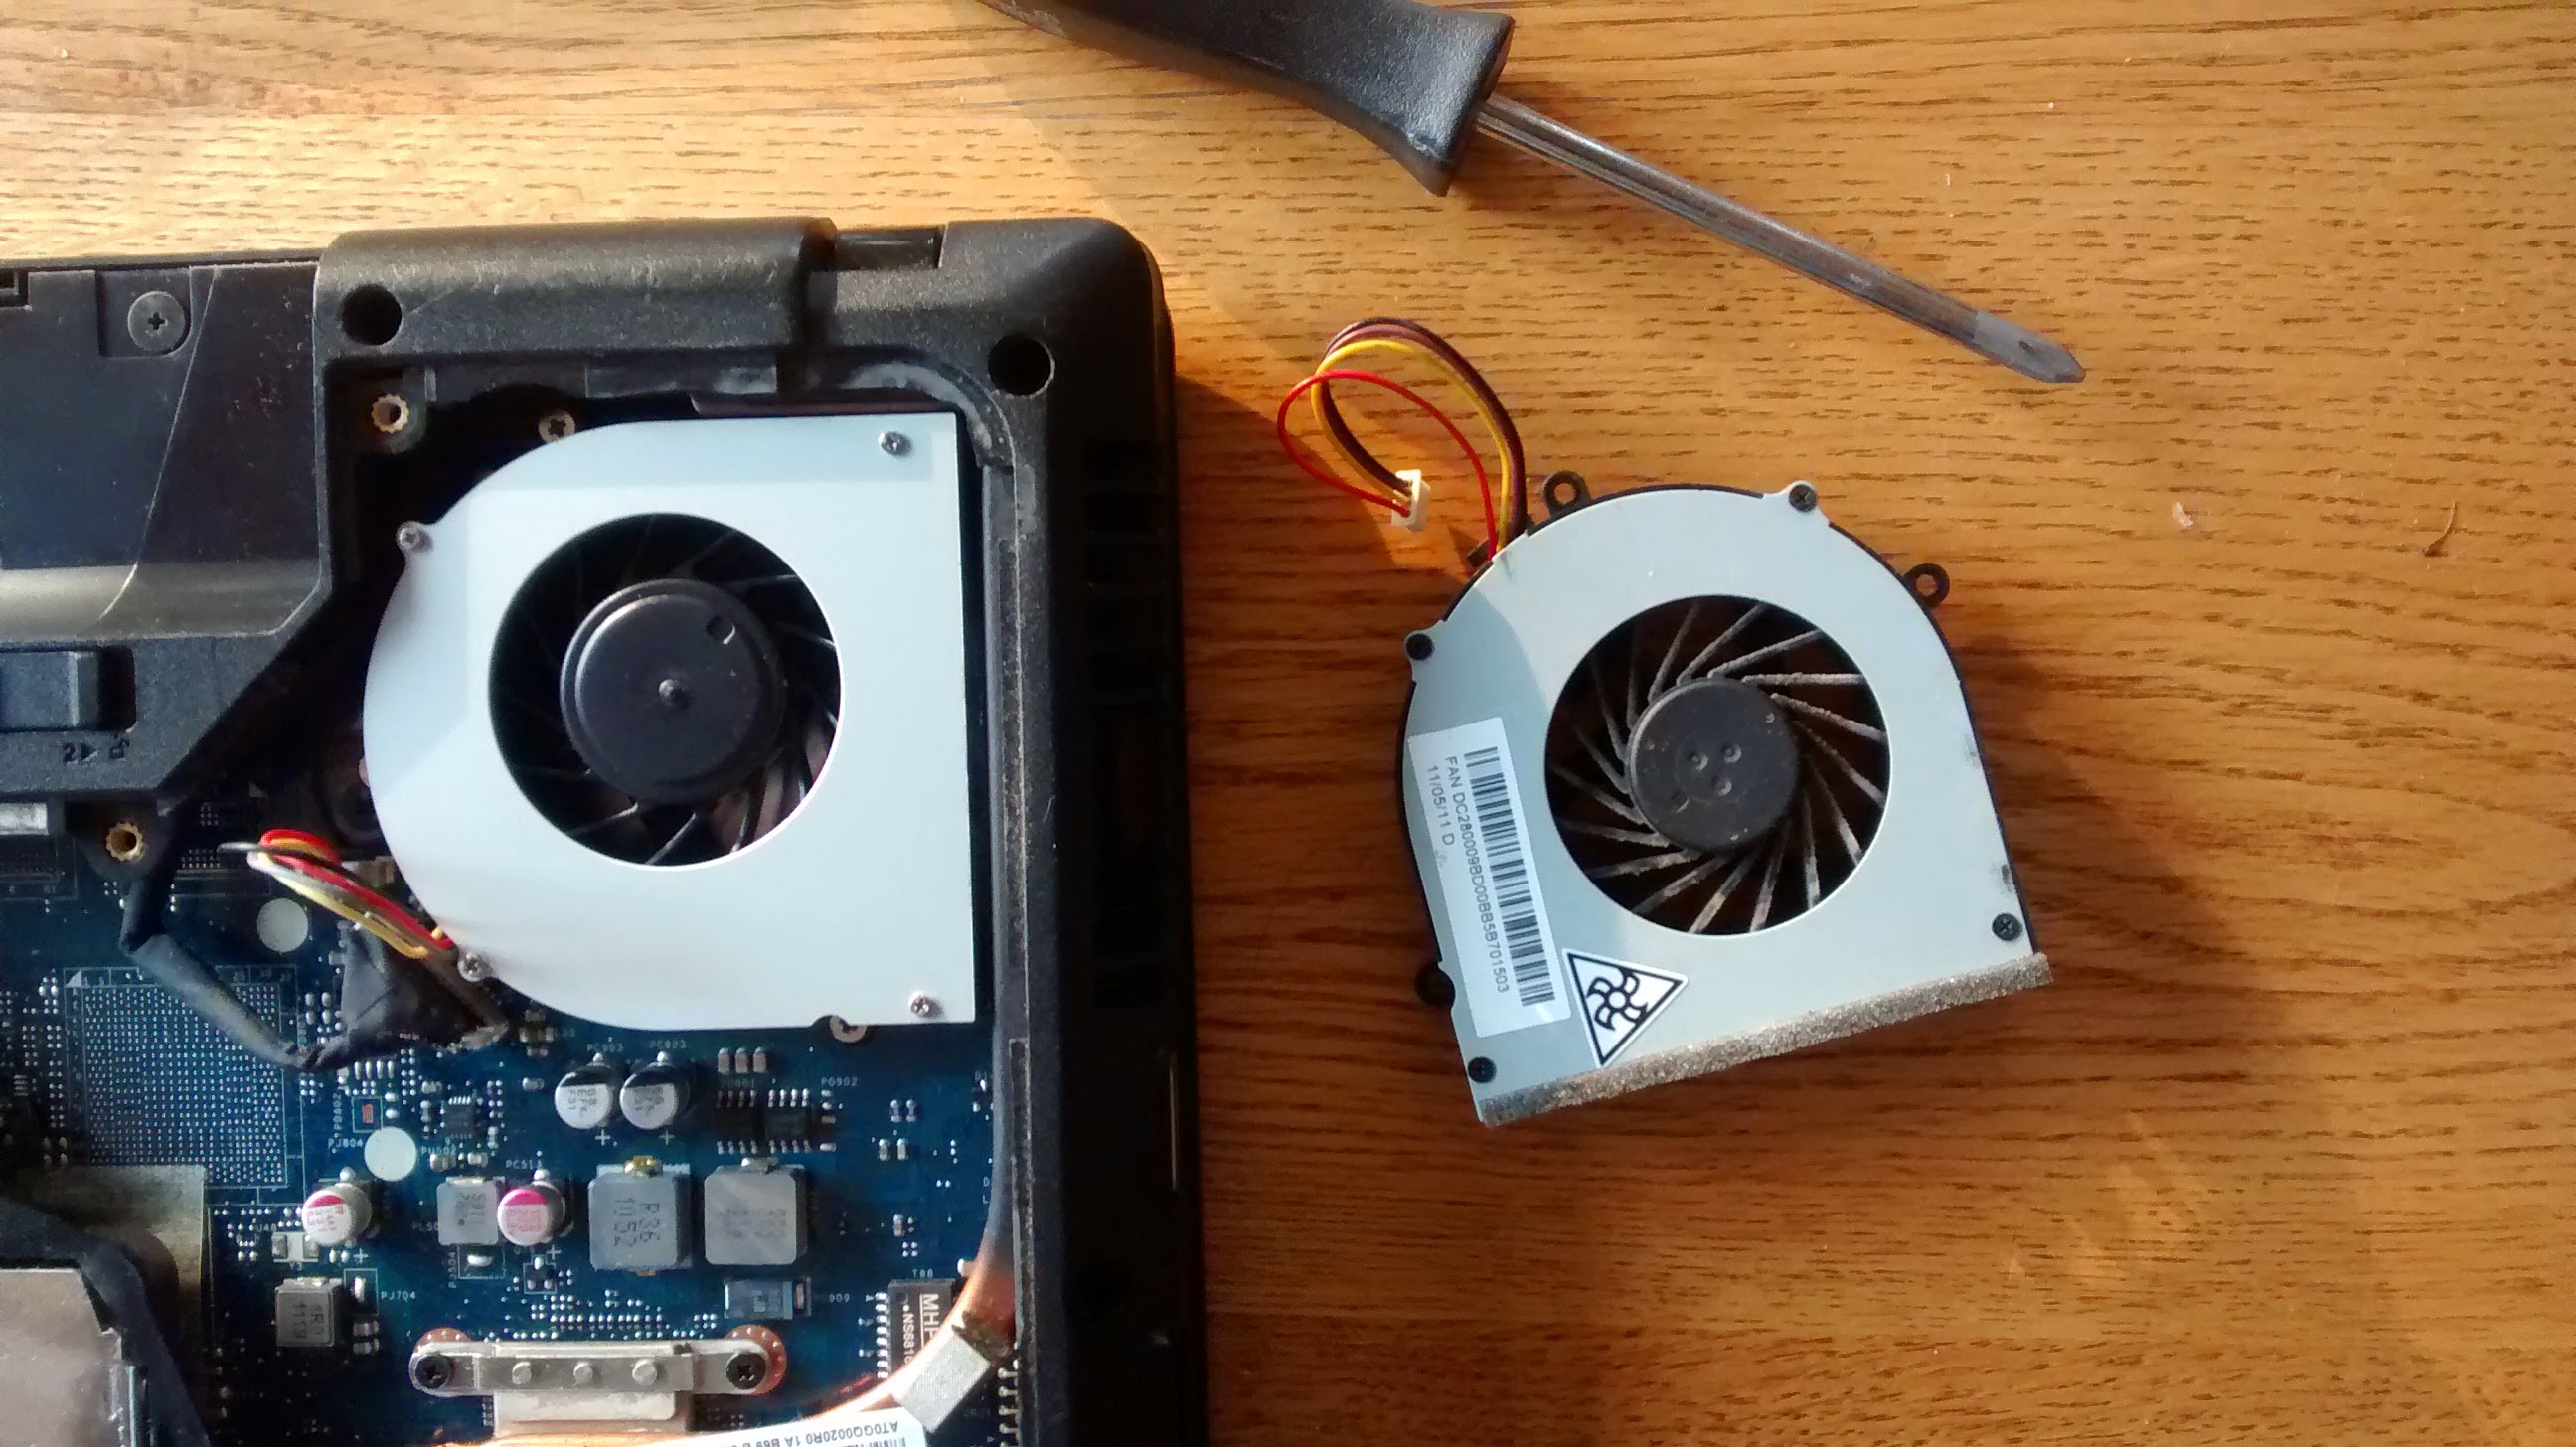
So that”s what I did… I picked up a replacement fan off Amazon for a whole $7!  I backed up my files, removed the back of the laptop unscrewed the old fan and unplugged it.  Then I swapped in the new fan.  The job took about five minutes… and saved me somewhere around $250.

Replacement fan installed in the laptop, ready to replace the rear cover

Replacement fan installed in the laptop, ready to replace the rear cover

The computer is back to clipping along and that money is still in my pocket – actually it’s paying off my mortgage.  I’d consider that a pretty sound and low risk investment.

So the next time some of your kit starts to malfunction give some thought to repairing it rather than trashing it and buying another.

By

A Homestead Wood Fired Pizza Oven – Getting the material ready

Taking the BBQ’s apart turned out to be pretty easy – for the most part.  The segments were joined by spot welds, rivets or screws and bolts.

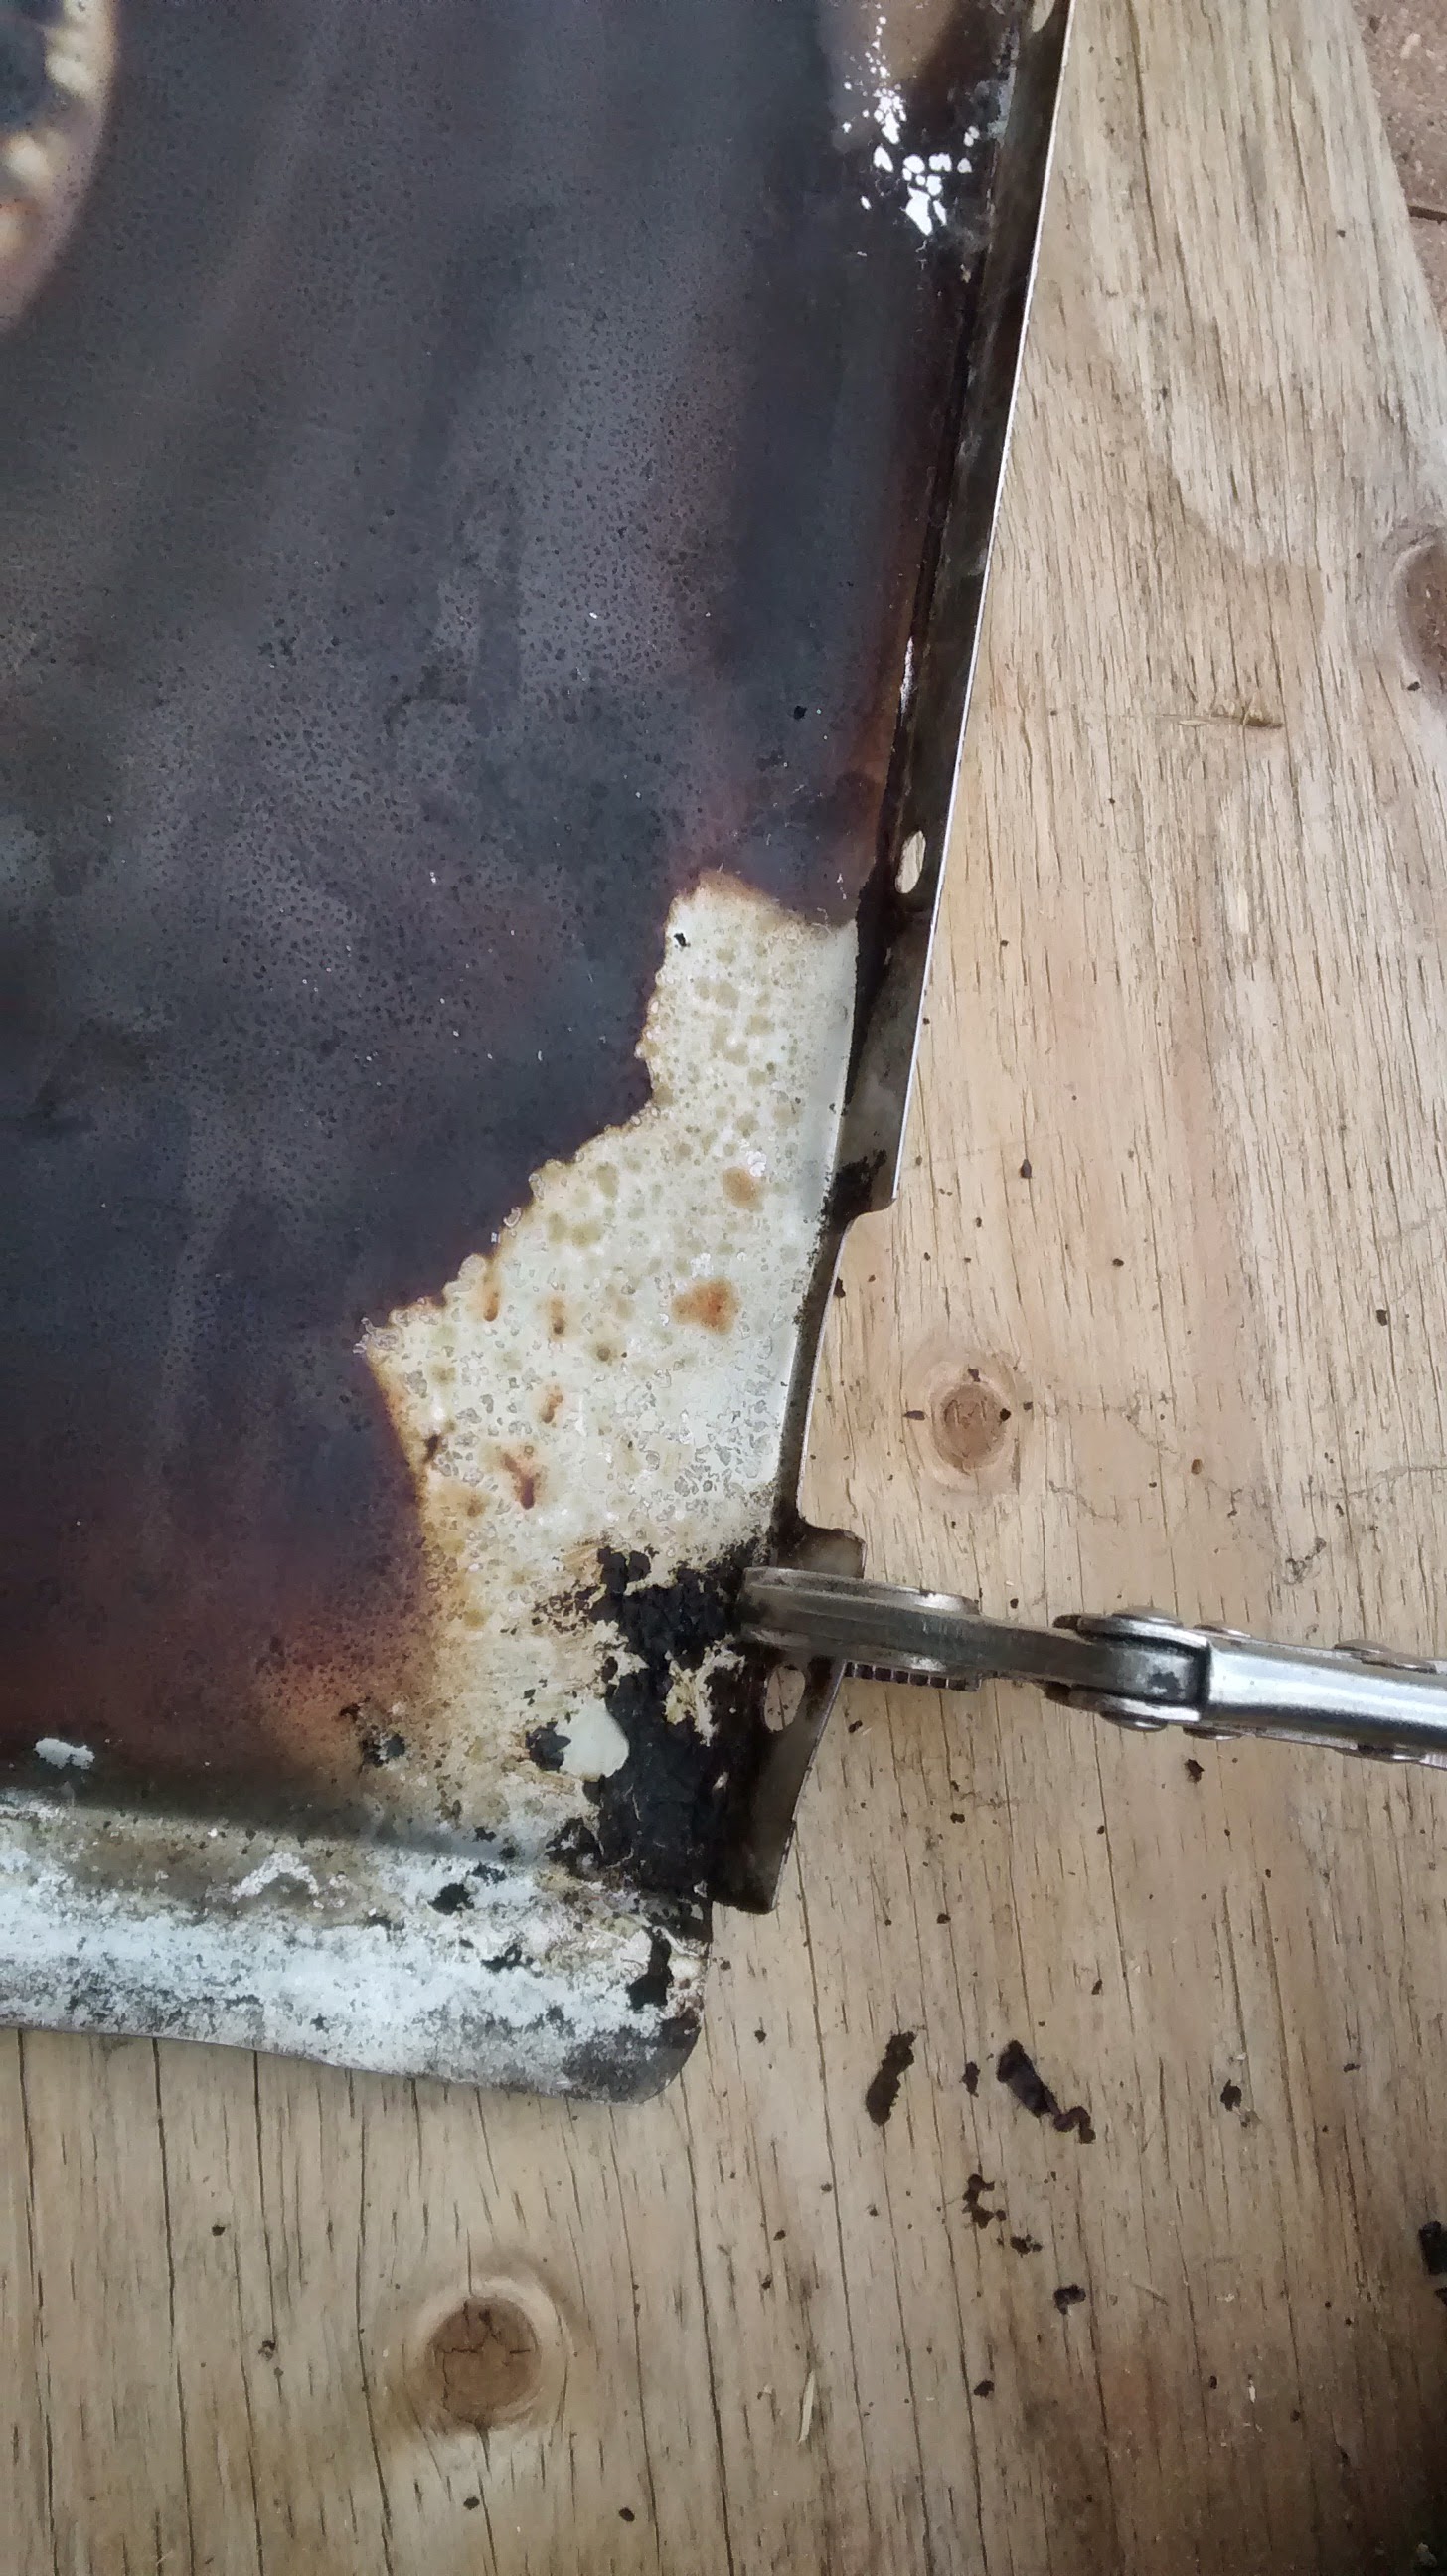
Bending tabs flat with vice-grips

Bending tabs flat with vice-grips

I had been worried that the latter – the screws and bolts would create a problem, but for the most part the were made from stainless steel and disassembled easily enough.  A few of the screws were stubborn and needed to be ground off but those were the exception.

The rivets were handled by using the angle grinder to remove most of the head and then driving the remainder out.

Finally the spot welds were broken by progressively working a flat bladed screw driver into the gap until the weld broke.  In some cases this resulted in a bit of tearing of the material but for the most part a pretty clean break resulted.

The next challenge was to get the material back into flat sheets so that a proper inventory could be taken and choices made as to how to cut the pieces made.   To start I used vice grips to bend the tabs flat.  Then I simply stepped on them … and this did flatten them out enough to make further work on them more reasonable.

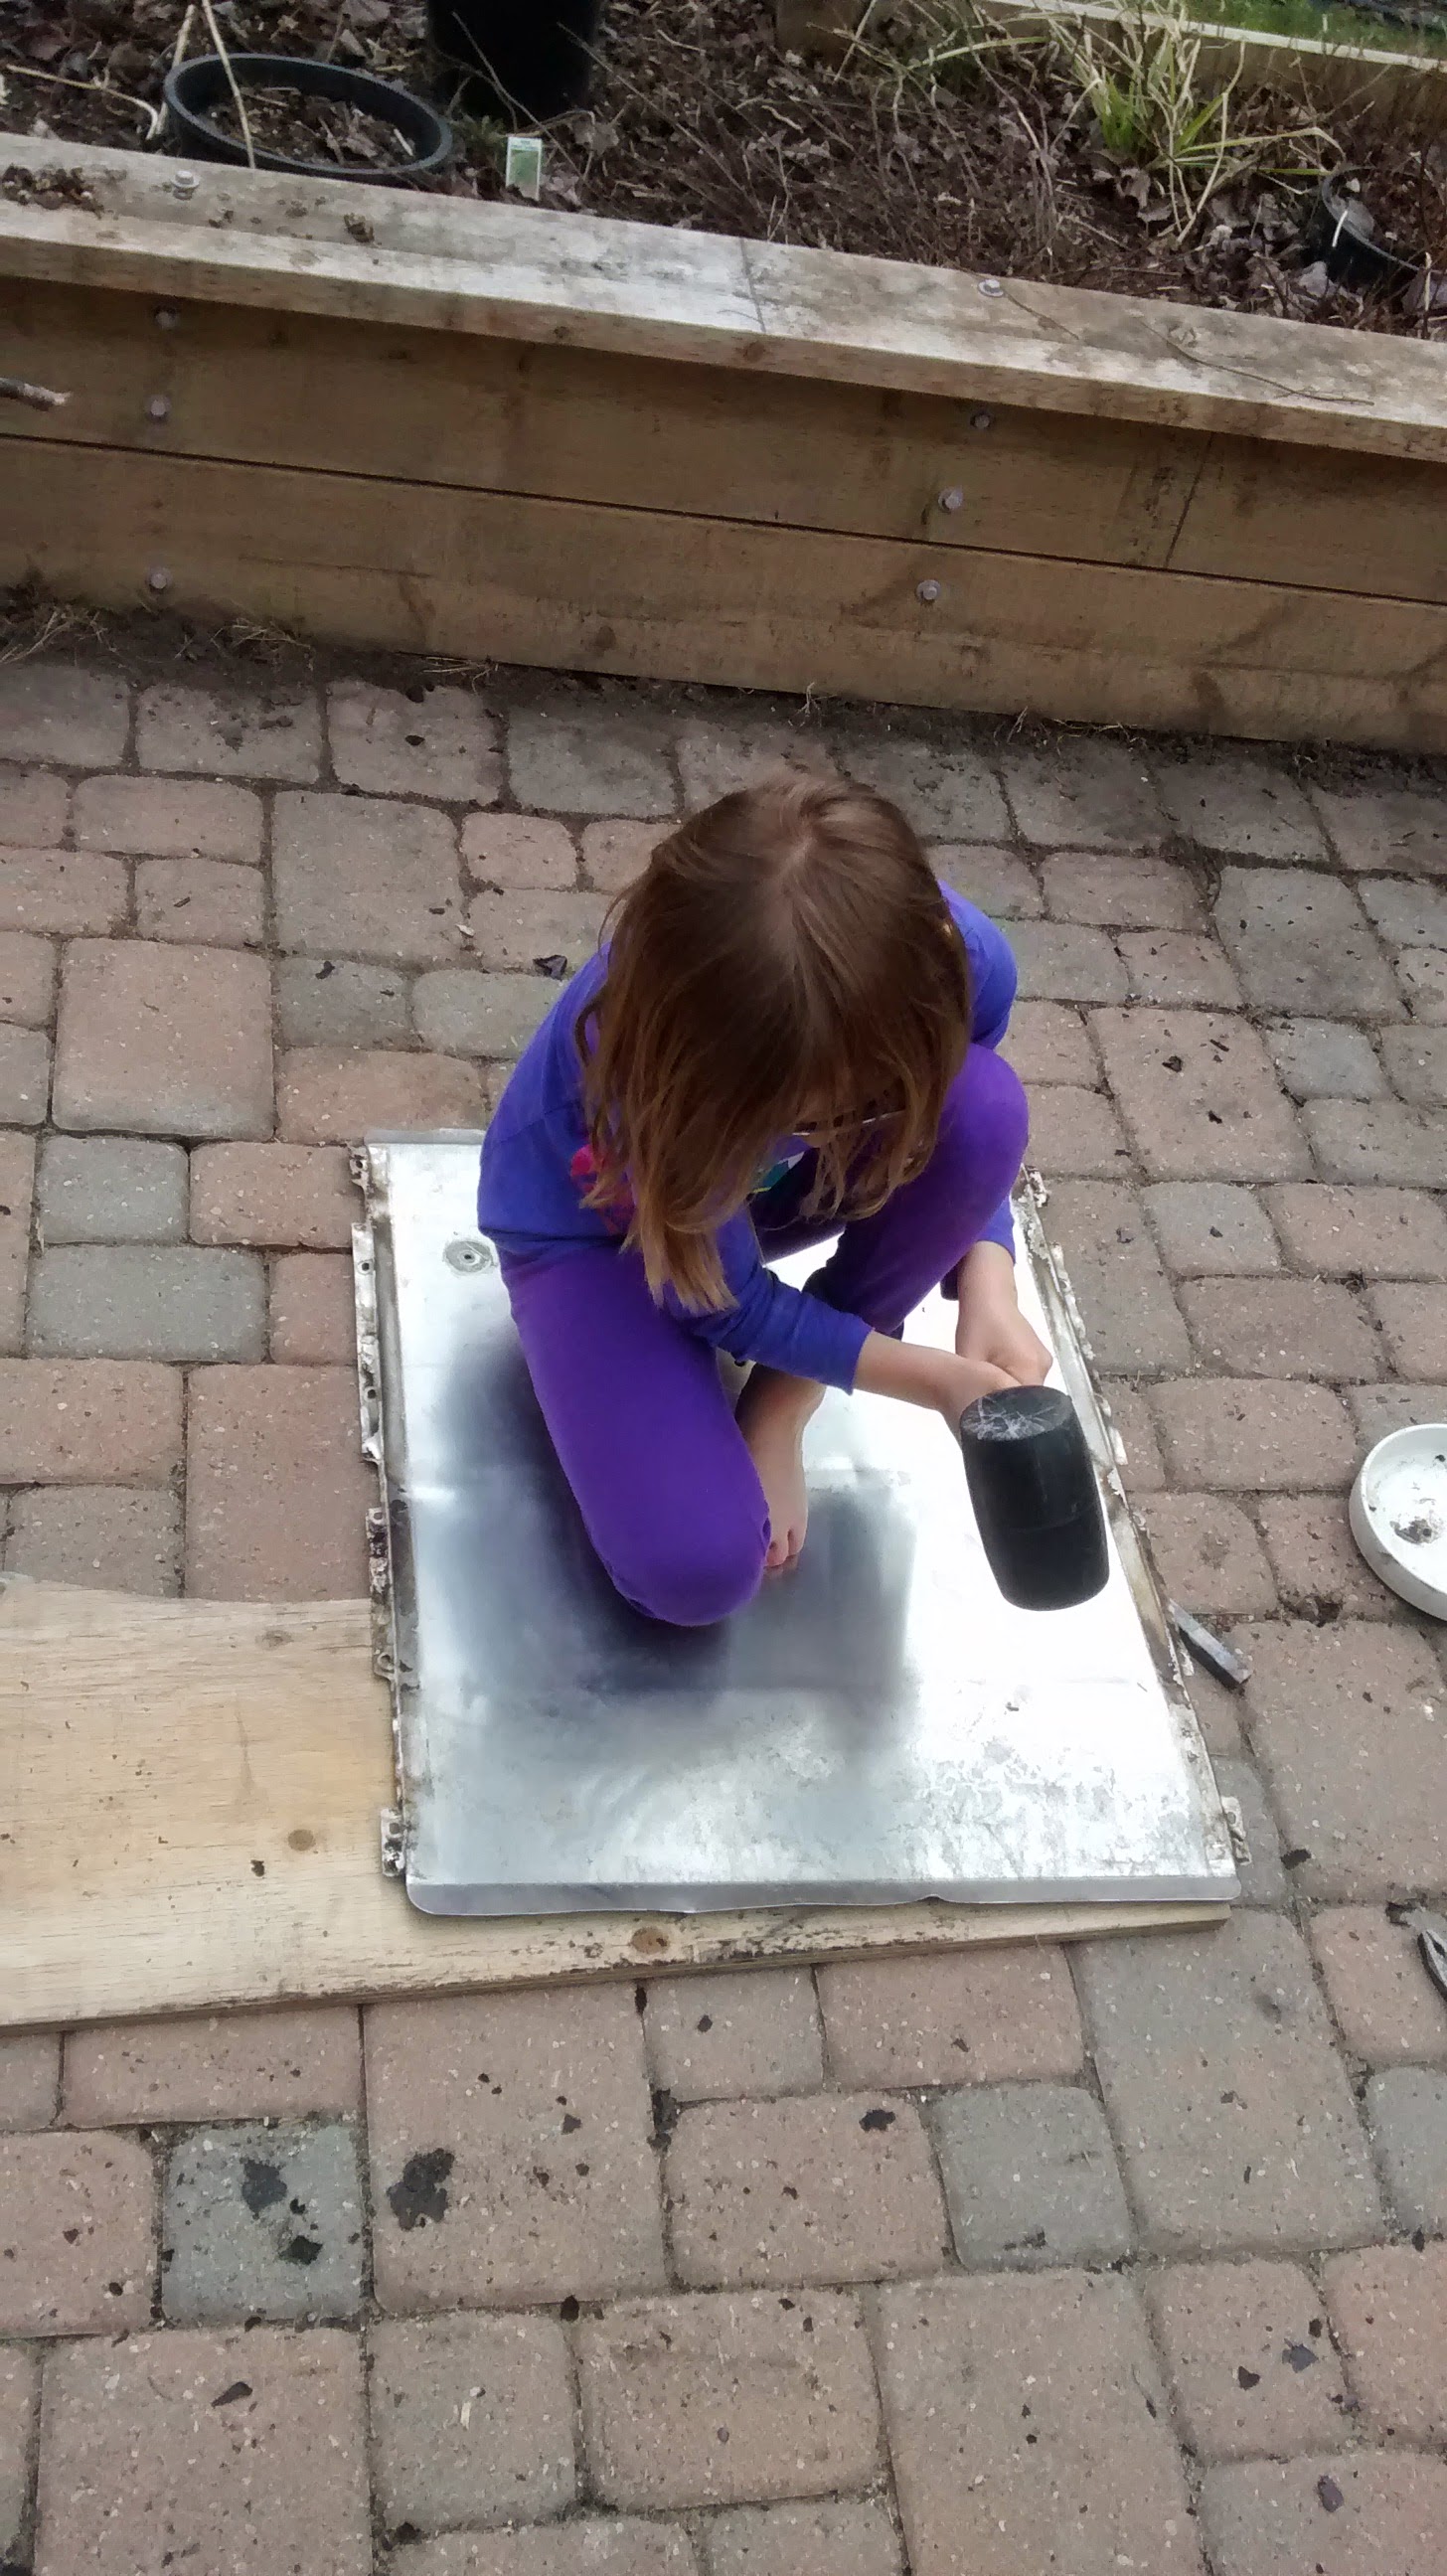
Minion 1 at work - safety glasses check... footwear?

Minion 1 at work – safety glasses check… footwear?

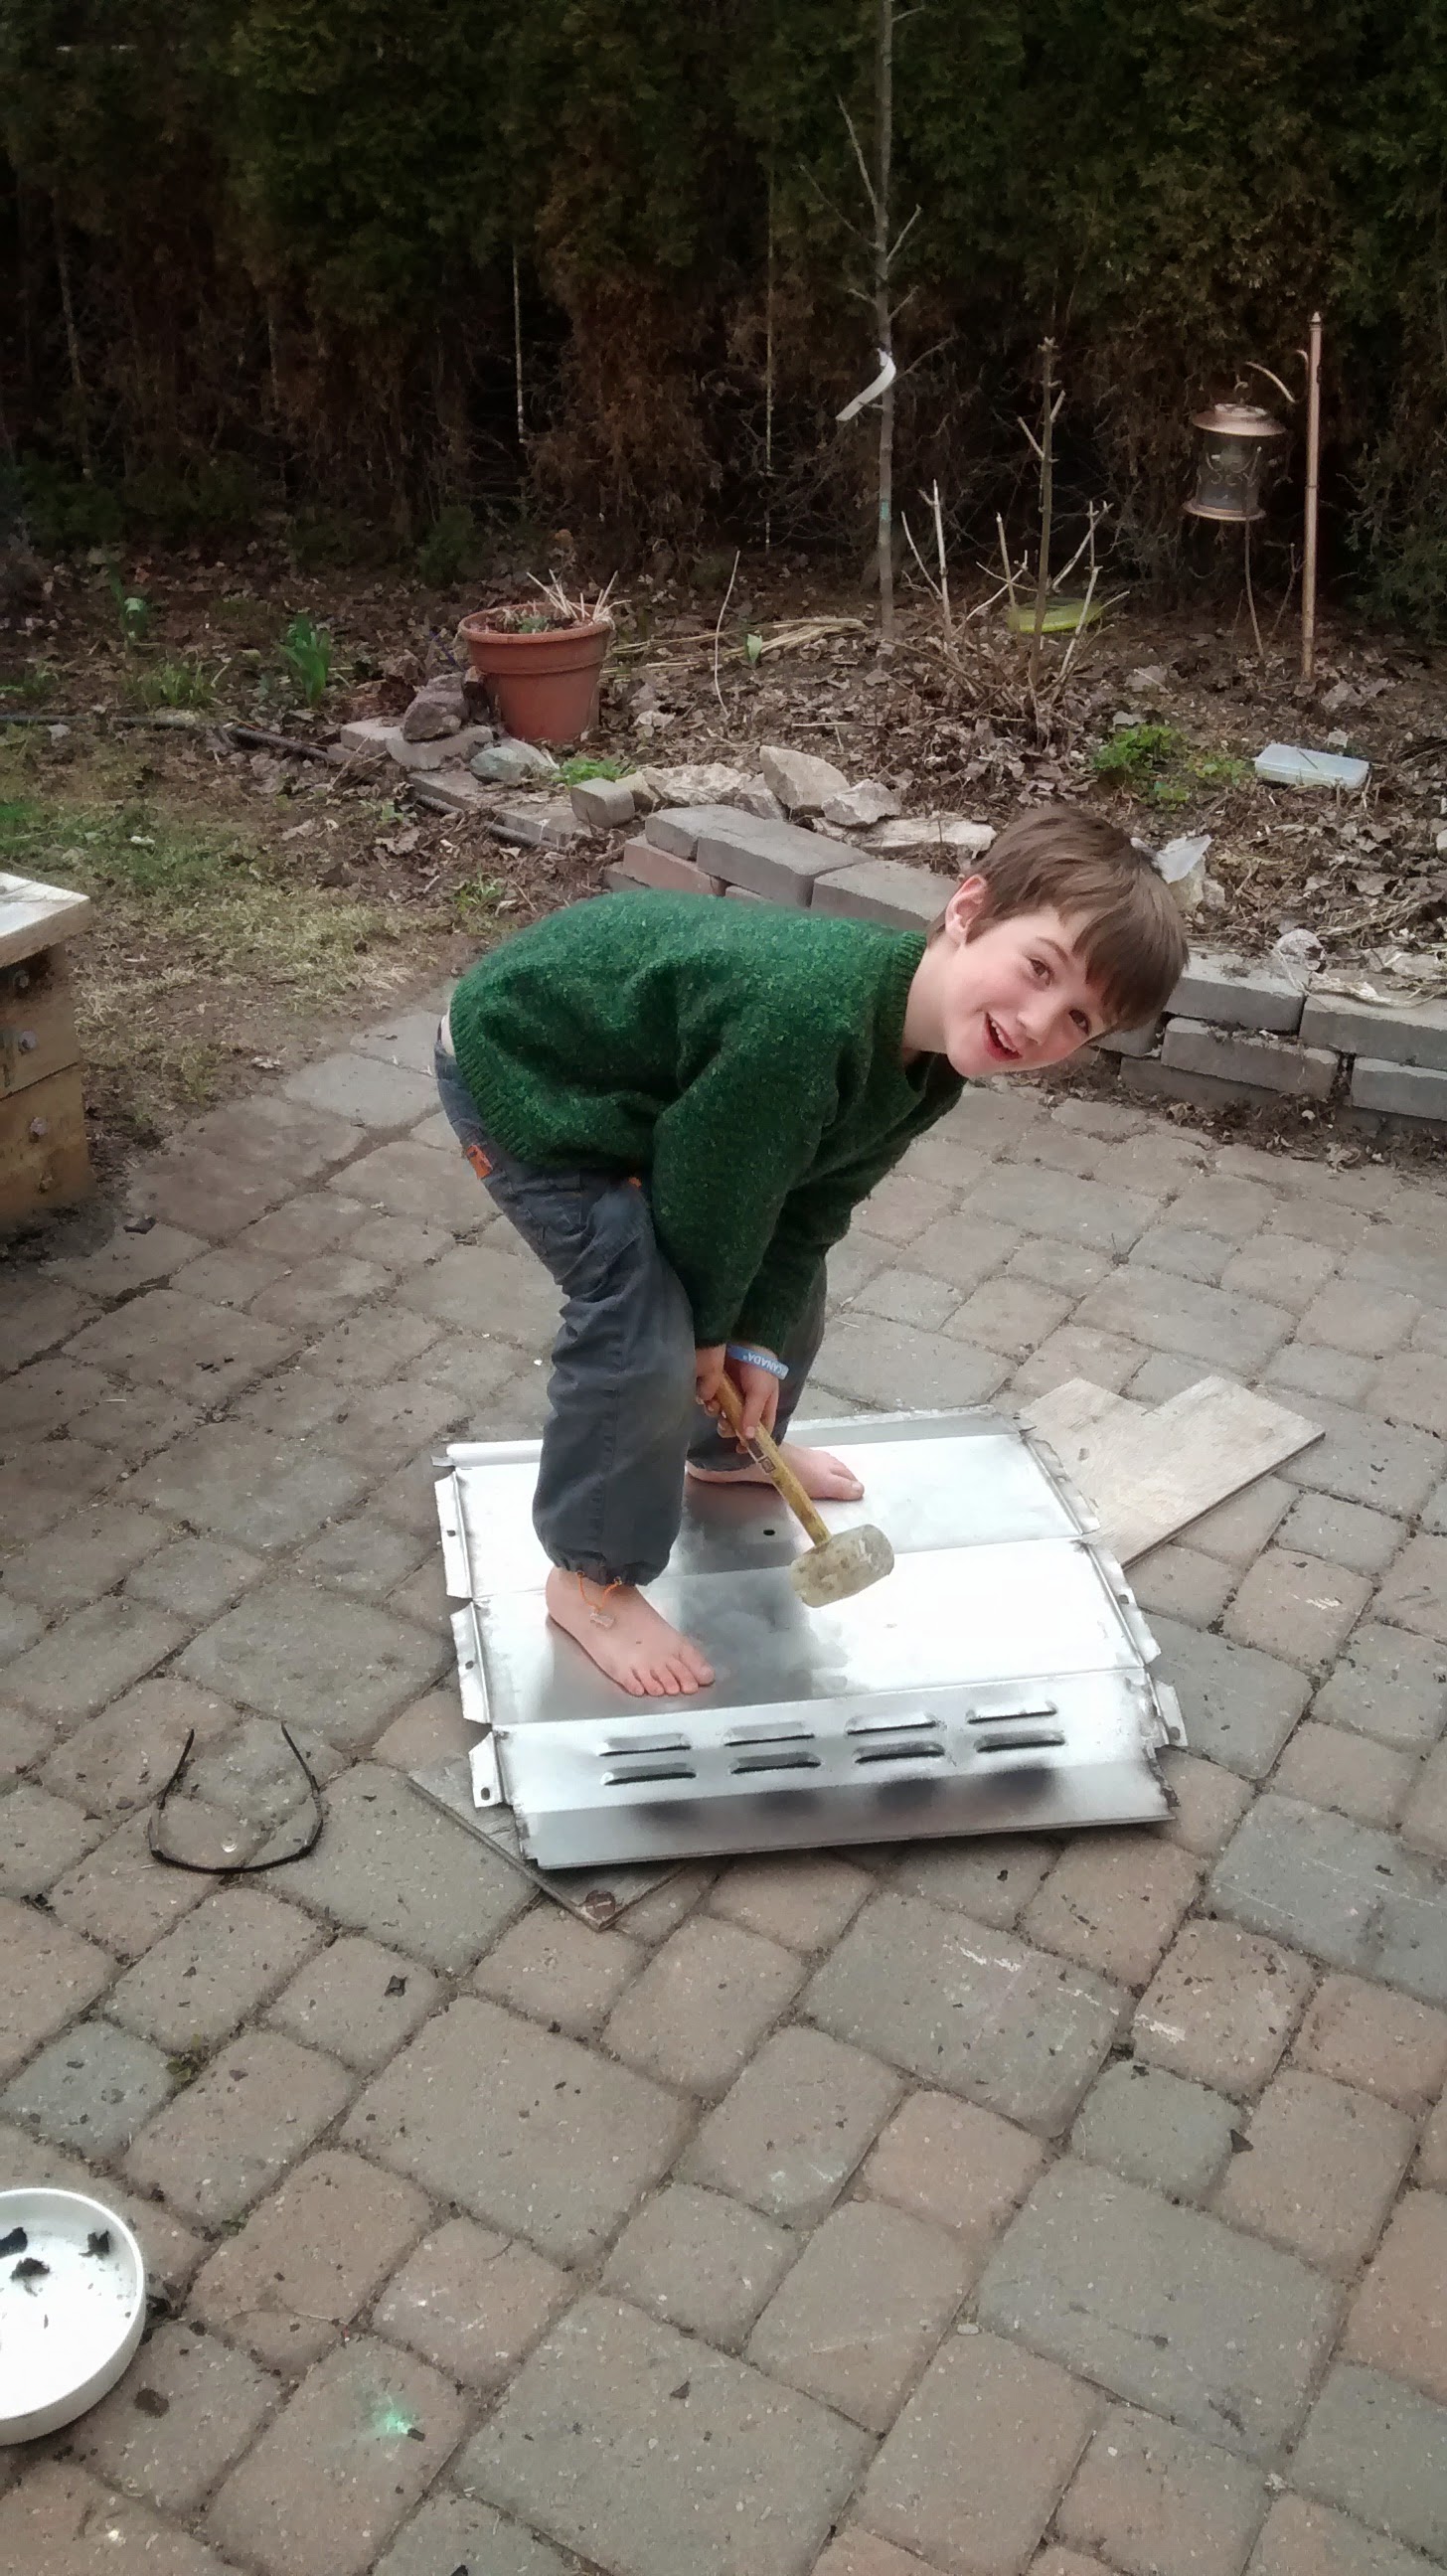
Minion 2 at work... pizza and fire - it's gonna be fun!

Minion 2 at work… pizza and fire – it’s gonna be fun!

I next attempted to finish the process with rubber mallets – assisted by the minions who are also hungry for wood fired pizza – that got us further along but not far enough.  I tried to follow up by using a ball peen hammer either directly or indirectly though a wood block… no dice.  Using the hammer directly left ugly marks and started to stretch the material – a counterproductive action, while using the wood block as the intermediary didn’t serve much more after we’d already used the mallets.

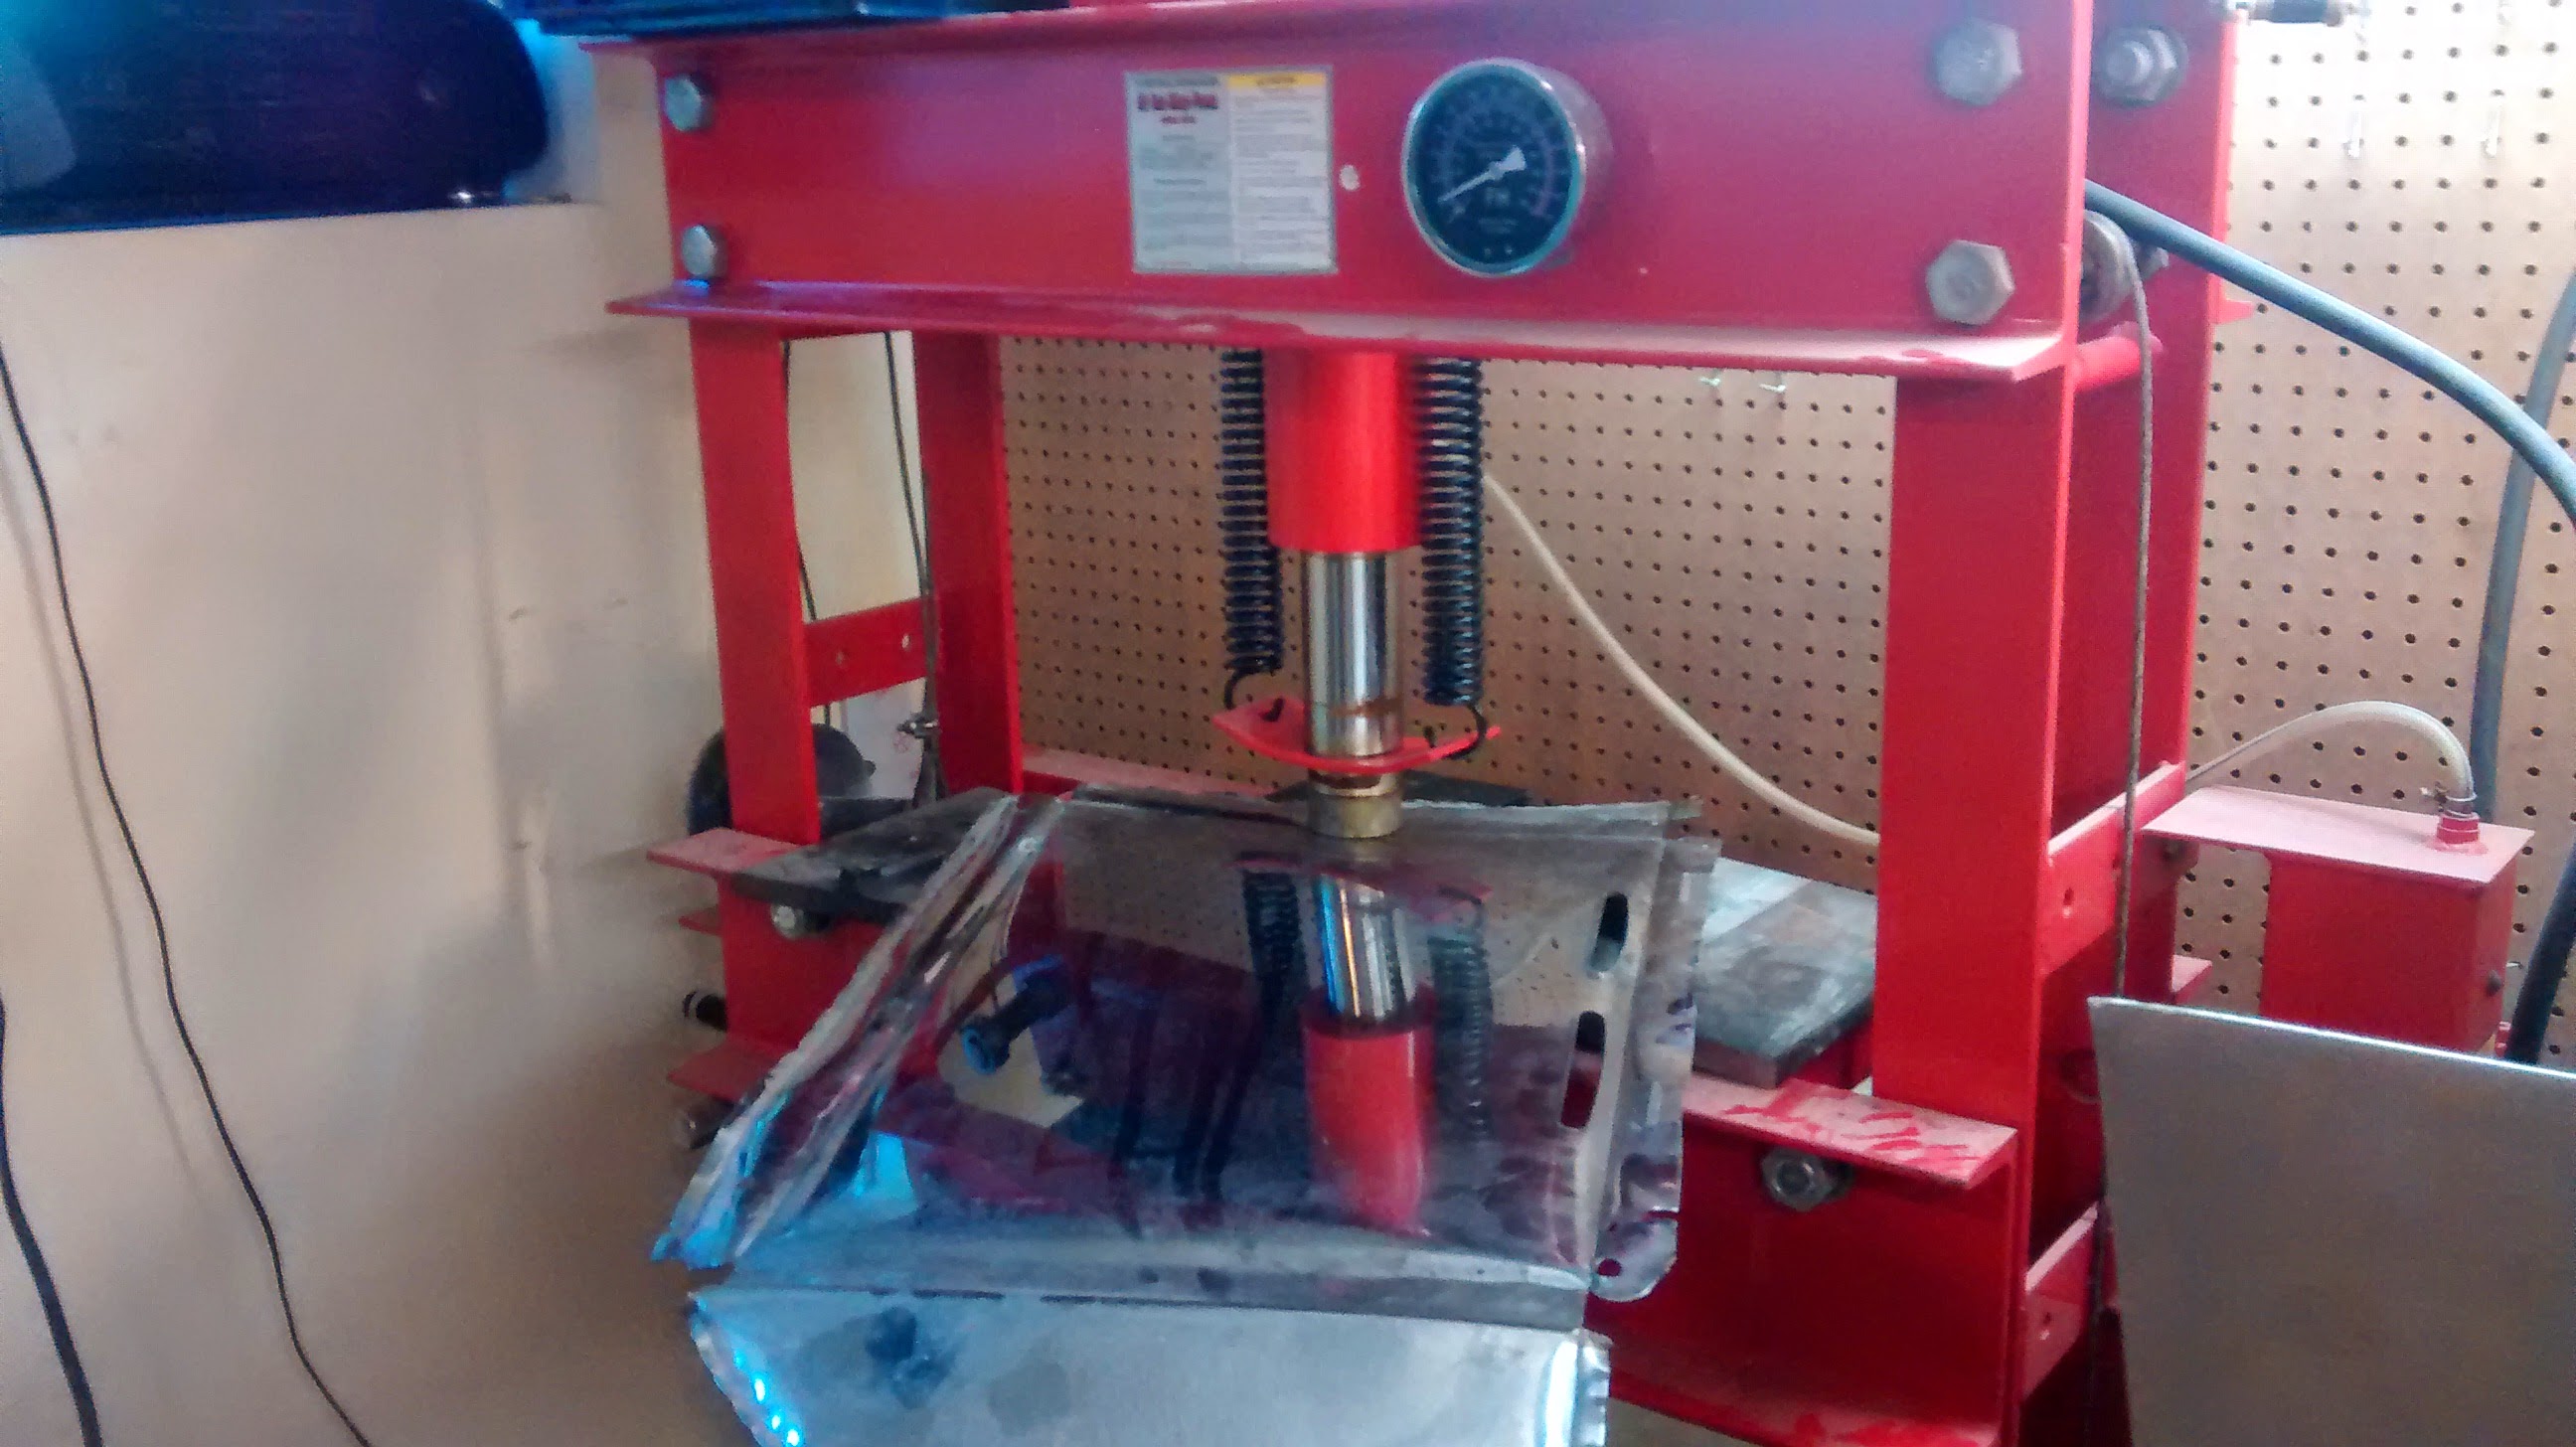
So then I hit up the 50 ton hydraulic press and it worked great.  I only used about 5 tons of force so using a jack under say a car might be an option for those without this advantage.  But hydraulic presses are reasonably priced and you certainly don’t need a 50 ton unit to accomplish this.  The sheets came out nice and flat, the seams were still visible but flat so layout should be easy after this.

Using the hydraulic press to reclaim stainless steel sheets

Using the hydraulic press to reclaim stainless steel sheets

So now I have a nice pile of flattened stainless steel sheets – mostly heavier gauge – some a bit light… some square, some rectangular and some oddities.  So my next step is to figure out what size of unit I have material enough to build… Stay tuned for more.


By

Propagating hops by layering and rooting

So there are a few ways to produce additional hop plants.  You can divided the rhizomes (the root mass).  That’s easy and simple and great if you have enough established hop hills.  But… if you are just starting out you probably want to give your plants a bit of time to get established before you start engaging in serious division.  So I guess you could buy additional crowns… or you can use alternate means to multiply your own stock.

Fortunately hops want to root… you just need to present then with an opportunity to do so.

The new hop rhizome created by layering exposed

The new hop rhizome created by layering exposed

The easiest way to do this is by layering.  From a good crown you’ll get a bunch of bines – the first and strongest bunch train vertically for your production but additional bines can be run through soil in a large plant pot or window box  before being allowed to grow on or  trimmed.  The bines aren’t super flexible so think big curves not tight curves – which makes running them longitudinally in the window boxes a good option.  Keep the pots reasonably watered and the result should be about one crown per bine that was run through the pot.

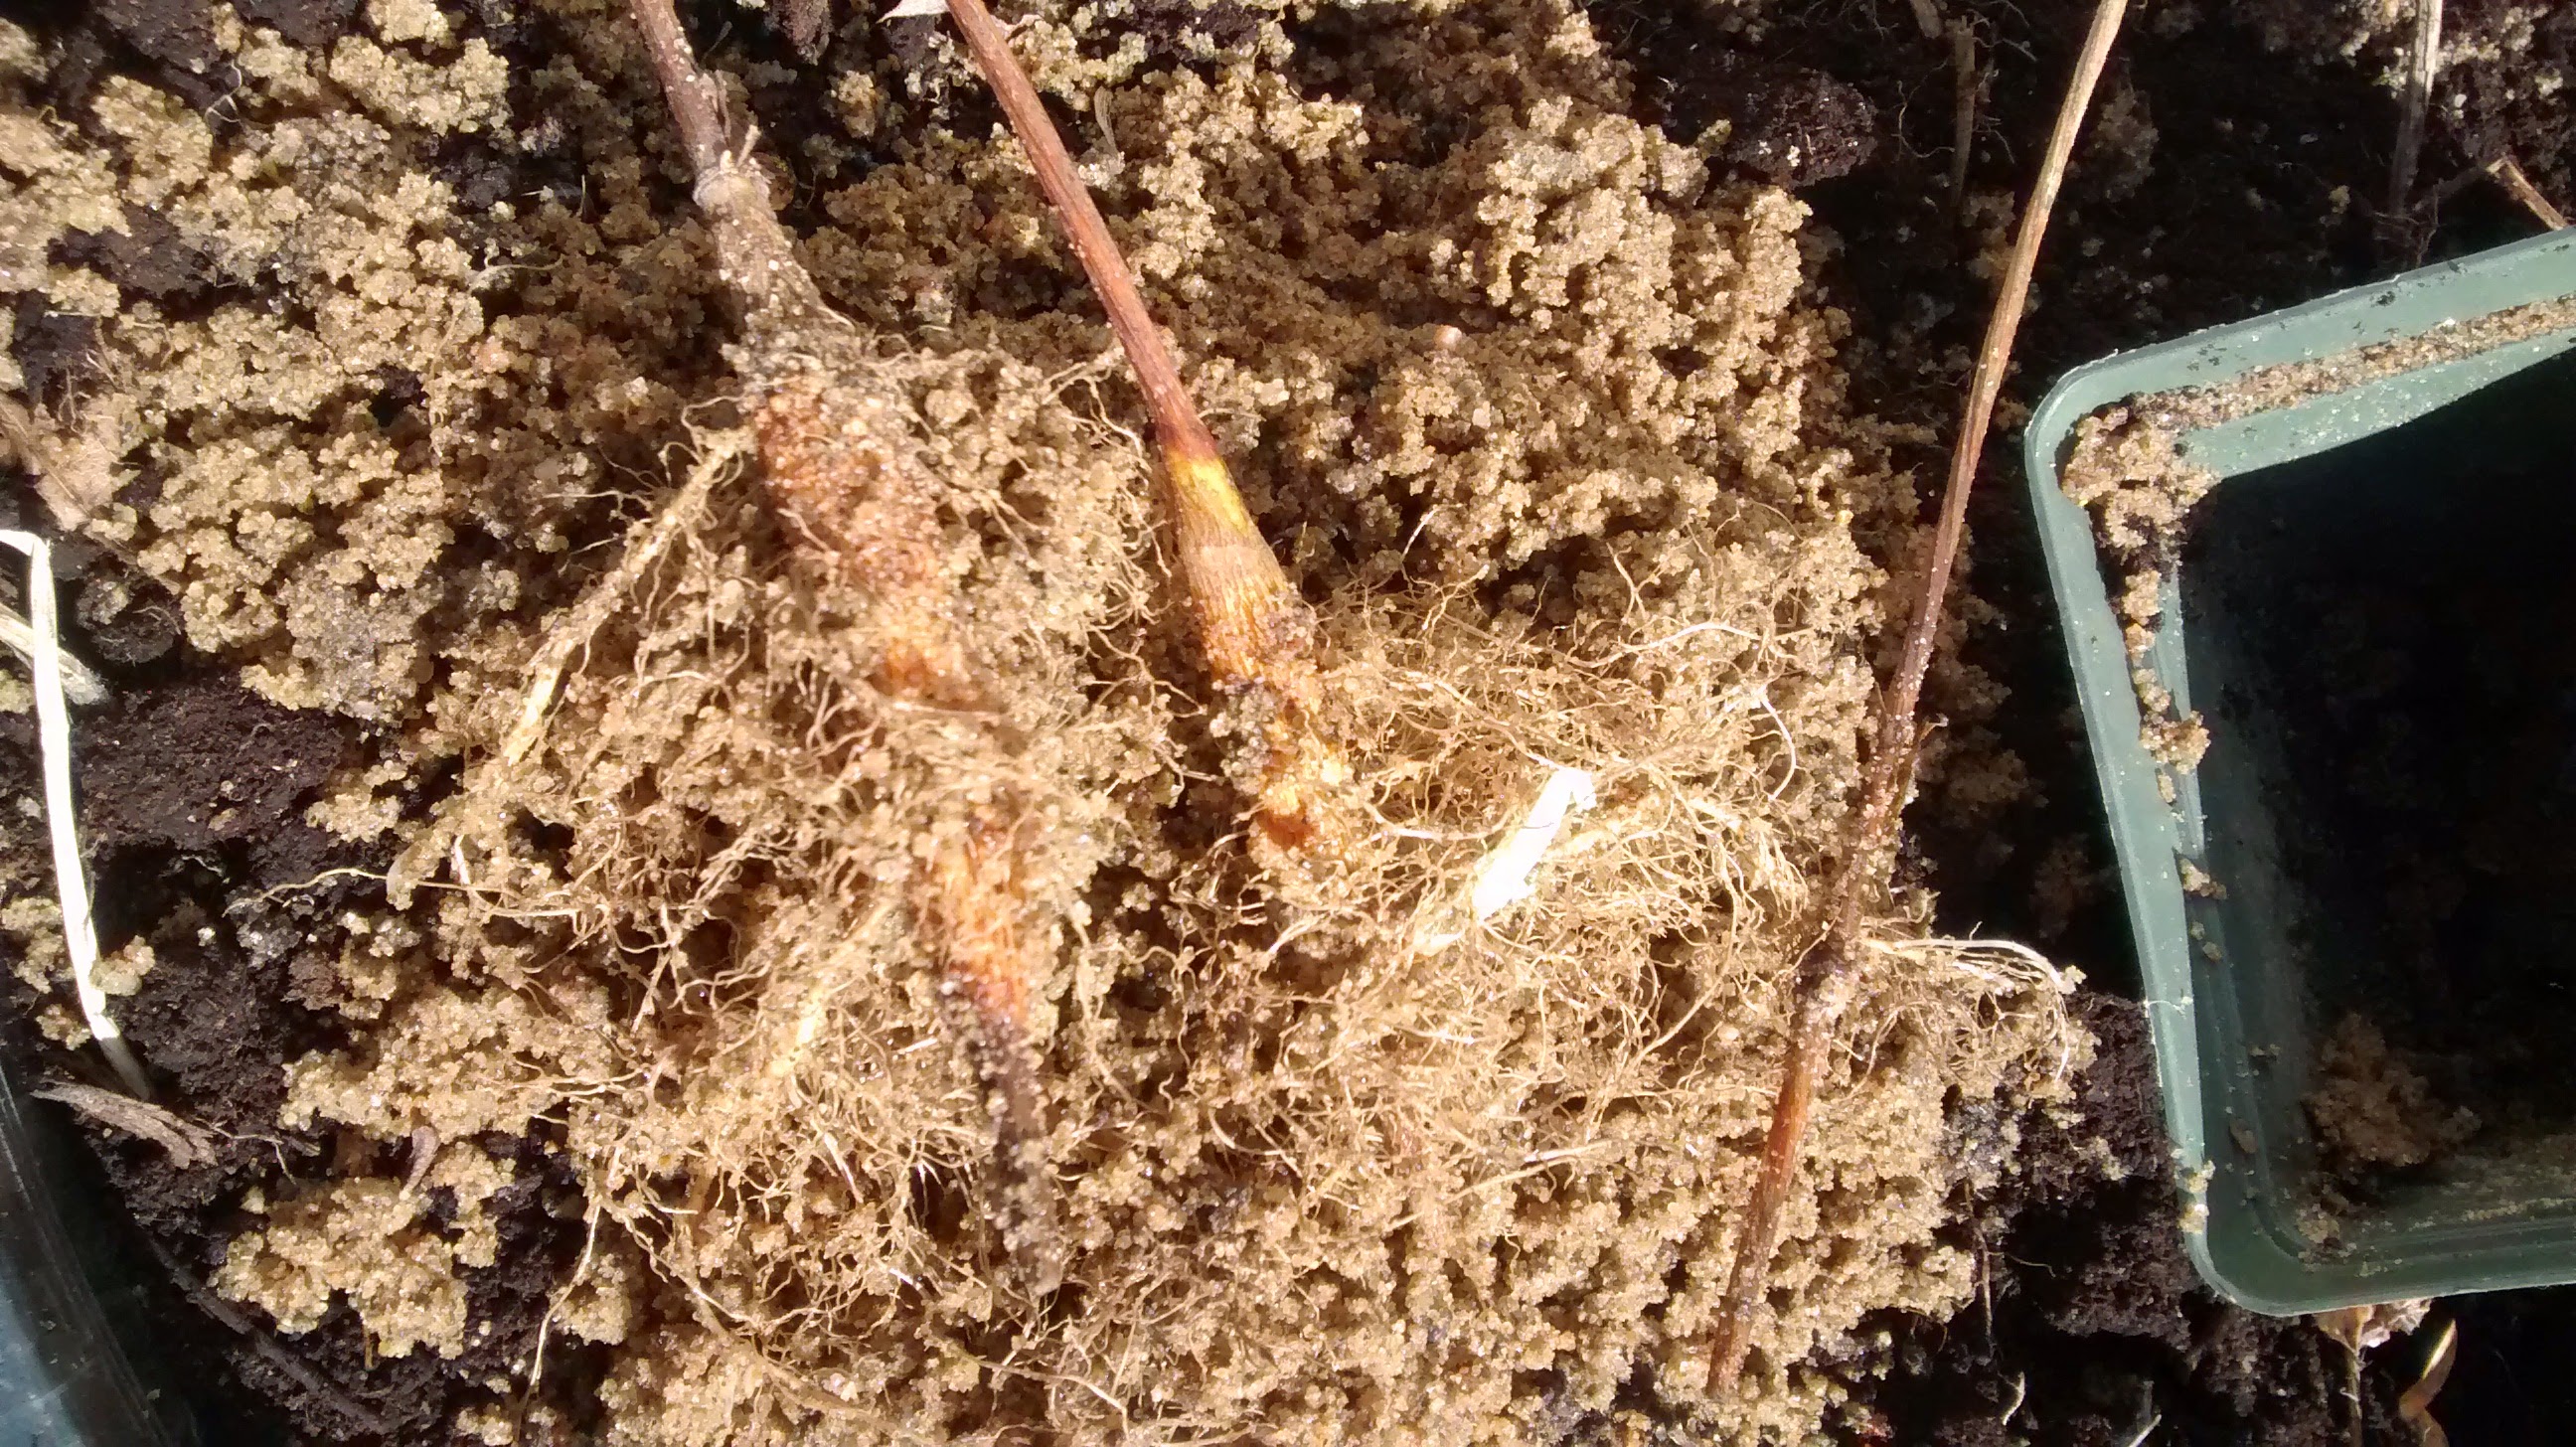
But if you need to increase your stock even faster then you should probably considering rooting.  Last season I took a number of bine segments, dipped them in rooting hormone, stuck them in sand and had good success getting them to root in a home built mist propagation setup.  The setup was cheap and simple and while the layering method will result in one crown per bine the rooting method can take one bine and make a load of crowns – so if you are looking to rapidly increase your plant material it’s definitely worth the extra effort.

Hops rhizomes from rooted cuttings in sand - success for the two on the right

Hops rhizomes from rooted cuttings in sand – success for the two on the right

Exposed hop rhizomes created by rooting bine segments

Exposed hop rhizomes created by rooting bine segments

So, if you brew, buy crowns for your favorite hop varieties – they use vertical space so you can probably find a spot for them –  and multiply them to increase your own yard, share with friends or even offer for sale.

By

If you are brewing you probably should be kegging

If you brew beer you should probably be kegging since the increased efficiency makes life so much easier, making it more likely for you to actually take the time to brew your own.

When I first started brewing beer I was in high school.  I don’t imagine that there were many other high school students who instead of being net consumers from their parents liquor cabinets saw the roles reversed.  That suited me fine since while I like a drink or two, getting drunk has never been my style and I needed the beer consumed so I could try another batch.

At that point I was putting my beer in plastic PET beer bottles.  That made sense since I was a poor student and I don’t imagine my parents would have been into having another fridge or freezer to keep kegs chilled with the bottles could easily go into the fridge door.

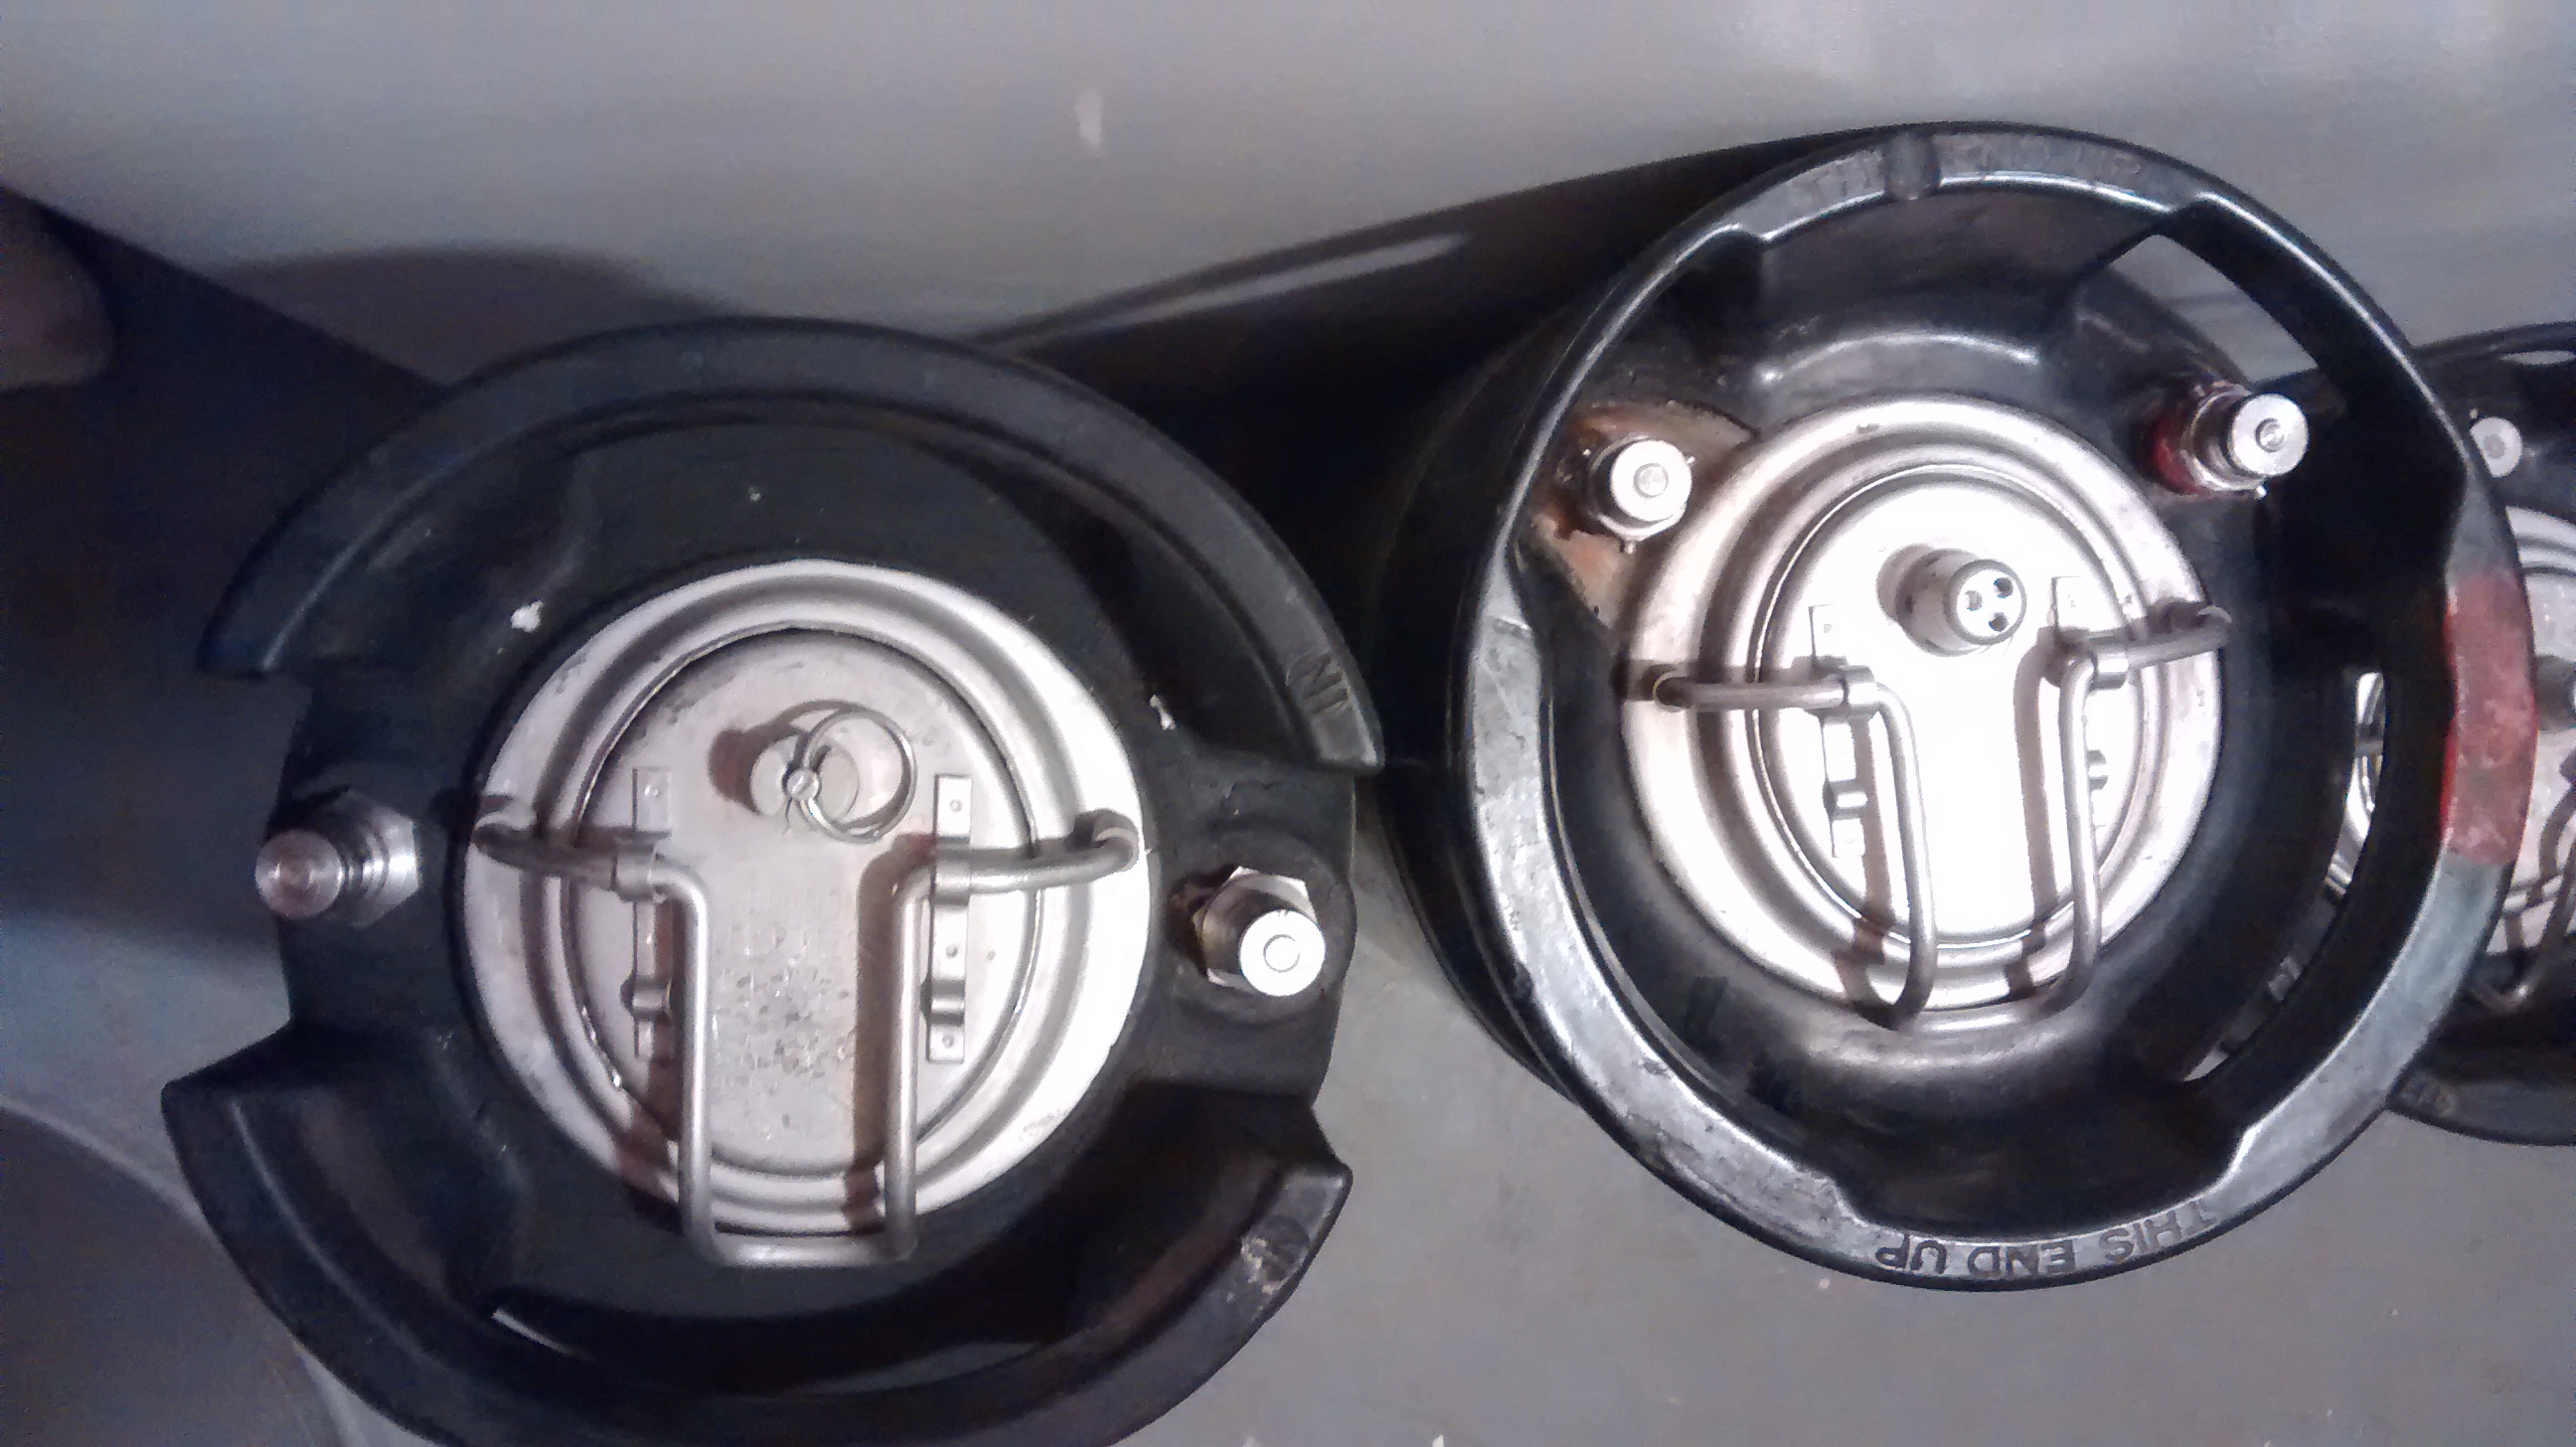
Ball lock (L) and Pin lock (R) kegs

Ball lock (L) and Pin lock (R) kegs

After getting my own place it wasn’t long before I took up kegging.  Used 5 gallon soda kegs – particularly the seconds that I purchased were cheap.  At $20 they were about the same price as 5 gallons worth of bottles.  Sure I needed to add the CO2 tank, regulator, hoses and fittings but those added only slightly more than a hundred dollars more to the total.   Toss in a used chest freezer and a temperature controller and I added another $100 to the cost.

So for a total cost of about $300 I secured a start-up for four kegs.  What I got was a whole lot of efficiency.

My cleaning routine with the kegs is much simpler than with the bottles, and I can clean a bunch of kegs at once, close them up and have them ready to fill when it is time to rack the beer in.

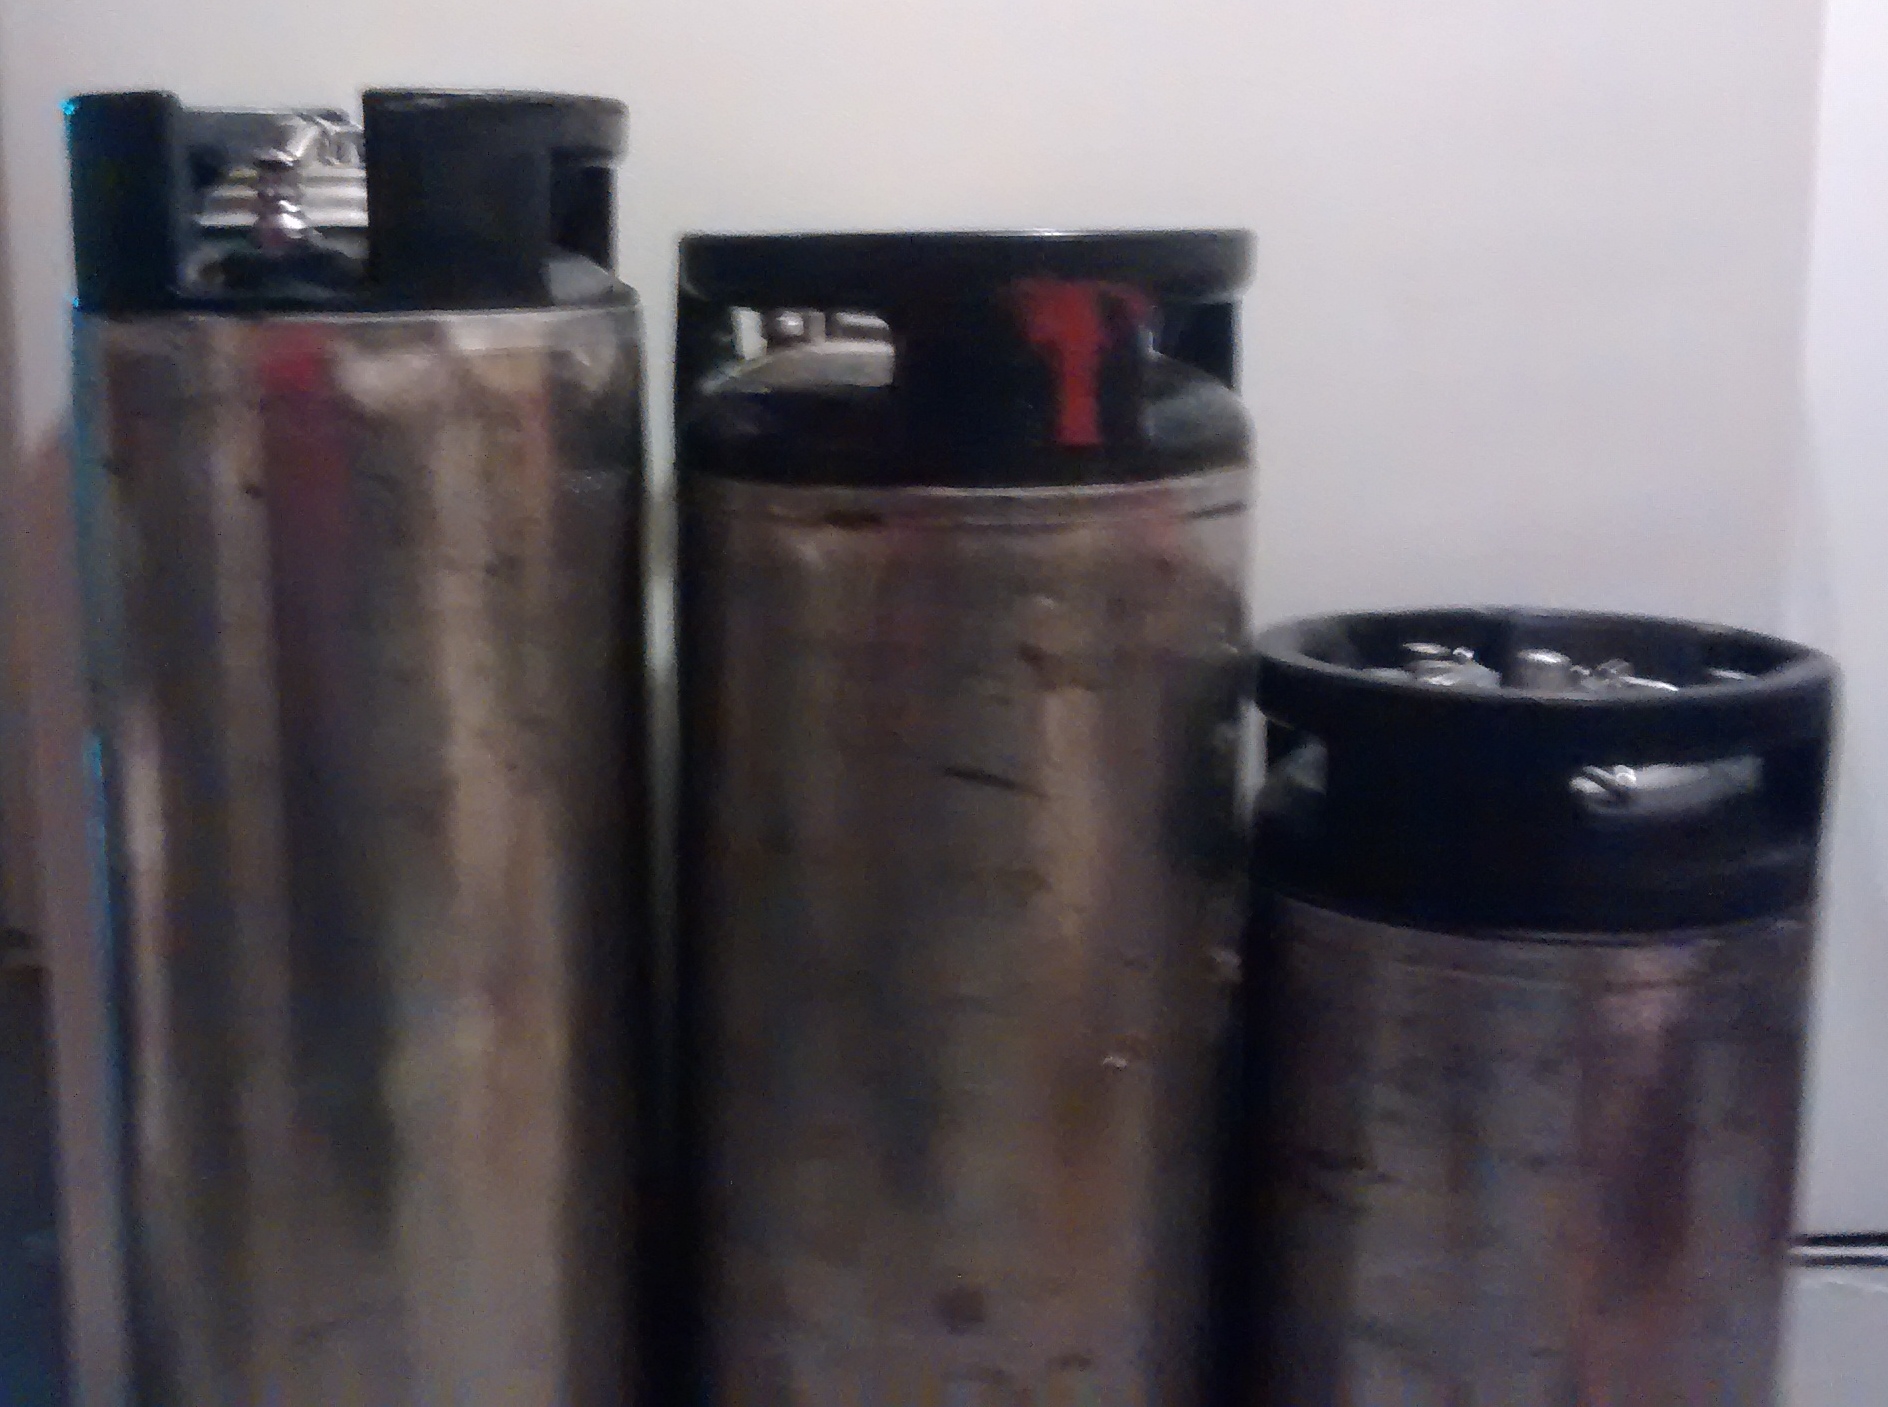
Kegs - L to R, 5 gallon ball lock, 5 gal pin lock and 3 gal pin lock

Kegs – L to R, 5 gallon ball lock, 5 gal pin lock and 3 gal pin lock – Note the height and diameter differences

The rest of the process is simply one of racking the beer from the carboy into the keg and pressurizing with CO2.  Fast, simple and none of the mess associated with trying to get beer into the bottles, which all ways saw me spill beer no mater what fancy gadgets on the siphon I tried.

By making the brewing process so much more efficient I find myself continuing to brew in spite of having a lot more on the go.  In fact, I still face the same challenge that I did in high school – getting the beer consumed quickly enough so that I can try the next couple of batches on my list.

So if you happen to be in the neighborhood maybe you can stop by to help me make room in my kegs for the next brew.

As a side note, the best place I’ve found for used kegs and the associated kit is Adventures in Homebrewing.  Their offerings are great, service spotless and their prices are awesome.  All of my kegs have been in sound condition and I’ve chosen the ones that they advertise as being the most dented and dinged!  The good news… they still have used soda kegs – they will probably dry up sometime but if you drink beer and either brew now or want to then now is the time to pick them up.


By

A homestead wood fired pizza oven – the build begins

A few years ago I enjoyed pizza in a backyard wood fired oven at the Little City Farm B&B and since then have flirted with the idea of getting just such an oven.  That one was a Cobb oven and although the simplicity tempts me I just don’t think that material would survive for very long in Ottawa with the abundance of rain, loads of snow, and lots of freeze thaw action especially given I don’t want to build a shelter for it.

That leaves three alternatives.  Masonry stoves, but with these you get a very permanent installation that is going to cost a pretty penny. Then there is regular steel… cheap, easy to work with… but this material will rust and burn out. Then there is stainless steel… Looks good, it’s  durable and won’t rust or burn out, it should spot weld easily, but it is fairly expensive.

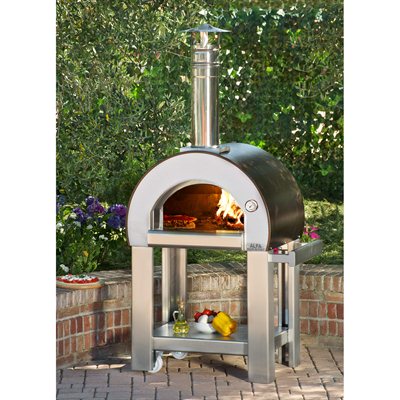
The lovely commercial mangiafuco wood oven

The lovely commercial mangiafuco wood oven

Oh, and did I mention that the Mangiafuoco oven I like is selling for $3,500 before tax? Cool oven but, uh, yeah, no. I think the oven is lovely but I don’t really want it that much…. plus truth be told it, there is an added coolness factor is having something that you’ve built yourself, and I haven’t done much work with stainless steel yet so it should present a good learning opportunity.

So, last summer I collected a load heavier gauge of stainless steel that folks were throwing away… in the form of BBQs.  See, here’s the crazy thing.  Way back when, propane gas grills were pretty much all cast aluminum painted black.  The burners would rust out and need to be replaced but the body would last and last… and if a neighbor happened to decide to upgrade and drag their old one to the curb… well those bodies made for an easy source of aluminum to cast in the home foundry.

Now though, most gas grills seem to fall into the single season (or maybe two) low end units made with regular carbon steel painted black OR much nicer and more expensive stainless steel.  I’ve  got one of the higher end models that is completely stainless steel that I managed to snag at the end of the season clear out with a further discount because it had a ding in the back of the lower housing.  With it plumbed into my natural gas supply I never need to worry about running out of fuel which is great.  I expect that I will have to swap in new burner tubes and covers at some point but apart from that can expect it to last decades.

But, it seems that there are a fair number of semi-stainless BBQs out there.  They have the visible parts like the lid and maybe the doors fashioned in stainless but the rest is made of regular cheap but rustable carbon steel…. which means… those pieces of stainless steel sheet get rolled to the curb when the bottom burns out and the owner decides to buy a new one.  So last summer I started grabbing these lids and doors when I happened to see them…. now it’ time to start the transformation from waste to that $3,500 pizza oven.

Stay tuned as the transformation progresses.  Did I mention that the  $3,500 price tag was before tax?


By

A Grain Mill Power Drive

Adding a simple power drive to a grain mill – be it the homestead grain mill you can build yourself or a good quality commercial mill like the Grainmaker or the country living mill – is nearly as essential as the mill itself.   The reason is simple.  Even a small electric motor can make grinding flour at home from whole grains nearly effortless.

Whole grain flour without effort using the power drive

Whole grain flour without effort using the power drive

That means you will grind the grain into flour and in turn use that flour to produce your own baked goods regularly rather than relegating the mill to a dusty corner of your pantry and leaving buckets of grain in the corner of your larder.  Shouldn’t that be your goal – live better today – and fresh baking using whole grain flours is a nice component of that philosophy.

If your grain mill is of any size, and if you intend to use it, it should be large – the homestead grain mill for instance features 6″ burrs – it will take quite a bit of torque to turn those burrs as you will no doubt have discovered if you’ve hand cranked one.

This means you will need to step down the speed of an electric motor which increases the torque.  You can do this with a worm gear speed reducer, with a gear drive speed reducer – either one integrated into the motor or separate – or the most easy route with belts and pulleys.

I’ve used all three routes, employing the first ones on my previous iterations of the homestead grain mill as I worked to perfect the design.  But the design is now much better (and simpler) and I have settled on a correspondingly simple power drive using pulleys and belts.

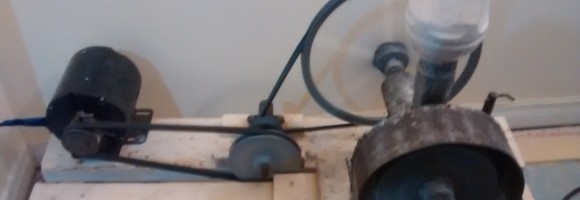
Grain mill power drive - view from the top

Grain mill power drive – view from the top

There is an intermediary pillow block to allow me to slow the speed of the vintage 1/4hp motor down from 1725rpm to about 45 rpm on the mill.  The belt design is also allows me to quickly clamp the mill to the power drive setup and is forgiving of slight miss-alignments – my previous mill used a chain drive that would rip the mill from the mounting blocks if the alignment wasn’t close to perfect.

As discussed in an earlier post you can’t expect to bake fine products with coarse flour – so I always grind to pastry flour fineness.  By hand that usually takes three passes with the burrs progressively closer together.  With the power drive I tend to do that reduction in four passes.  Not being quite as aggressive ensures that the drive system isn’t inclined to stall out – though it sometimes does need a pull on the pulley mounted to the mill to get started.

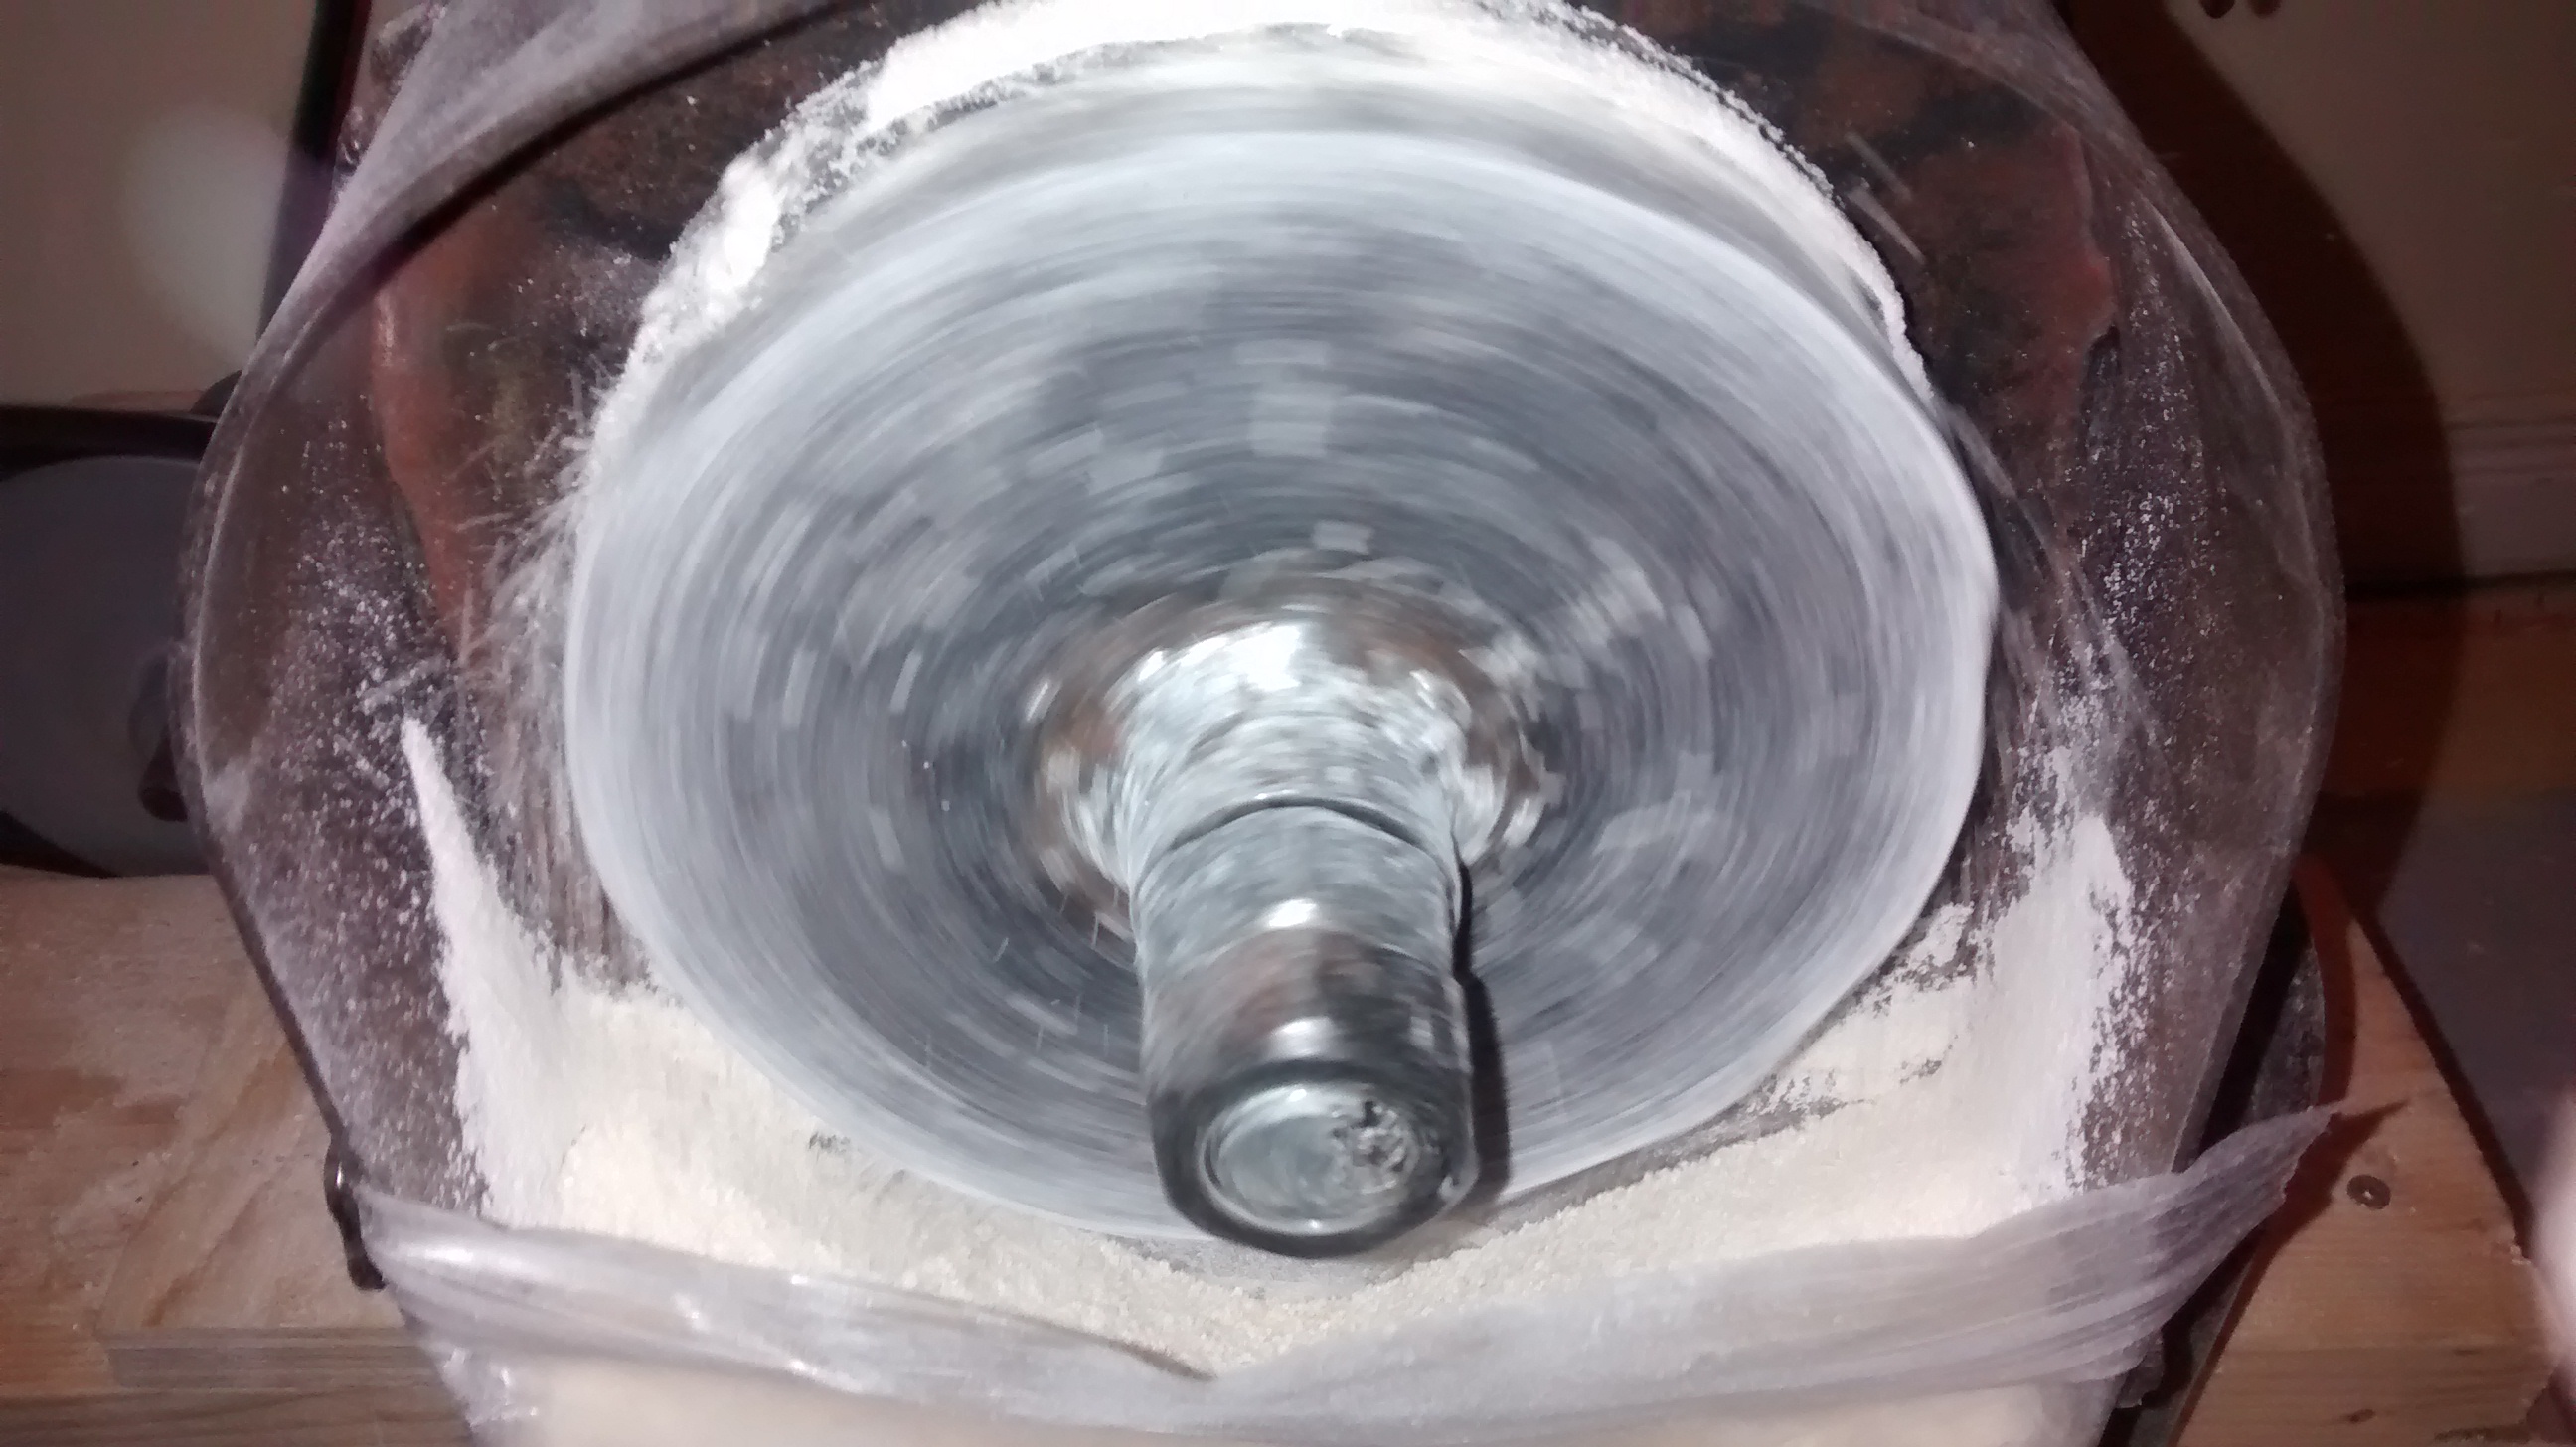
I use a couple of super magnets to hold plastic bags to the mill shroud to catch the flour.which works wonderfully.

Build a grain mill

Build a grain mill

I wouldn’t give up the hand crank – I think it’s essential not only to ensure that you can produce flour if the lights go out, but more importantly I think cranking out the flour to bake a loaf of bread every once and a while really increases your appreciation of how great mechanization can be.  However, just as I think a bread machine is a nearly essential kitchen appliance because it makes baking easy I think the same can be said of the power drive for a grain mill.  Make things easy and it’s more likely you will actually incorporate them into your life.

While my setup for the power drive isn’t part of the Building the Homestead Grain Mill book, I should have a supplement done up shortly that will be in new copies of the book and will be sent to those who have already purchased a copy.

So if you already have a grain mill that isn’t motorized – motorize it.  If you don’t yet have a grain mill – you should probably get one, either by building it yourself or by purchasing a quality mill – and when you do motorize that one.


By

Rooted grape cuttings leafing out

The grape cuttings I started rooting earlier are coming along nicely and have leafed out.  While I have not yanked on them to check they appear to have rooted nicely so I haven’t bothered to trim the leaves to reduce transpiration as I have done when I’ve been rooting cuttings outdoors.

Rooted Grape Cuttings leafing out

Rooted Grape Cuttings leafing out

I’m rather pleased since going the cuttings route has allowed me to get varieties I would be hard pressed to find otherwise and it’s saved me a load of money.  The cuttings were $1 each rather than $7 to $10 if I’d been buying stock from a local nursery.

Along one side of my yard the previous owners planted some cedars up against the fence.  They add a nice bit of green and an additional bit of privacy to the yard.  BUT, I can’t eat cedars so I am planning to remove them and put in grapes trained vertically.

What really got me primed was the fassadengruen website from Germany which shows step by step how to train the grapes in this fashion.  It looks much easier than the other methods – and frankly the grapes I’ve grown in the past haven’t been very well trained – and should allow me to grow and edible privacy screen!

The quality of cuttings I received from Burt Dunn was excellent.  Thanks Burt!


By

Whole wheat breads – dough moisture levels

So it’s probably pretty obvious that I grind a lot of whole grain flours and do a considerable volume of baking with them.  I’ve learned a couple of secrets over time.

1. You need fine flour to get something that is acceptable quality, you can do that on the home built grain mill or a good quality one you purchase.

2. You need a really good recipe to make a whole wheat breads that is something folks will be happy eating day after day.

3. You need to ensure there is adequate moisture in the dough at when it is just starting out to compensate for the slower

Desired moisture level in whole wheat dough at the start of the cycle

Desired moisture level in whole wheat dough at the start of the cycle

absorption of the liquid into the whole wheat flour.  This is something I always monitor at the start of the bread machine cycle and add water as necessary to achieve the consistency I am looking for.  While the consistency is always the same the amount of water can vary depending upon the moisture content in the flour and things like the size of the eggs.

You want the dough at the start of the cycle to look considerably more moist than you would want to achieve with a white dough.

I shot a video to give you a better idea of what you are looking to achieve.


By

Dude where’s the door? A failure to demonstrate resiliency.

Last weekend I shifted my bees from one location to another on the same farm.  Now the distance wasn’t all that great – maybe two hundred yards but it’s a better location for a number of reasons.

At the same time I did the spring maintenance – swapping the upper and lower brood boxes, opening the lower entrance while closing the upper and cleaning out the dead bees that had accumulated at the bottom of the hive.

The  "dude when's this door going to open up" hive on the right.

The “dude when’s this door going to open up” hive on the right.

The reaction of the bees was rather interesting.  While the move was accomplished  fairly early in the morning while it was cool some bees still exited at the original hive site.  Those “flyers” had several opportunities to follow the hives as we loaded them into the bucket of the tractor and slowly progressed over the field – some did but quite a few stayed glued to their original site.

When the hives were being prepped at the new location and the lower entrance was opened and the upper closed the reaction was just as interesting.  Bees from one hive that had taken flight as the hives were opened started to congregate at the level the upper entrance would have been at – but on the opposite side.   A few figured out where the lower entrance was – but many just hung around in the wrong place in the forlorn hope that somehow the pine would part and readmit them into the hive. It almost appeared like one or two had gotten there and attracted the others, as if hanging out with the folks who were clearly wrong was more comforting than leaving and looking for a real entrance.

By the time I was finally cleaning up the winter wraps at the original hive location the bees that remained there had caught on to the fact they were in a bit of a pickle and were agitated.  If they’d tagged along earlier they would have been ok… but by that point they were pretty much out of luck.  By the time I pulled out of the new bee yard shortly after noon there were still a couple of good clusters of bees on that one hive handing around where they though the hive entrance should have been – but obviously wasn’t.  I’m hopeful they found their way back into the hive but they were obviously confused and not doing anything terribly productive to rectify the situation.

That got me to thinking – how much were those bees like humans?  Clearly some bees were much better able to adapt than others.  So how resilient in the face of challenges and changes am I and for that matter are you?