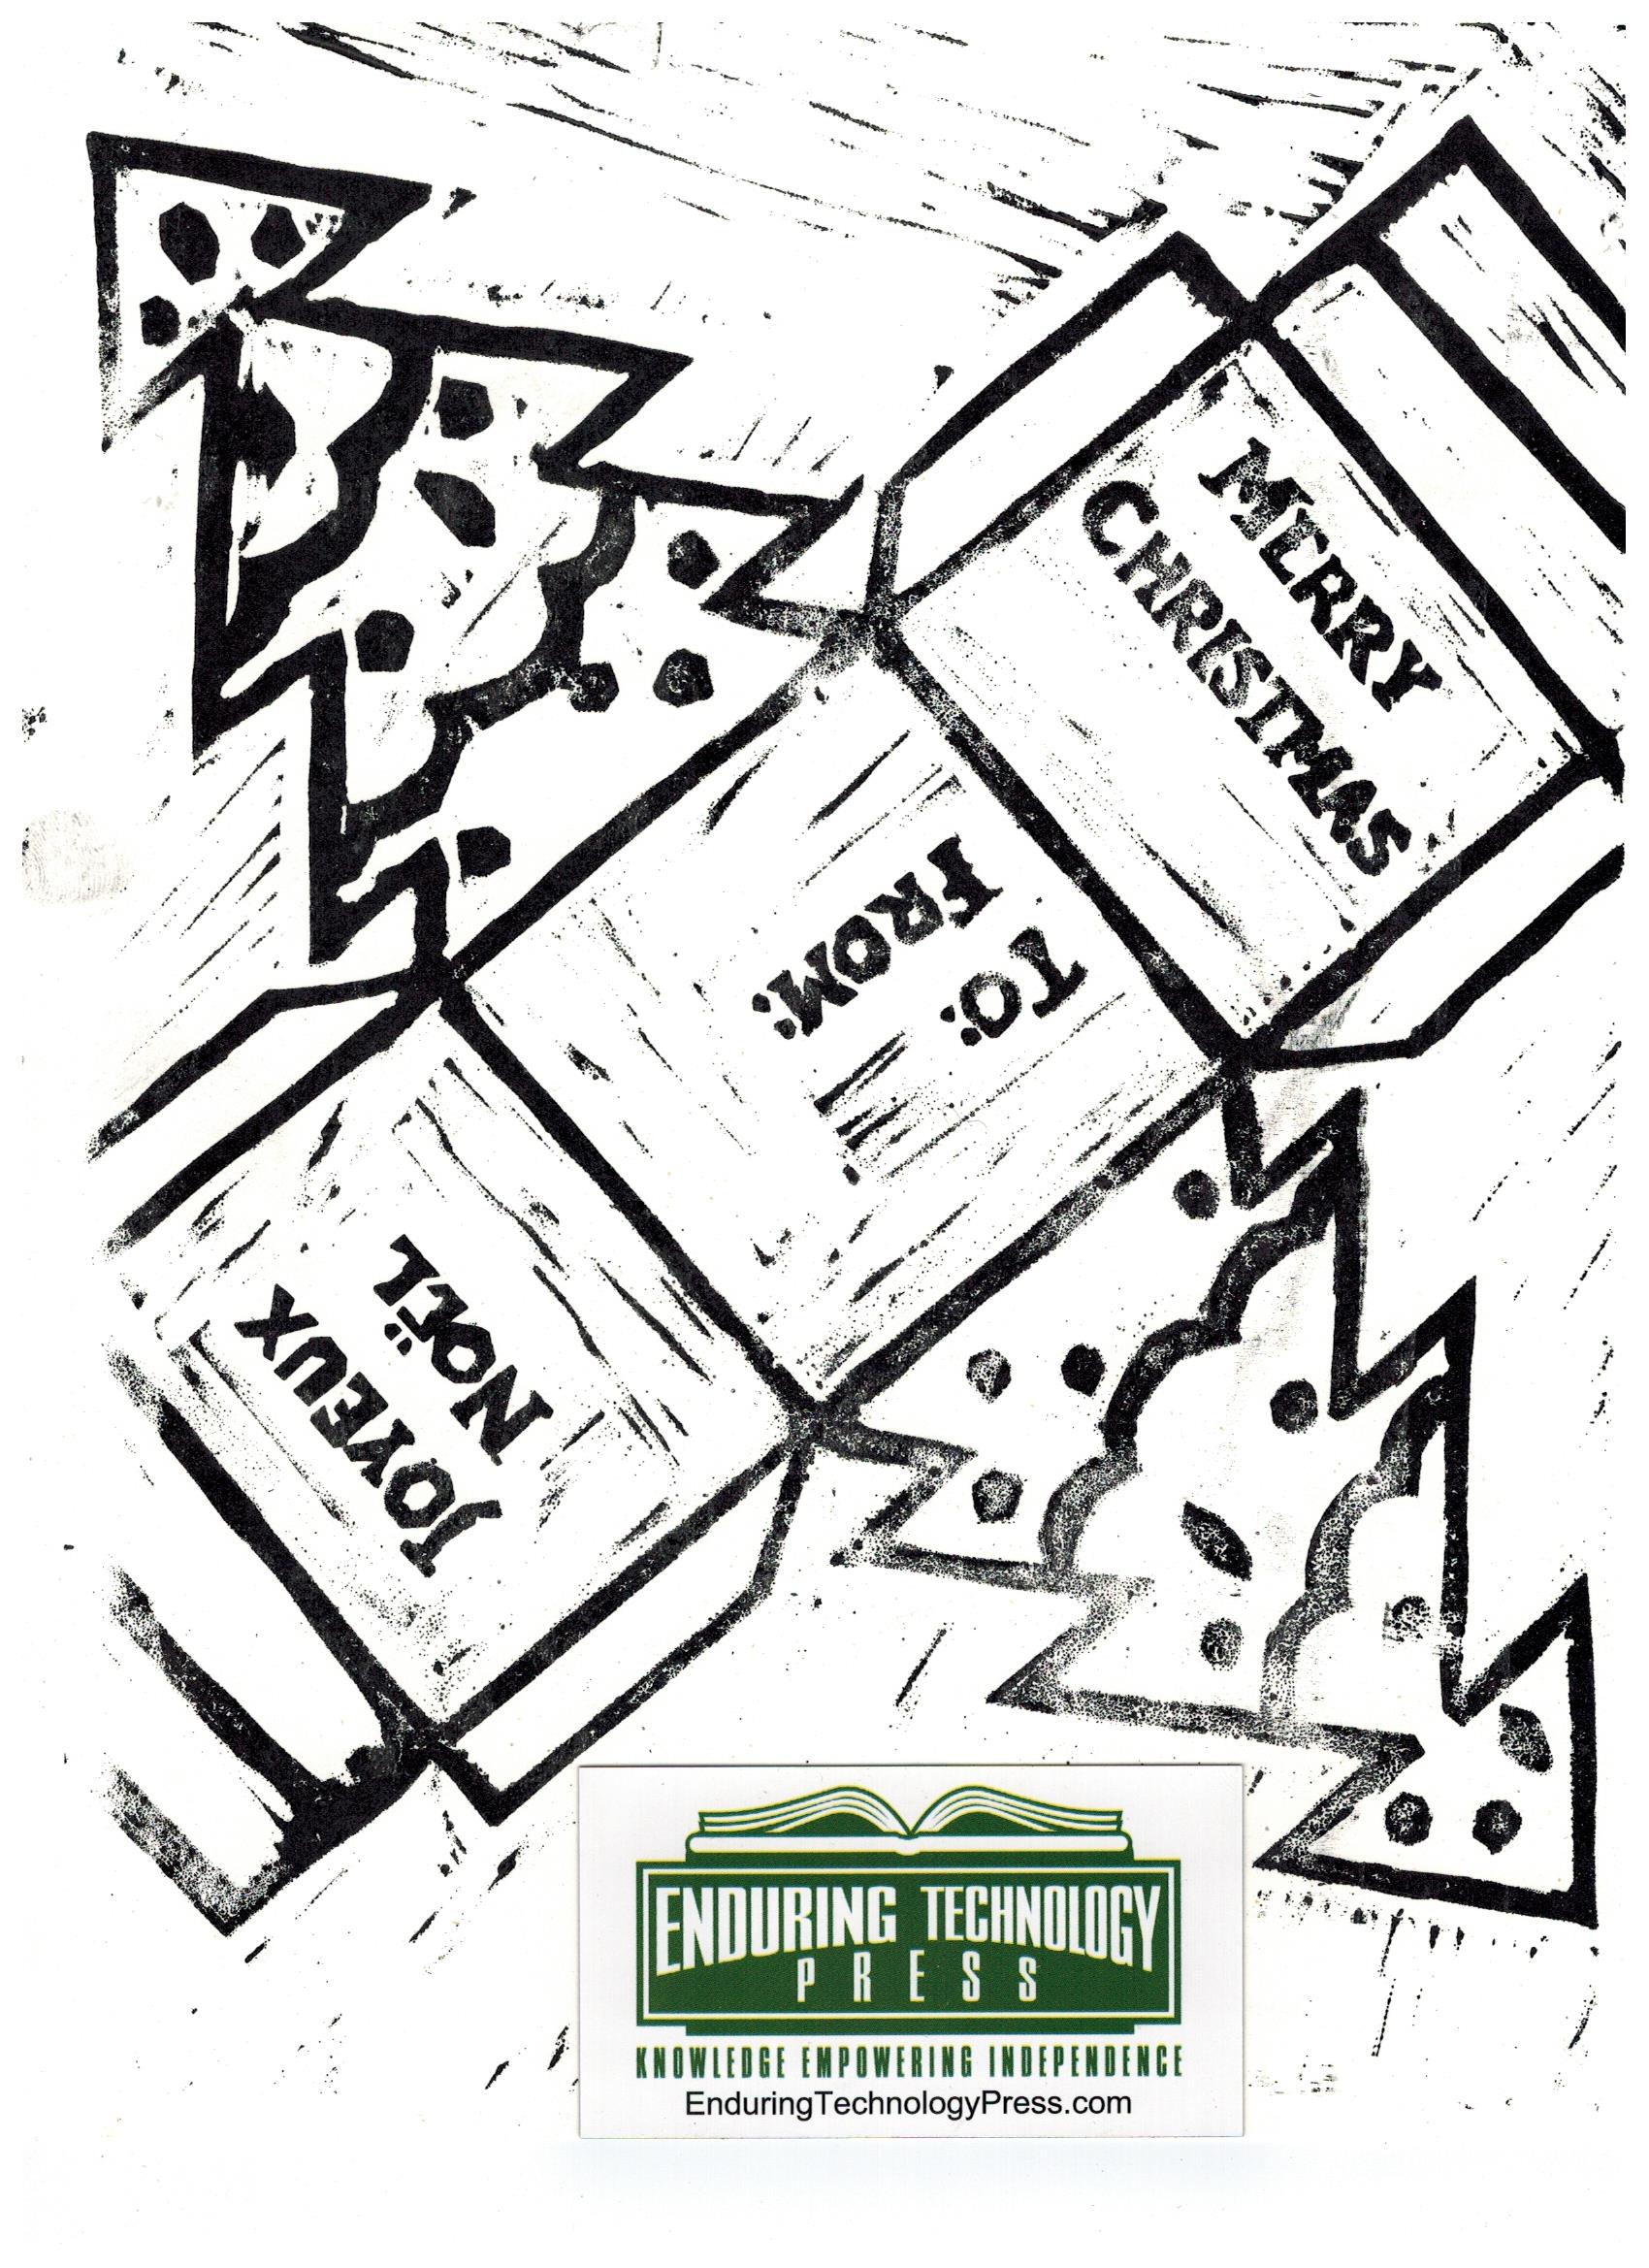
The three stages, 1. Print, 2. Cut and Score, 3. Glue to finish
For the last several Christmases we’ve gotten a bit creative with our letterpresses – first the kids have to do their own lino-cut suitable printing block for our Christmas cards, and secondly I design, carve and print up a box to hold the homemade candy we’ll give to family, friends, colleagues and neighbors.
I find the box making to be a fun and creative process that also makes the homemade candy stand out – or at least I think so!
Christmas Tree Candy Box Template
So this year I came up with a Christmas tree design box. It actually just fits on a 8 1/2 x 11 piece of paper – so tight that the upper flap has the corners missing – but since it gets stapled closed that doesn’t really detract from it – and I wanted the maximum volume for the candy – so it seems a fair trade off.
While you might not have a letterpress you can produce these boxes for yourself. Download the image and print it out on cardstock. As a heavier weight it works well for making these boxes, regular printer paper is OK for demos but won’t stand up when filled.
Cut out around the external solid line and then score along the internal solid lines in order to allow for easy bending. Fold and glue the tabs to the back of the tree sides and your box is complete and ready to be filled.
Jigs are commonly used in industry to speed production of repeated assemblies, and there is no reason why you shouldn’t be using them in your own shop to make your life easier too.
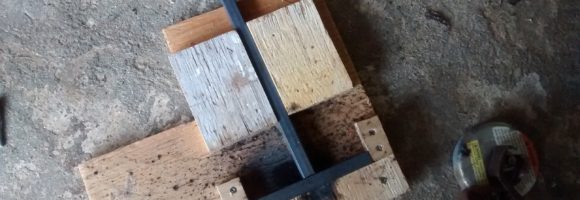
Plywood jig for welded T’s
Now one of the key things whenever you are undertaking a project is to assess the tolerances required – I think that’s becoming less of a factor in industry with computer controlled equipment, but if you shop is like mine – pretty manual, then tolerances are a key factor. Keep that in mind when you produce the jigs. In this case I’m welding up parts for an iron and oak shelf for my brother and sister in law. It has to be square but doesn’t need to be super precise – so a quickly put together jig made from scraps of plywood is just the think to make the repeat assemblies quickly and accurately.
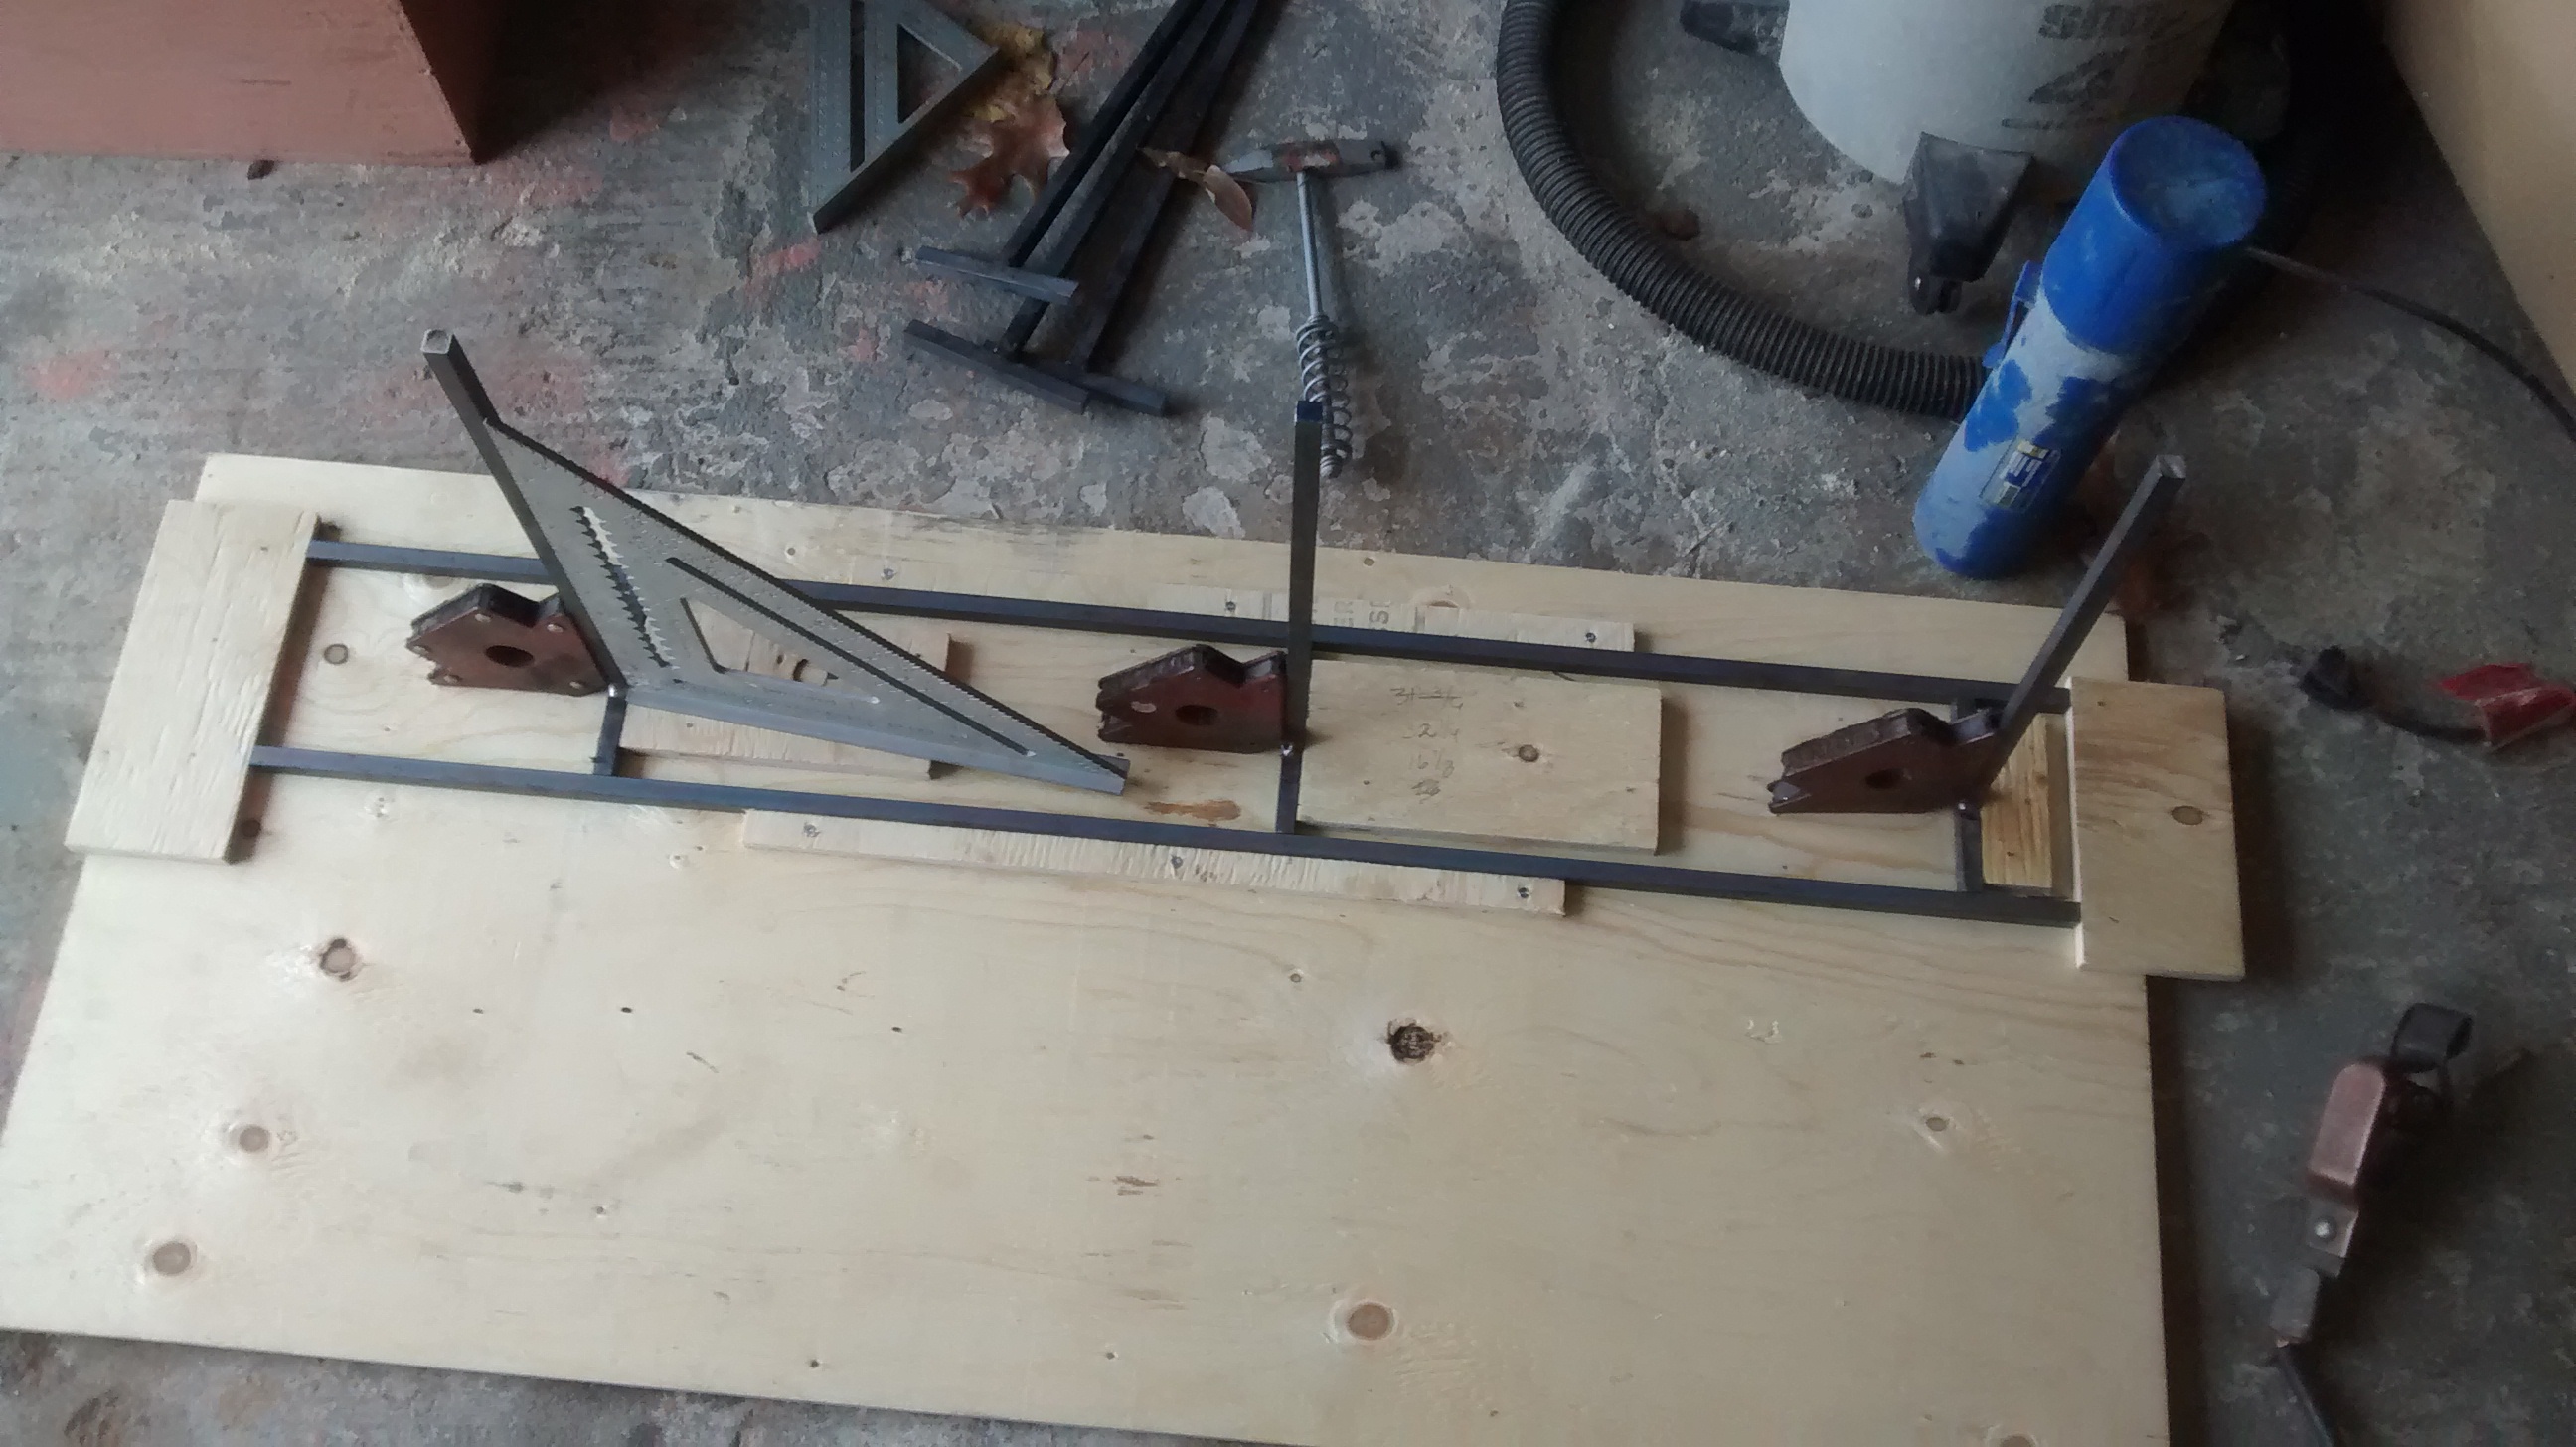
Plywood Welding Jig for table legs
While there are six T’s those are fitted into two larger leg assemblies – while there isn’t a whole lot of repeatably required with only two assemblies quickly assembling a jig to ensure that the parts get put together and are square and in the right spots is well worth the ten minutes it took to screw the plywood pieces together. The end result is that the leg assemblies were identical – and I ended up saving a lot of time and cursing because they made holding the elements in the correct space without having to double and triple check.
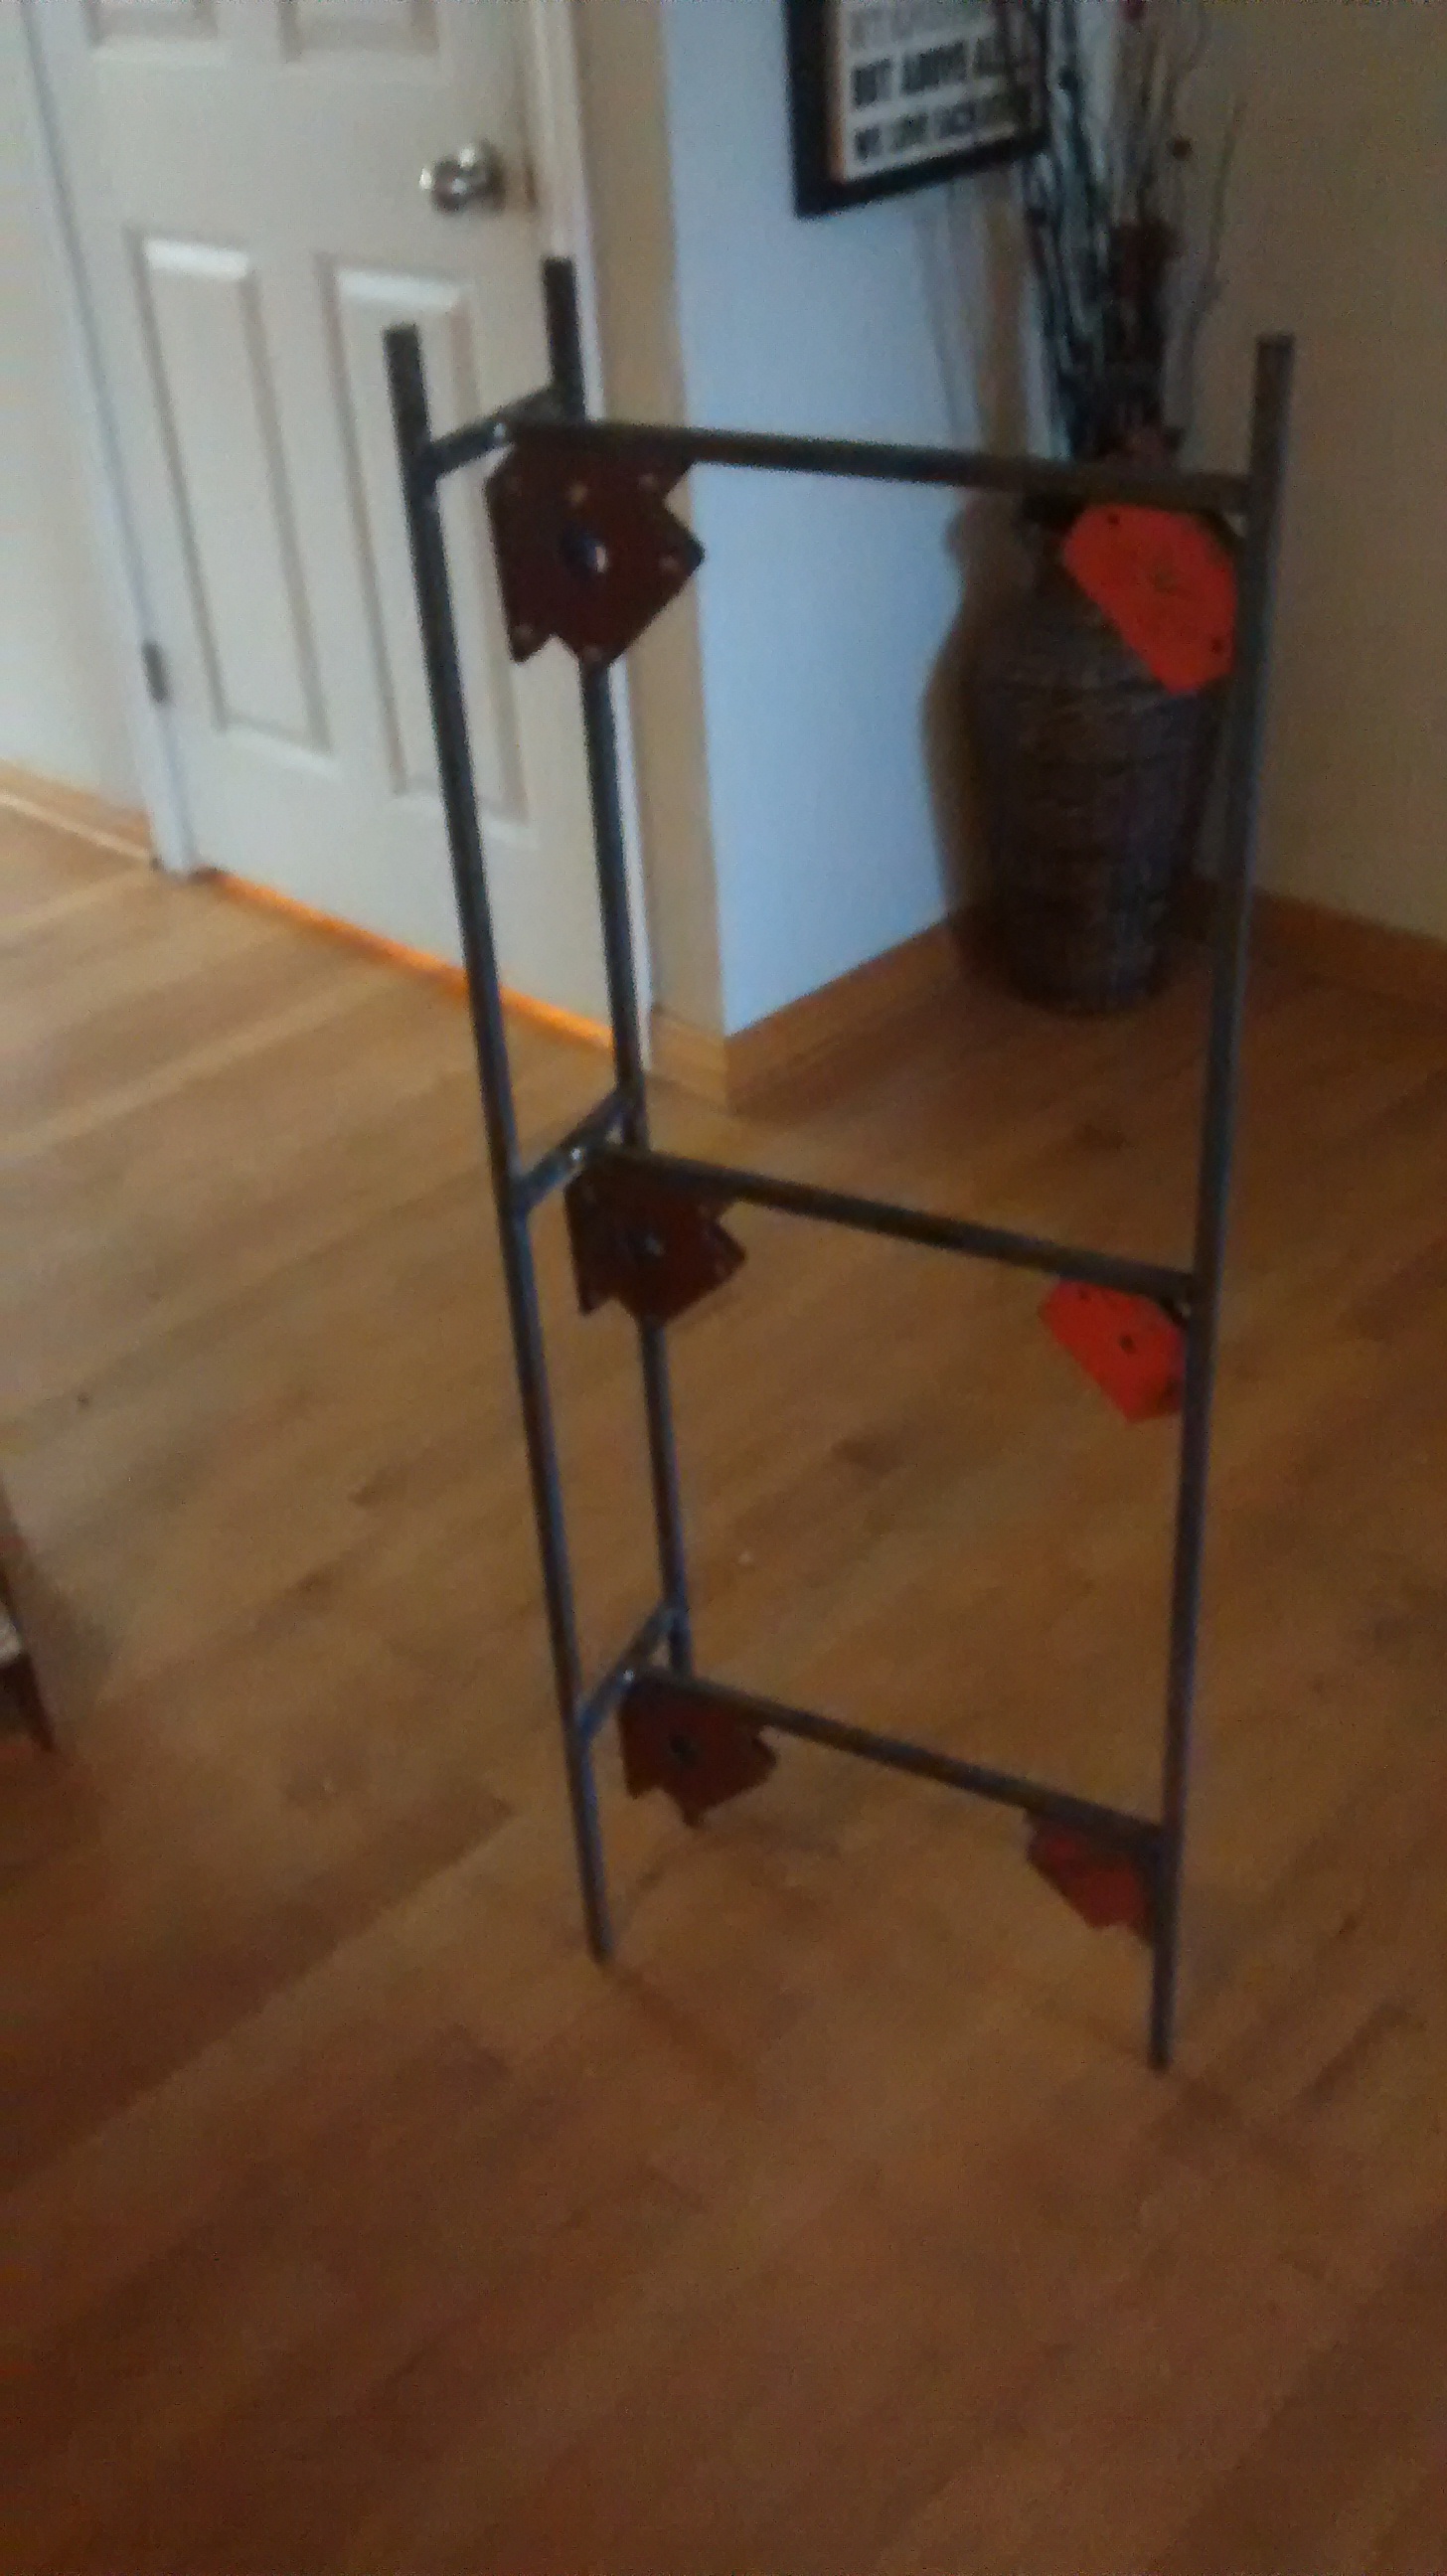
Tack welded table leg, making sure it stands square before final welding
Now, wooden jigs for welding are not necessarily long lasting given wood deteriorates when heated to a temperature that will melt metal. Sure, but you probably aren’t turning out hundreds of assemblies so this is a bit irrelevant, and the speed, ease and low cost offered by using wood more than offset the limited life-cycle of flammable jigs.
So, next time you have a welding job consider using jigs in your setup if it’s appropriate.
I was recently asked for a proposal on how to increase the amount of nut milk expelled from a mix of the remaining nut pulp after the free liquid had drained off.
Nut milk press concept
Here’s my first go at a design formulation. The key here is to apply pressure to the pulp to force out the remaining liquid. There’s a couple of ways to go about that but a lever is probably the easiest and most sanitary with out special provisions. There are alternatives though – you could for example use a car jack for greater pressure – but I’d tend to want to strip off the regular grease and then grease the screw up with a food grade product.
First I’d start with the press basket – a tall stainless steel container. Tall containers offer the same volume as wider shallower ones but because the press disk will be smaller in size the pressure applied to the disk will be greater. Think Pounds Per Square Inch (PSI) – bigger disk more square inches therefore less pressure for the same force. There could be some tall mixing bowls or maybe one of those stainless steel kitchen cutlery containers.
Now the press basket needs holes in it to allow the expressed liquid to leave the vessel. Holes can be a pain to drill on a round surface – a much faster route is to use a dremel type tool with the small abrasive disks to cut slots along the side of the basket – I used settled on this technique when building the electric countertop brewing system after struggling with drilling.
A press disk – preferably some good hardwood – oak or maple would be my choices. Cut the disk so it fits into the press basket – shouldn’t be a tight fit.
Then the frame for the press – probably 2x4s – two frames held appart with other pieces of 2×4. A press pin in the back – probably 3/4″ steel pipe. A lever – preferably hardwood but for a start go with another chunk of 2×4. have the lever press on a block – probably a 4×4 (or two pieces of 2×4 screwed together) that sits on the press disk. You may need a couple of lengths of these depending upon how much you get your material to compress and the travel of the lever.
The press basket should sit in a pan or pot to catch the expelled milk – maybe on a wooden riser, and that pot should probably be supported with some pieces of 2×4 between the press frames.
The only question here would be if the unit would move too much with the pressure from the lever – I don’t know how much effort would need to be applied. If the lever didn’t work I’d move to a car jack from the junk yard cleaned up.
There are loads of different ways to start a fire – but one of the neatest ones has to be with a fire piston. Matches and lighters are well known, using electricity… well that isn’t that unusual and flint… well that is pretty well understood too, but starting a fire with compression – especially the compression that you can generate with only your own force – well now that is different. That latter method – compression is exactly the means that a fire piston uses.
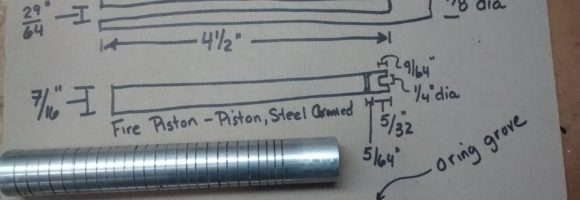
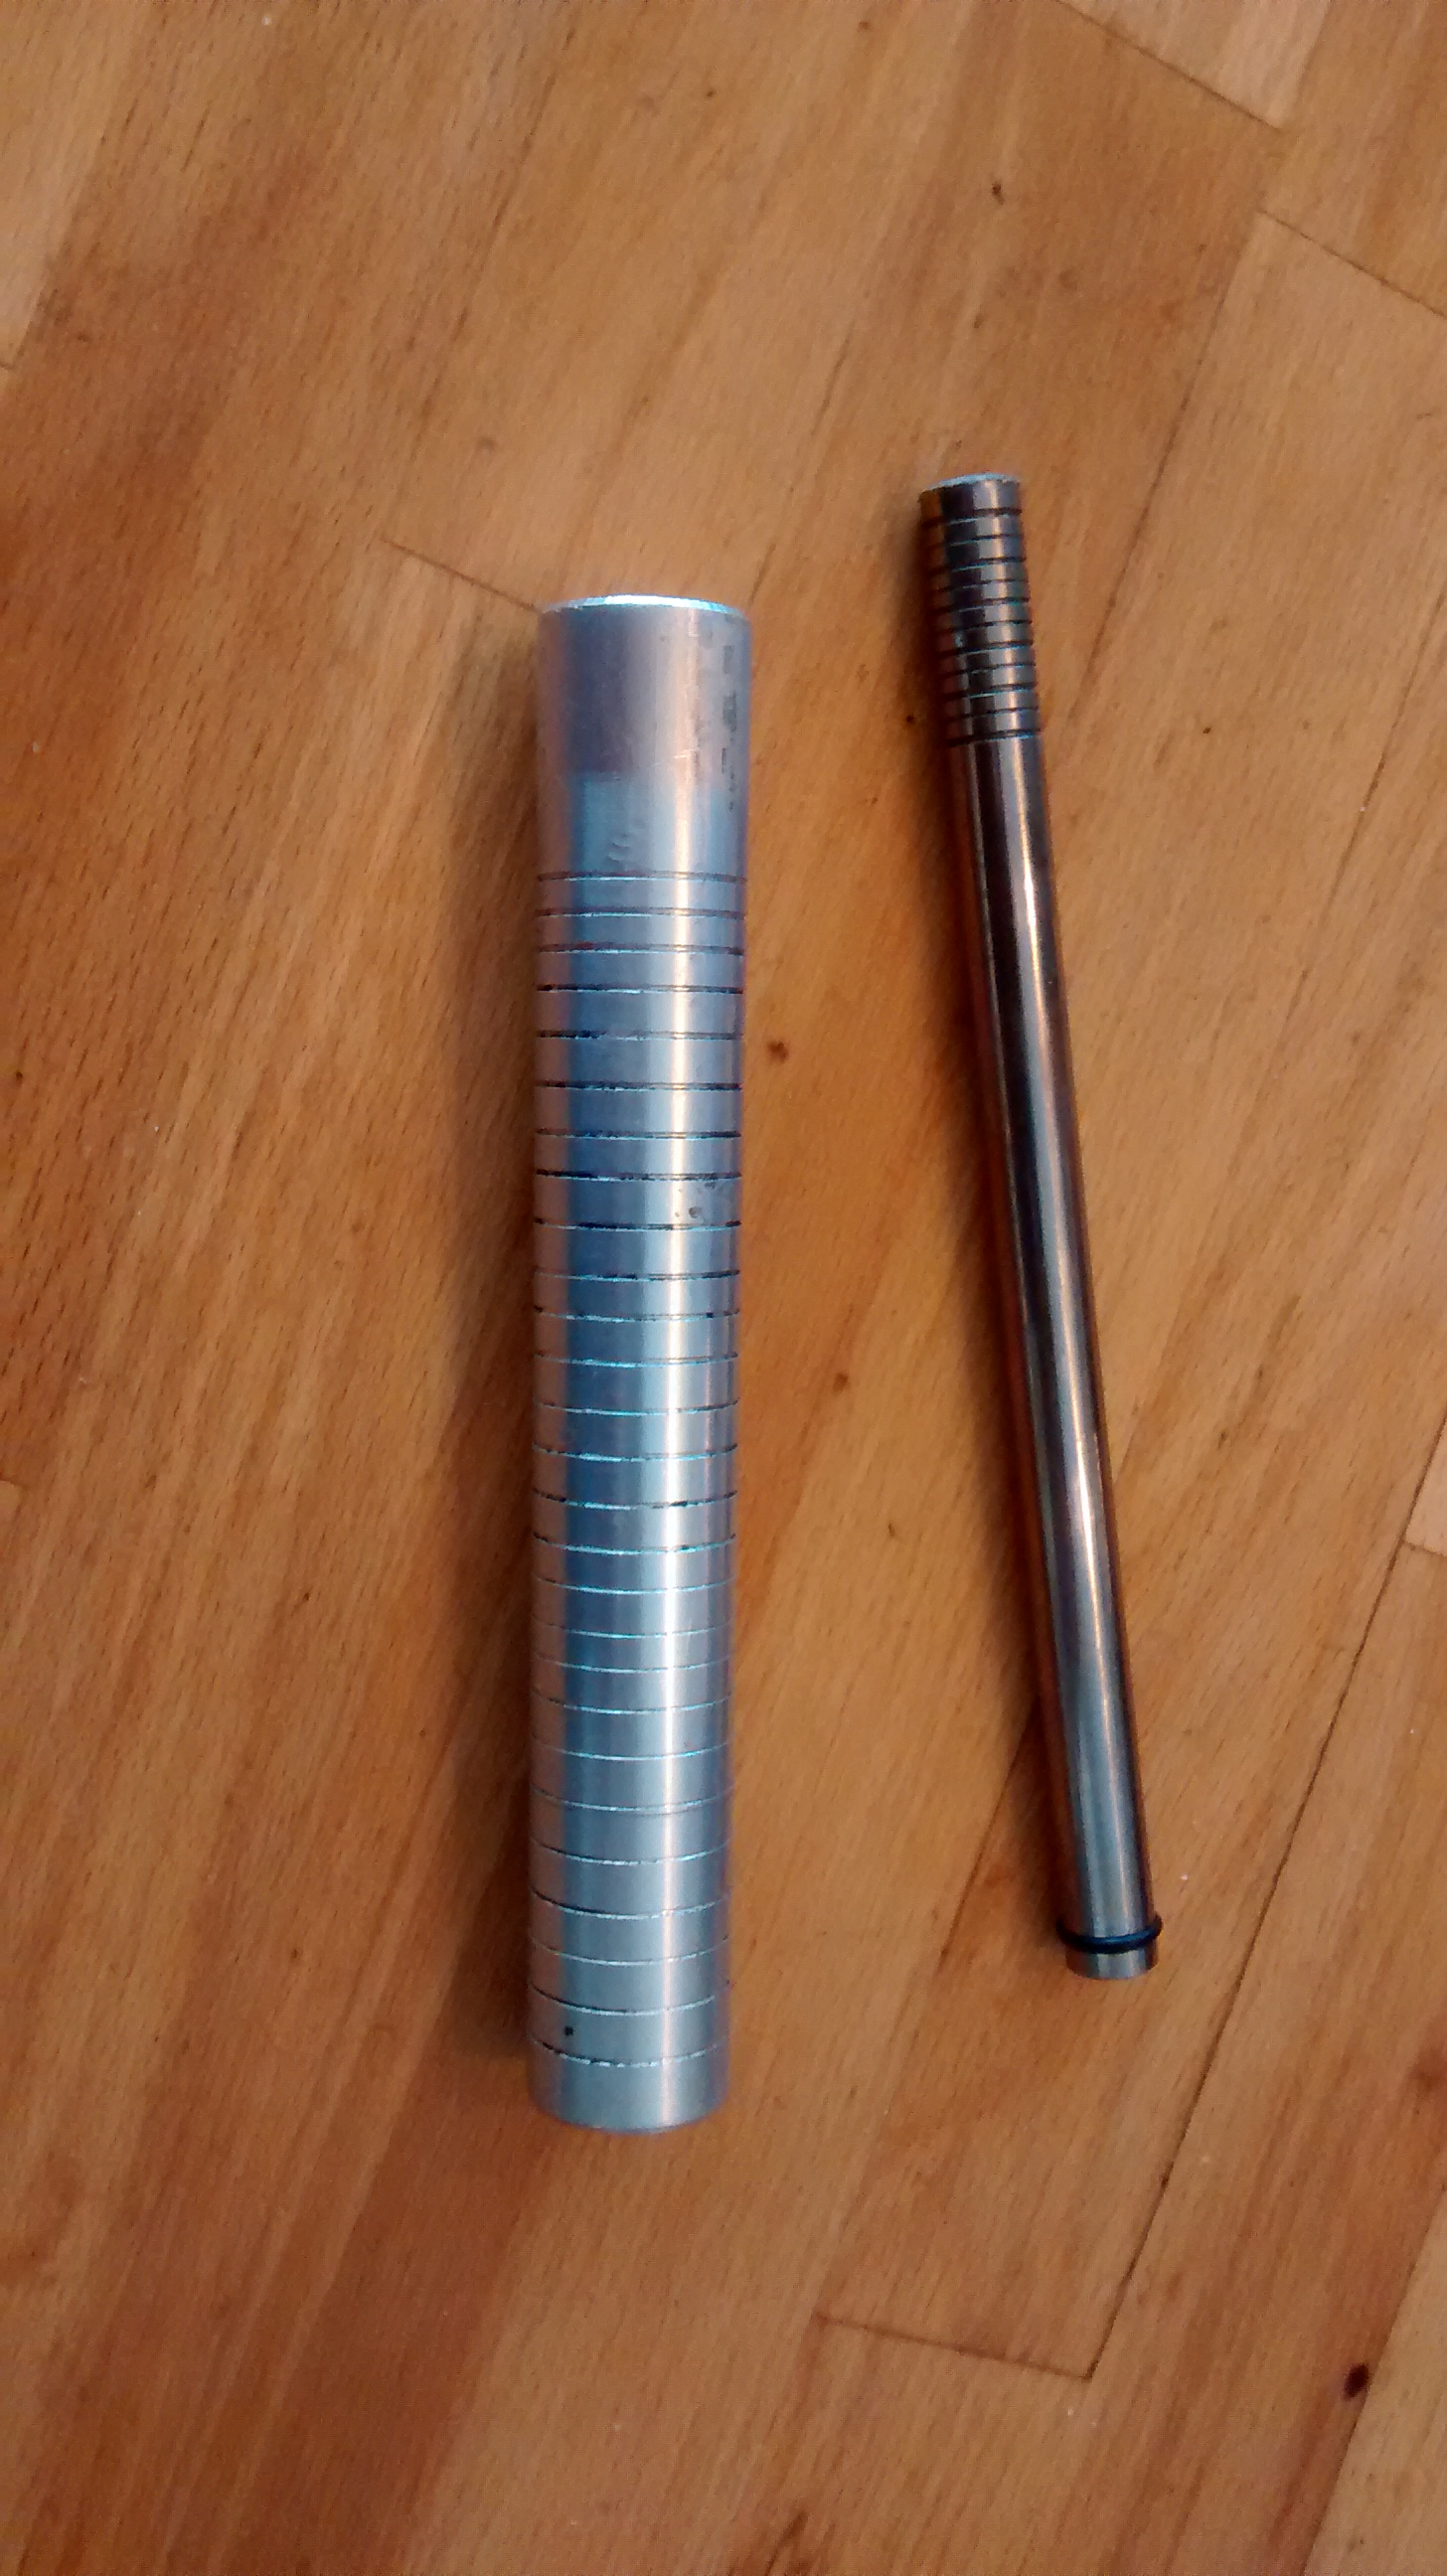
If you’ve got a few tools you can easily make your own setup in a couple of hours. I used an aluminum round for the body and bored it out so that a rod fitted with an O-ring to improve the seal would just fit. The piston has a small cup machined in the end to hold char cloth and that’s it.
For those not familiar with char cloth it’s cotton that is carbonized to become great tinder. It’s simple to make too. Wash out a tin can put in some old cotton material – like bits of t-shirt, put the top in if you have it and then cover it all with aluminum foil. The idea here is to keep air out – you want to char not burn the cotton. Put it on a BBQ burner or in a campfire and keep heating it until smoke stops emanating. Then cool it before removing the foil.
Notice cup in the end of the fire piston for the charcloth
Now when you use the fire piston you’ll put a bit of the charcloth in the cup of the piston, slide the piston just into the cylinder and then holding the cylinder slam it down on a hard surface to drive the piston up. Quickly remove the piston and you should find the char cloth has an ember ready to be gently fanned into the start of a fire.
It’s a cool way to start a fire, and a good way to come to appreciate the value of a lighter! Have fun and safe machining.
Ahhhhh, Autumn. Leaves start turning and the peak of the harvest comes in. It’s a time of abundance – but translating this brief period abundance before winter sets in takes a bit of work – especially if that abundance truly is abundant.
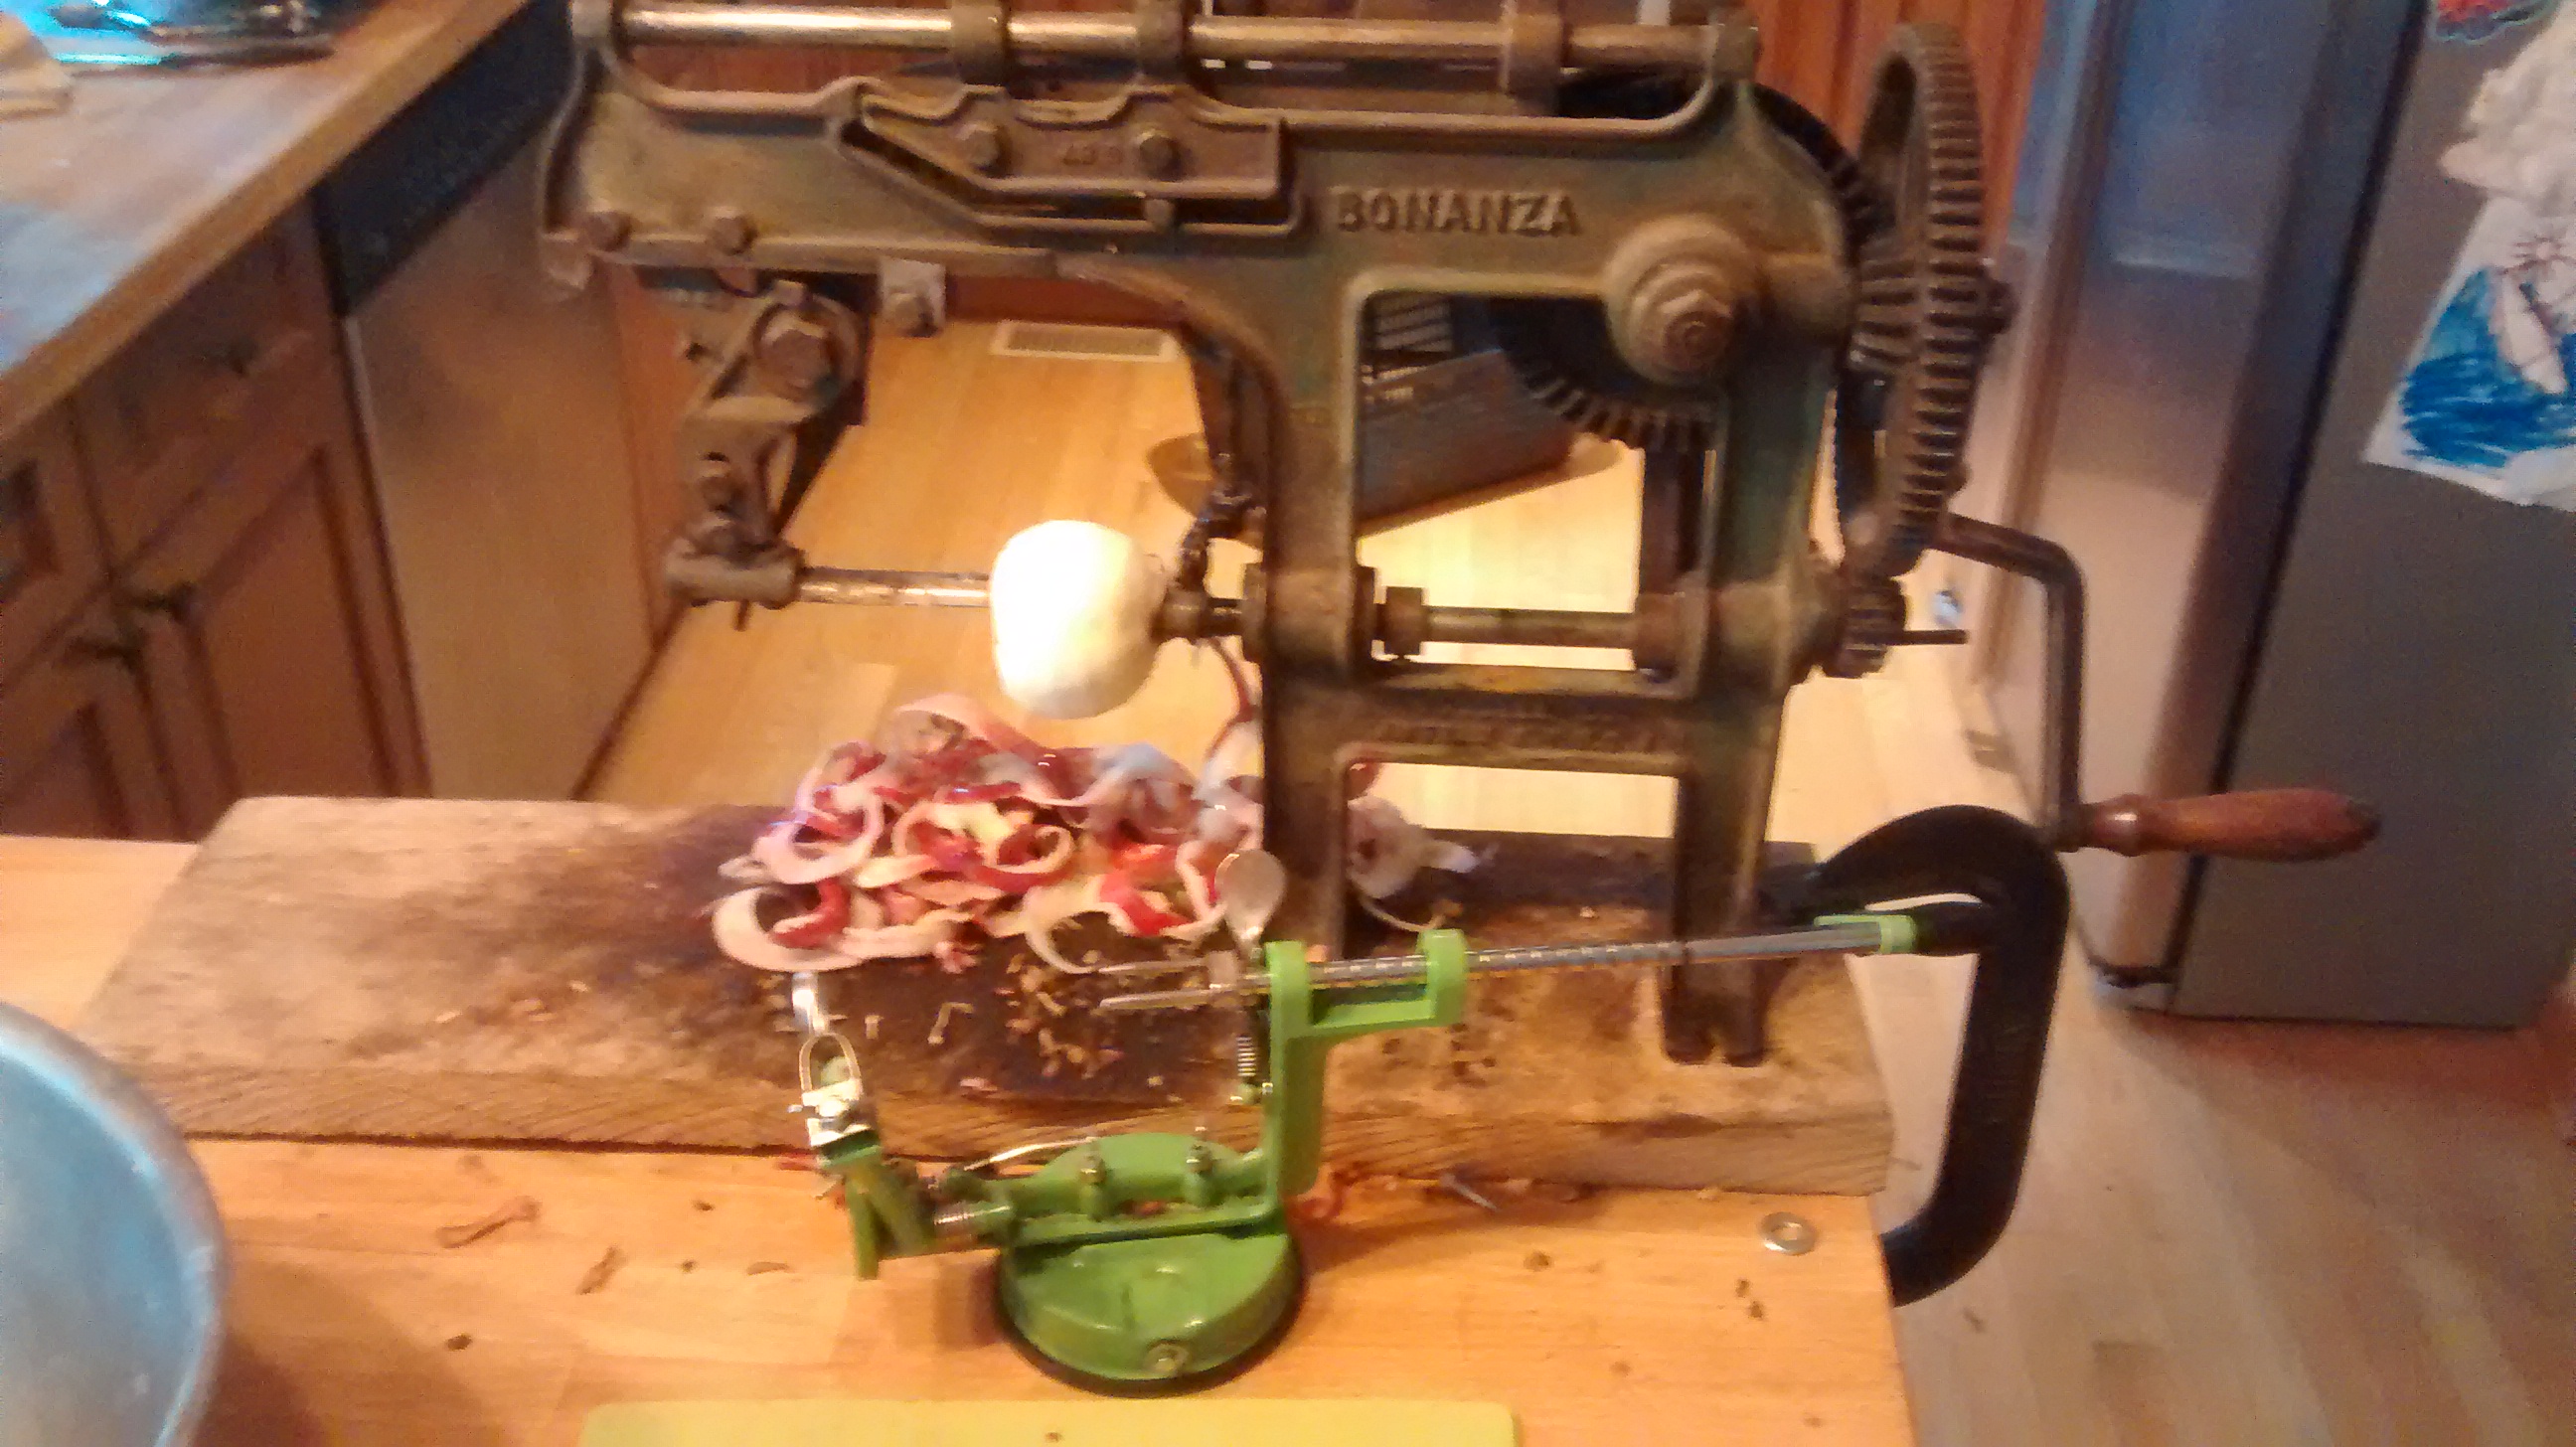
Old and New Apple Peelers
For our family apples play a big part of that fall harvest period – save for those years where a late frost kills the majority of the blossoms. We get apples not only from our own trees but from those of our neighbors, and in good years we get loads of apples. That was the case again this year, which is great since this is the second year in a row that there was a crop failure for blueberries around our cottage.
But, how do you get bushels of apples once picked from the bins into shape to last? Well, as with so many things efficiency is the key – and that translates into both strategy and tools.
Steamed apples ready for processing into apple sauce
From a strategy standpoint gleaned or home harvested apples aren’t the perfect orbs you see in the grocery store where a huge amount of culling has taken place. That means the apples you pick will include perfect ones as well as misshapen ones, bruised ones and tiny ones.
I save the best for fresh storage, the next grade of nicely sized ones get peeled and sliced to be frozen, dried, or canned as sliced apples. Next along the line are those apples which have a bit of decay which I’ve cut out, misshapen ones and small ones these end up going for sauce or cider. Cider and sauce is also the outlet for the better apples once I’ve filled the freezer and pantry shelves with sliced, dried and spiced apples.
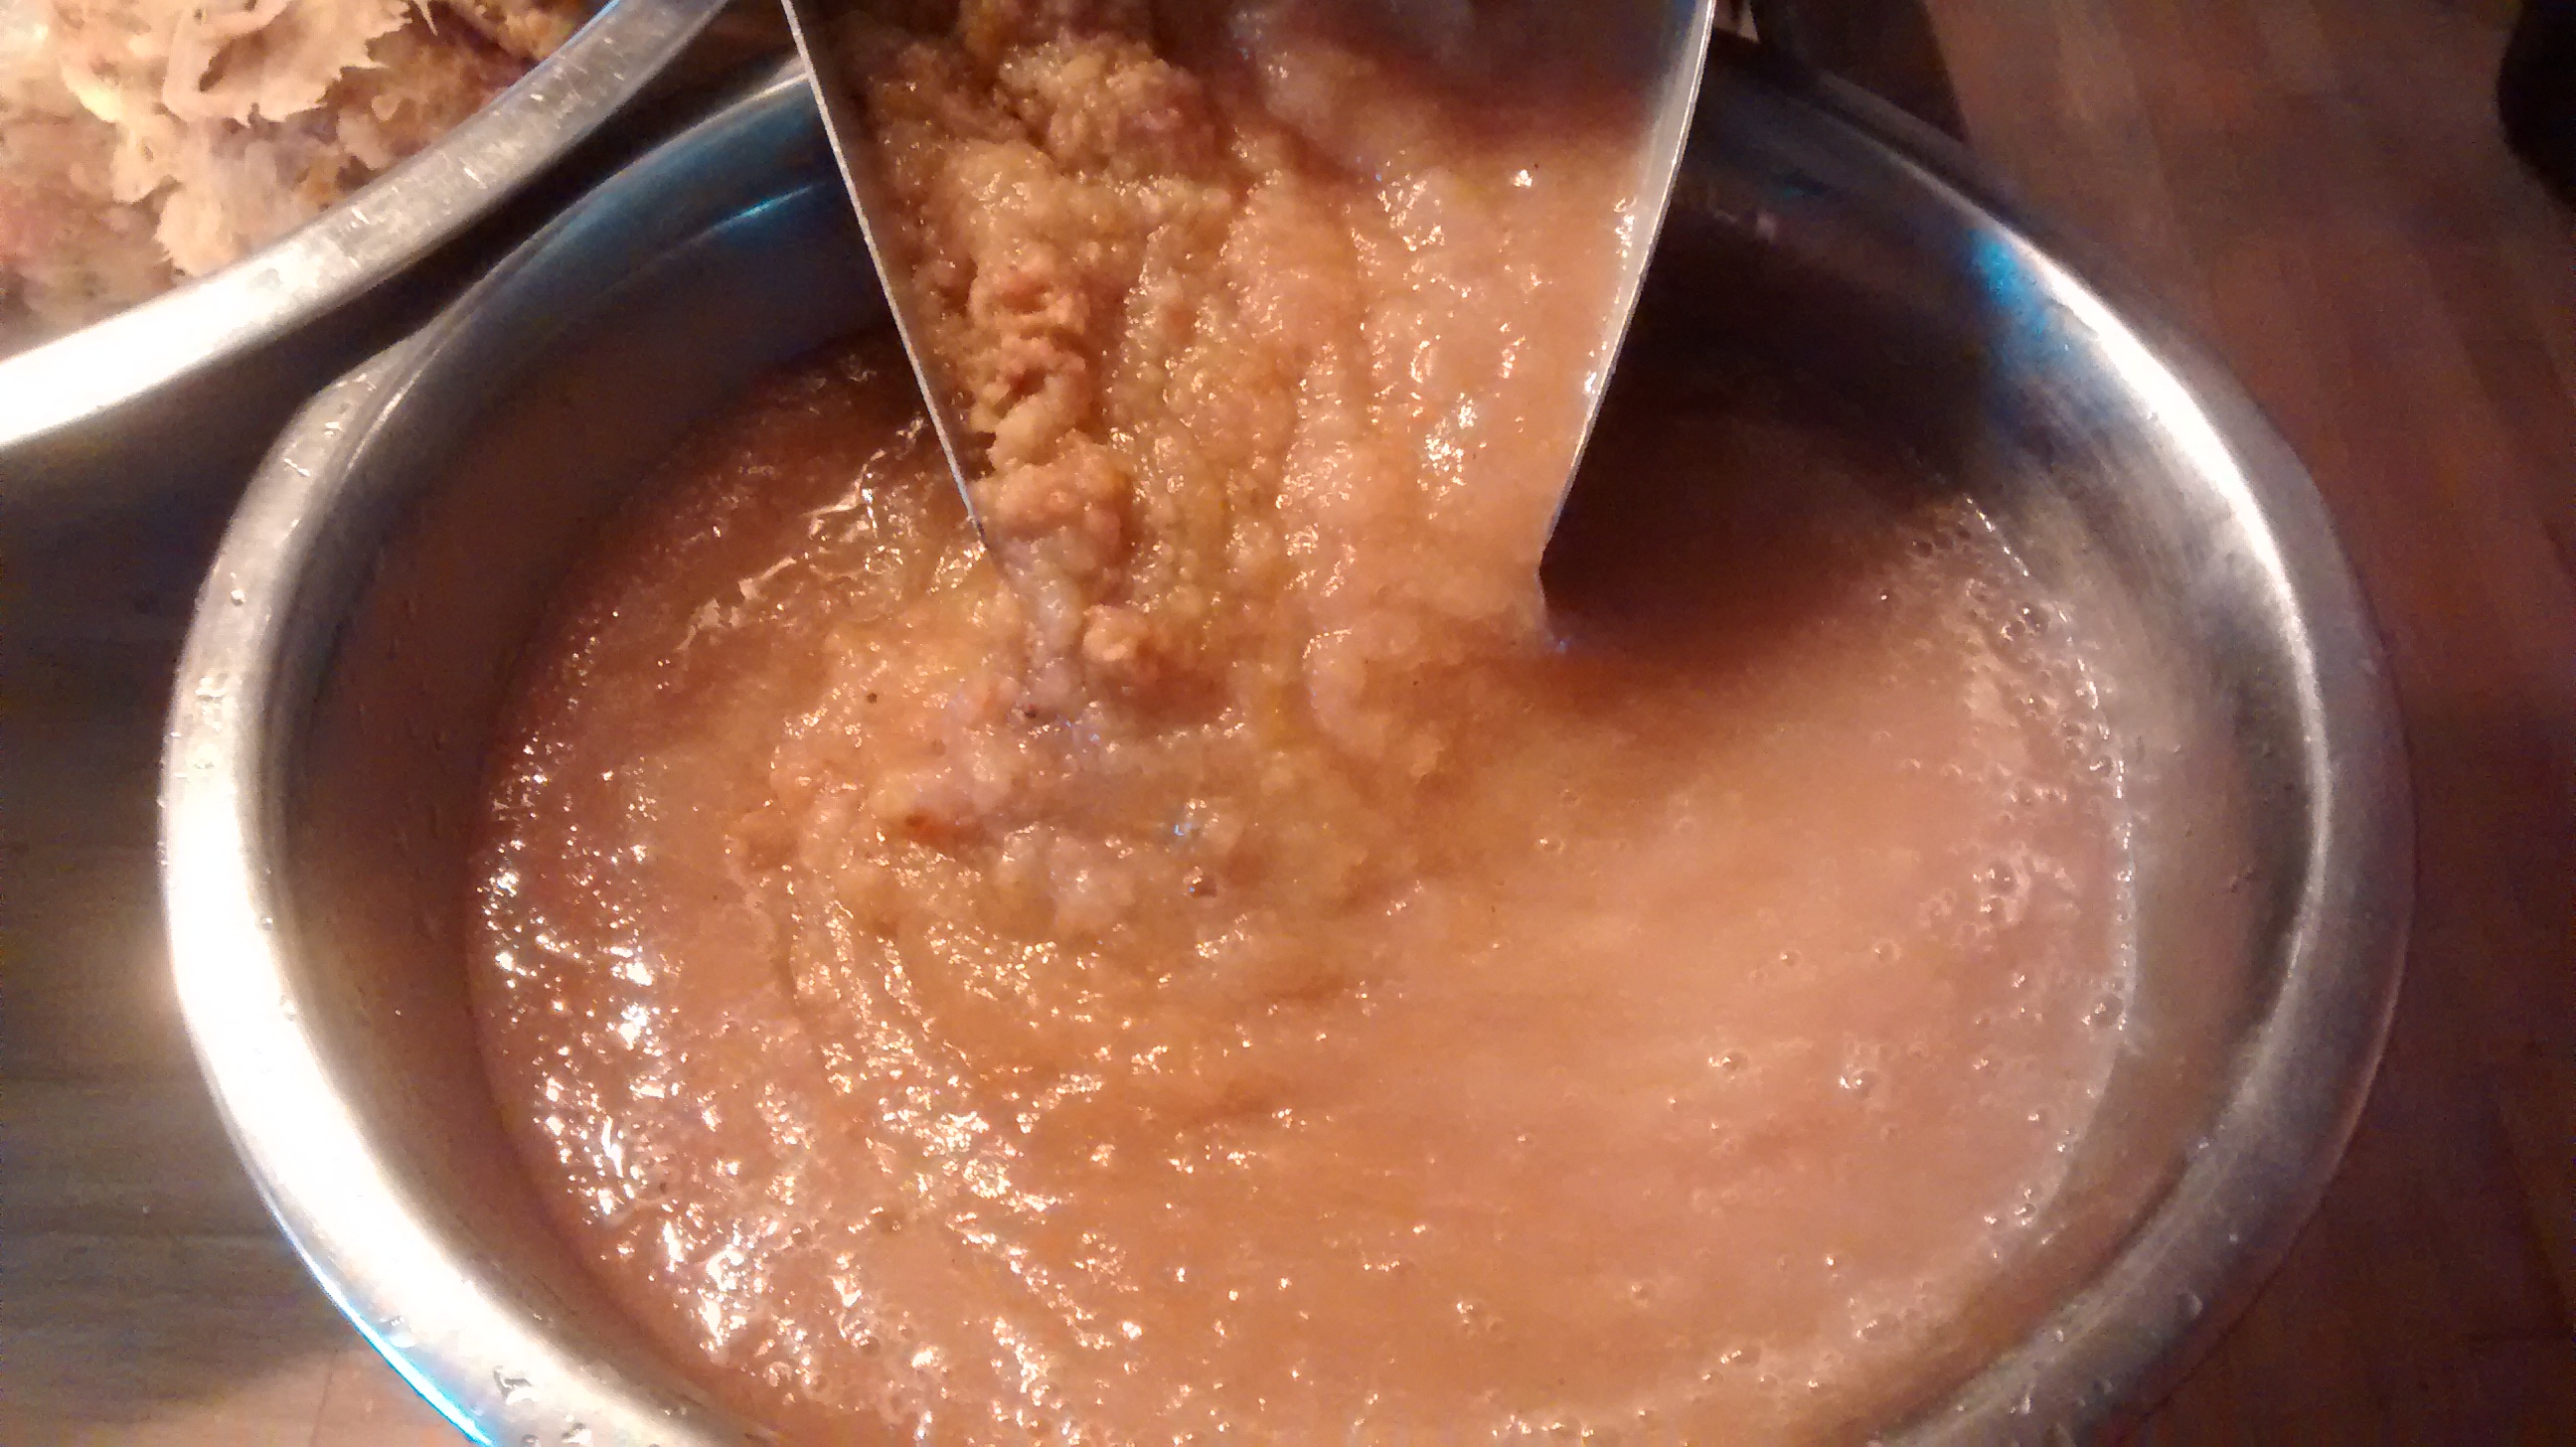
Apple sauce from the Victorio food mill
You can do that by hand, but in any volume you’ll need some solid tools. An apple slicer is key here – now I love my Bonanza apple peeler which is in my opinion the apex of hand cranked apple peeler development, even if that apex was achieved a couple of generation ago. I started with a more modern hand cranked unit – and it’s a good stop gap – better I think than the Reading 76 I also have. The modern unit is low cost and is an investment that will pay off very quickly in improved efficiency.
For apple sauce – my Victorio food mill is awesome – steam the apples until soft and the throughput is fantastic – and sauce makes great fruit leather!
Apple cider – both fresh (and canned) and fermented to hard cider, is truly ambrosia, and apple cider syrup makes for a great addition to a lot of recipes. It’s also easy to make when you have a cider press – commercial ones can be pricey but homebuilt ones can be readily assembled and come at a low price point.
It’s a bit of work putting the harvest down – but the bounty will pay off through the year with readily available healthy food at the cost of the effort to put them down. It’s a pretty good deal in my opinion.
Many great styles of bread have fantastically chewy crusts which can seem difficult at first to replicate at home. The secret is steam. Commercial ovens use steam injection which home ovens lack.
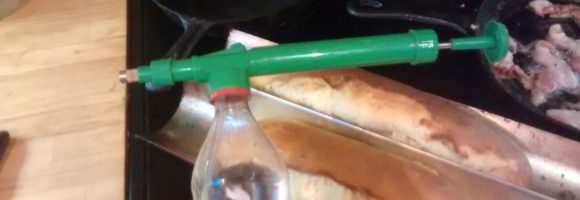
Eco-mister
But there is a cheap and easy way to get those chewy crusts at home – air charged plant misters. Unlike the hand pumped sprayers and misters the air charged ones see you pump the air/water bladder with air and then when the trigger is pressed releases a large volume of fine mist. Compared to the hand pumped versions you get more volume and a finer spray.
There are a number of variants on the style, but the one I use and Iike is the Spraymate which I also see marketed as the Eco-Sprayer. It comes as the spray unit alone and sees you use a soda bottle as the reservoir. I picked it up from Princess Auto (the Canadian version of Harbor Freight), but it’s also available from Amazon for $11 or Lapond though I see it’s priced there for $14 which is about three times what I paid for mine.
To make those great chewy crusts I preheat the oven to temperature, charge up the mister, quickly open the door and quickly mist the interior of the oven. Then I allow a minute or two for the oven to come back to temperature open the door again slide in the sheet with the bread and do a second misting of the interior of the oven. While you could open up the oven later and mist again I usually don’t bother.
The result, awesome chewy crusts on things like baguettes and sourdough loaves every bit as good as that which you’d get from a professional bakery but for a fraction of the price and without ever having to leave home.
Our homebuilt wood fired pizza oven gets a lot of use through the year and not just for pizza.
Baking buns in the wood fired oven
But pizza is usually a weekly ritual – and when I make up a batch of pizza dough I like to make it extra large so that I can make some regular pizzas, often a desert pizza AND a bunch of buns.
As the oven cools off after the pizzas have cooked the buns are slipped and slowly bake in the cooling oven making use of the fading heat and the coals without needing additional wood.
These make great buns for lunches for the next couple of days for little cost or extra effort.
When I moved to my new home a few years ago I left my Harbour Freight 10×12 greenhouse and the nearly four extra months of growing season (two months on each side) that it provided – a not insignificant boost here in Ottawa given our frost free timeline is generally accepted as the end of May until towards the end of September.
Heavy duty corner brackets installed on the hoop house
So after making due with row covers and some very low tunnels last year I put in some medium hoop houses, that were hinged to open from the base. These worked pretty well – being able to grow taller crops and hold more than the single row hoops but were still a bargain cost and time wise compared to higher walk in hoops.
Heavy duty angle bracket
The base of these was made from 2×6 lumber – which provided strength and weight to keep things anchored down… but unfortunately in the process of opening and closing them the screwed together corners began to pull apart.
I tried reinforcing with 4×4 blocks but the forces were too much for that solution to last long. So now I’ve gone and built some extra heavy duty corner brackets from some flat steel bent up in the hydraulic press and some U steel to provide further reinforcement. With these bolted in place the frames are rock solid and should offer a great long lasting solution – even better, the cost to fabricate these at home was a fraction of what it would have cost to buy them would have been. That’s the advantage of having some solid tools… now it’s time to get everything into the ground!
Bottom heat can give your seed starting a real helping hand – particularly for some crops such as peppers. For a home scale operation that usually means using one of the flexible rubber mats with the heating loop imbedded into it that slips under your seed starting trays. I’ve been using this method for over a decade and it really does make a major difference for some heat loving plants – BUT, I’ve found that these tend to wear out and I end up having to replace them every few years.
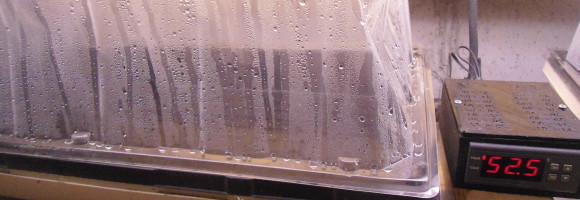
The Seed Start Heat Mat in position and active
Given these are fairly expensive when my last one gave up the ghost last year I decided to come up with something better and longer lasting than simply to order another and continue the cycle.
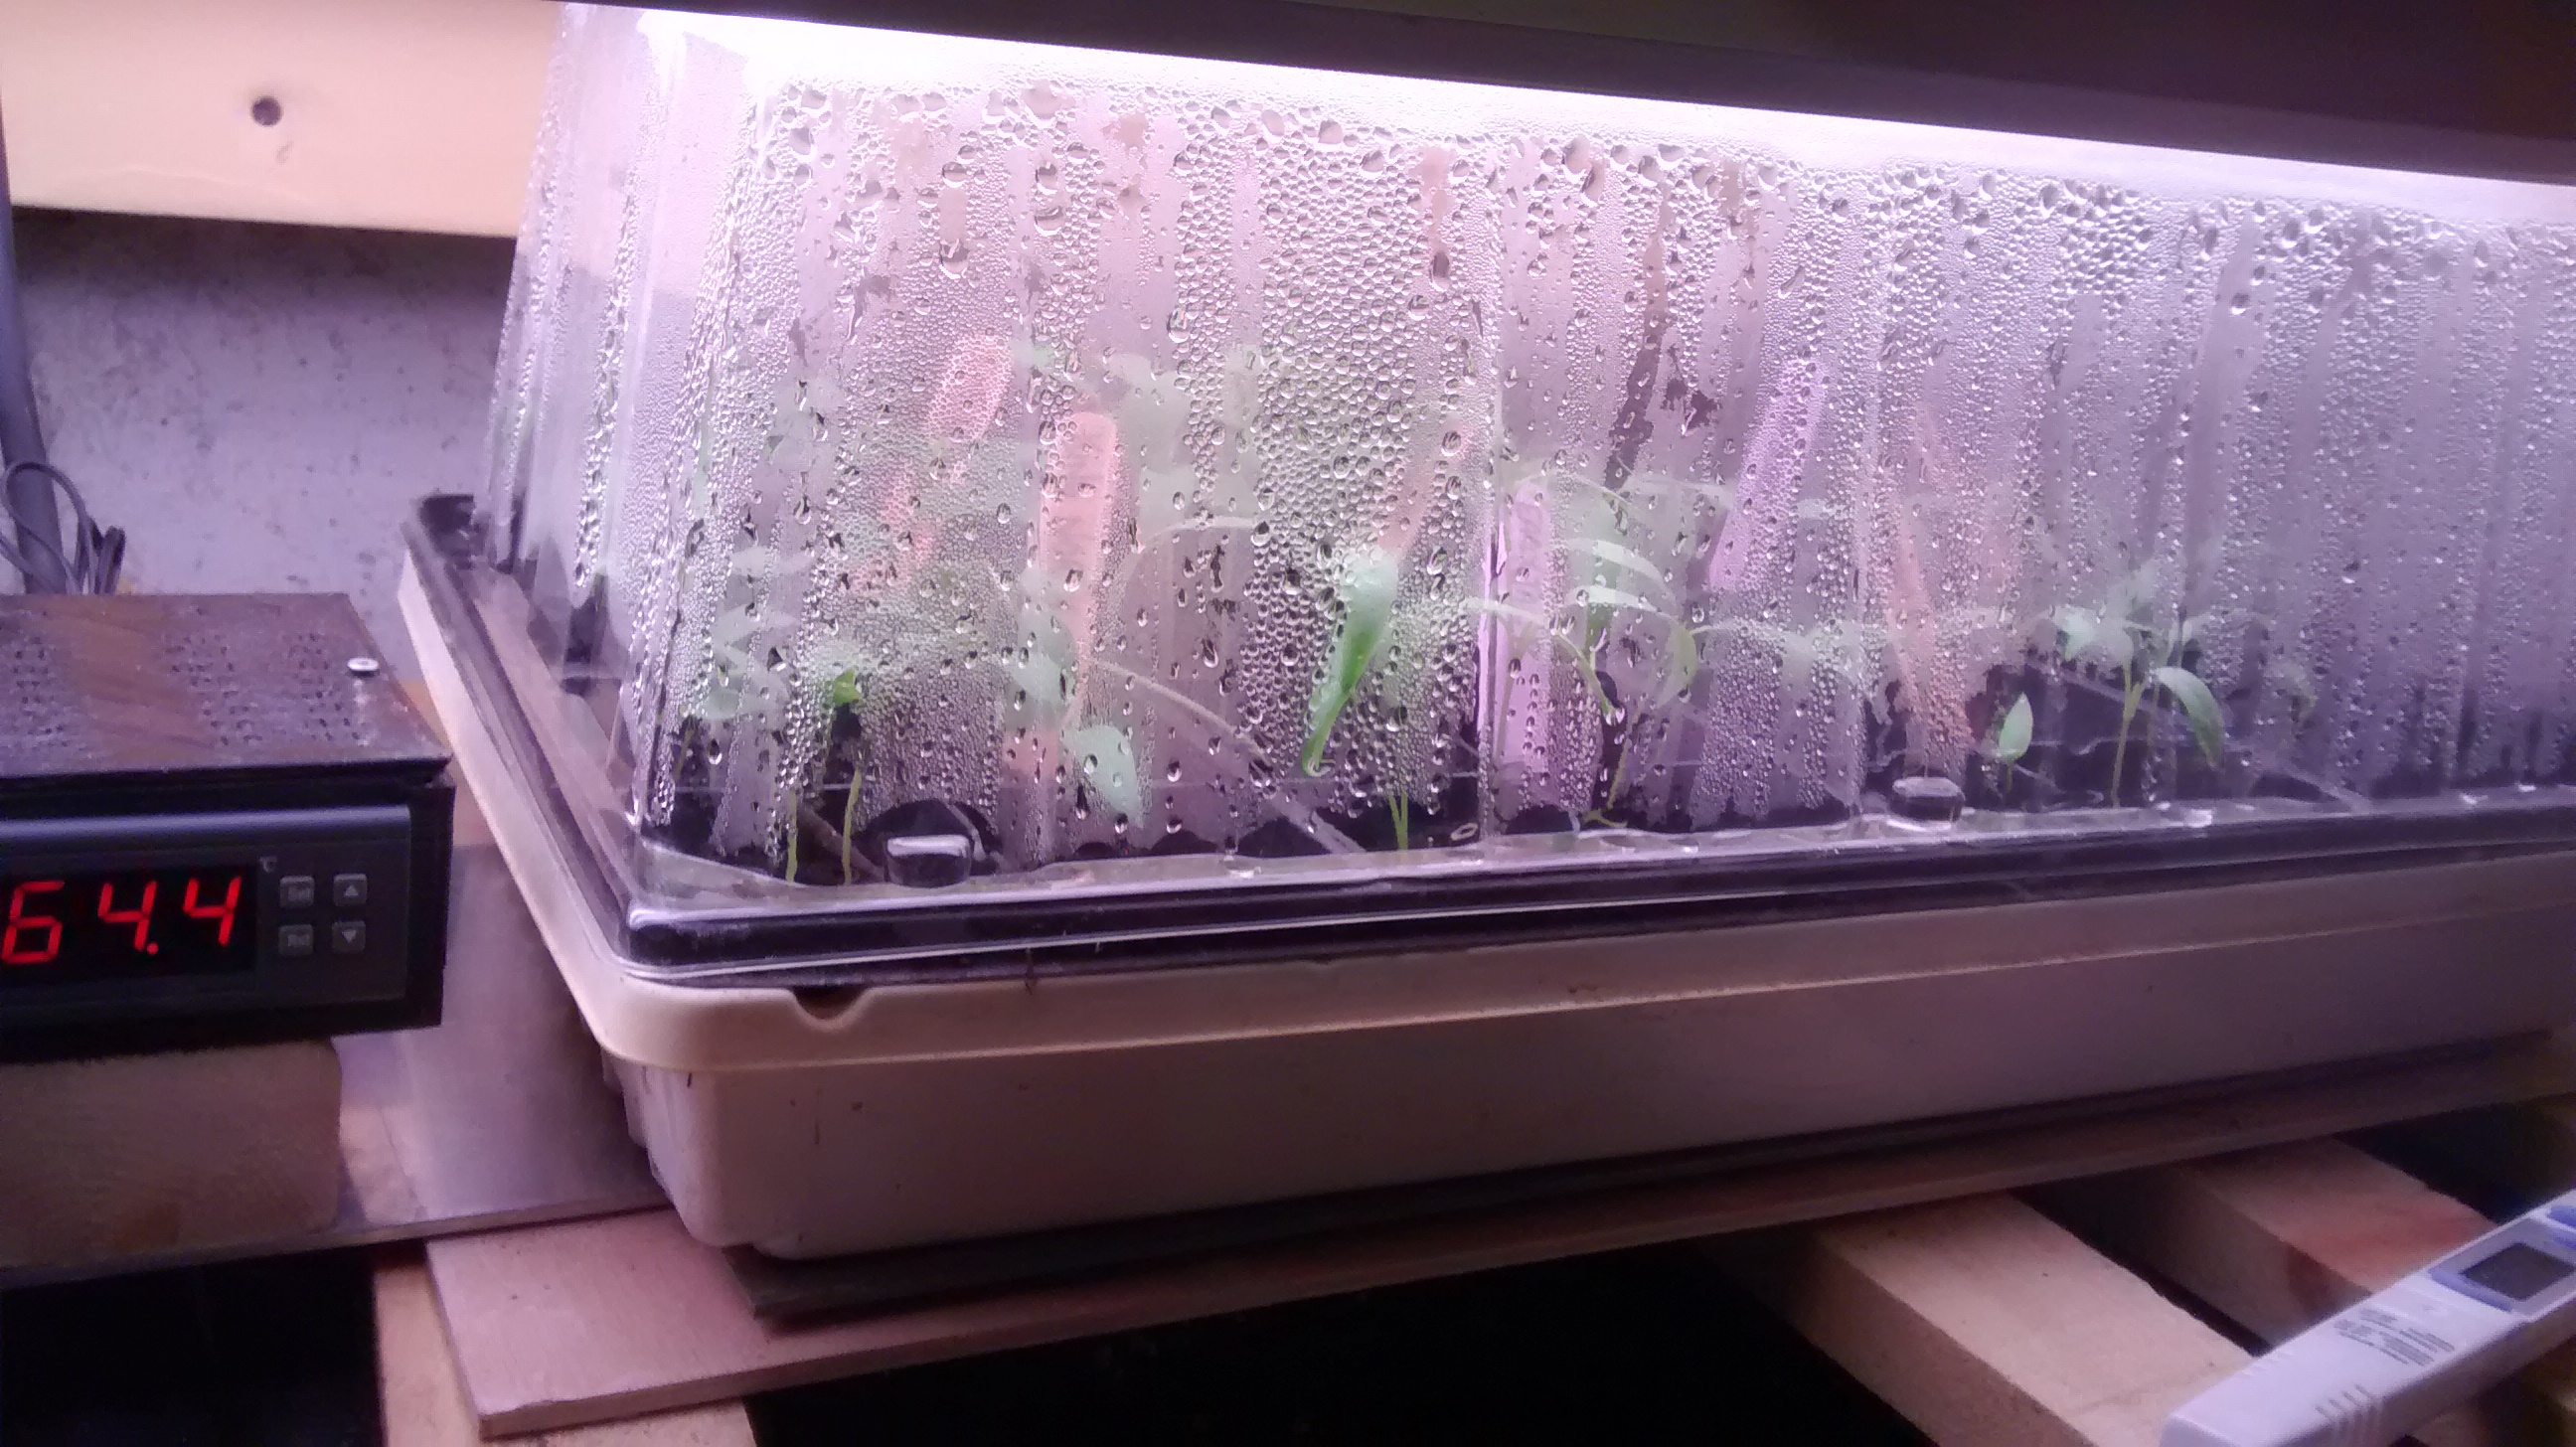
Here’s what I came up with – a STC1000 digital temperature controller – 110volt model (under $10 on ebay from china ) and a 250W 110V cartridge heater ($5) form the basis of the system.
Both the cartridge heater and the thermocouple for the temperature controller fit into holes drilled in a 3/4″ thick block of scrap aluminum that is then lag bolted through a 3/16″ thick piece of aluminum plate to a 2X3 piece of lumber. The aluminum plate is long enough to fit two grow trays while allowing a gap for the heater at the center.
Heat mat under construction
The temperature controller is housed in a 3D printed box that is mounted on the top of the 2×3 with the cords all held nicely in place by a strap at the back of the wood piece.
The whole assembly is supported by some scrap 1″ thick pieces of pine left from building beehives over the usual trays on my growlight assembly.
I used a couple of additional sheets of aluminum to spread out the heat more evenly under the grow trays.
In operation I set the temperature of the aluminum block and by trial and error move it up until the temperature of water placed in my grow trays hits the desired temperature for the seedlings I am producing. If you were using a much thicker block of aluminum you could set the temperature much more in line with the desired setting – but with this setup the temperature of the block ends up being considerably higher than you would normally want in order to see the necessary amount of heat generated to be distributed through the aluminum plates.
Peppers started with the DIY Heat Mat
It’s not a perfect system, but for about $20 and some scrap I have a solid bottom heat source for seed starting that should last decades and allow me to produce loads of heat loving seed starts at home – paying back the investment in less than a year compared to buying transplants at the garden center.
So down to business – doing the layout and cutting of the pots to form the conical. The first part is to figure out the layout for your conical cone. Basically your cone will be made from a circular segment that is larger in diameter than the base of the upper pot segment. The greater the diameter of the circle that will form the cone vs. the base of the pot the taller the cone. Simple enough right? So how did I figure out the diameter of that circle? Well to a significant extent that was limited by the material I was going to be using to form the cone – the sides of the 5 gallon pot.
One piece of the segments of the conical taped to the 5 gallon pot
With this figure as the upper limit I then laid out a couple of circles with a compass on some newspaper in preparation for some trial and error folding.
A key part to making the cone is cutting out a pie shaped segment from the circle you’ve just laid out – determining what size that needs to be is simple enough. You need the length around the big circle you’ve just laid out when the pie shaped segment is removed to equal the cirucmference of the bottom of the pot you’ll be using as the upper portion of the conical.
In this case the diameter of the cone I chose was 18 1/2″. Measuring these is most easily done with a very flexible tape measure such as those used for sewing. Now I should note that I added just a tad to the circumference in order to have the cone be just a bit wider at the mouth than the base of the upper pot since it’s always easier to trim material out than try to fill in significant gaps.
I decided to cut out half of the cone circle in one piece and the smaller segment, that is the other half of the cone circle less the pie shaped segment that isn’t needed for the cone in another piece. It seems to have worked out OK, but now that it’s done I wonder if it might not have been easier to have the two pieces of the cone eaually sized thus providing a greater gap between the final welds. It shouldn’t be a big deal either way, but I might try out the other variation just to see how things work out as I refine the design.
OF course if you are using a solid sheet of stainless steel you only need to remove the pie shaped segment, but the five gallon pot offered me a low cost readily available source of the steel sheet so that is what I used – thus requiring a bit more assembly work.
So that is how the template for the cone was established. I then taped it to the sides of the five gallon pot and marked out the shapes with a sharpie marker.
To cut them out I used my angle grinder with a thin abrasive cutting disk. It’s not perfect but with care it’s a pretty good result. I then cut the bottom off of the 5 gallon pot from the pot side – not the pot bottom – to free the segment.
You can check out these videos for a quick overview of how that work was accomplished.
Publisher of high quality how-to books for homesteaders and preppers which help you gain the skills and tools needed to help empower your independence.