[metaslider id=12]

By

Little Giant condensate pump microswitch repair

It’s never a good thing to walk down into the basement and discover that your socks are suddenly wet.  That happened to me a week ago… now there are typically a few options – water infiltration around the basement foundation or over the sill due to a heavy rain (nope it’s -30C so anything that is falling is solid and staying that way), it’s water coming up (nope – no risk of water rising here), it’s the sewer ( fortunately no), the water tank bursting… nope or… the condensate pump on the furnace malfunctioning.  A quick check of the probable suspects showed it the condensate pump overflowing, and a quick diagnostic examination narrowed down the problem to a dead microswitch.

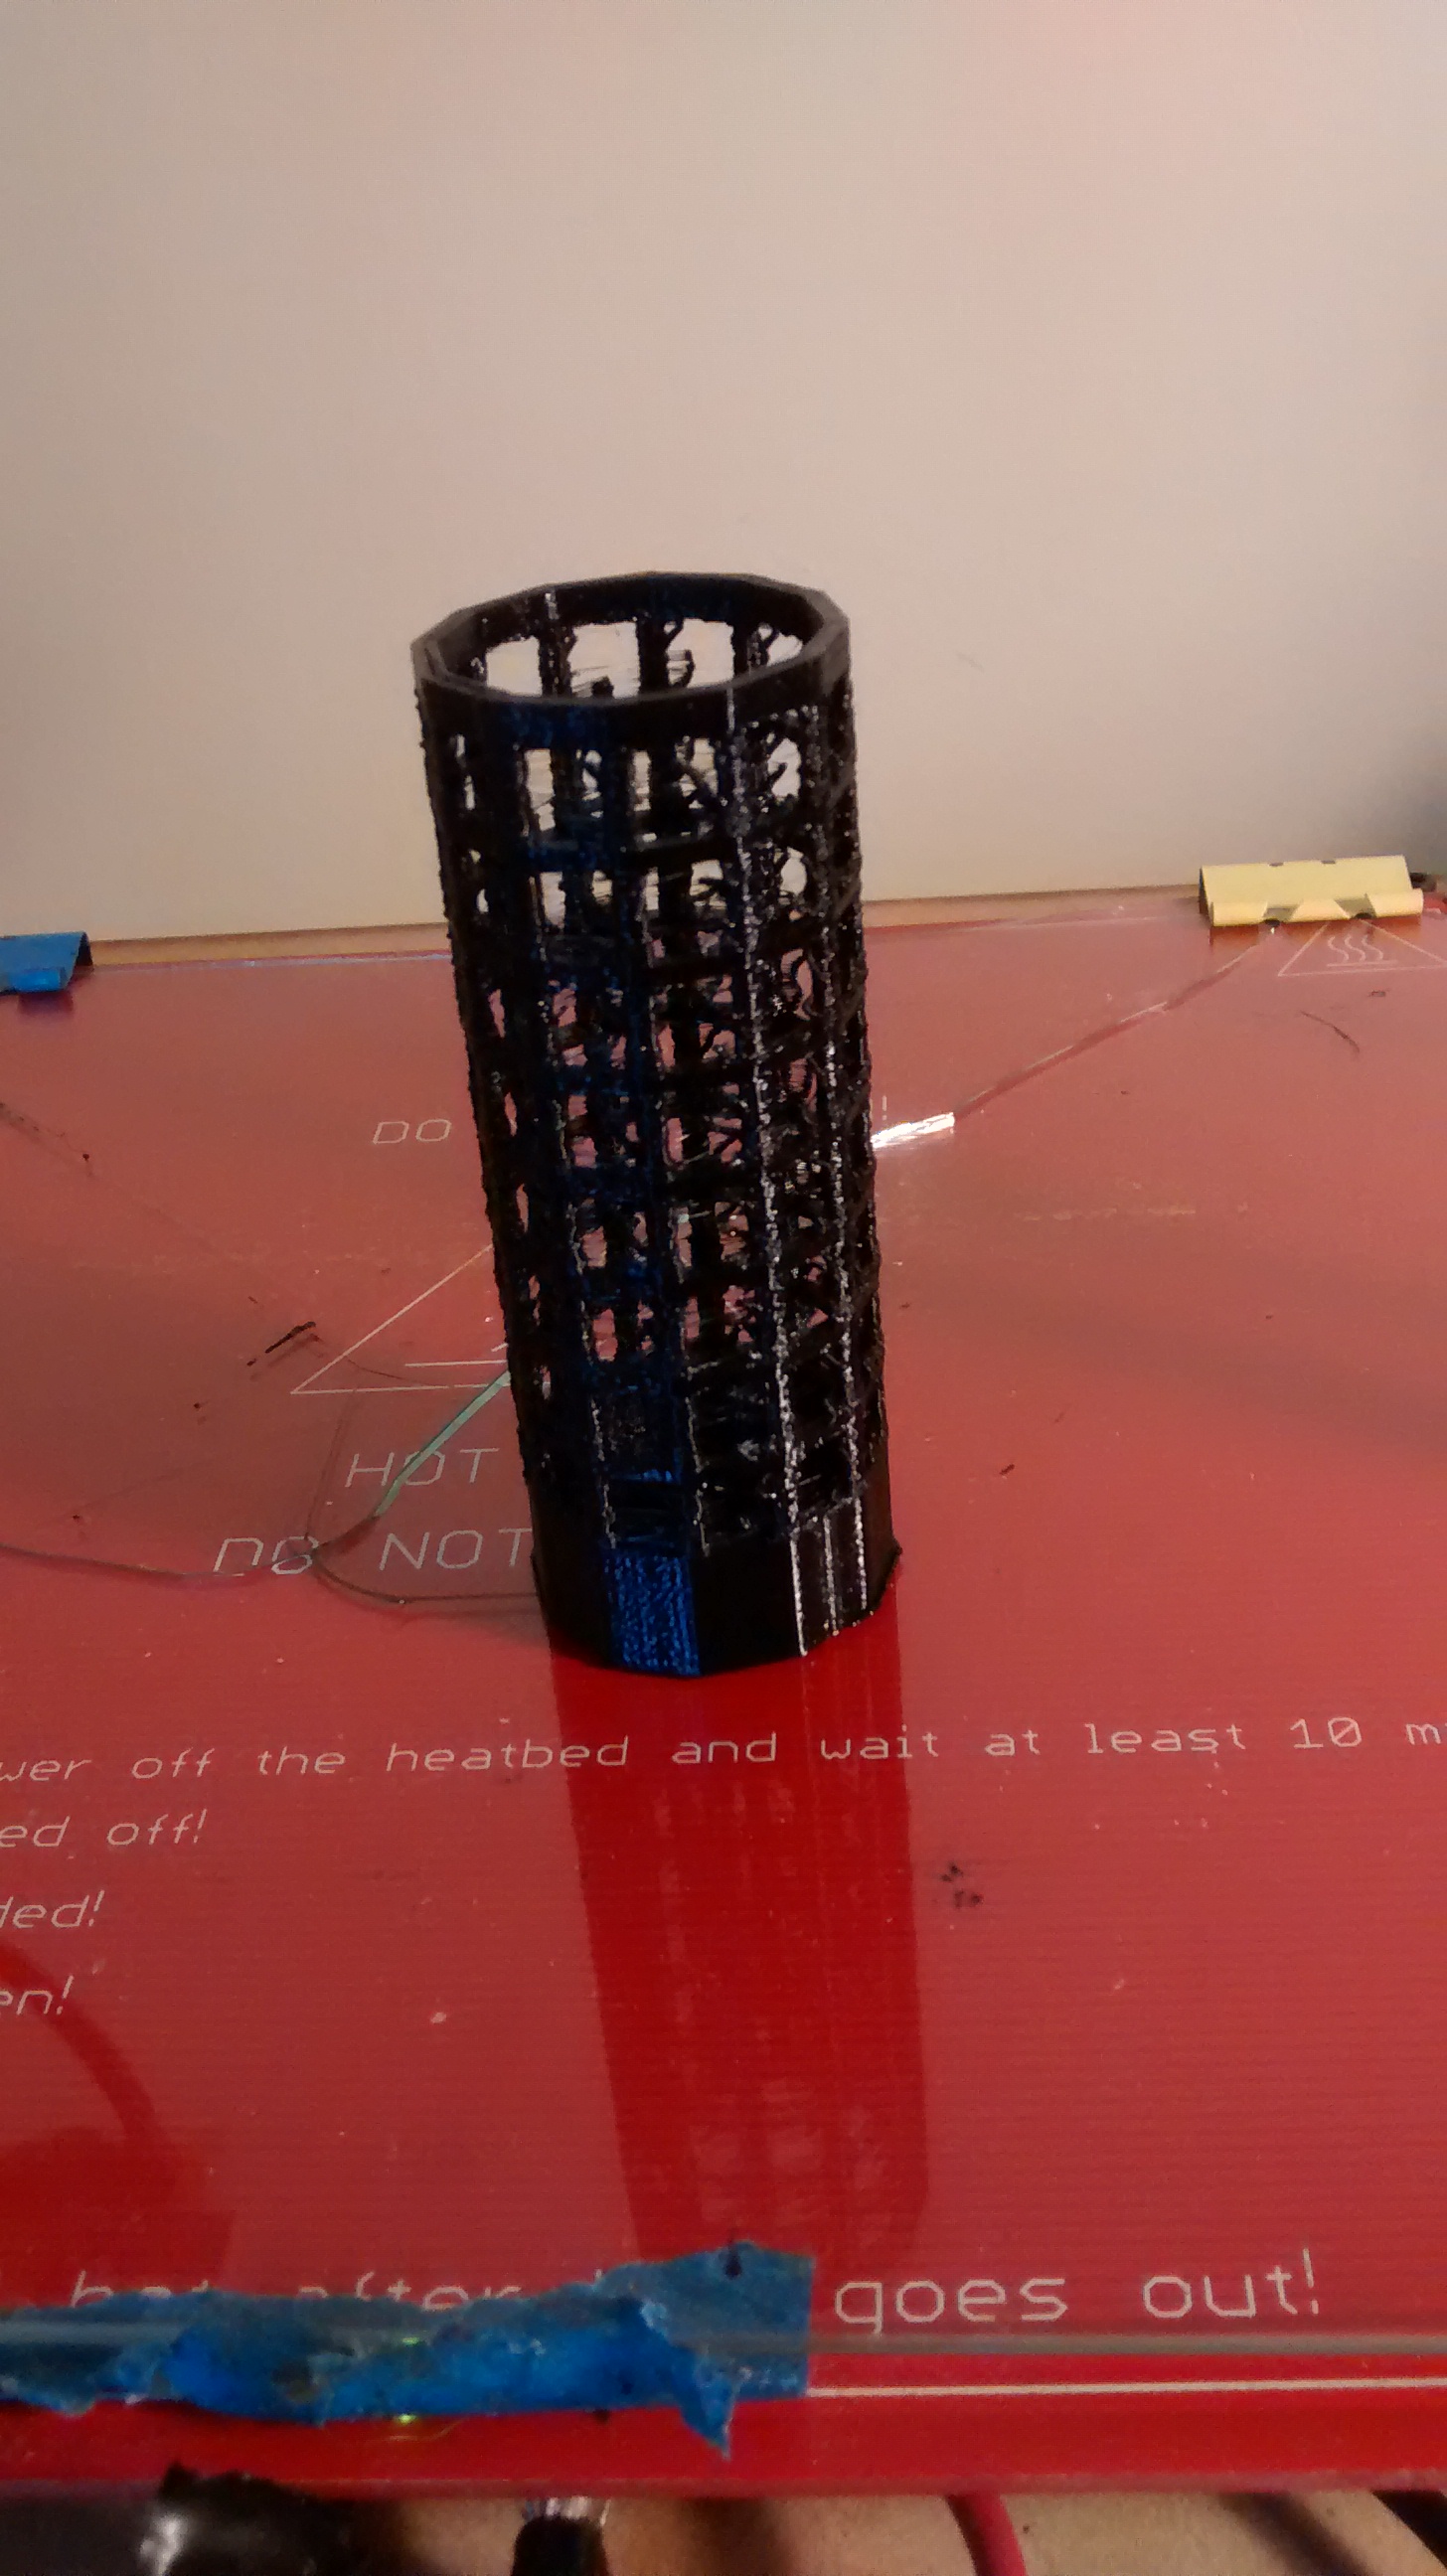
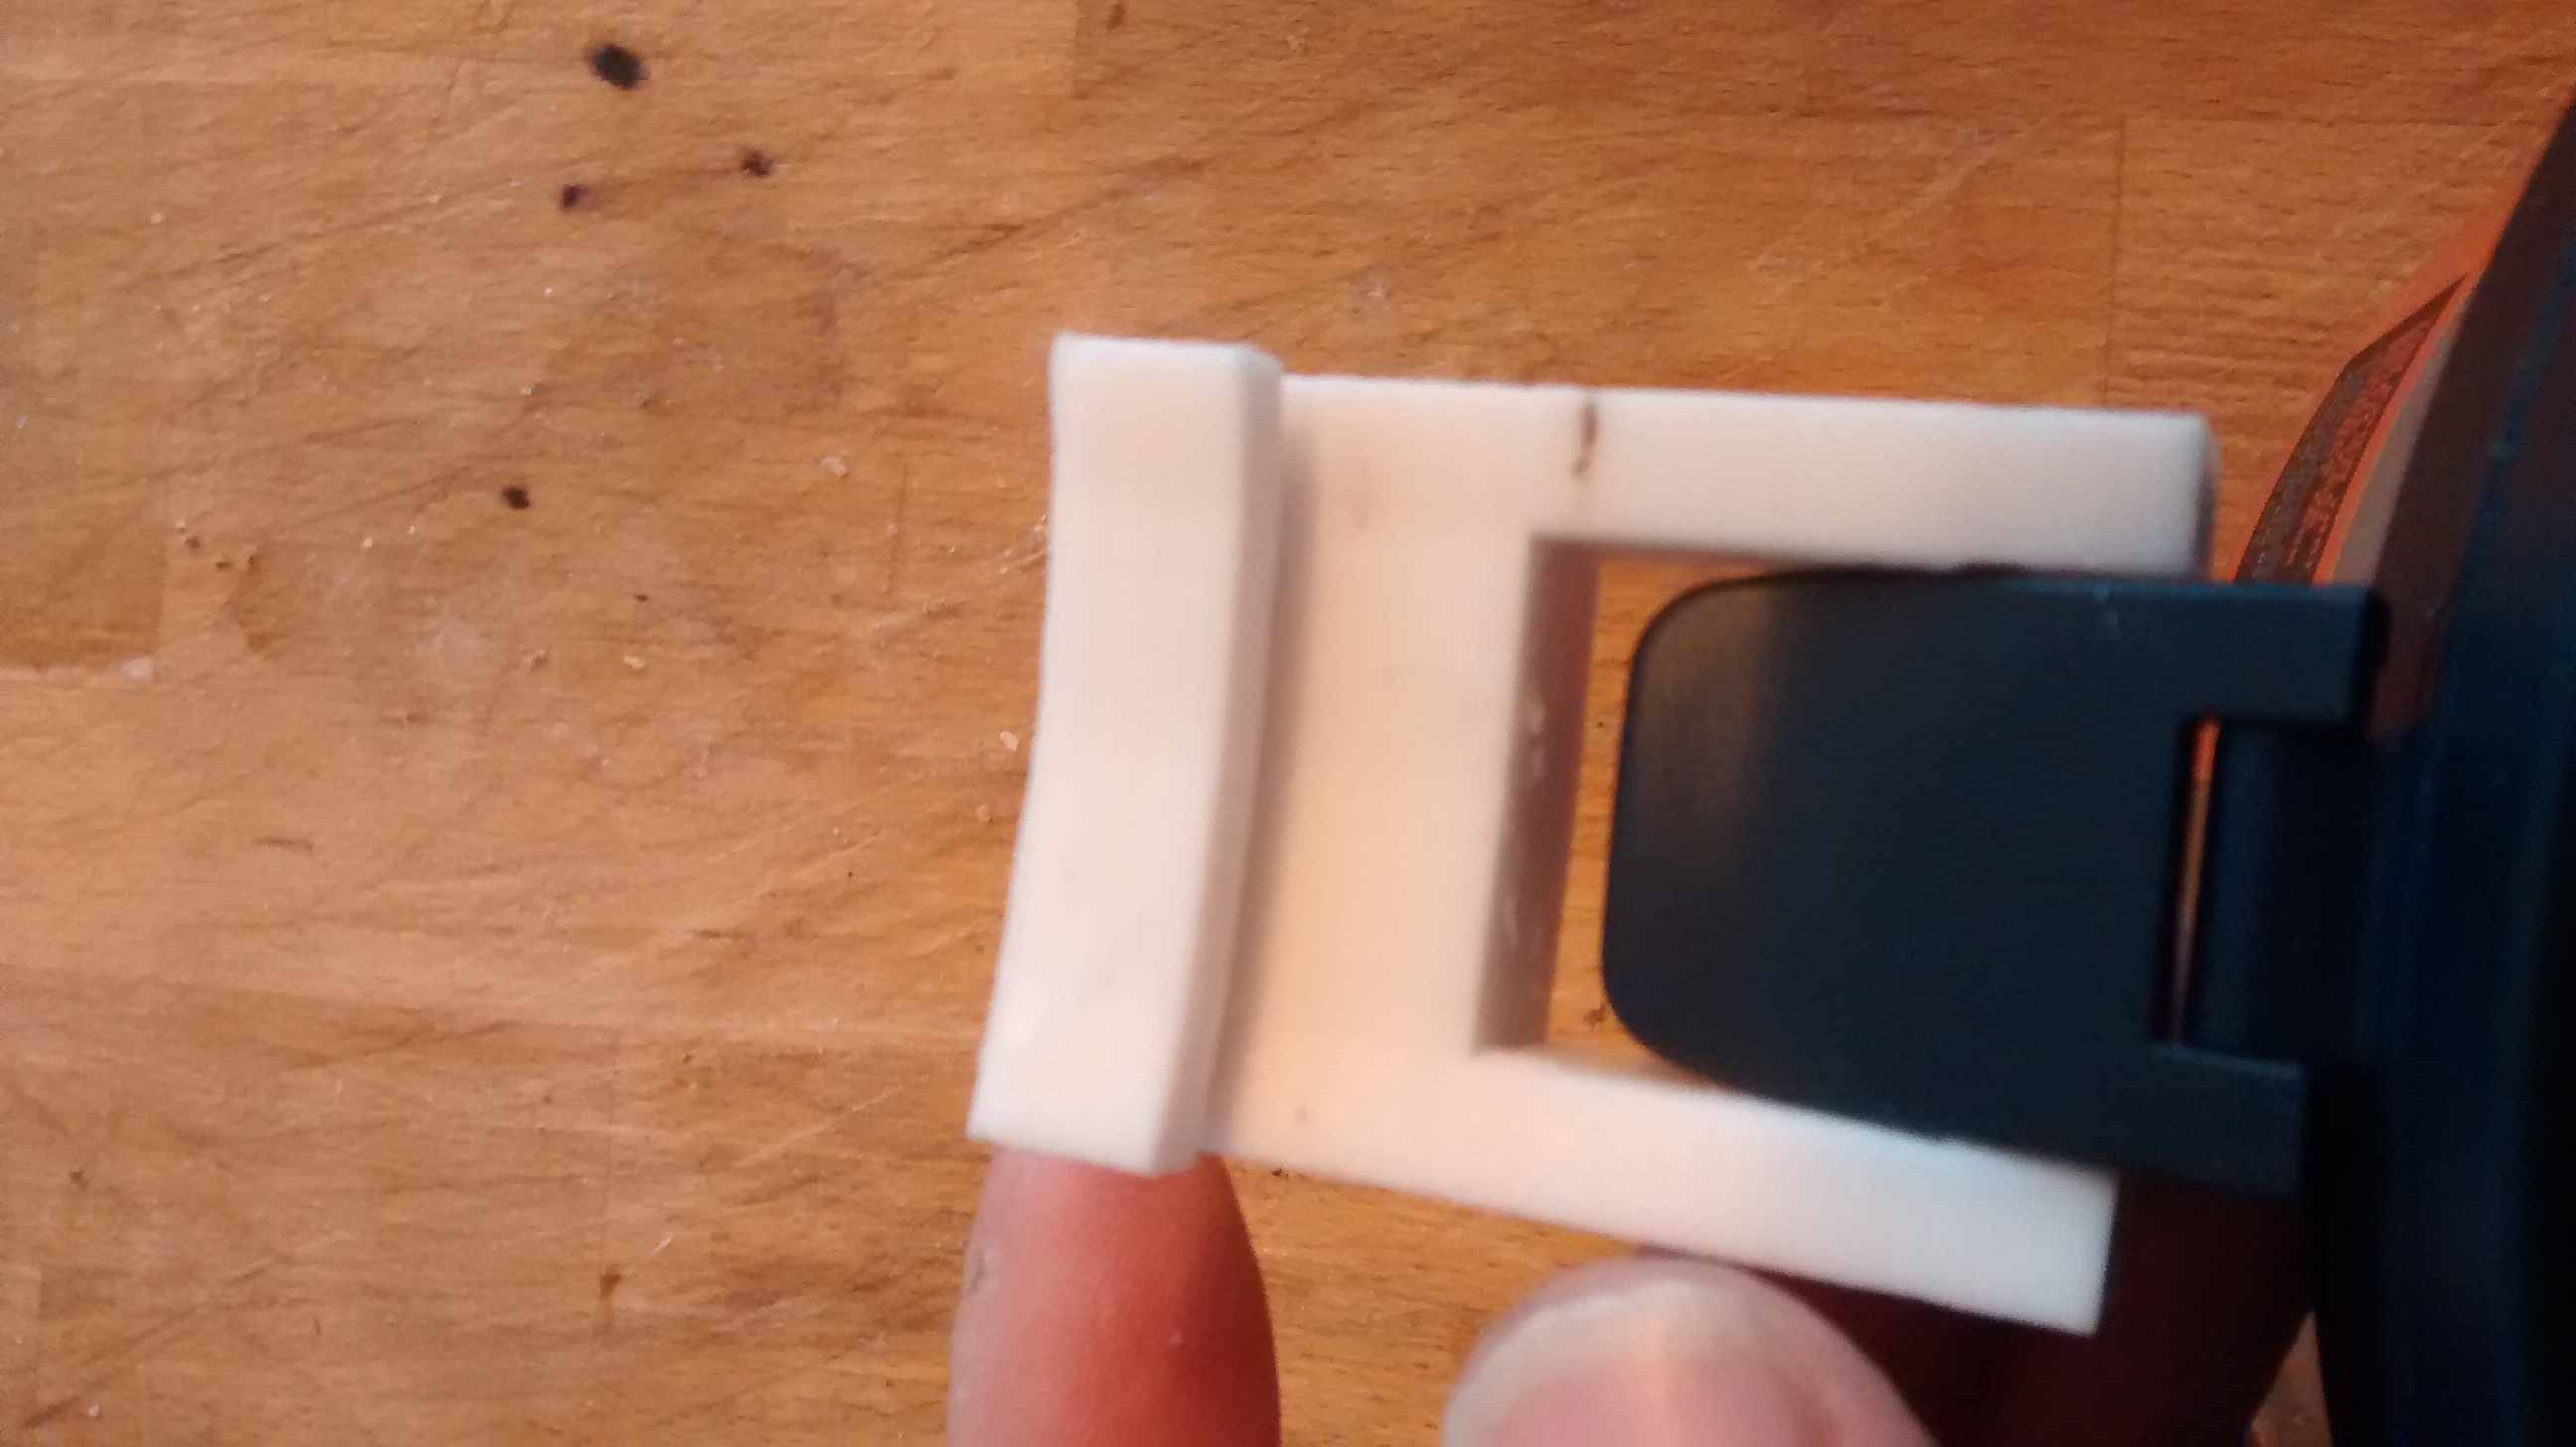
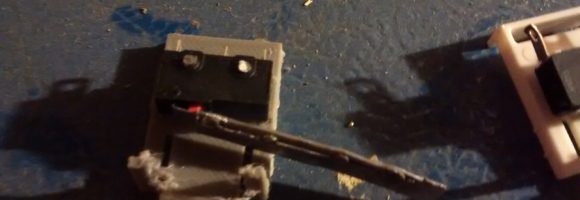
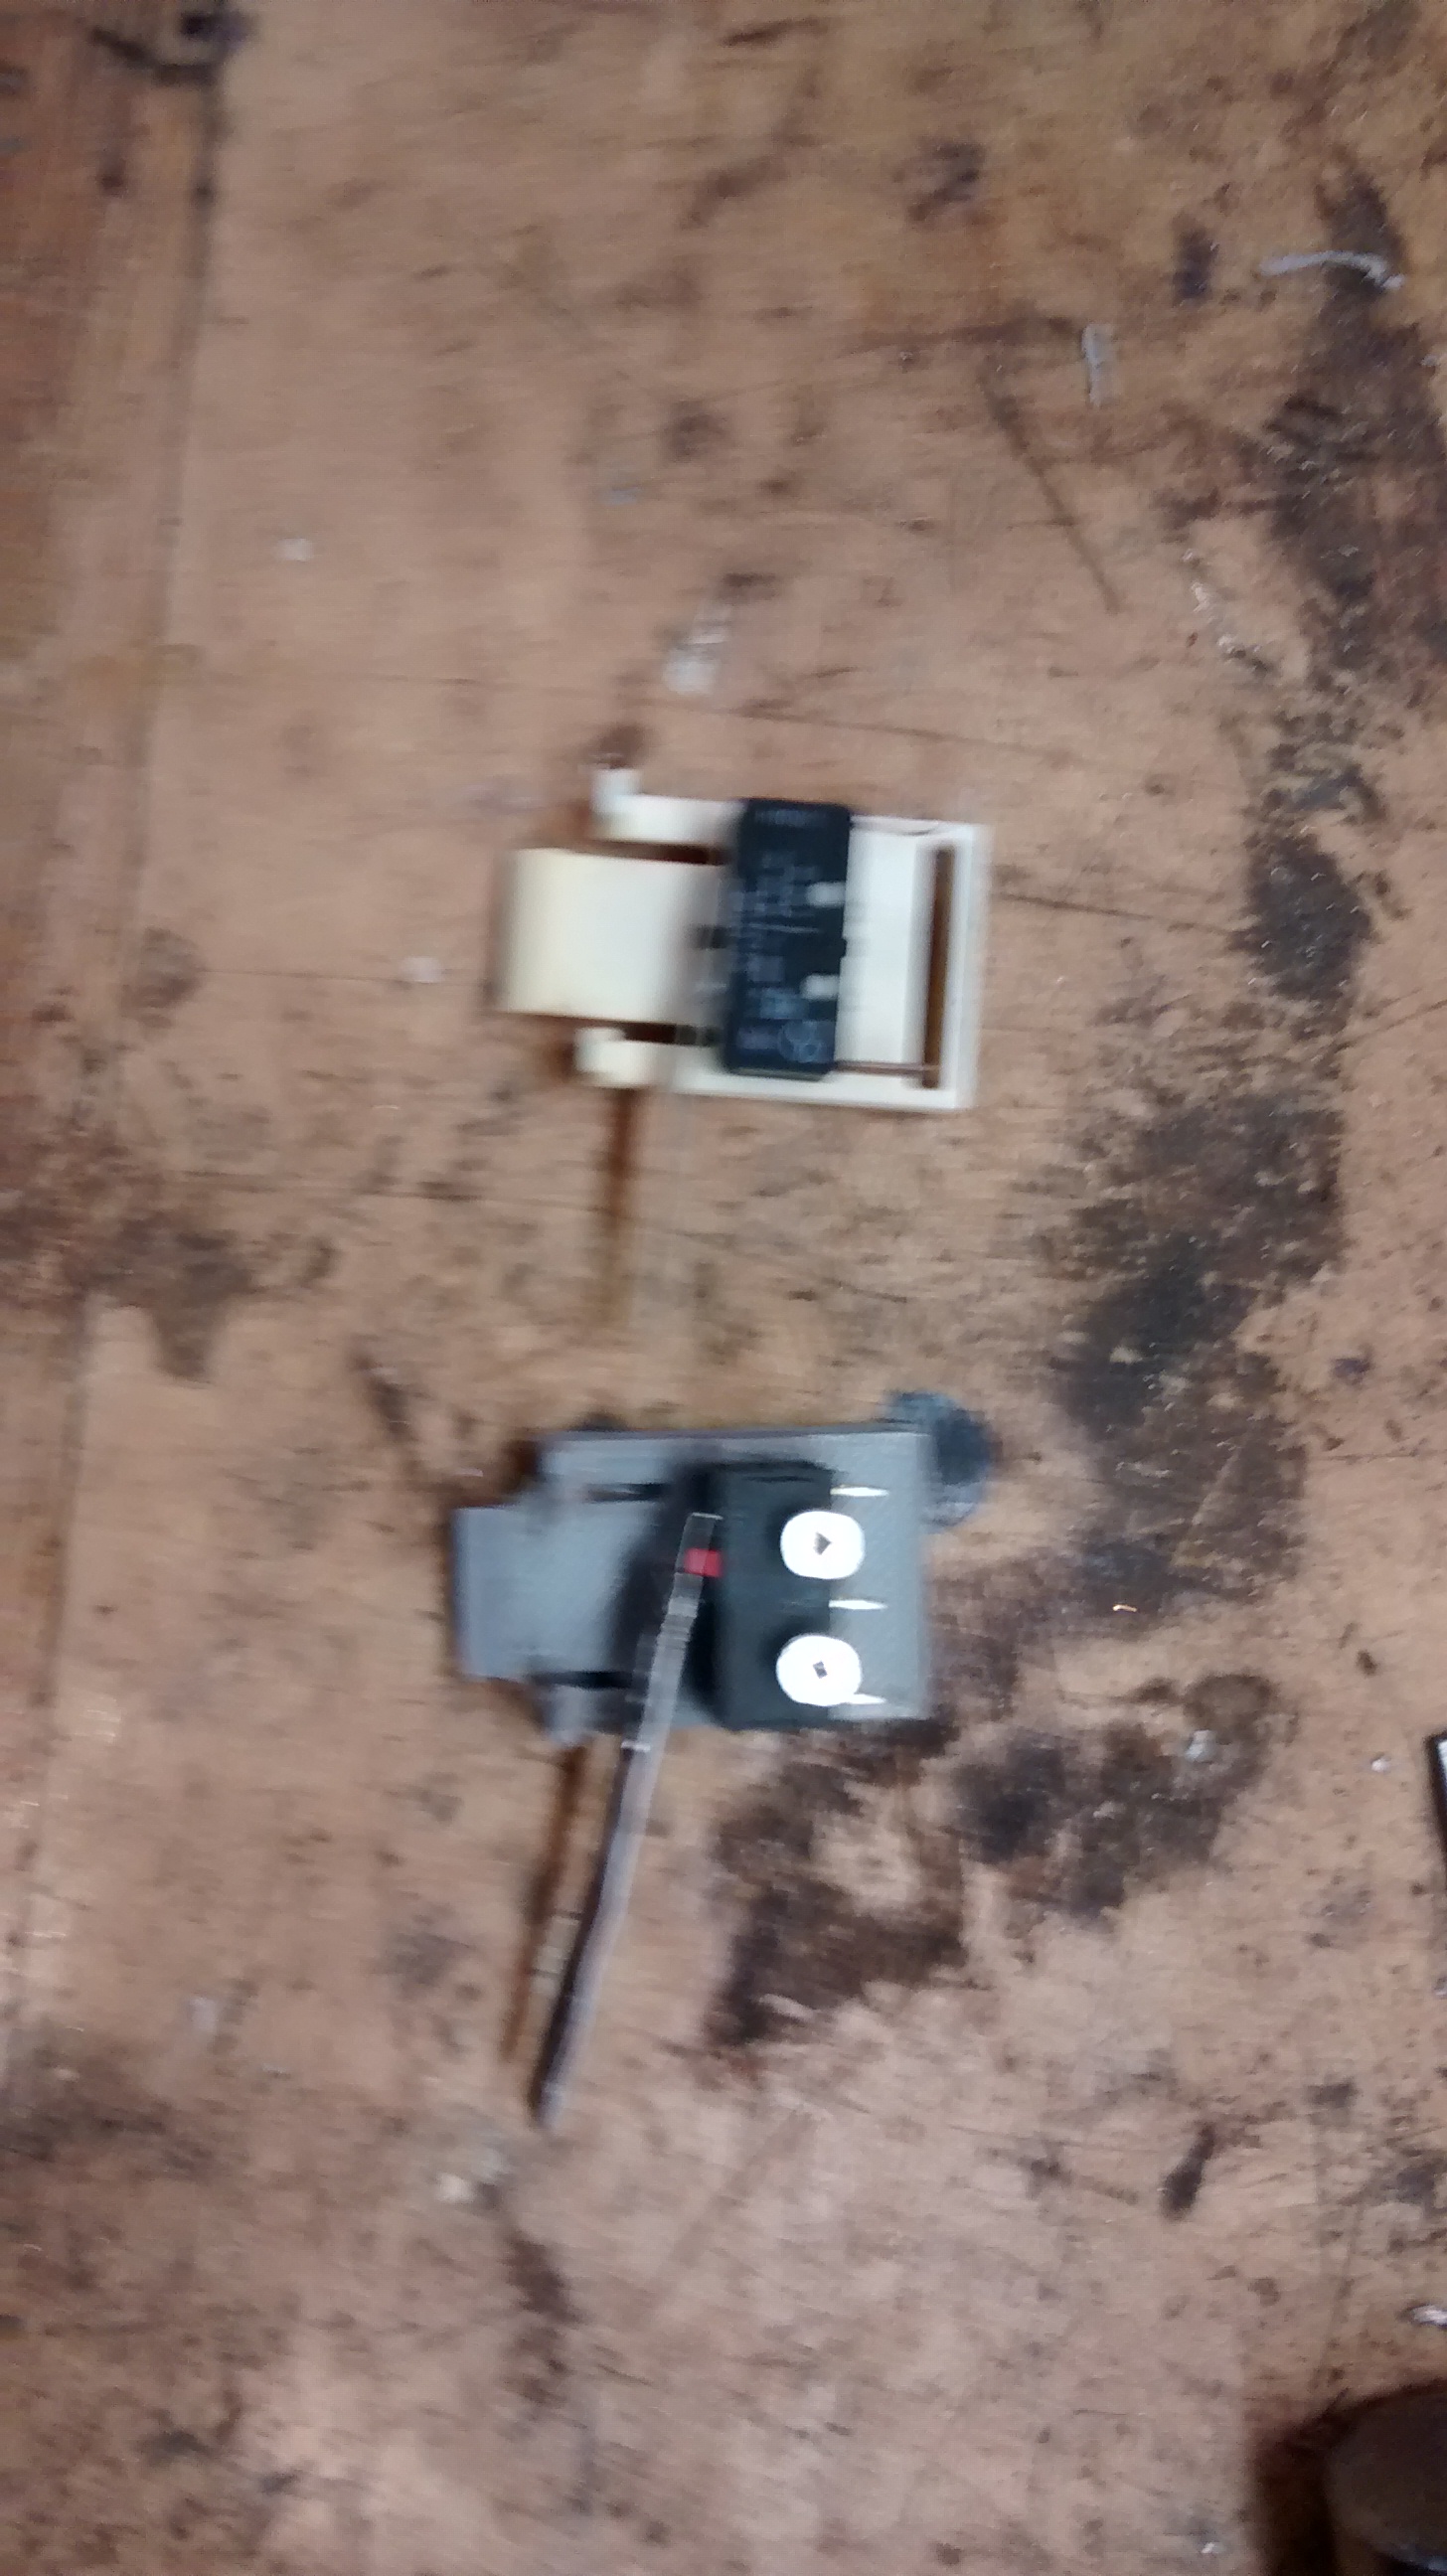
Condensate pump switch mount – old and new

Now a replacement pump costs about $60… but a microswitch is just pennies (however I couldn’t find a replacement for this one – the suggestion just buy a new pump).  I happen to have a bunch on hand for projects – but low and behold they aren’t a replacement.  But fear not,  a bit of scrap metal to extend the arm of the microswitch and a 3D printed mounting plate for the replacement switch sees the pump back up and operational with less than a hour of time invested.

I’m a big fan of acquiring capacity and then leveraging it – not only to make it pay for itself but also to ensure that you as its owner are competent employing it to solve problems.  This was a very simple fix, but it saved about $60 – which goes a long way to paying off a 3D printer.

The STL files are now uploaded the thingverse https://www.thingiverse.com/thing:2754456

By

MPCNC Pen holder

MPCNC Pen holder

MPCNC Pen holder

I’ve recently finished up the construction of the fantastic Mostly Printed CNC.  It looks like it will be a very useful tool and a good compliment to the other tools in my shop.

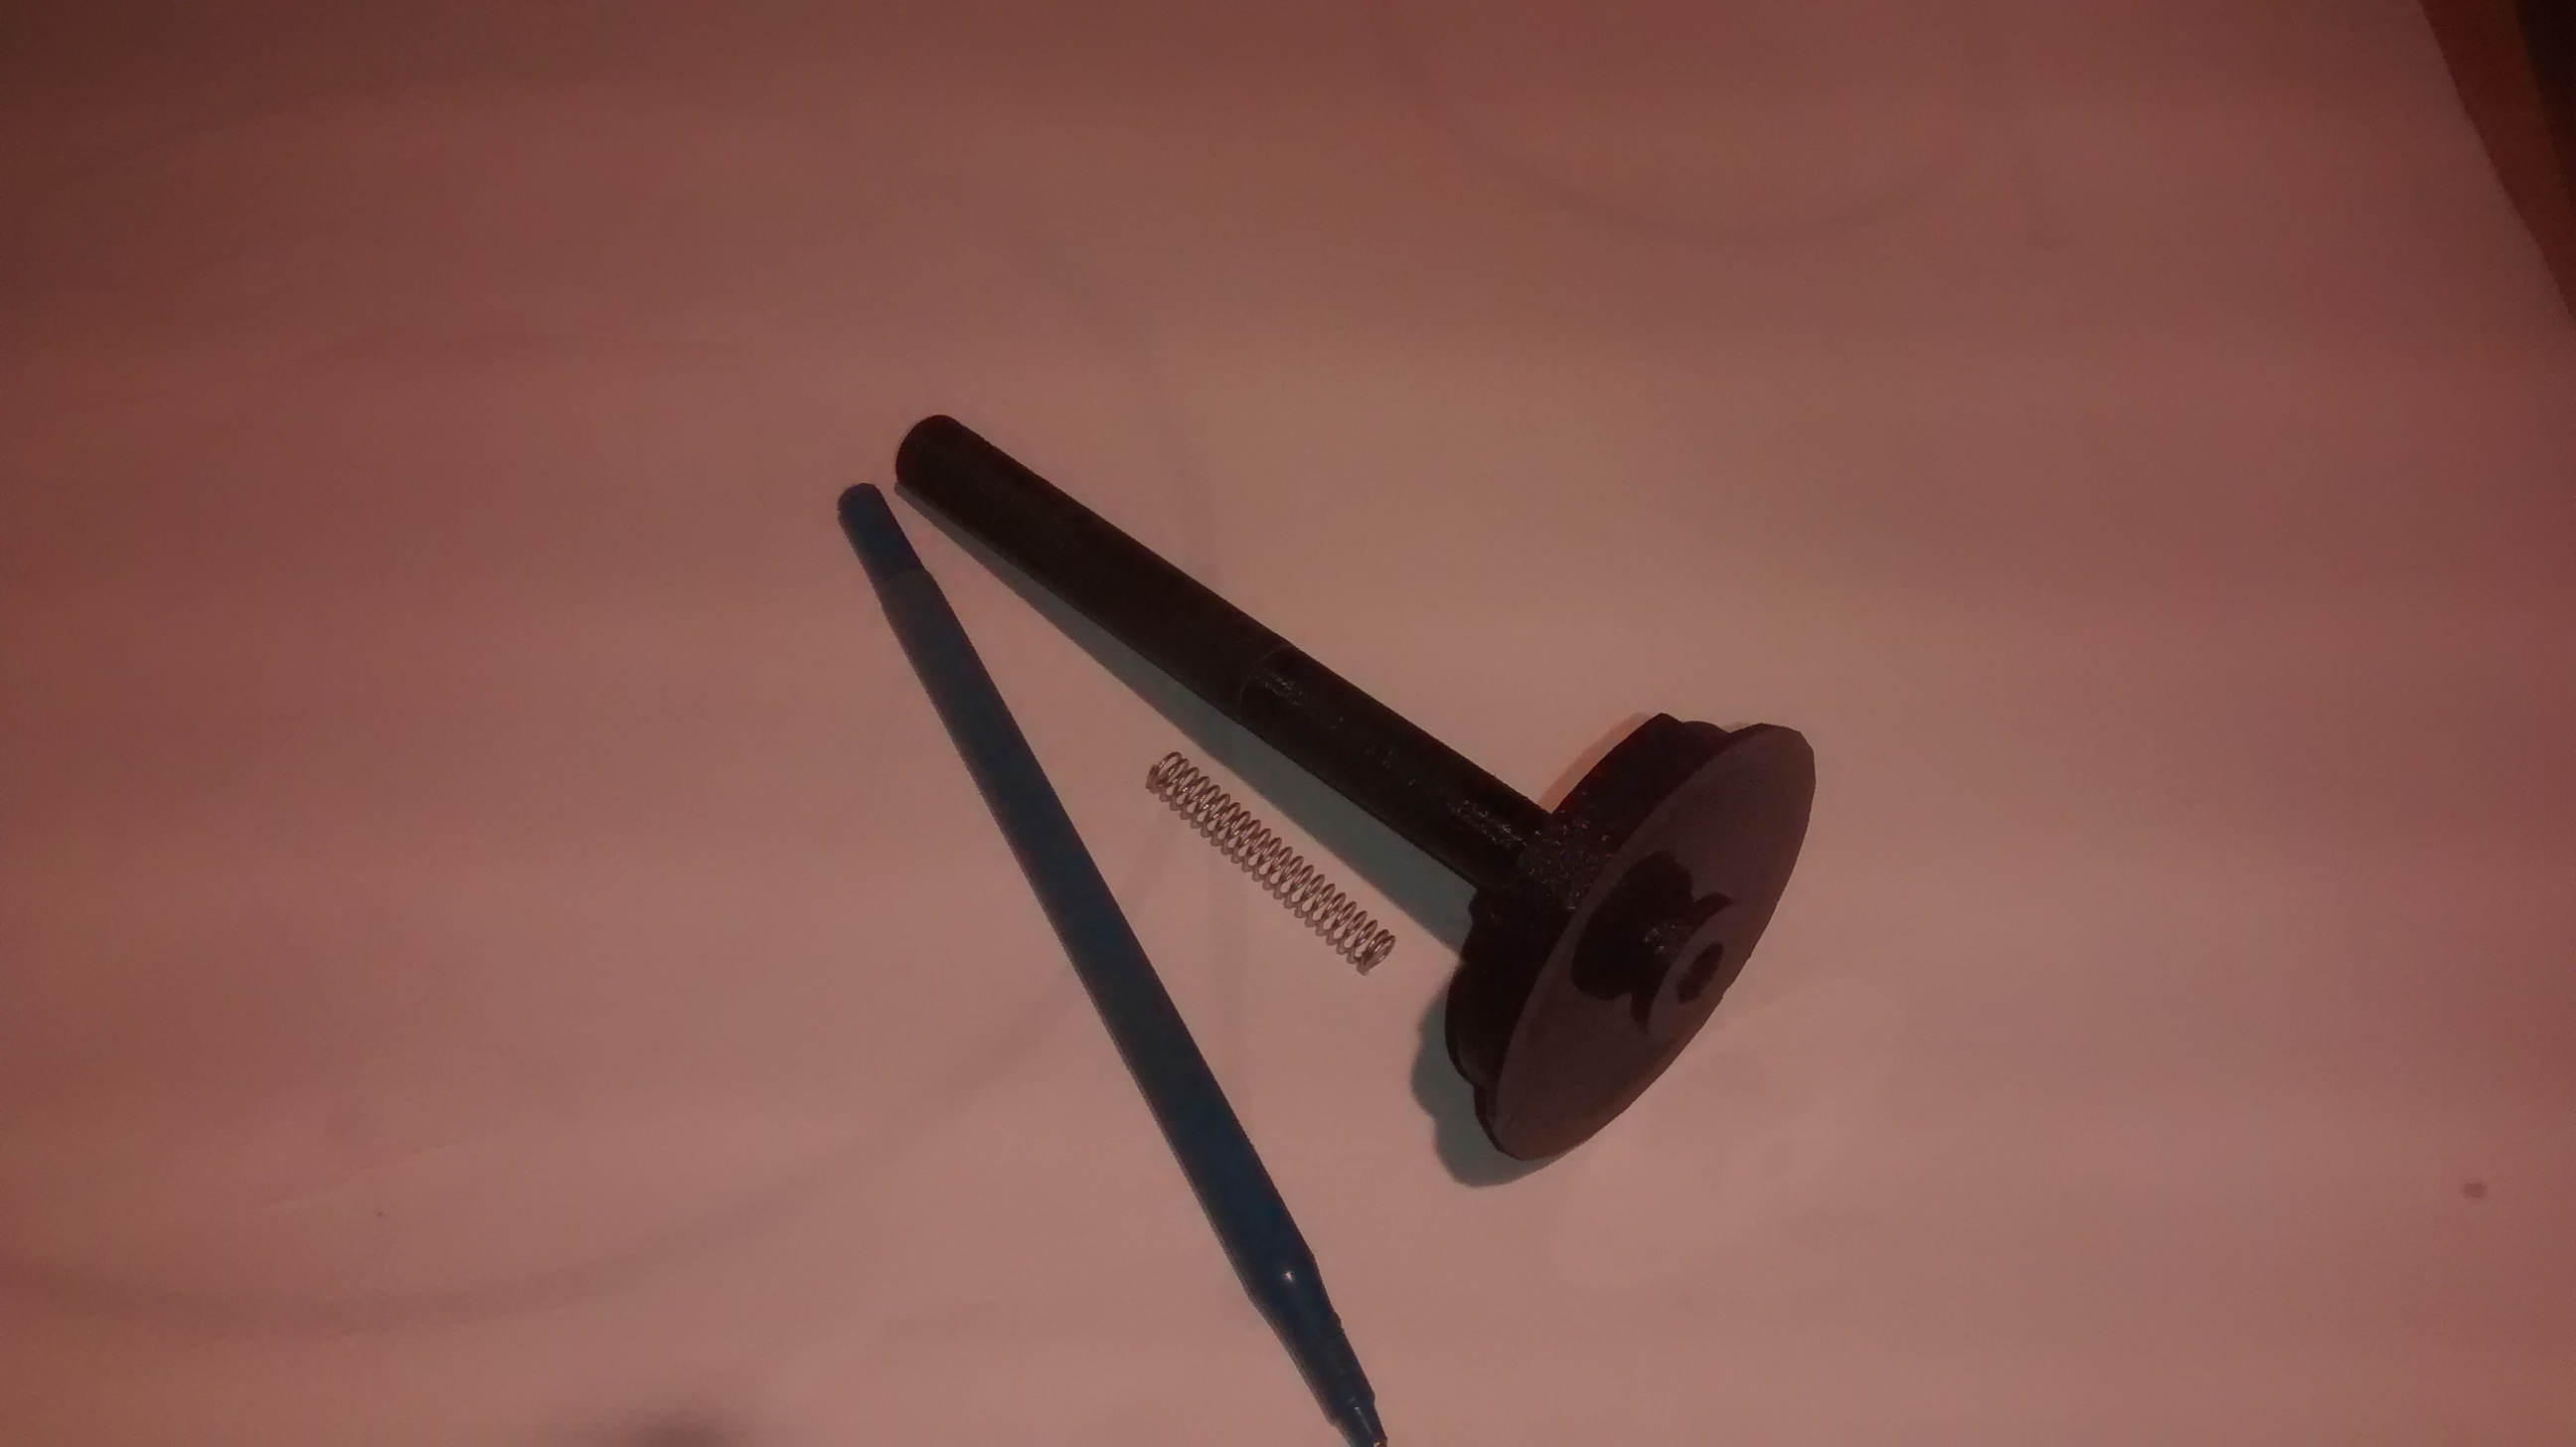
To test it out, as well as to make up large templates, I wanted a good pen holder.  I started out with a MPCNC sharpie holder, and it works great, but the sharpie itself leaves a pretty wide line.  To have the greatest amount of flexibility I designed and printed an adapter that allows a Papermate 1.0 pen to be used in place of the sharpie.

3D printed pen holder in sharpie holder beside pen and spring

3D printed pen holder in sharpie holder beside pen and spring

The STL files are offered both as a single unit as well as one that is split if your printer is height challenged.  In the latter case use some crazy glue to bond the two pieces together and clean the bore up with sandpaper.  I also used a bit of 1/4″ threaded rod to quickly remove any glue flash from the bore of the penholder.

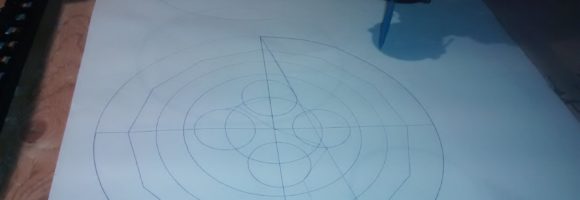
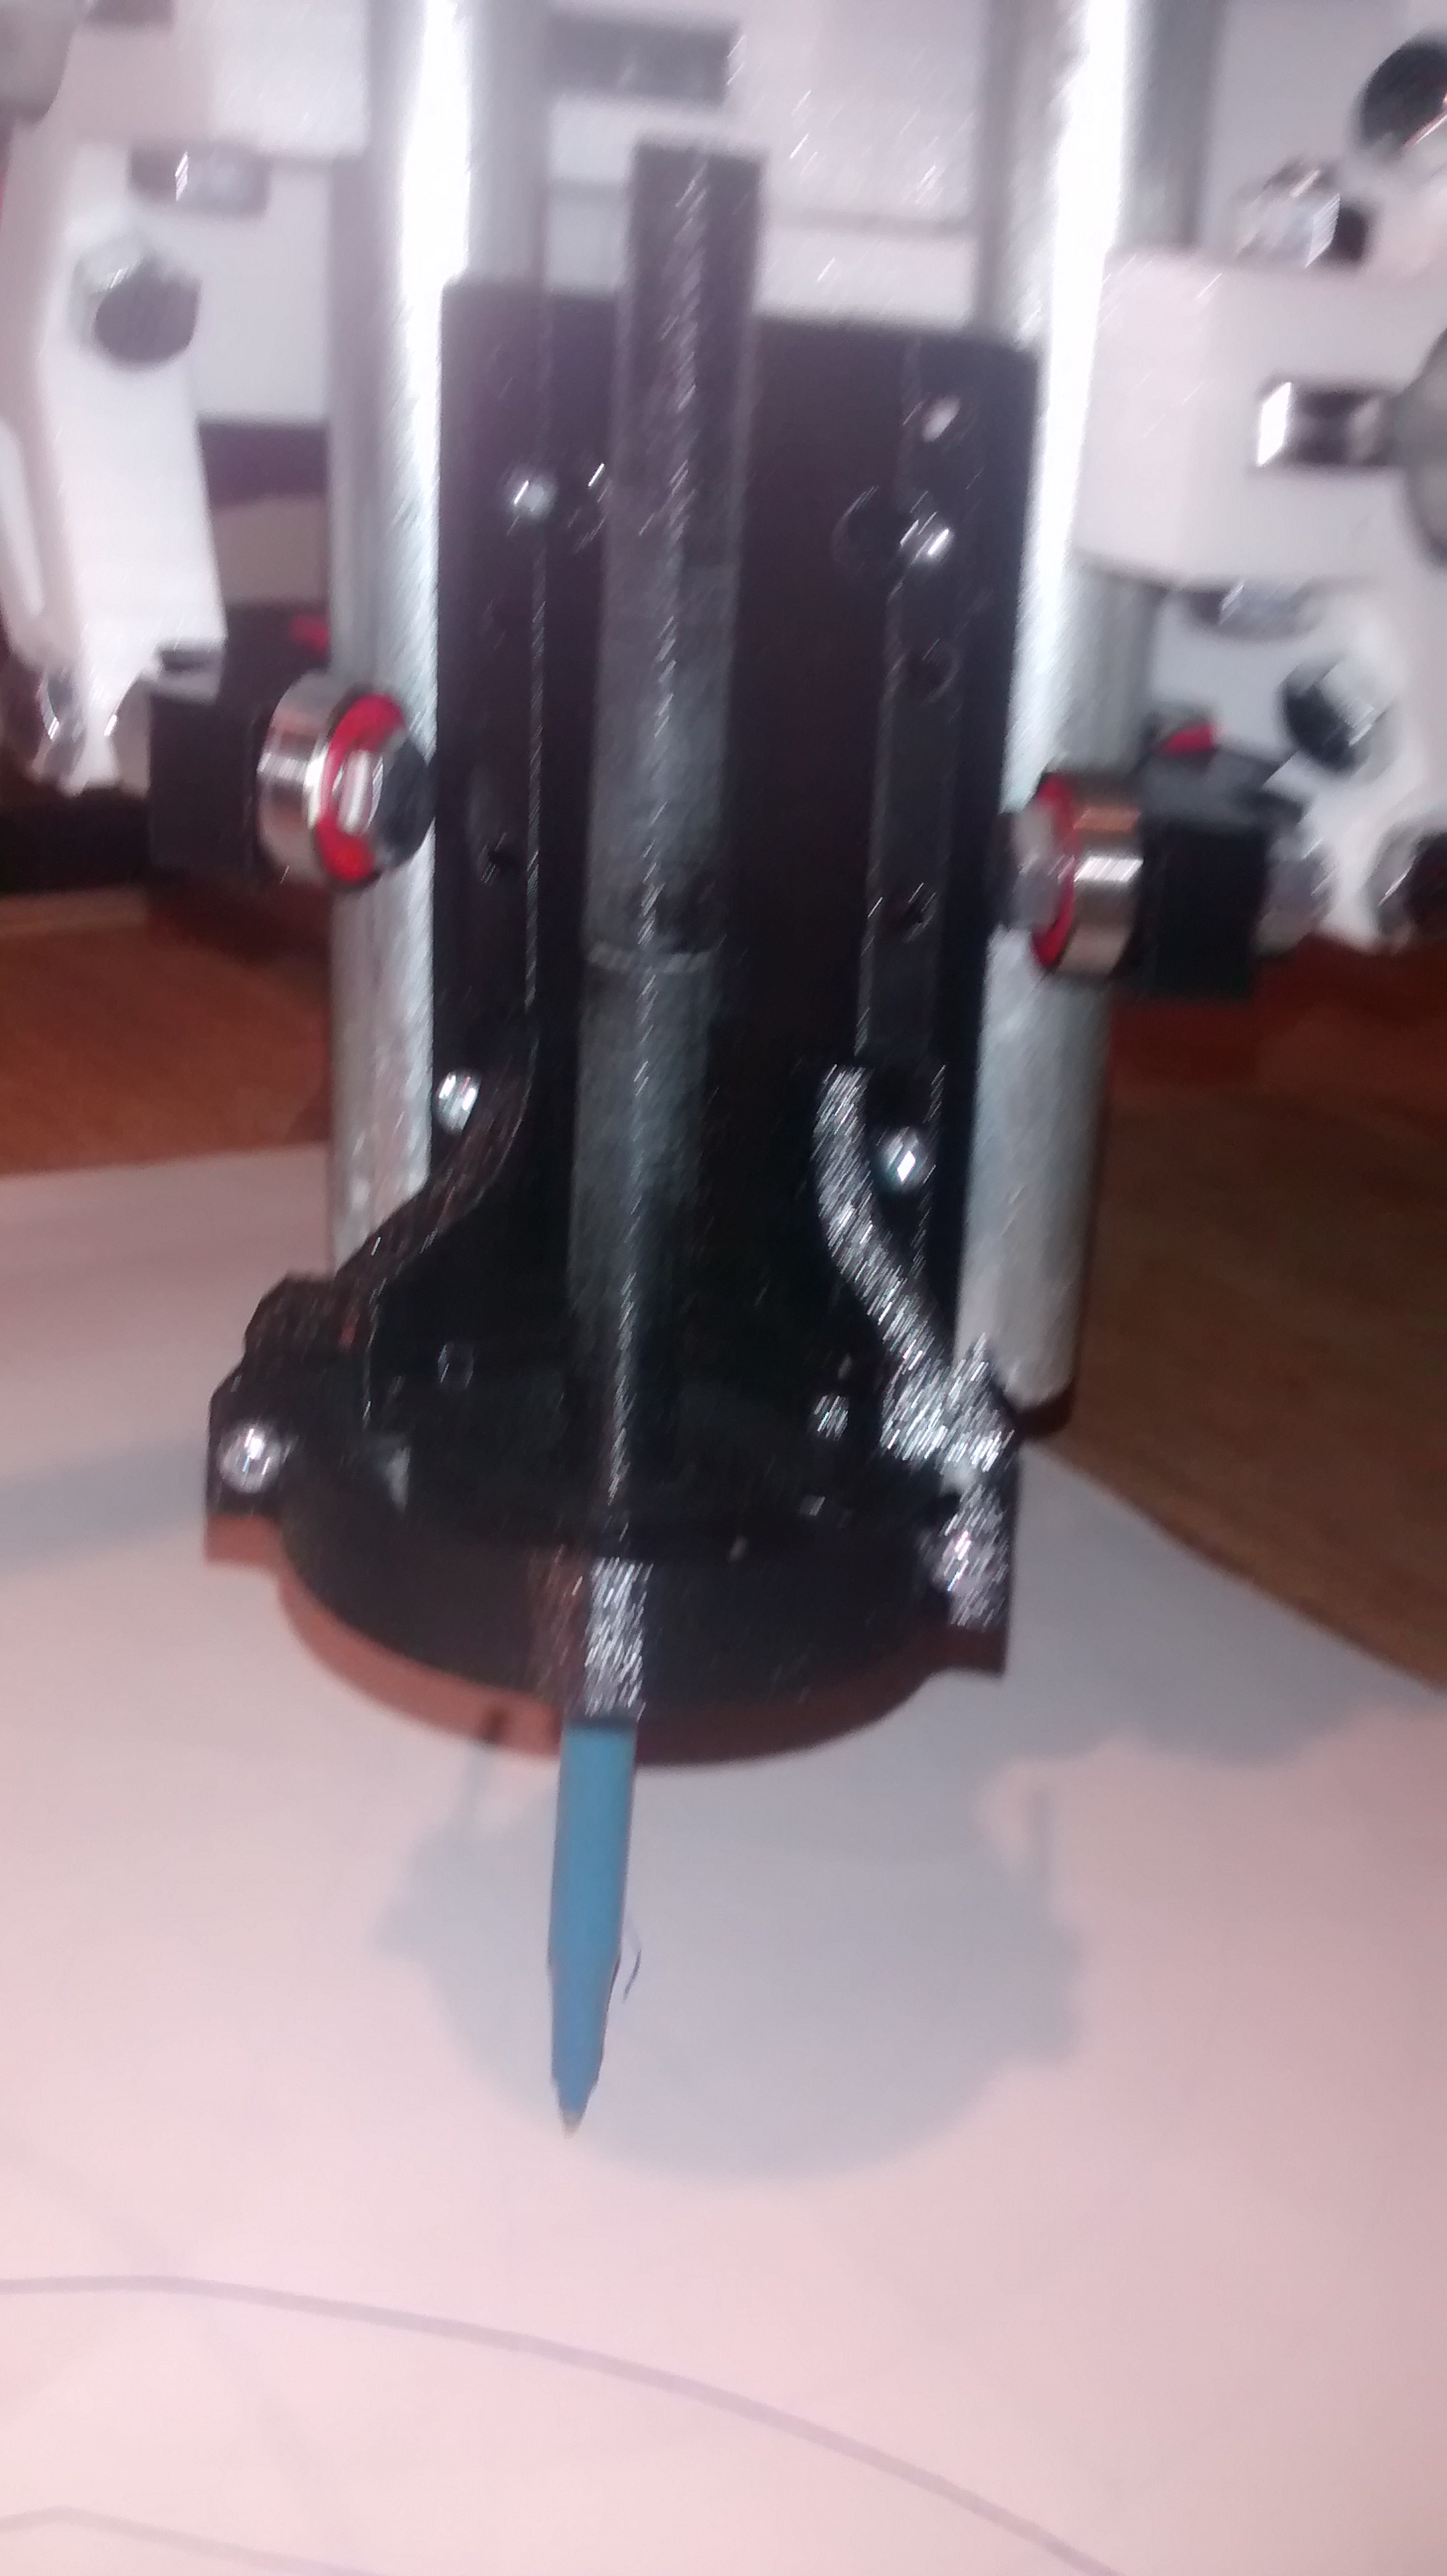
How does it work?  Wonderfully.  The accuracy is spot on – even going over lines already drawn, which is what you’d expect, but when I used a shorter pen holder there was a bit of wobble.  The longer unit works out great as can be seen in the picture.

Now, the one thing this doesn’t do is hold the pen up when the holder is retracted – that means there will be a pen line that follows the tool path. If that is ok for your intended use this is a great bit of kit to add to the MPCNC.

By

Expedient Queen Rearing on Plastic Foundation

I was out in the beeyard looking to find the queen and get her in the nicot to produce some additional queens for splits.  As luck would have it a rainstorm was getting ready to roll in yet again and I couldn’t find her – but I did find a frame with a bunch of eggs and new larvae.

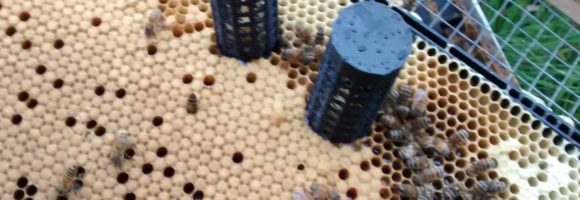
Printed queen cage

Queen cages by 3D Printer

So I ended up setting up the frame for the hopkins method of reporduction – that is orienting it horizontally in the hope of getting some of those cells drawn out and placed it wedged in at the top of one of my hives.  Now I didn’t go to through the effort to go queenless and then queenright or crowd – as I indicated this was last minute.

Now because it was a piece of plastic foundation I knew I wouldn’t be able to cut out the drawn out cells – so I ended up designing and 3d printing cages designed to protect the cells and trap the virgins as they hatched out.

The worked well enough to be an ok backup if you find yourself in a similar spot.

You can find the STL file on Thingverse.


By

A Best Buy French Fry Cutter

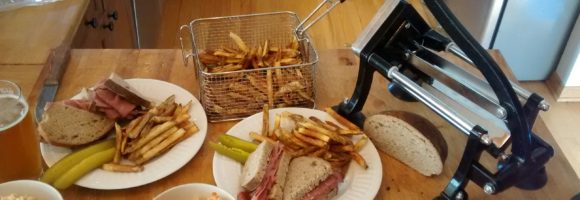
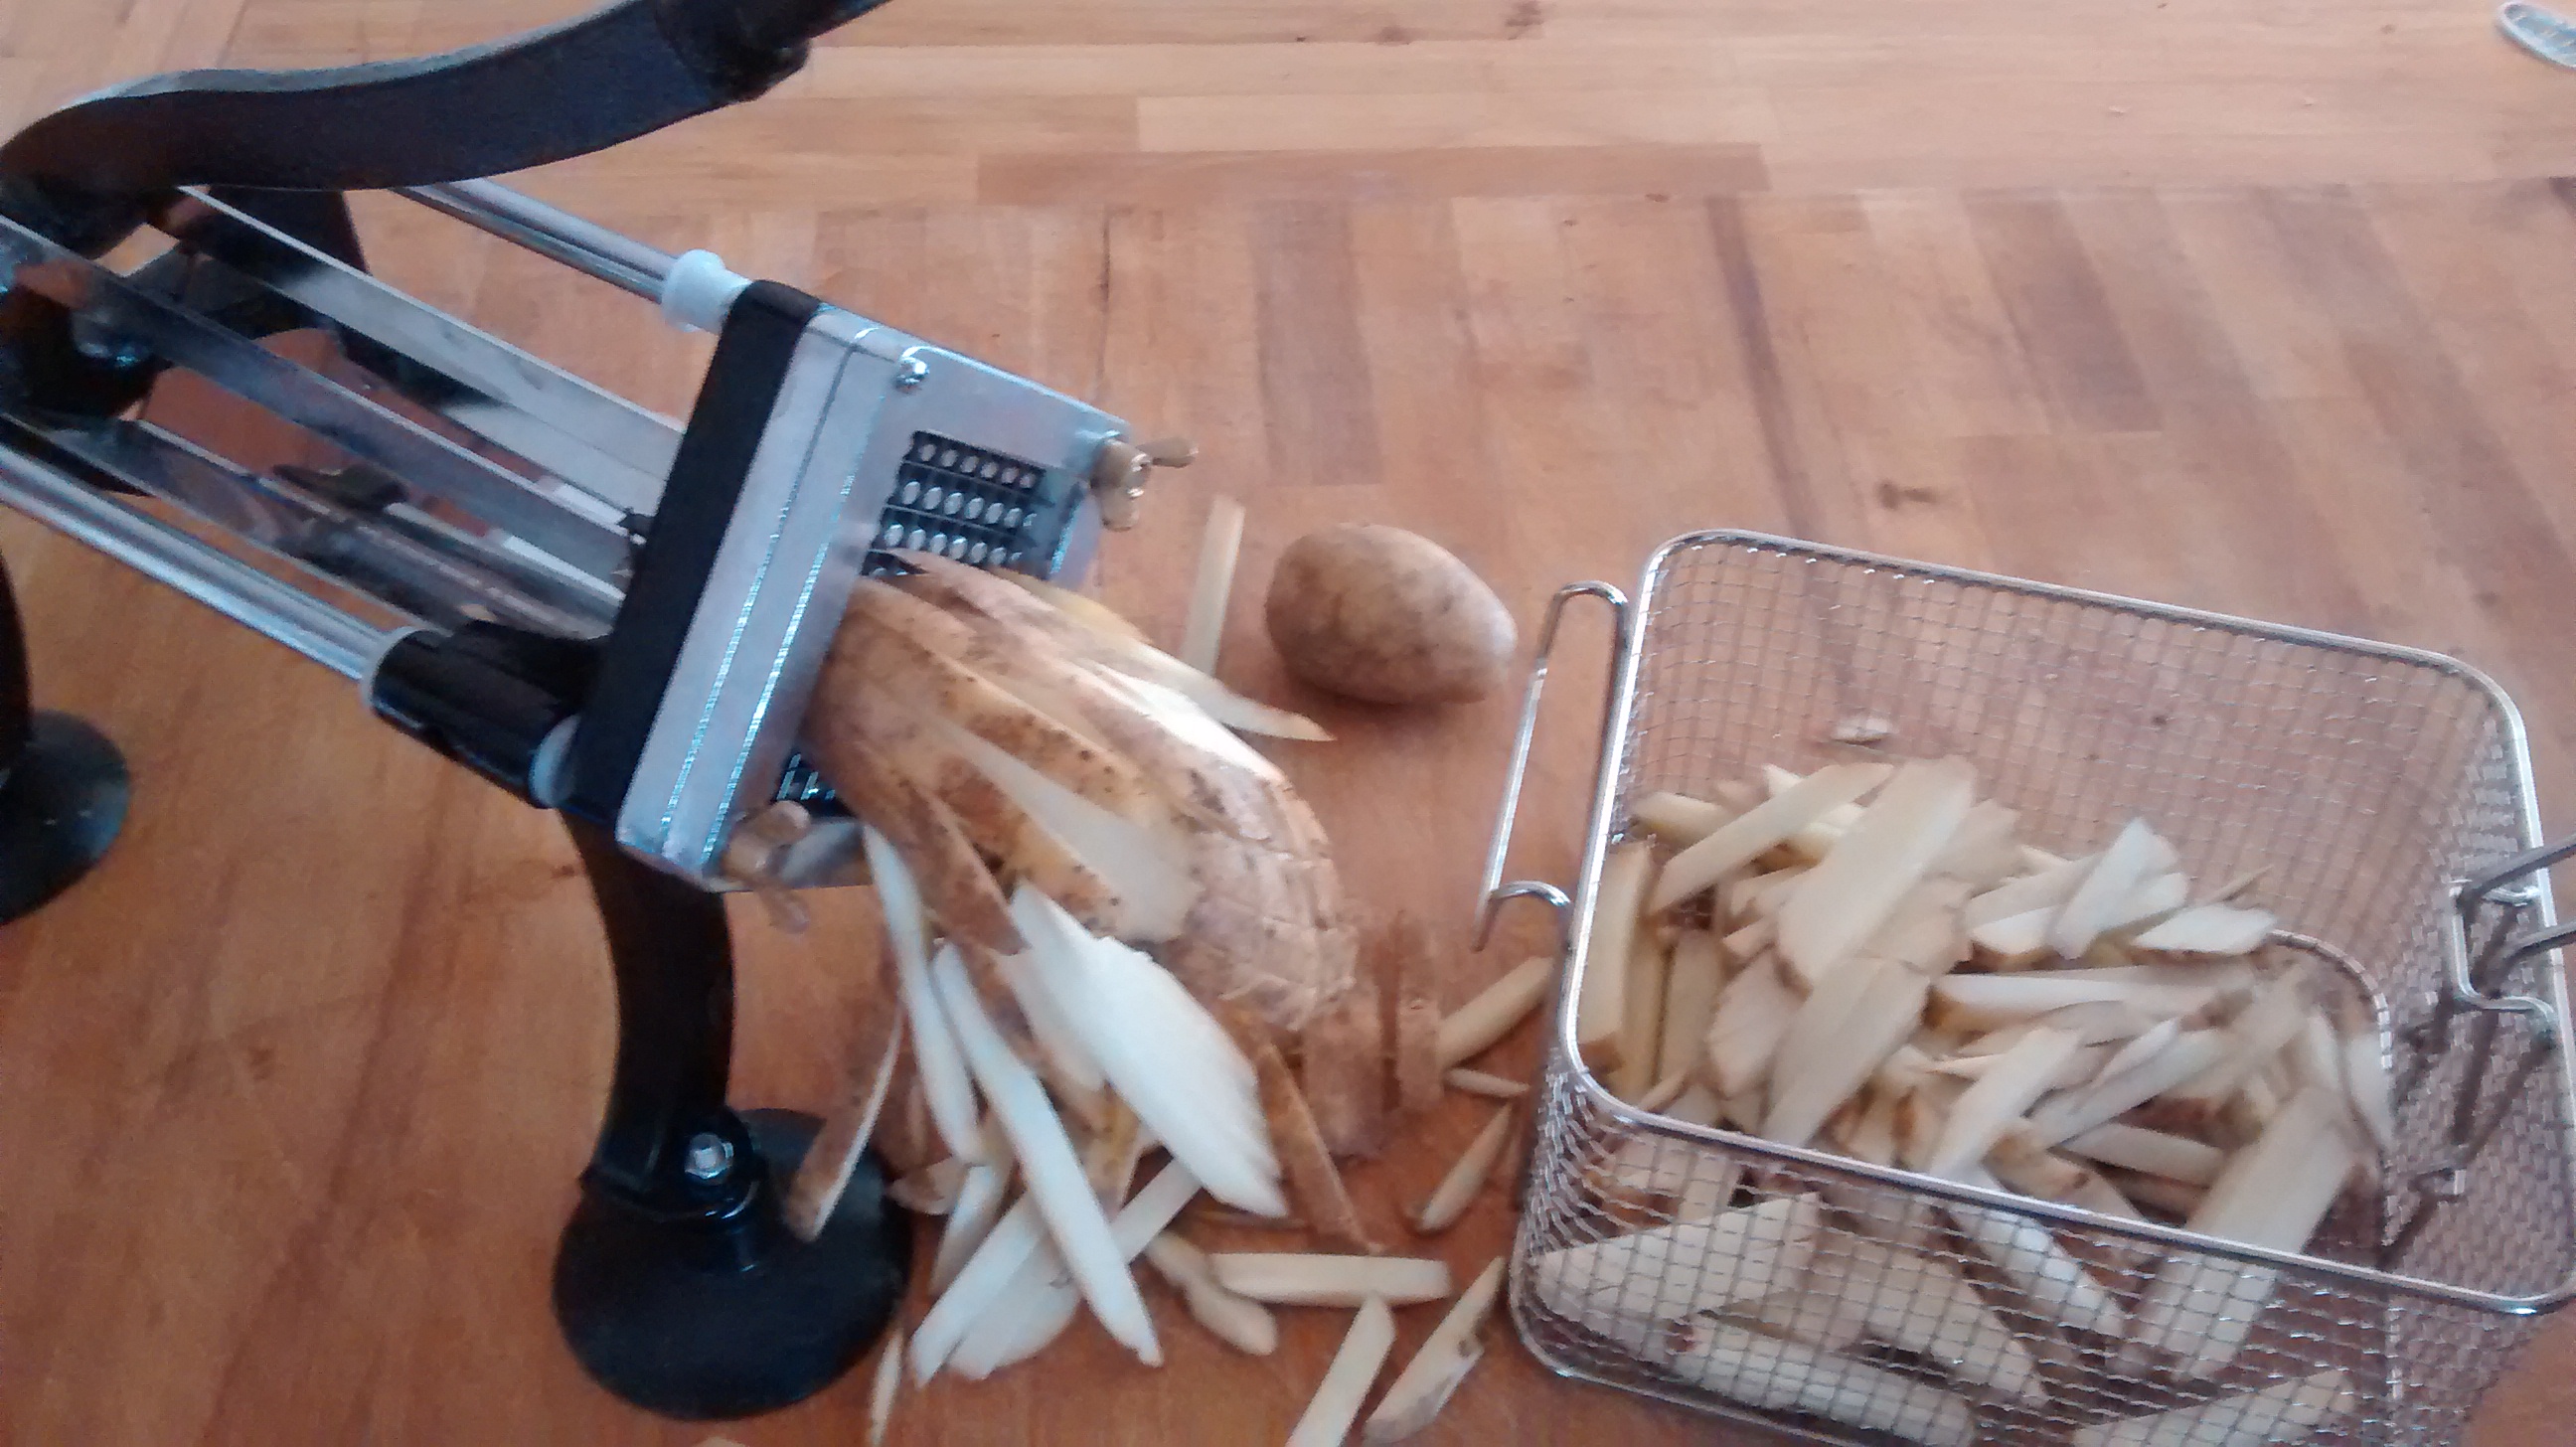
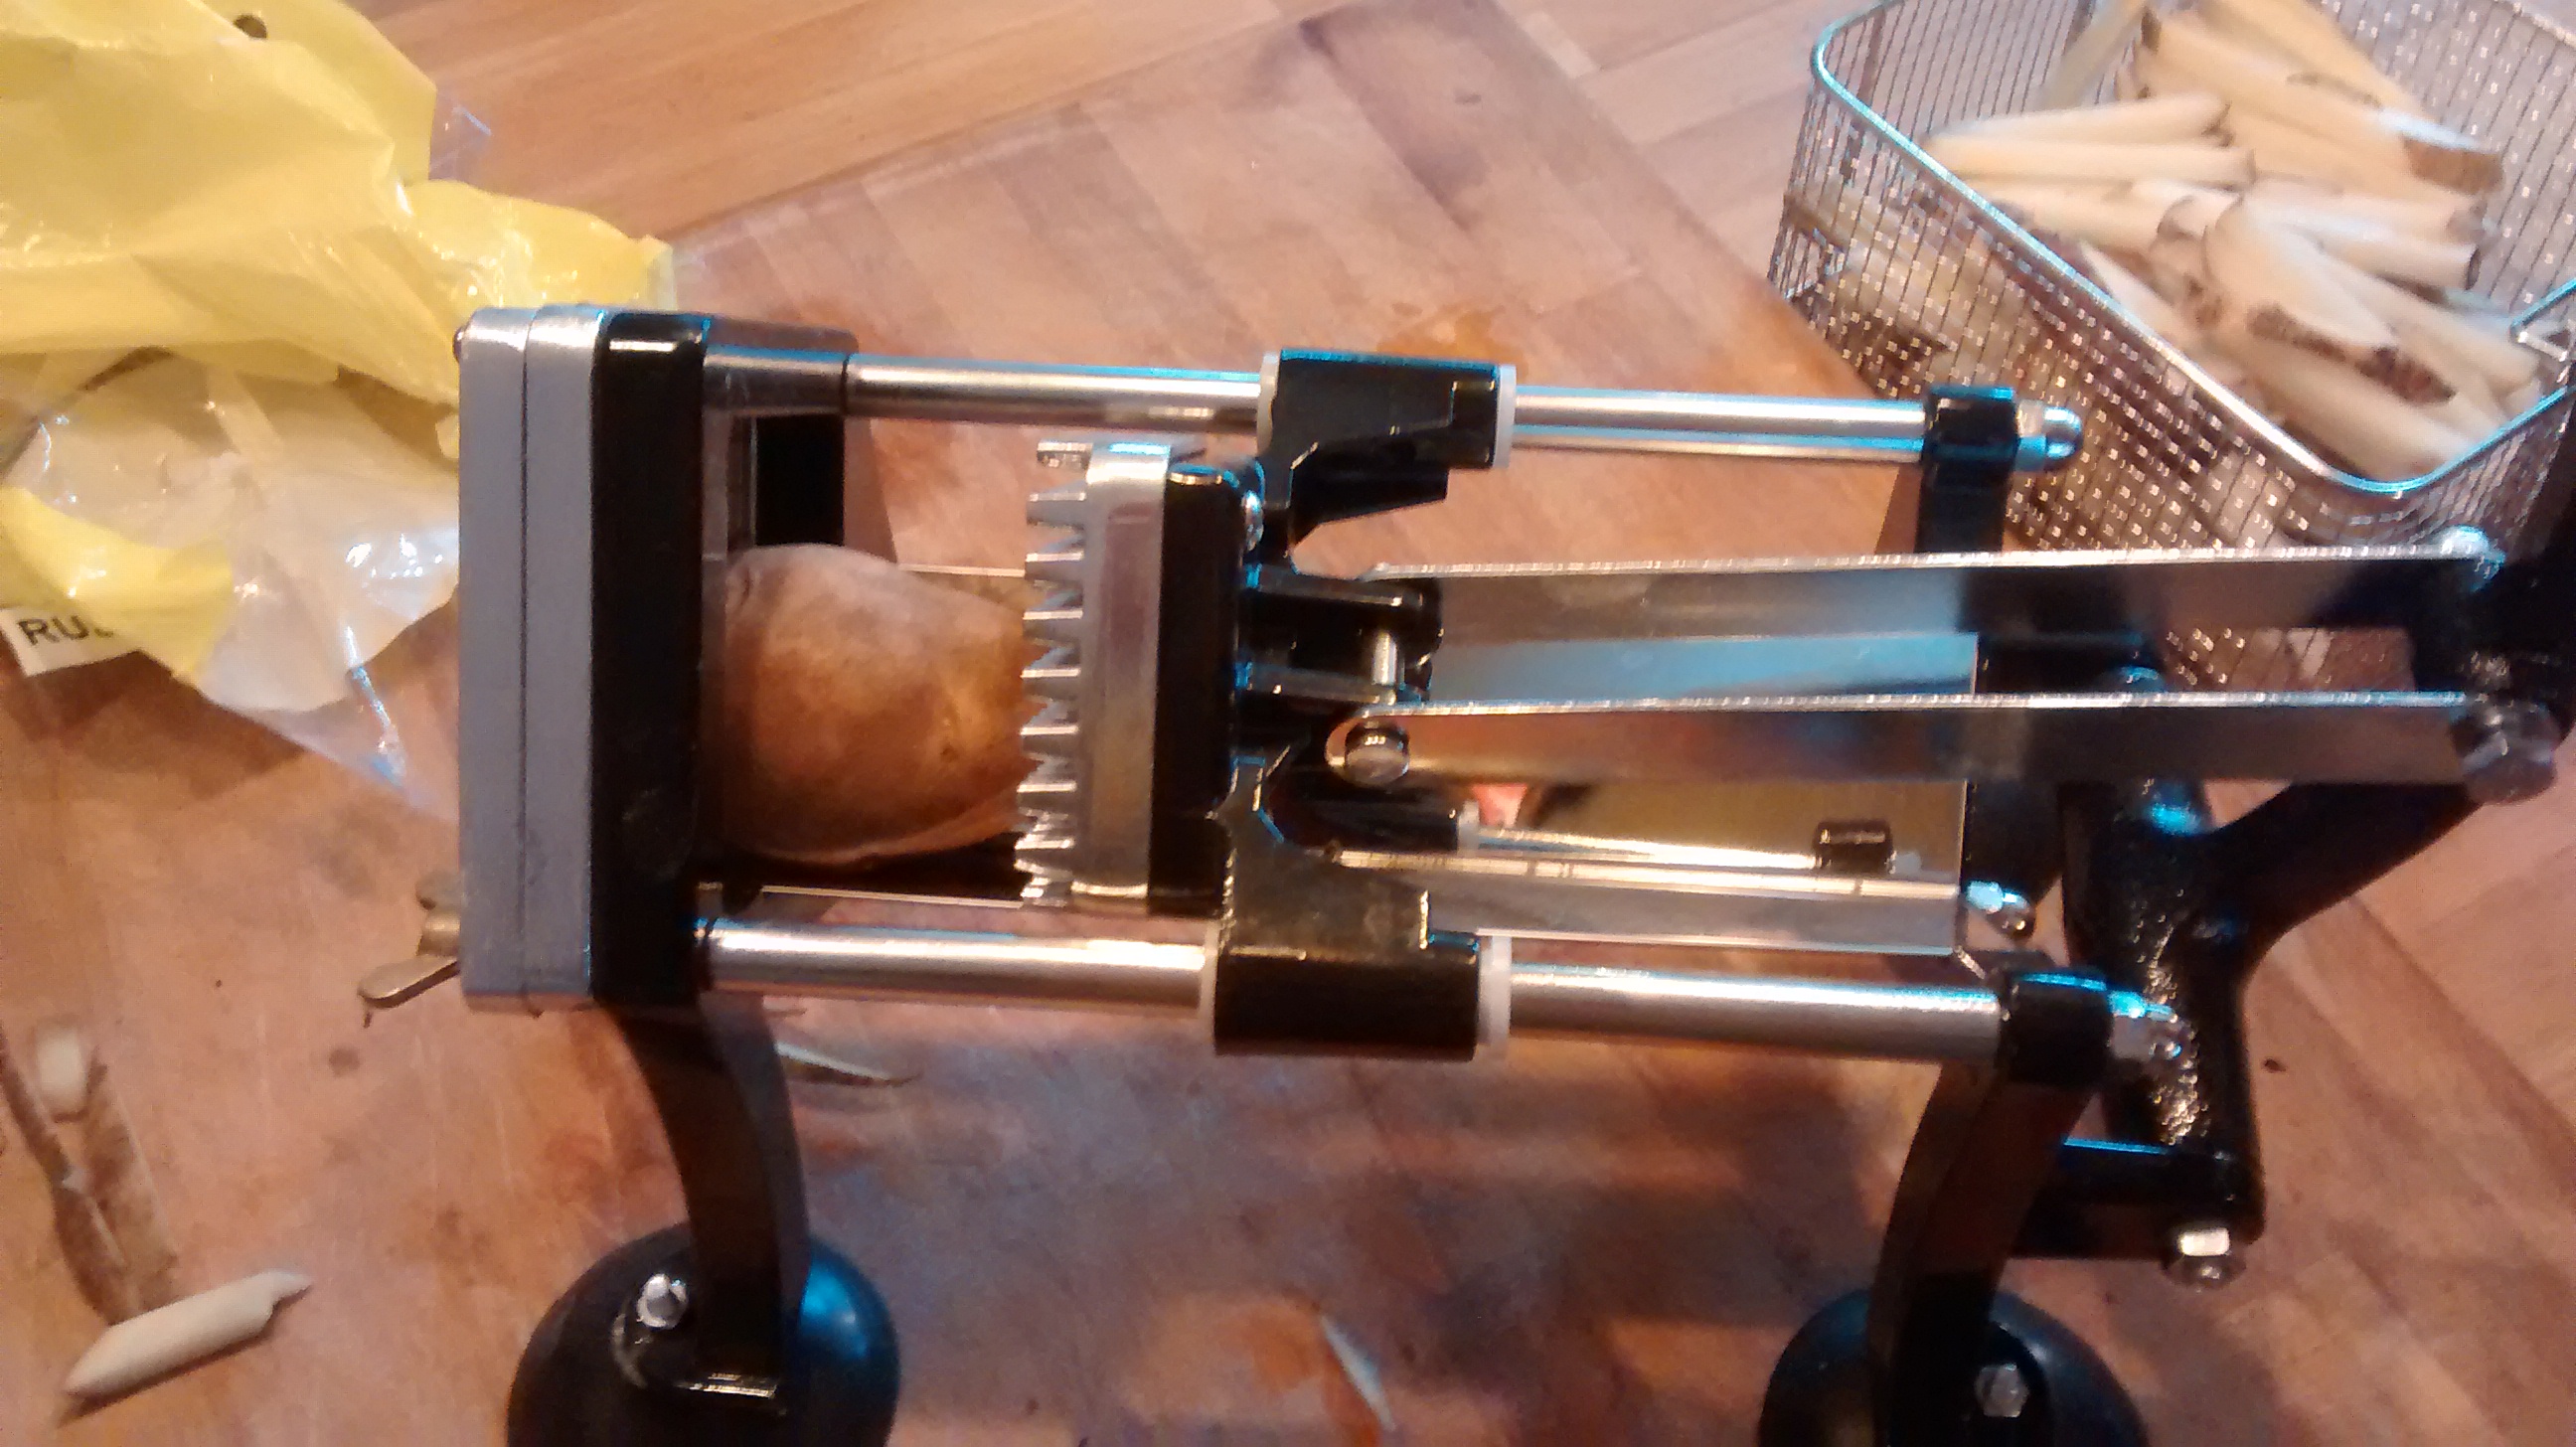
Cutting french fries the easy way

Be honest, even if you are a health nut you probably want to grab pub grub from time to time.  It’s a great treat – and it almost always features french fries.

Now in pretty much every aspect of life I’d rather invest in the tools and know how to do it myself than head out and have someone else do it for me.  That goes for food too.  Now you can cut your own potatoes into fries for either frying or baking but it becomes a lot easier with a french fry cutter.

Low cost but high hassles – invest more and get one that will perform and last

I started out using a cheap $20 one that quickly failed.  For relatively little more – slightly over $60 on sale – I got a light commercial unit that makes fry prep a snap, and it’s worth every penny!

I see the same model on sale through Amazon comes with an additional fry cutter size – for $85, and it would be a good deal at that price too.  I don’t doubt it will last a couple of lifetimes if given a measure of care paying for itself several times over.


By

Homeground flour – to sift or not to sift

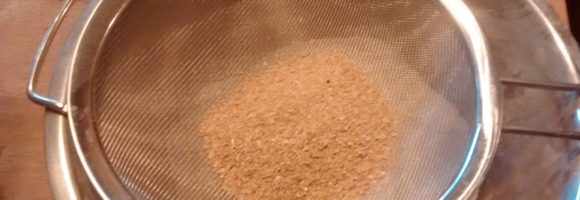
Sifted home ground flour on right, coarse bran on the left

Grinding your own flour is a great way to get fresh healthy flour for your baking at dirt cheap prices.  Now the question is to sift or not to sift.

That is, do you remove some of the coarser fractions – generally the bran – or do you keep it 100% extraction.

Now, generally I just keep it whole – but if doing finer baking or doing baking for those less accustomed to full extraction it is easy to come up with a product that is closer to white simply by sifting the ground flour through a kitchen strainer. The fine flour components pass through and the coarser bran is retained.

Effectively it goes from 100% extraction to about 80% extraction.  It is fast, easy and gives a great product that is more generally accepted.

By

Stanley Adventure Crock – Lid Latch Fix

Replacement Adventure Crock Latch

There’s a reason our grandparents had skills – they needed to be able to do things for themselves because they couldn’t afford to pay someone to do or make it for them.  Now we live right now in a pretty easy money environment, but because fewer folks can do it can mean more advantages for those who cultivate can do skill sets.

Take my recent trip to Cabella’s to pick up some outdoor gear.  I popped into their “Bargain Cave” and there were a couple of Stanley Adventure Crocks at the back.  Now these are three quart/ litre insulated crocks and look perfect for bringing something hot to a potluck or outing.  List price $75 plus 13% tax.  (In the states it looks like they go for $45).  But these ones, well they were marked down to a third of the price because the latches to hold the lids in place were broken.  Without the latches these were pretty much useless.

Final layers of the adventure crock latch being printed in PETG

Now clearly given the apparent prevalence of broken latches Stanley needs to address the design.  But I knew I could take advantage of the deeply discounted price and make my own replacement latches very quickly at home.

Now the replacement job would have been a bit of a pain to machine in metal – I have all the tools but still… But the project was perfectly suited to designing a beefier replacement in Sketchup and 3D printing it in PETG.  The replacement latch works great – and I have even used failure testing as an excuse to watch TV while working the latch repeatedly.  No problems!

3D printing is a great capability to add to your home, and if you don’t already have machine tools it is a great entry point into homescale manufacturing.  If you do have a machine shop I’m sure you’ll find that there are lots of tasks that a 3D printer can accomplish more easily than you could with conventional fabrication techniques.

For those of you with a an adventure crock with a broken latch here is the link to the STL file on thingverse   http://www.thingiverse.com/thing:2235374


By

Low Hoop Houses in Snow

This year I decided to put the plastic up on the hoop houses late in the fall – partly to provide winter cover to extend the season and secondarily to get things going faster in the spring then would inevitably happen if I needed to dig the plastic out and fix it into place.

The question though…. would it stand up to the snow load?  Well, we’ve had some good snow (a couple of feet) and some good cold spells… and the hoops have bent a bit but nothing much – and that’s without ever brushing off the snow.

Well, today I went and knocked the frozen snow layers off – last week we had a mild spell and even a bit of drizzle.  The snow came off quickly and the hoops and plastic look great!

By

DIY Countertop Brewing System

I started brewing beer using kits back before I could purchase beer in the store and got pretty good at it.  I graduated beyond that to brew in a bag setups but about a year and a half ago decided that I wanted to go with a brewing system and my fancy fell to the brew in a conical systems… After a lot of cutting, geometry, and welding… well I still have leaks… obviously my stainless welding on thin sheet leaves a “bit” to be desired.

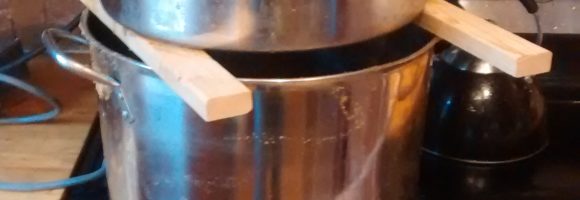
Nesting stock pots

Nesting stock pots

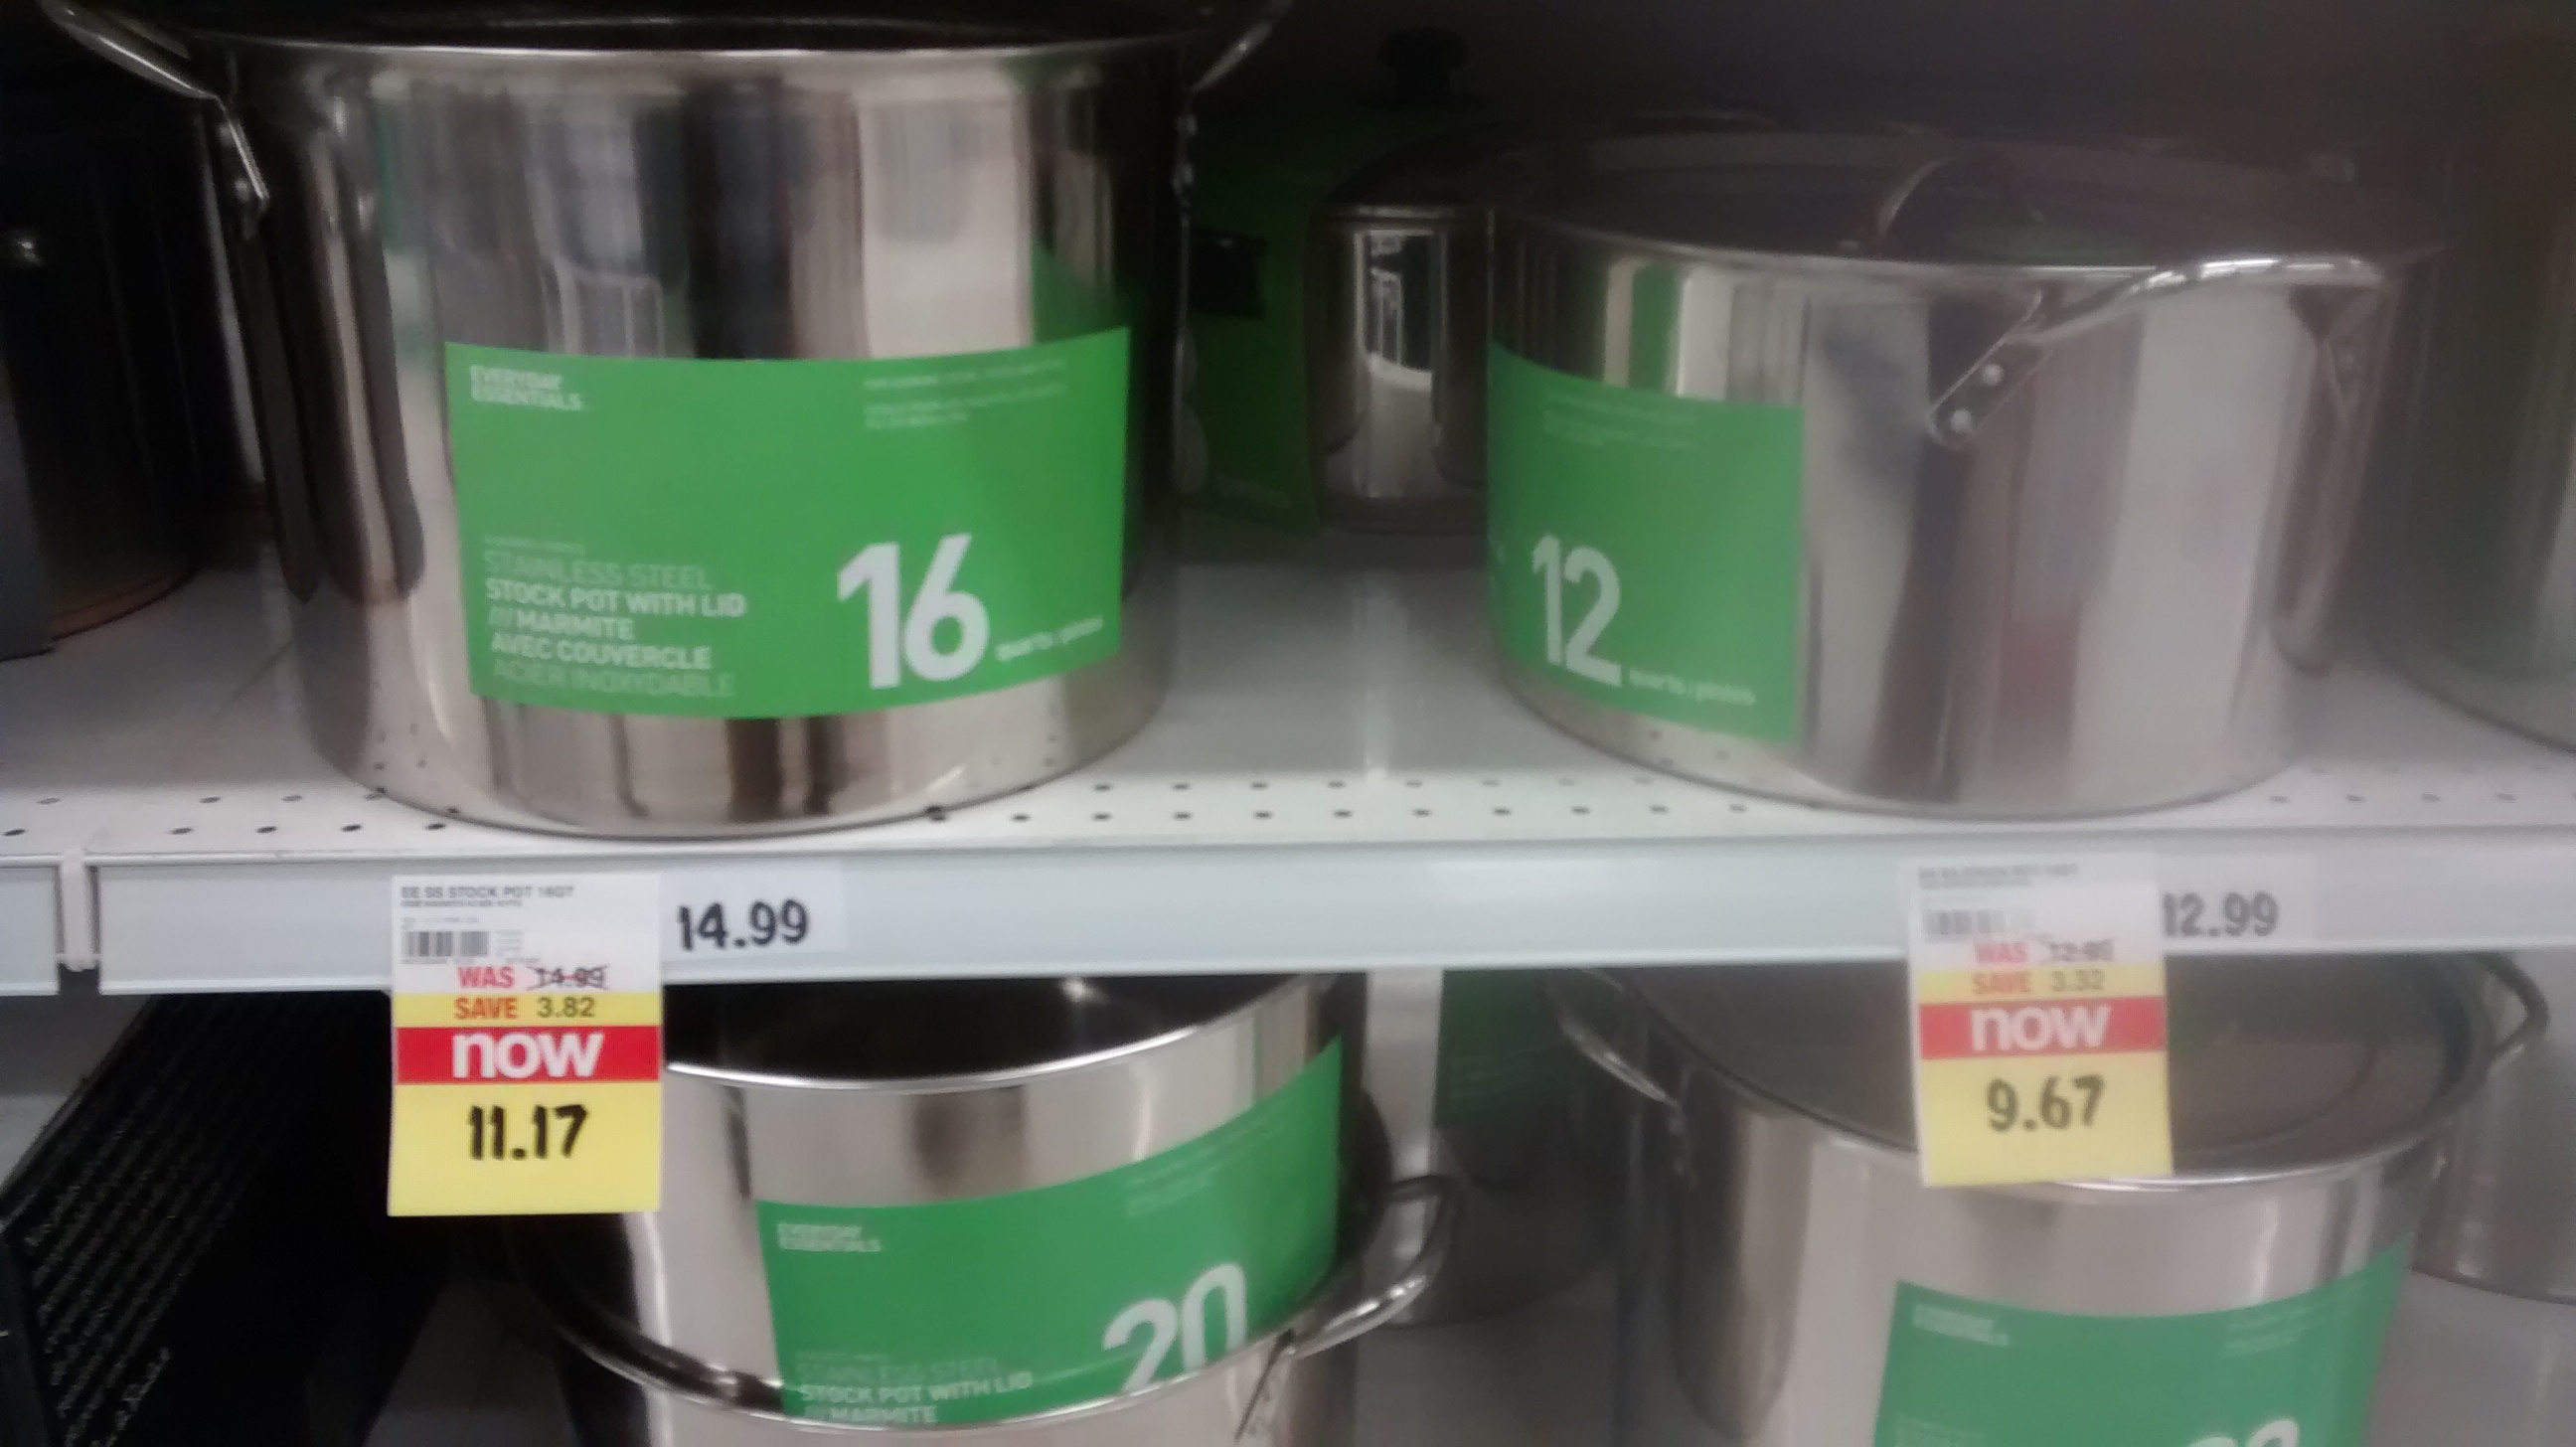
I was still working to get the holes patched when I saw some stainless steel stock pots on sale at one of our local grocery stores.  Now the cool thing was that the same lid fit all three sizes of pots (12, 16 and 20 quart) and the pots shared the same taper.  That meant the 16 quart pot would nest tightly inside the 20 quart one while leaving a gap at the base – perfect for a heating element.  So the 16 quart pot would make a perfect malt basket within the larger brewpot. For Canadians it was the Superstore where I picked up the pots so all of the Loblaws should have the same ones – no doubt they will be available stateside as well.

With the pots as the basis of the unit I decided that I wanted to be able to put together a functioning weldless automated brew system in a weekend.  Did I succeed, well nearly… I found that the silicon gaskets that came with the weldless fittings wasn’t quite up to snuff – so I ended up using them in conjunction with food grade silicon sealant which needed a few days to set.  But to do it again… well it would take a full day of work and then after waiting a week just to be on the safeside you’d be brewing next weekend. Oh, and apart from using an air powered nibbler with my compressor to create the hole for the element it didn’t take any fancy tools.

How’s the capacity… well I can brew just over 2.5 gallons which allows me to either do half batches or when I do a double run a full 5 gallons.  How does that net out in terms of time?  Well a double batch is roughly a whole day… but seeing as how things are pretty automated the time commitment from the brewer ends up being about one hour total.

Now how are we set in terms of cost… well, excluding the brew pump you’re looking at about $100.

Here’s what you’ll need in terms of components…

  1. STC 2000 temperature controller – available with either a 12 volt DC or 120 volt AC output – I used the latter because I had it but if you are buying one choose the former so that you can operate the relay without an adapter.  Price is about $10
  2.  Relay –
  3. (3) Electrical cords – just pulled some three prong (grounded) ones from my project materials pile
  4. GFI Outlet
  5. 120v 15 amp stainless steel water heating element
  6. Stainless Steel Nut for the water heating element
  7. (1) 1/2″ stainless steel bolt (X”long) and nut
  8. (1) 1/2″ weldless fitting
  9. (2) 1/2″ stainless steel ball valve
  10. (4) 1/2″ stainless steel hose barb
  11. ( X ft) Braided Silicon food grade tube for suction side into pump
  12. (X ft) Silicon food grade tube (pressure side return from pump)
  13. (1) 1/2″ stainless steel pipe cap
  14. (1) tube food grade silicon sealant
  15. (1) roll of teflon tape
  16. Conduit parts for the power boxes and end of the heating element.
  17. Project / electrical boxes for the electrical components

Tools

  1. Corded hand drill
  2. Step drill bits (up to 3/4″ diameter)
  3. Sheet metal nibbler and compressor if necessary
  4. Adjustable wrenches (including two large enough to handle the nuts on the heating element
  5. Screwdrivers, wire cutters, etc.

Installing the heating element
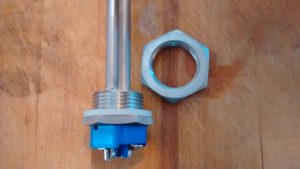
Electric Element and Nut

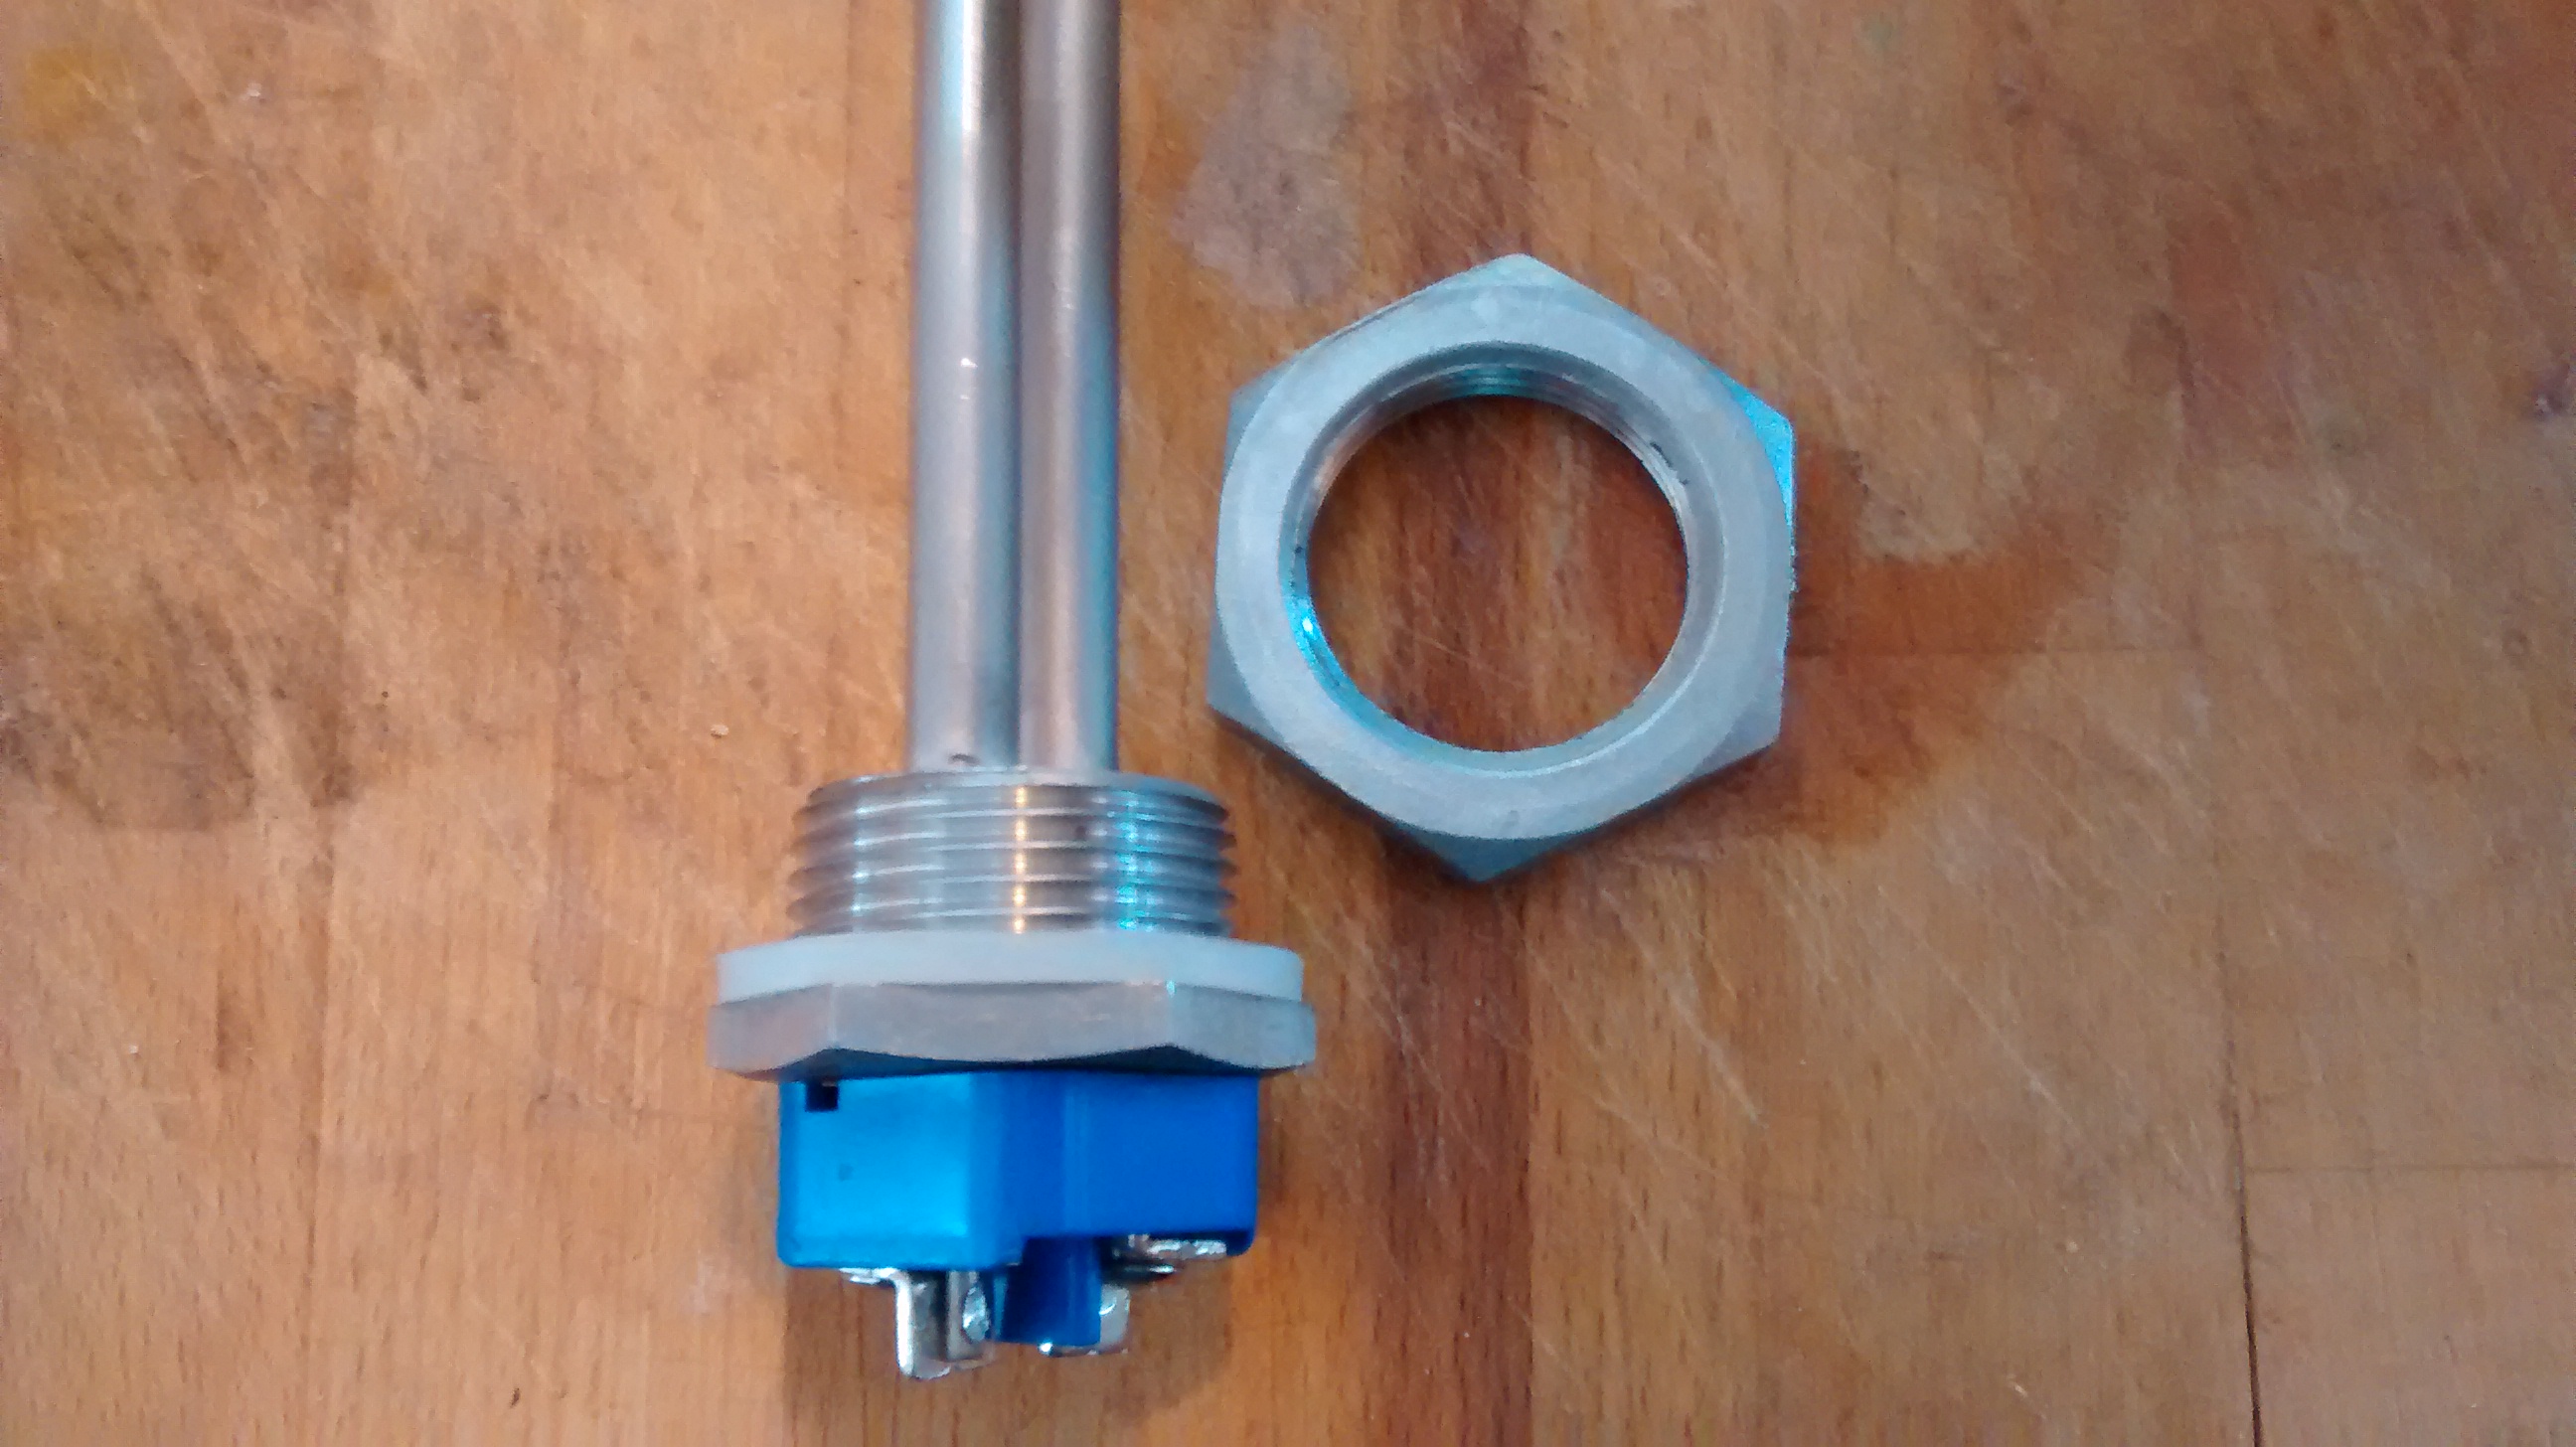
Your element and the associated nut will look something like this…
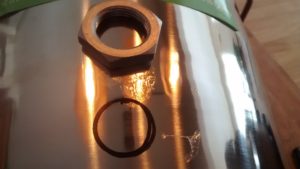


Marked out ID marked out on pot


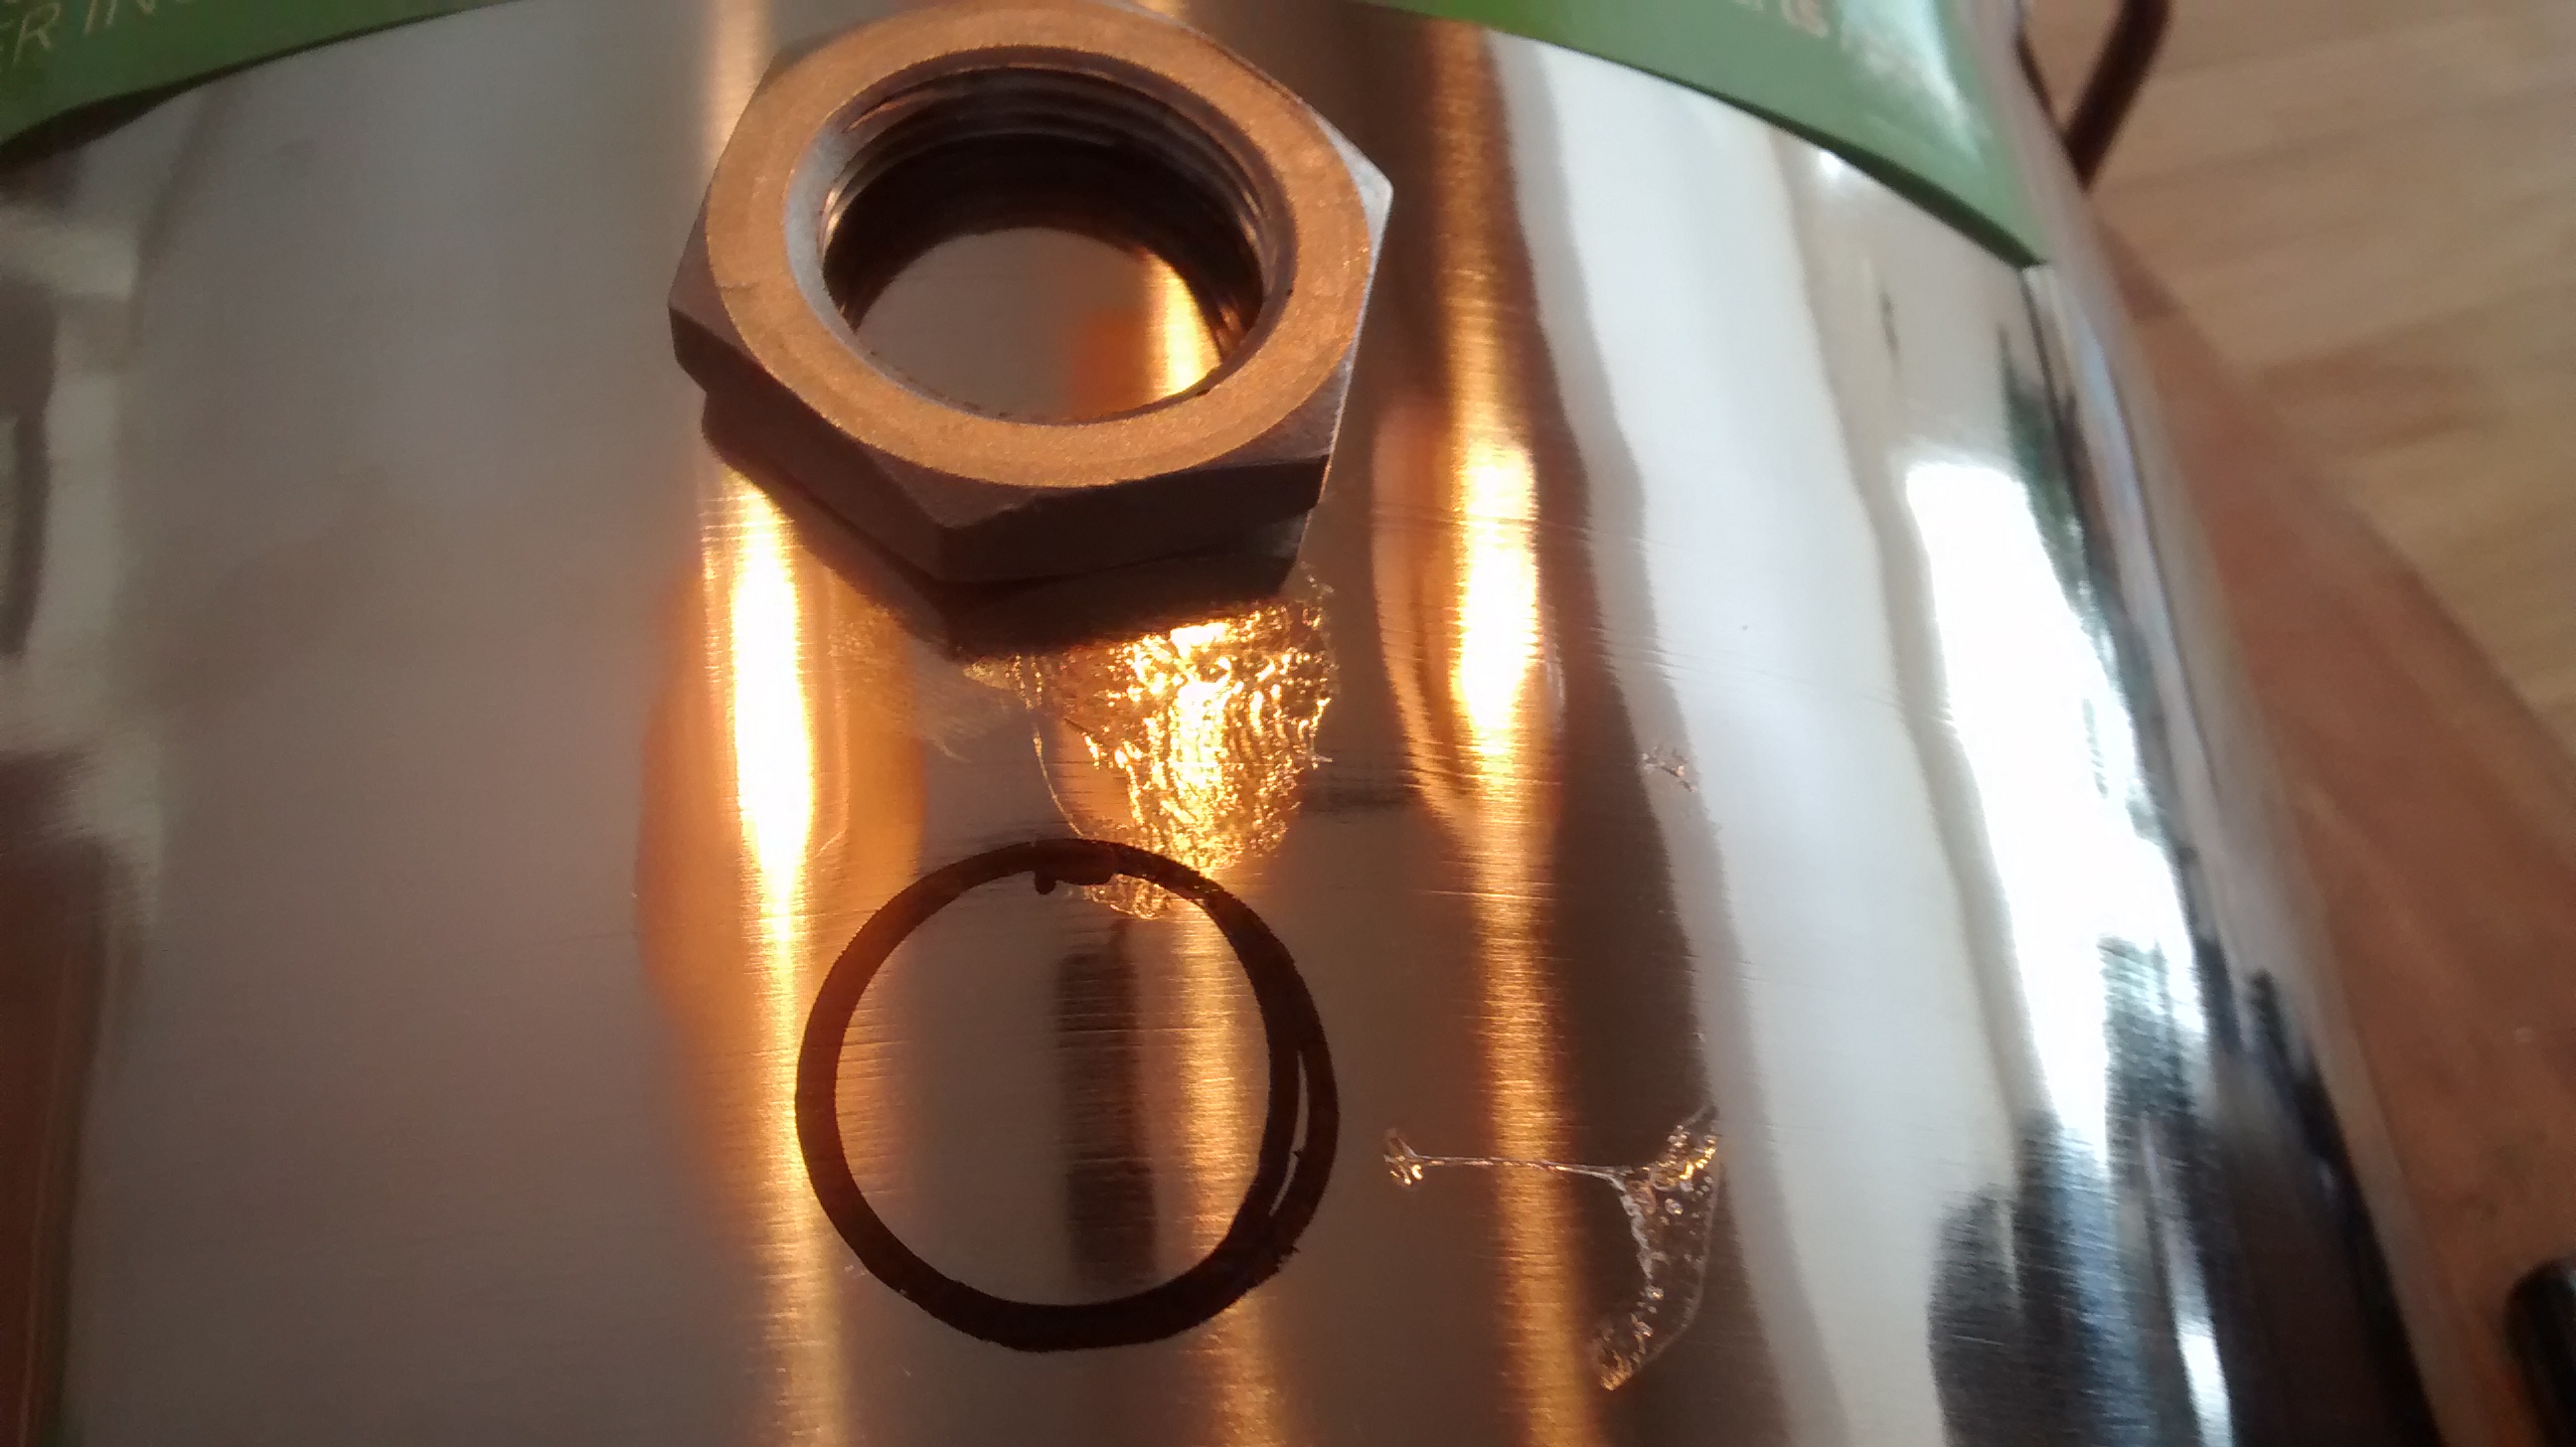
Use the nut to trace out the inside dimensions of the hole you’ll need on the bottom of the bigger pot – you’ll see about how high up in the next picture.


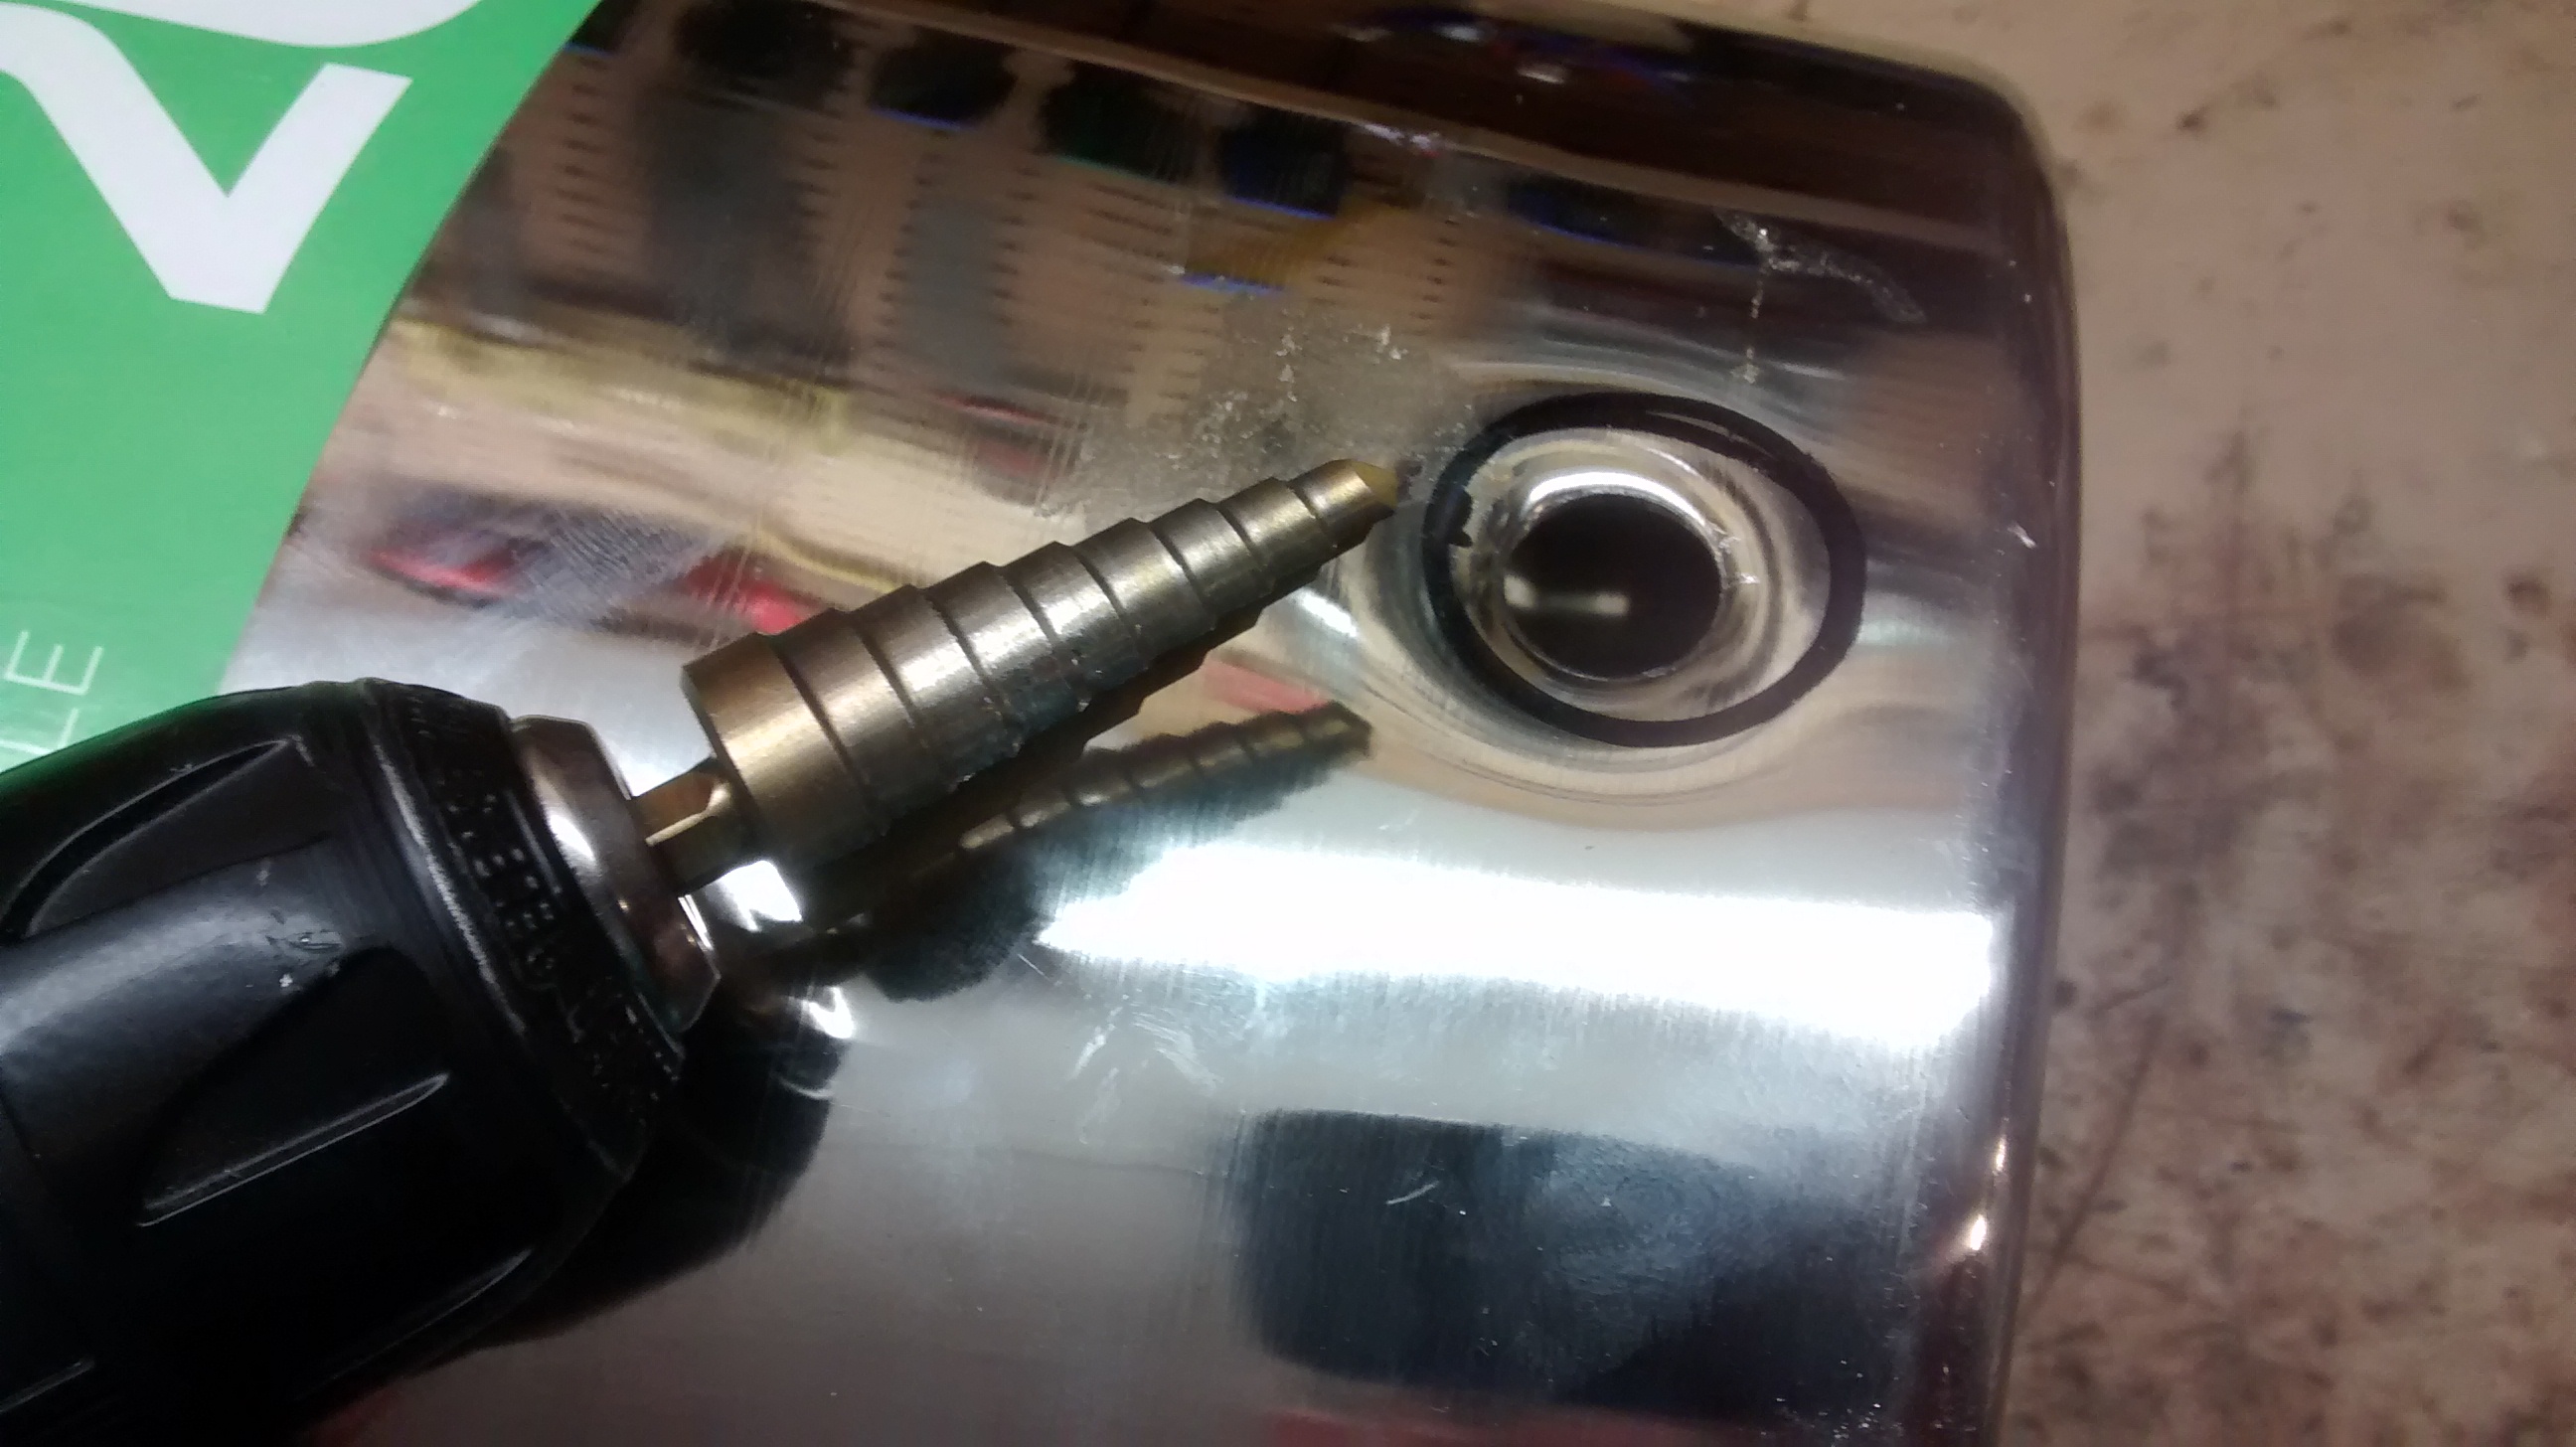
Drill a pilot hole roughly at the center of the circle you’ve drawn.  Ideally center punch to make starting the drill easier.  Then switch to a step drill to enlarge the hole so that the nibbler can fit into the hole.


Step bit on Element hole
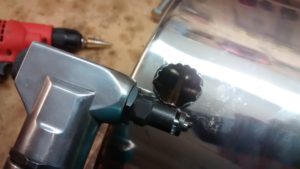
Use the nibbler to expand the hole to roughly the correct diameter


Element hole expanded with air nibbler


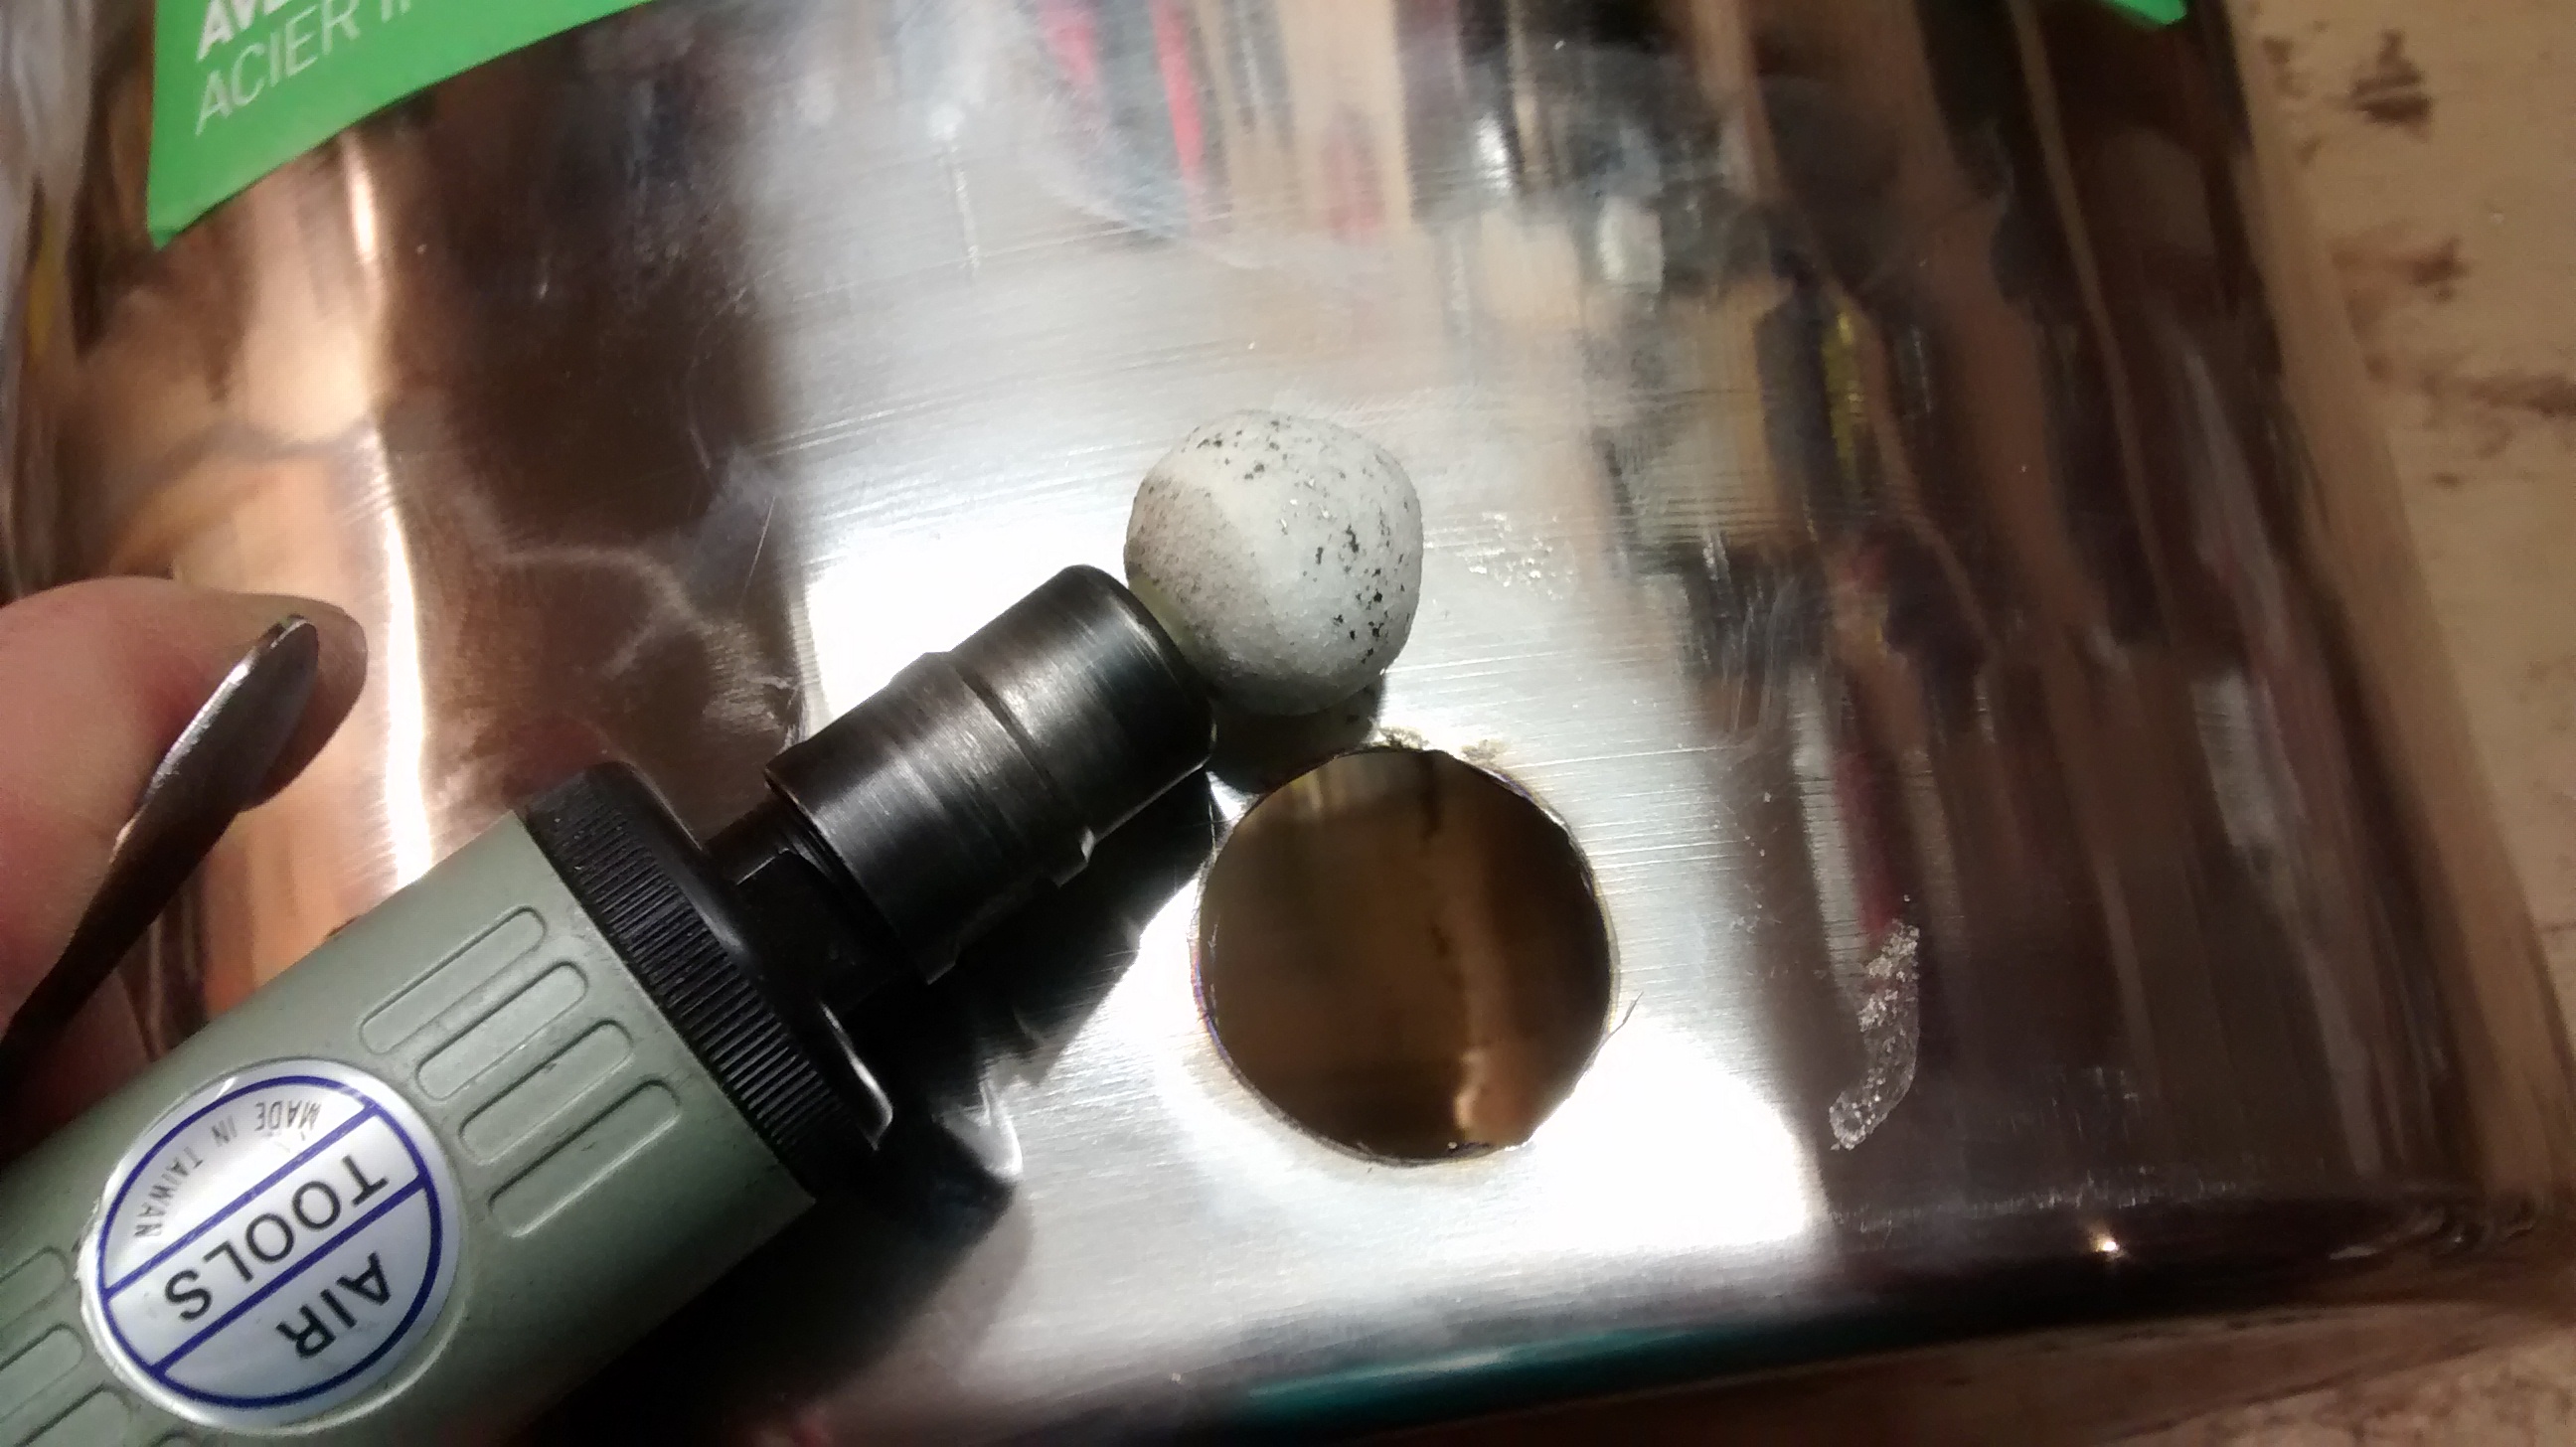
You can either file or use an air die grinder with a grinding stone to finish up the hole to dimension.  Trial fit until the element threads through the hole you’ve just created.


Air die grinder finishing up the hole
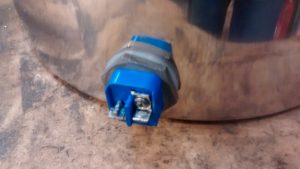
Element installed in the pot – nut on the inside

Here we are with the element and gasket threaded into the pot for test fitting.  When you do the final fit you’ll want to apply food grade silicon sealant on both sides of the fitting


Installing weldless fitting – pot outlet
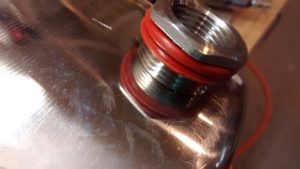
Marking out diameter for weldless fitting hole

You’ll need to go through the same procedure to install the weldless fitting that you used for the element.
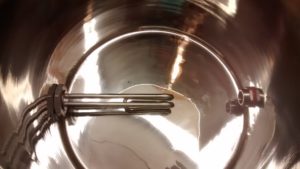


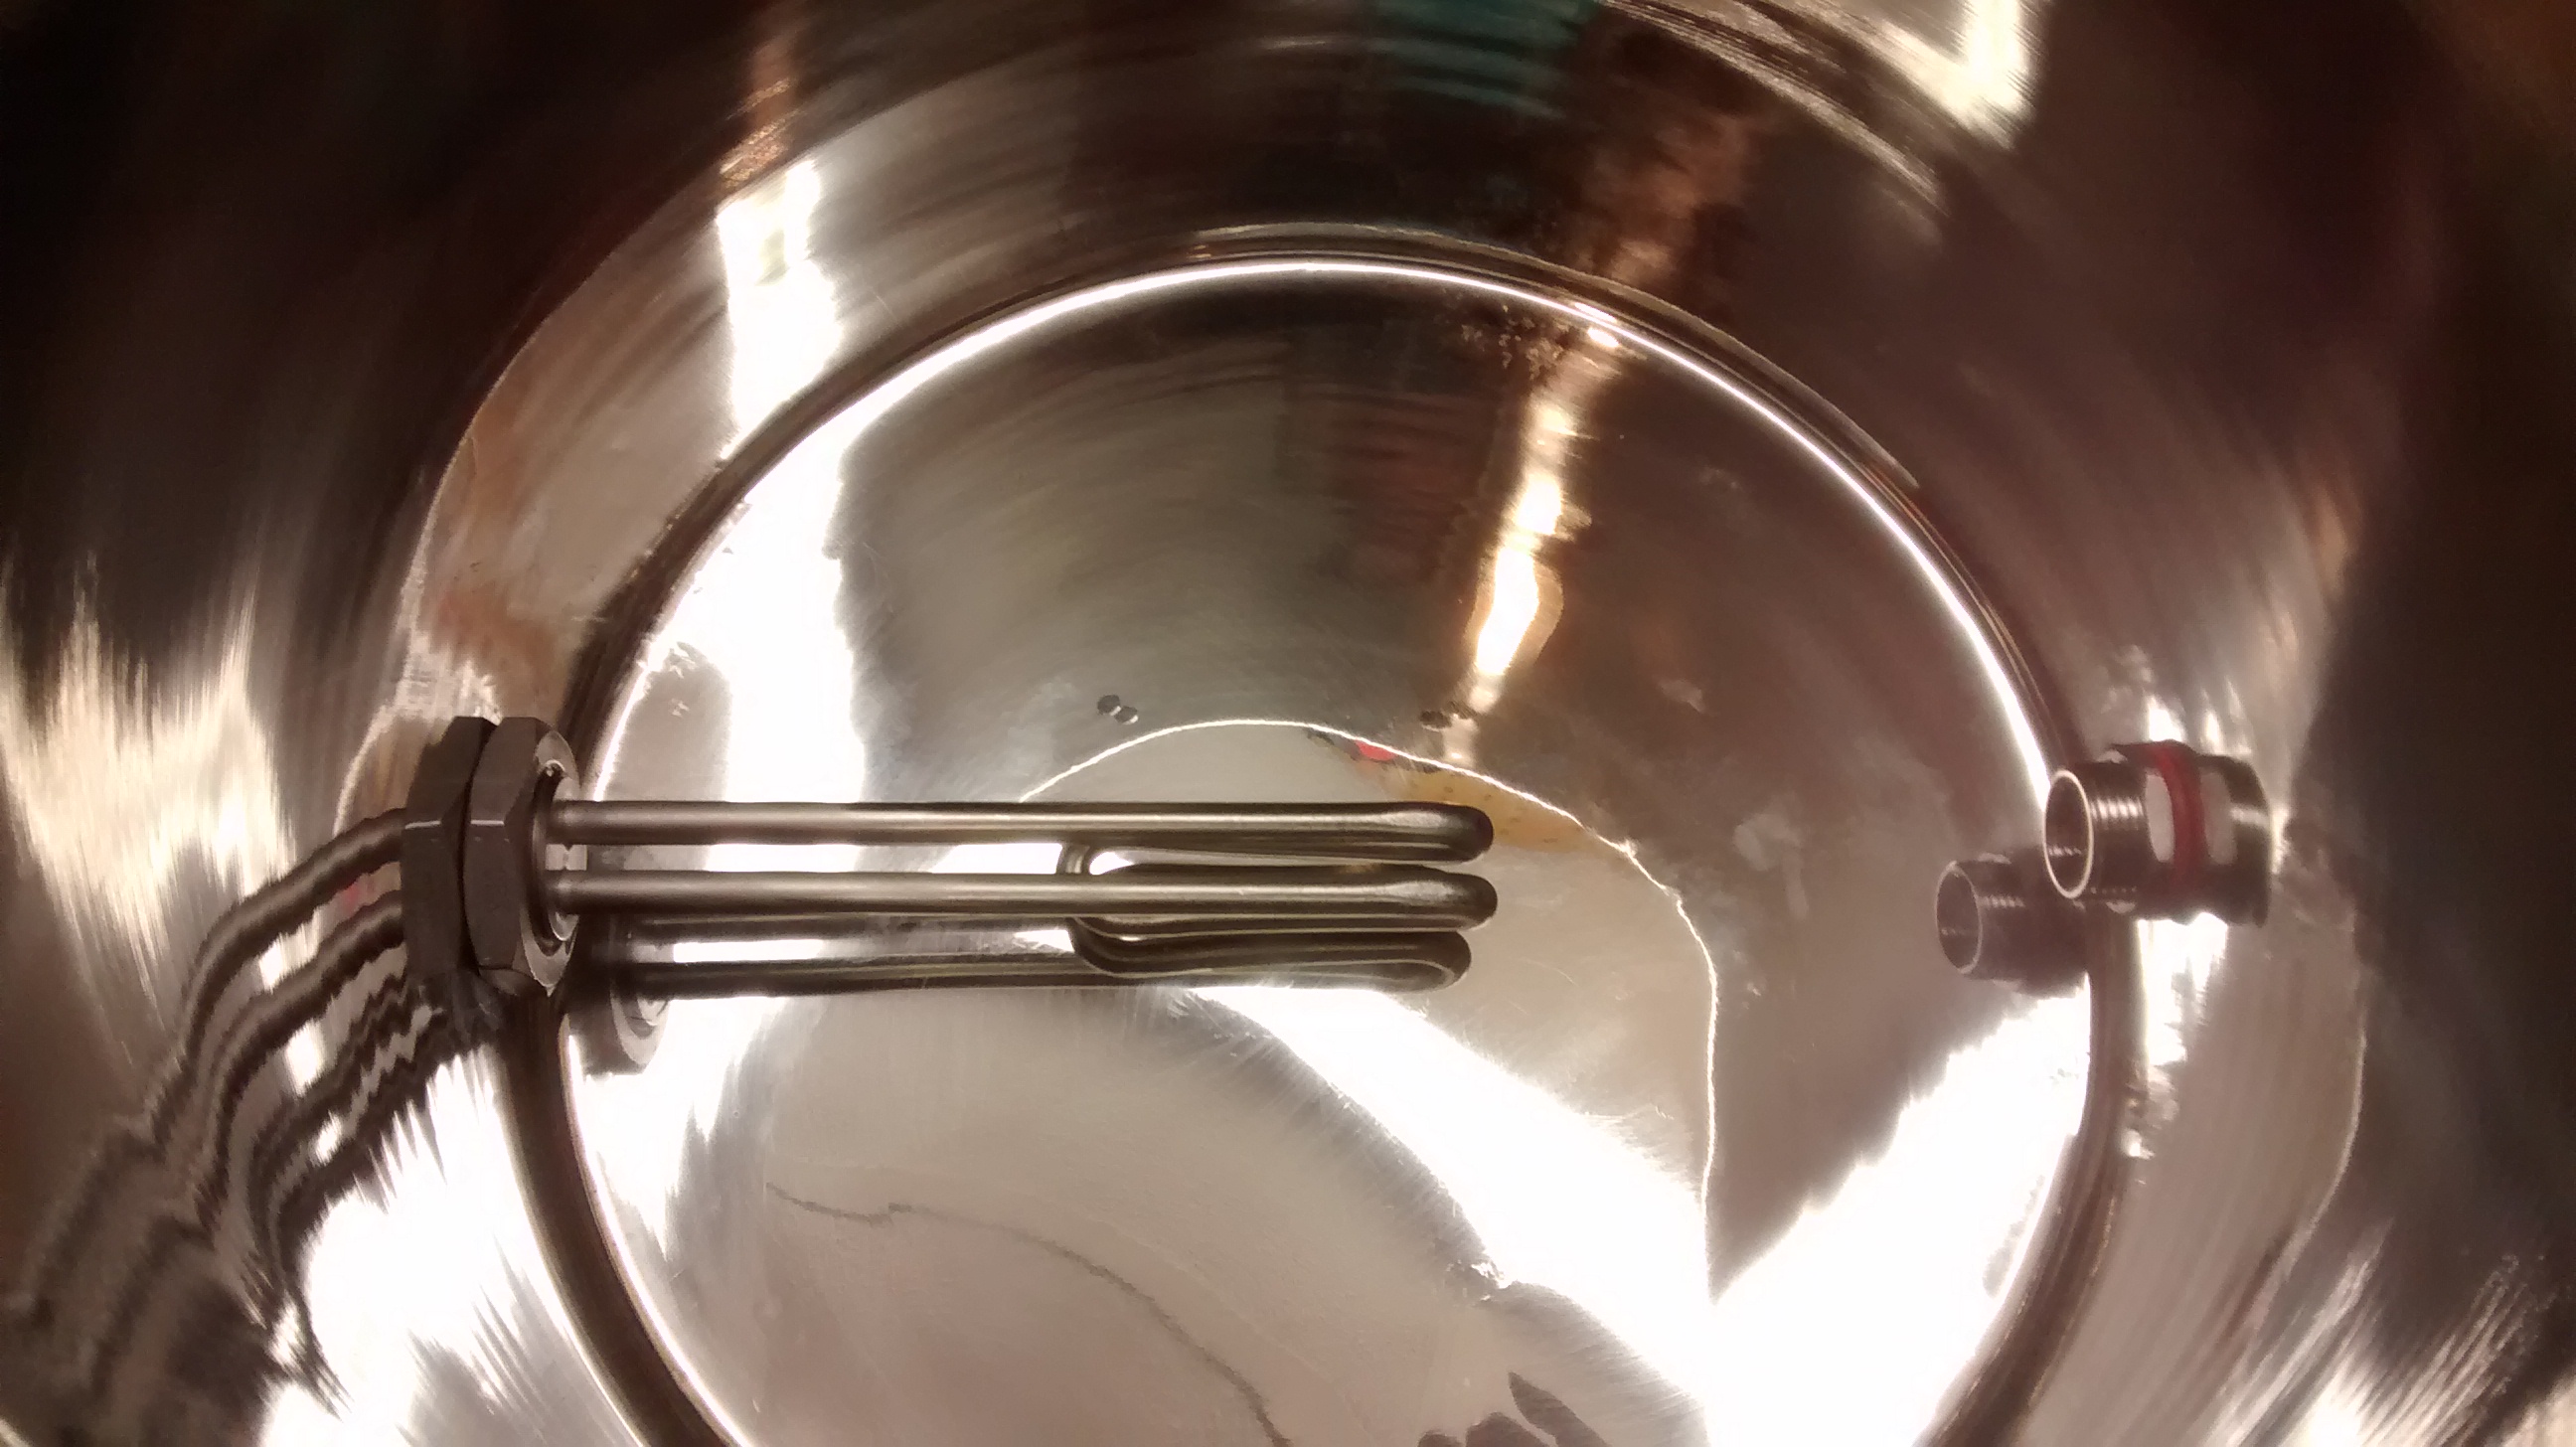
View inside the lower pot – element and exit port installed


Here’s the view of the inside pot with the element and the drain installed.


In the next installment I’ll cover the steps necessary to wire up (and cover up) the element leads and the rest of the fittings on the boil pot, as well as the steps needed to modify the inner pot.


By

King Arthur Flour Sourdough Starter Review

King Arthur Sourdough Starter in KA Crock

I’ve been using a variety of sourdough starters for a couple of decades, it offers both great flavour for your breads – that particular sour tang, while also giving you a more resilient method of leavening bread compared to commercial yeast.

Those starters – some of which were home made, starting from commercial yeast, from airborne cultures, from those on grapes or rye, and others which were purchased both dry and liquid or shared from others – varied in quality.   Compared to the King Arthur starter some were more sour but none matched the effectiveness at leavening bread.

Using sourdough is a great and low cost means to produce great beads at home, and the starter from King Arthur is probably the easiest way to boost your chances of success.

https://youtu.be/zSKxpjbwuGY


By

Simple Hop Basket for Brewing

I love the diversity and control that all grain homebrewing gives me, and the fact that it moves me a bit further towards producer on the producer – consumer continuum.  Part of producer component comes from growing much of the hops that I use in my brewing on lines up the side of my two story house.

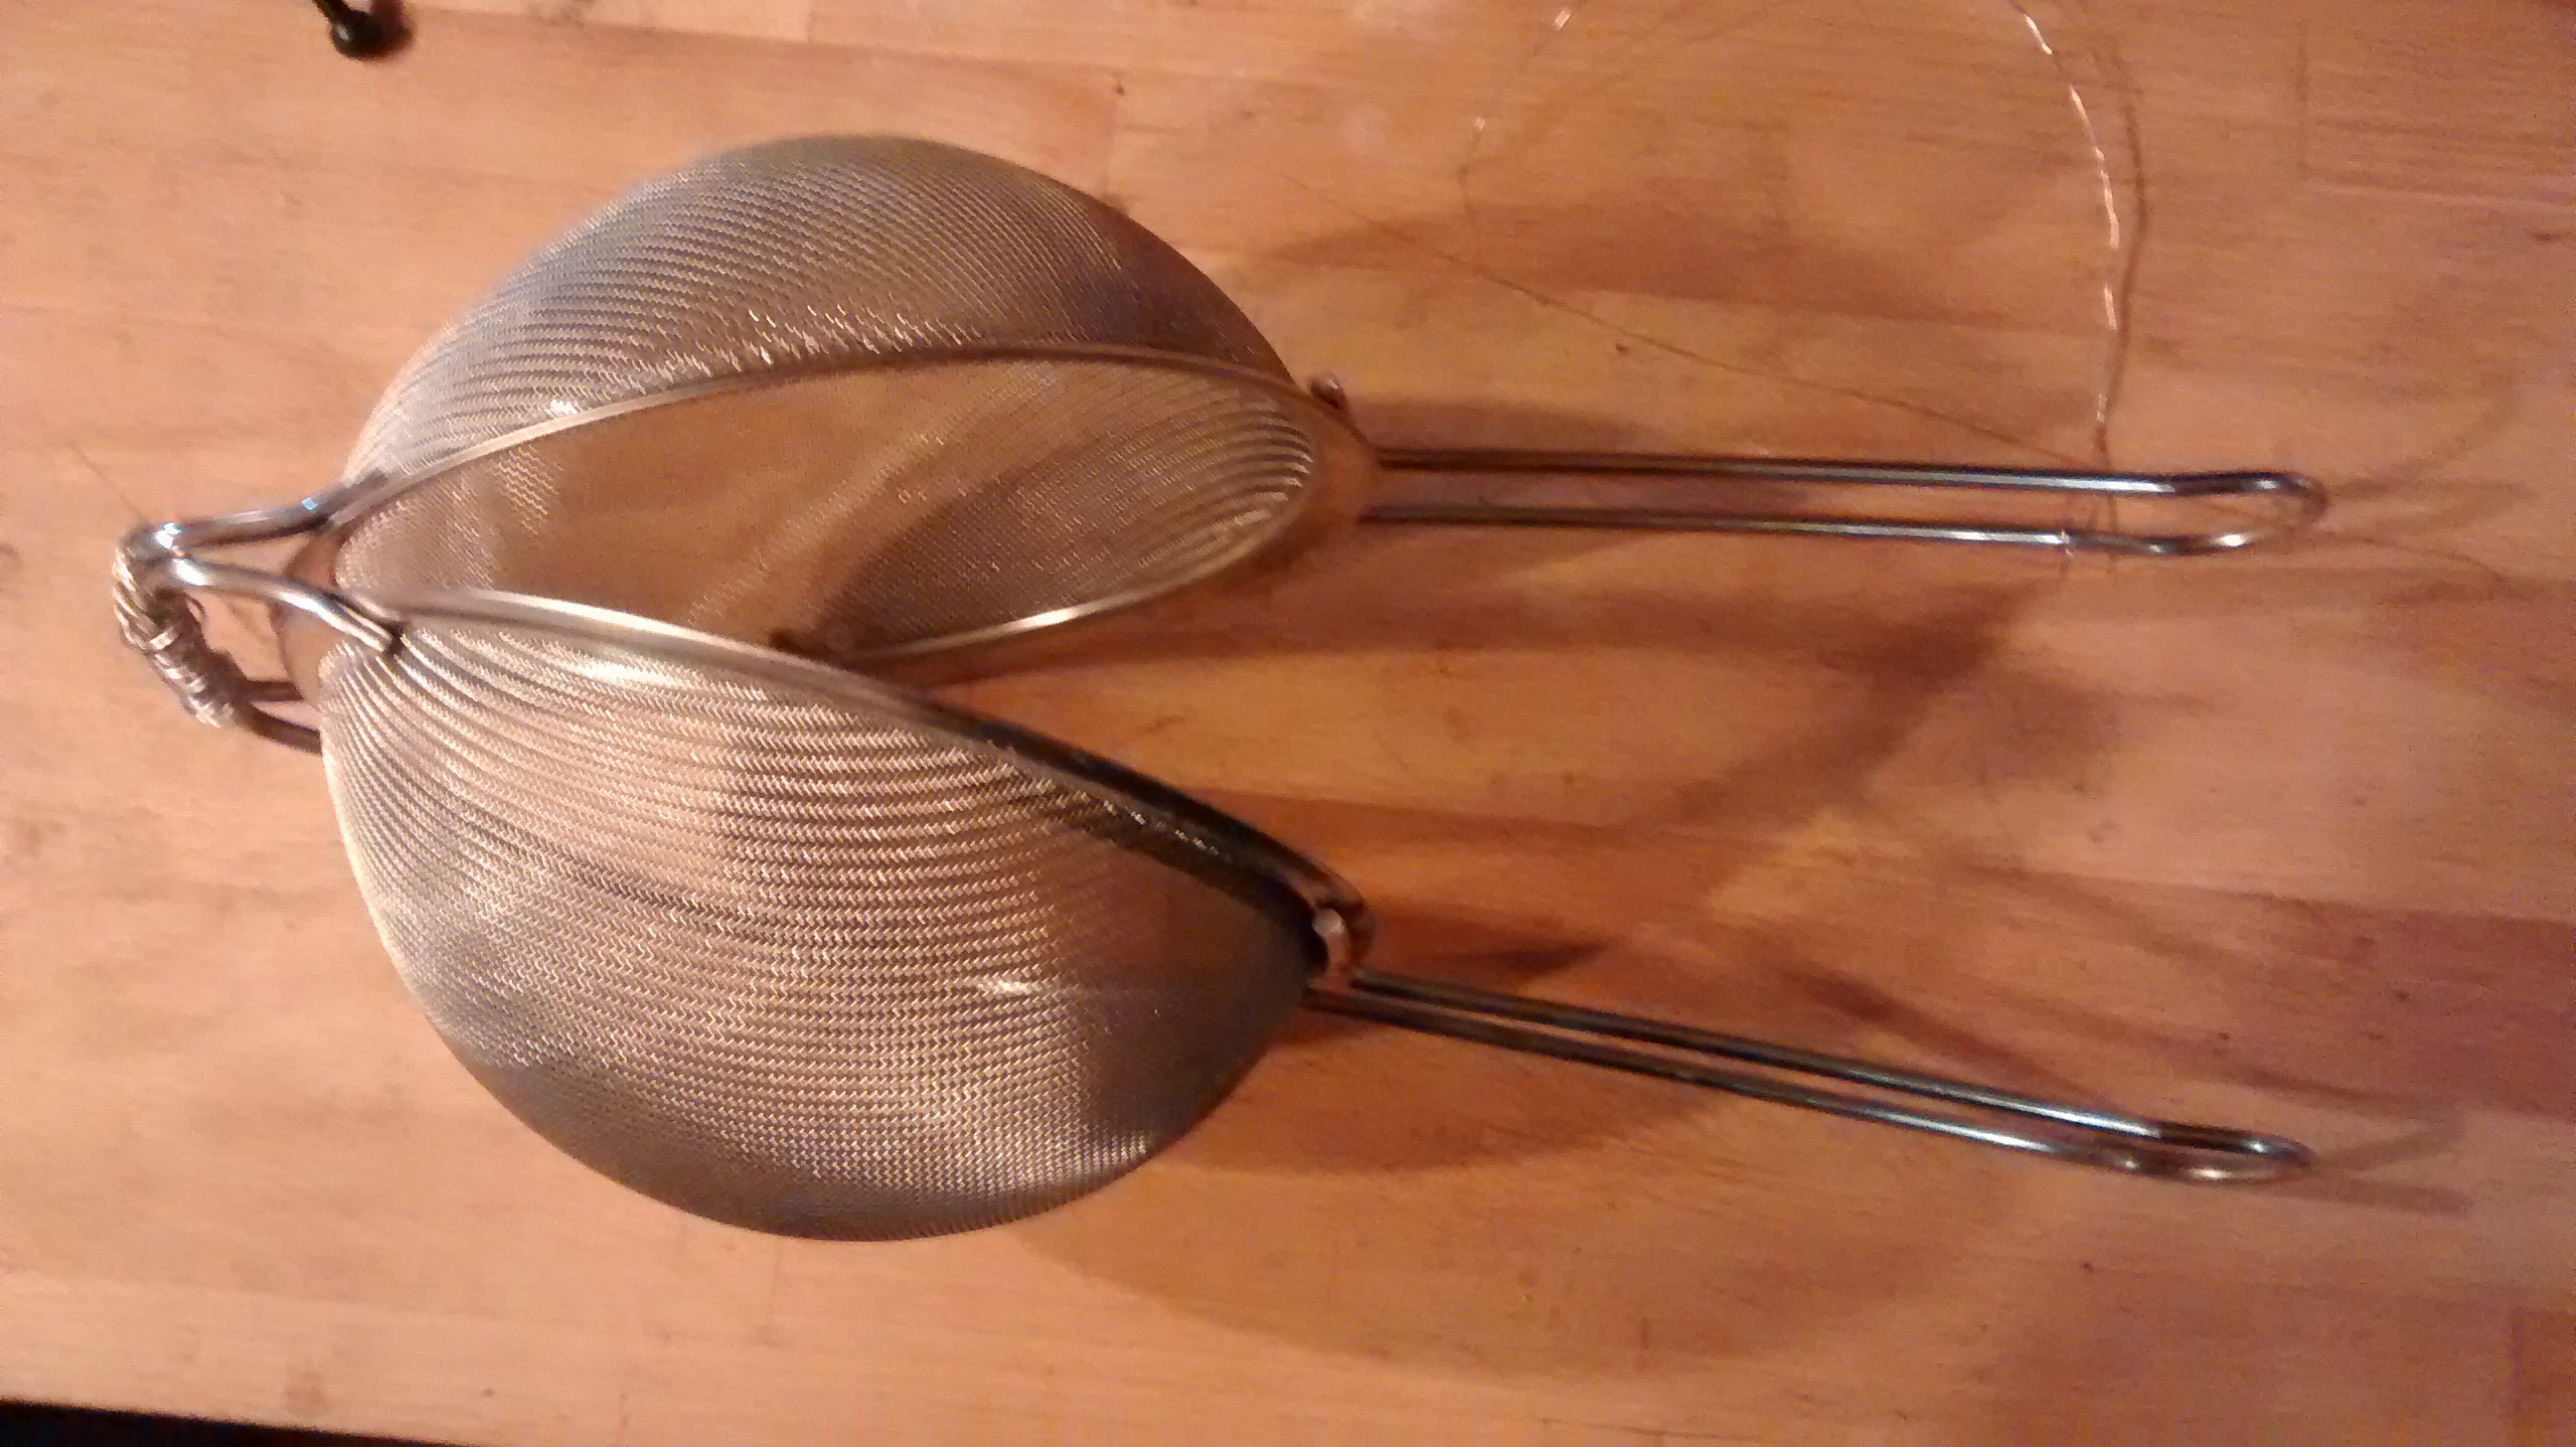
Construction of the hop ball from two stainless steel strainers.

Now in brewing there are a number of options on how to handle your hops – some of which are pretty pricey.  One method I’ve found to be quick, cheap and effective is using all stainless steel strainers from the dollar store.  I use two strainers and some stainless steel wire from the hardware store to effectively build a big hop ball (like a tea ball only bigger).  The far side of the handle part of the strainers is permanently wired together while the short section of wire keeping the handles together is removed to fill and empty the ball.

Fast, simple, cheap and useful – a pretty sound project endorsement.