

Building the wood fired pizza oven – cutting and forming part II
We left off the wood fired pizza oven construction at the point of having finished the back of the inner shape.
Now, we have to produce the back of the outer shape and the front of the oven. We’ll start with the back of the oven. This is pretty much like the production of the back of the inner shape but the larger dimensions presented me with some issues.

Laying out back segment of the pizza oven across two pieces of stainless sheet
The outer back segment is really much like the inner back segment – except that with the materials I had available to me I had to use two pieces. So my first step was to trace out the outer curve from my template.

Marking out outer curve to provide for tabs
Then as we did previously we are going to mark out another curve 1″ outside of the curve you just traced from the template.
Cut along this line with a metal cutting jigsaw blade. Once that is done, you want to cut out the tabs.

Rear segment cut to shape – ready for the tabs to be cut.
For the back portion I didn’t bend over the tabs, preferring to wait until I had welded the two sides together into one piece.
The front piece is a bit different. While the back inner and outer pieces will be joined only to the inner or outer curved segments respectfully, the front piece serves to link the inner to the outer curved pieces.

Not enough material to make the full curve with one or two pieces of sheet.
Somewhat like the back outer piece the front segment for me required three pieces to create the full segment. So the first thing I did was trace out the inner and outer curve from the template. Then you’ll need to mark out a 1″ line beyond each side of the curve and then cut along these lines.

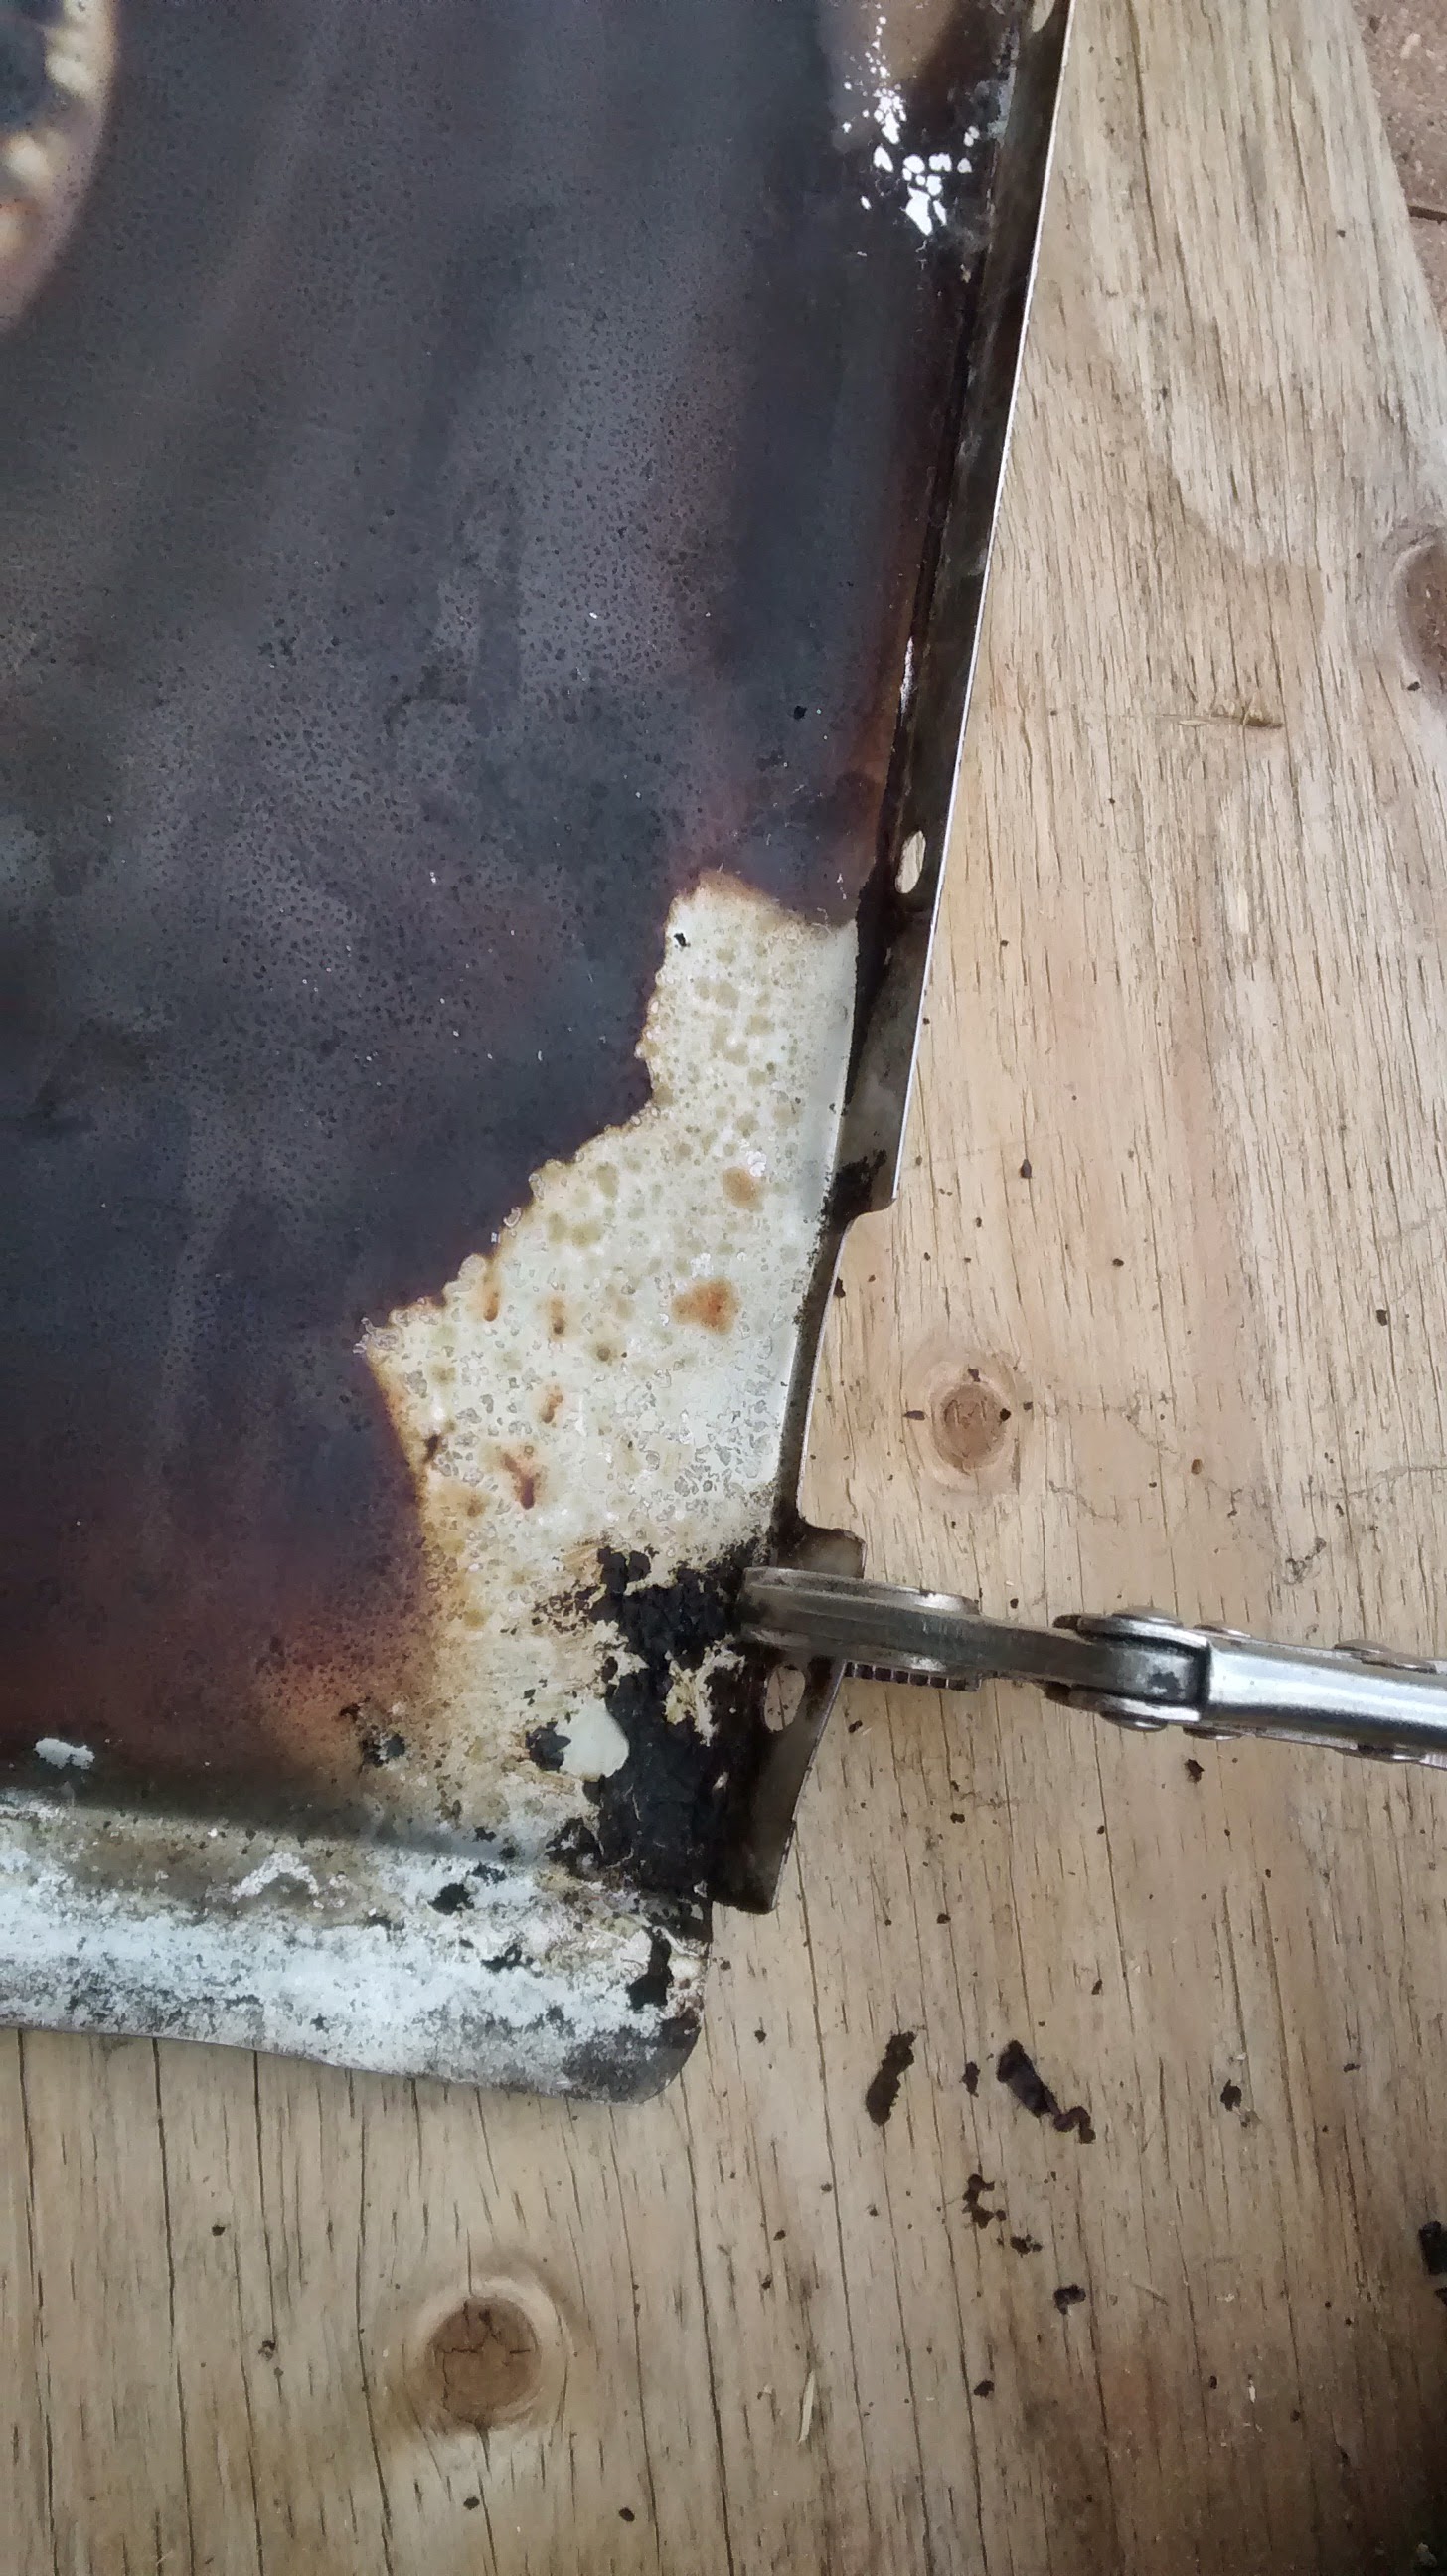
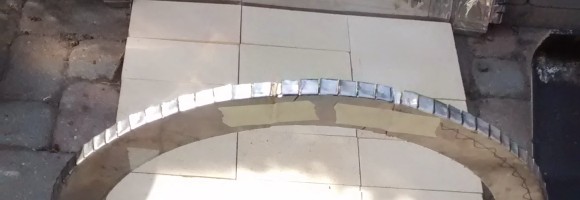
First front segment clamped and ready for the tabs to be bent down.
Just as with the other segments you’ll need to mark out the tab segments and cut those with the angle grinder. Unlike the back segment I bent over the tabs after having clamped the pieces to the pattern.

Middle segment showing overlap portions without tabs
Now, the third piece I needed to use to fill the gap between these two I followed the same practice, but trimmed the tabs off from the areas where the linking segment would be under the other two pieces.
With these done we’ve completed curved segments and are ready to move on to the next steps of the fabrication process including the roof segments that will go between the front and back pieces.

Front along with inner and outer back segments cut out and placed in relation to the fire brick