There is no doubt that having season appropriate tires for most vehicles offers a significant boost in safety in areas where the seasons change. But, where do you stash the four tires that are for your alternate season?
Wall mounted tire racks offer an easy low intrusion solution, and have become easy to purchase – but when I built this one a decade and a half ago they were much more expensive. While price has dropped and availability has increased building your own continues to be a good opportunity to use your welding skills and will produce a much more solid rack at a fraction of the price of the light duty ones that are now so common. This project is another good one to use steel you might have lying around or scrap that you can pick up at low cost.
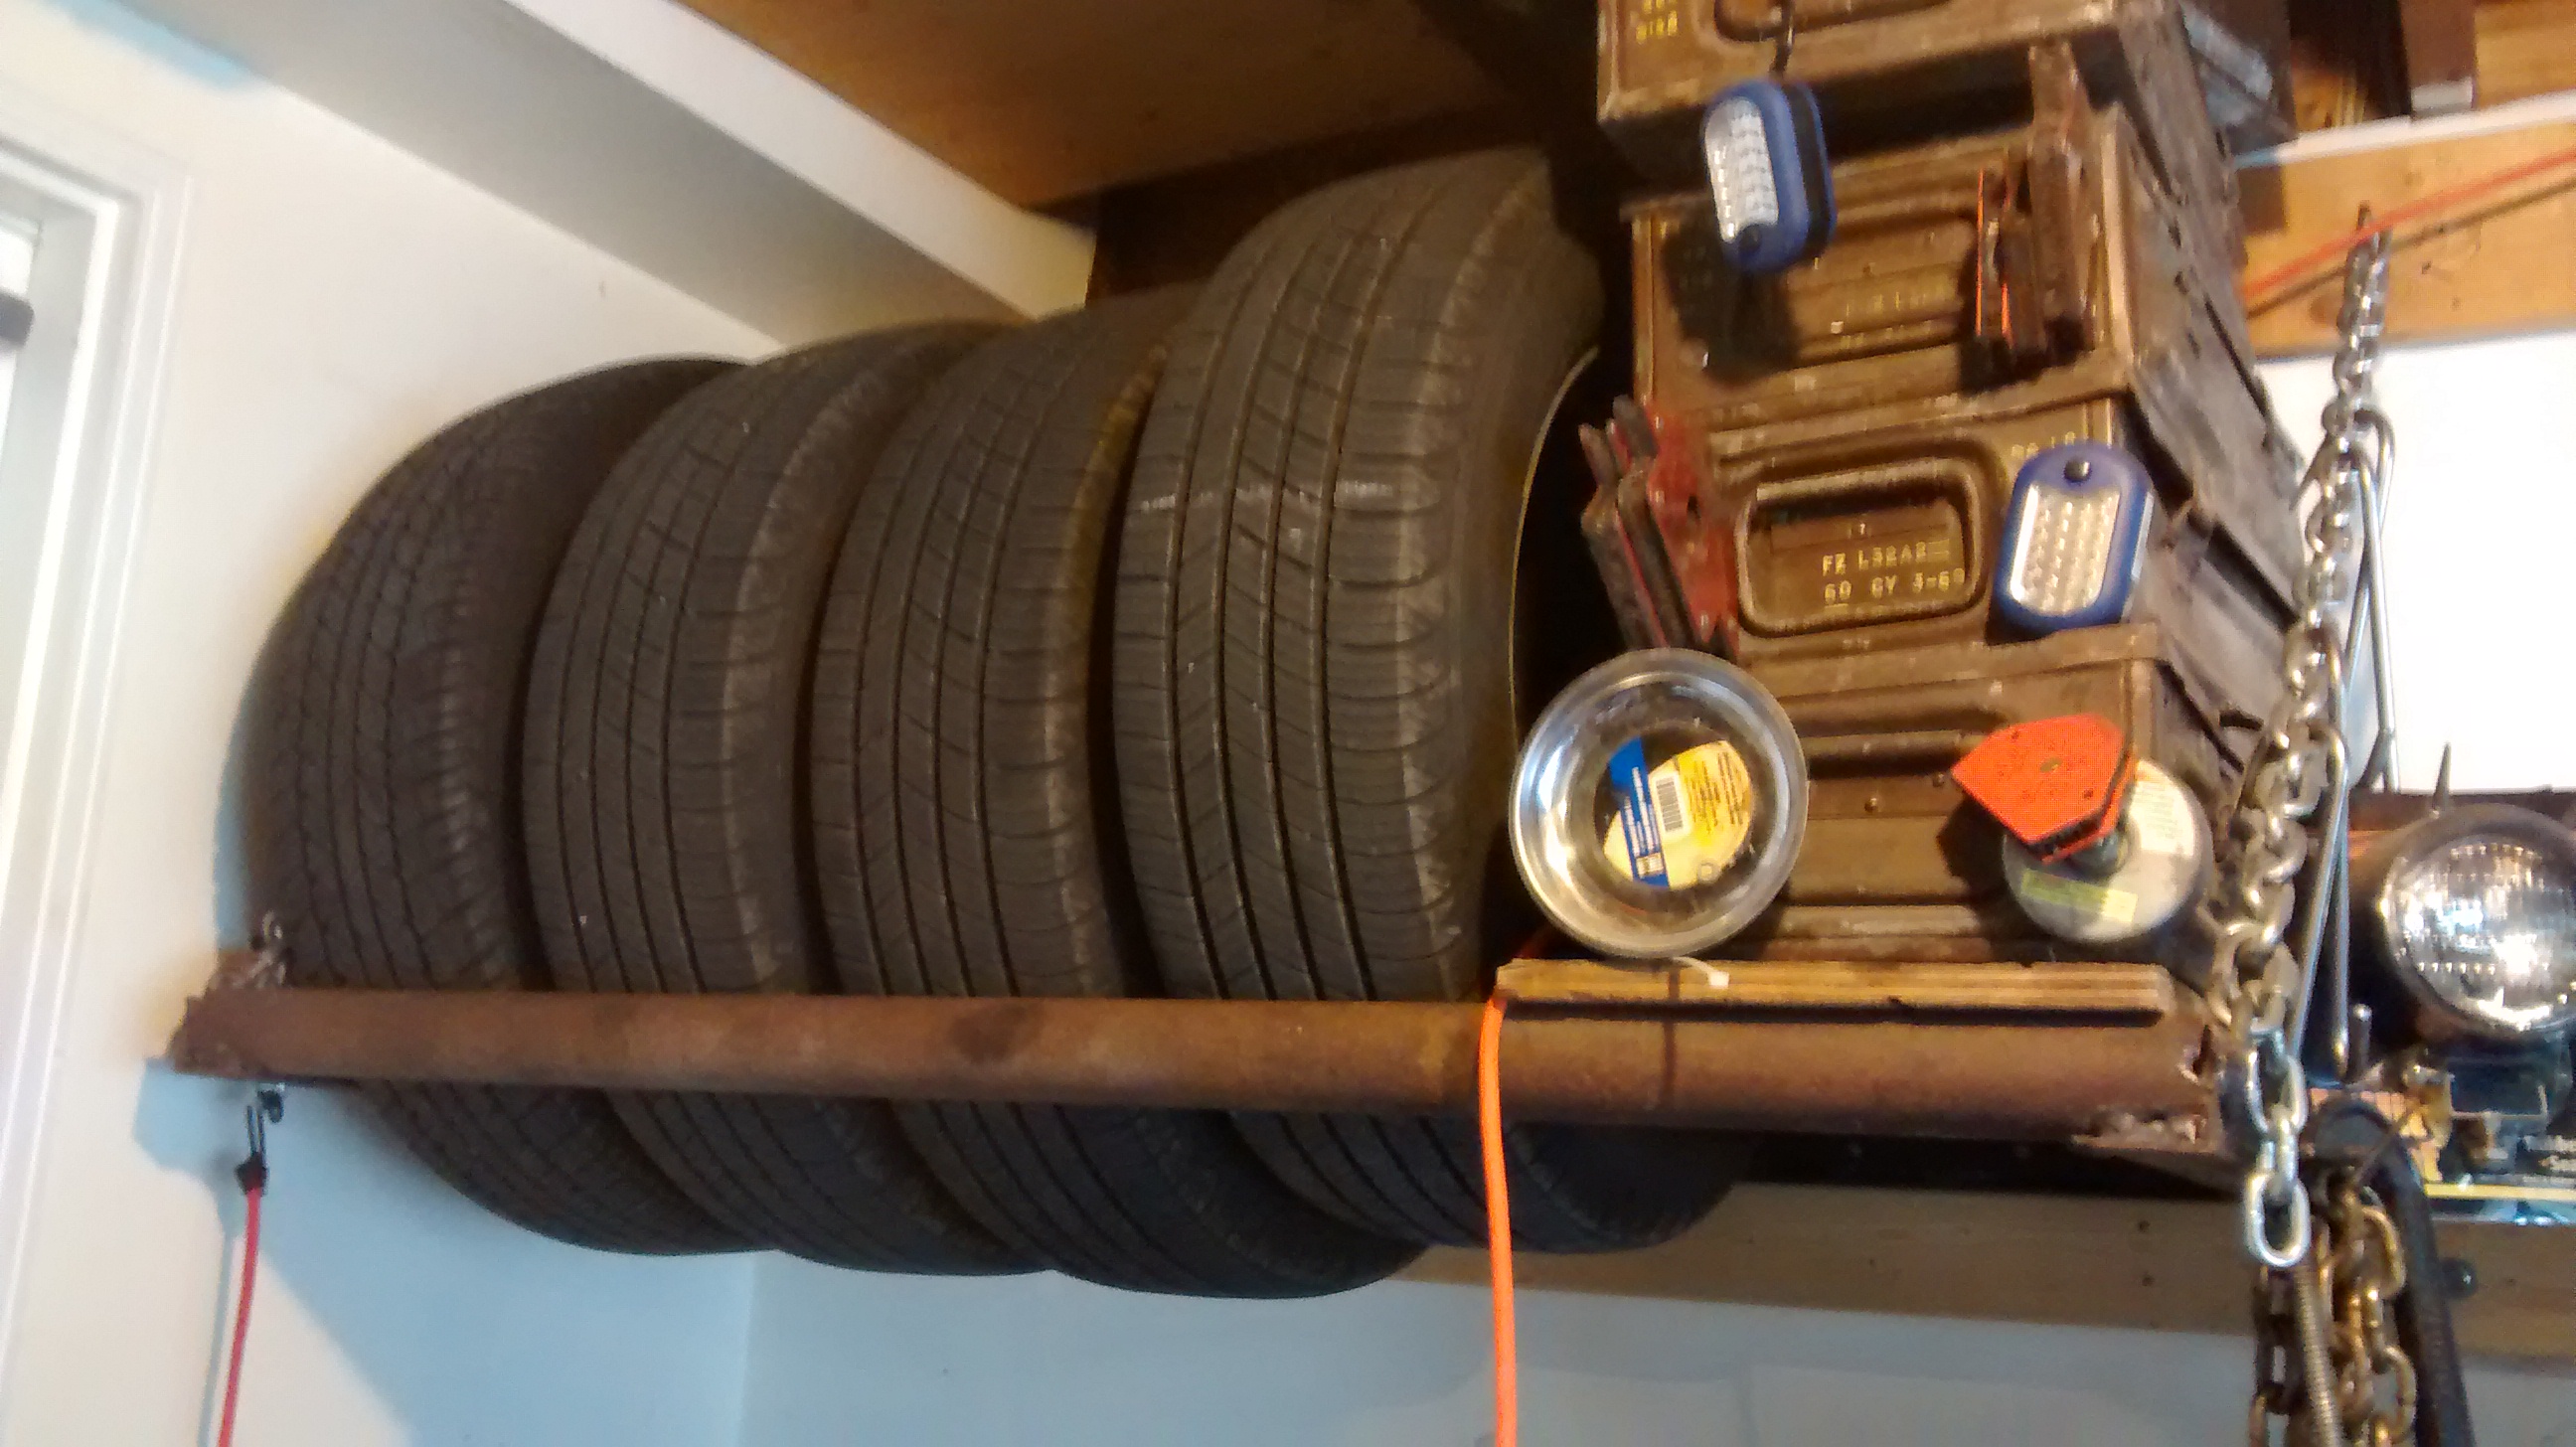
View of the tire rack loaded
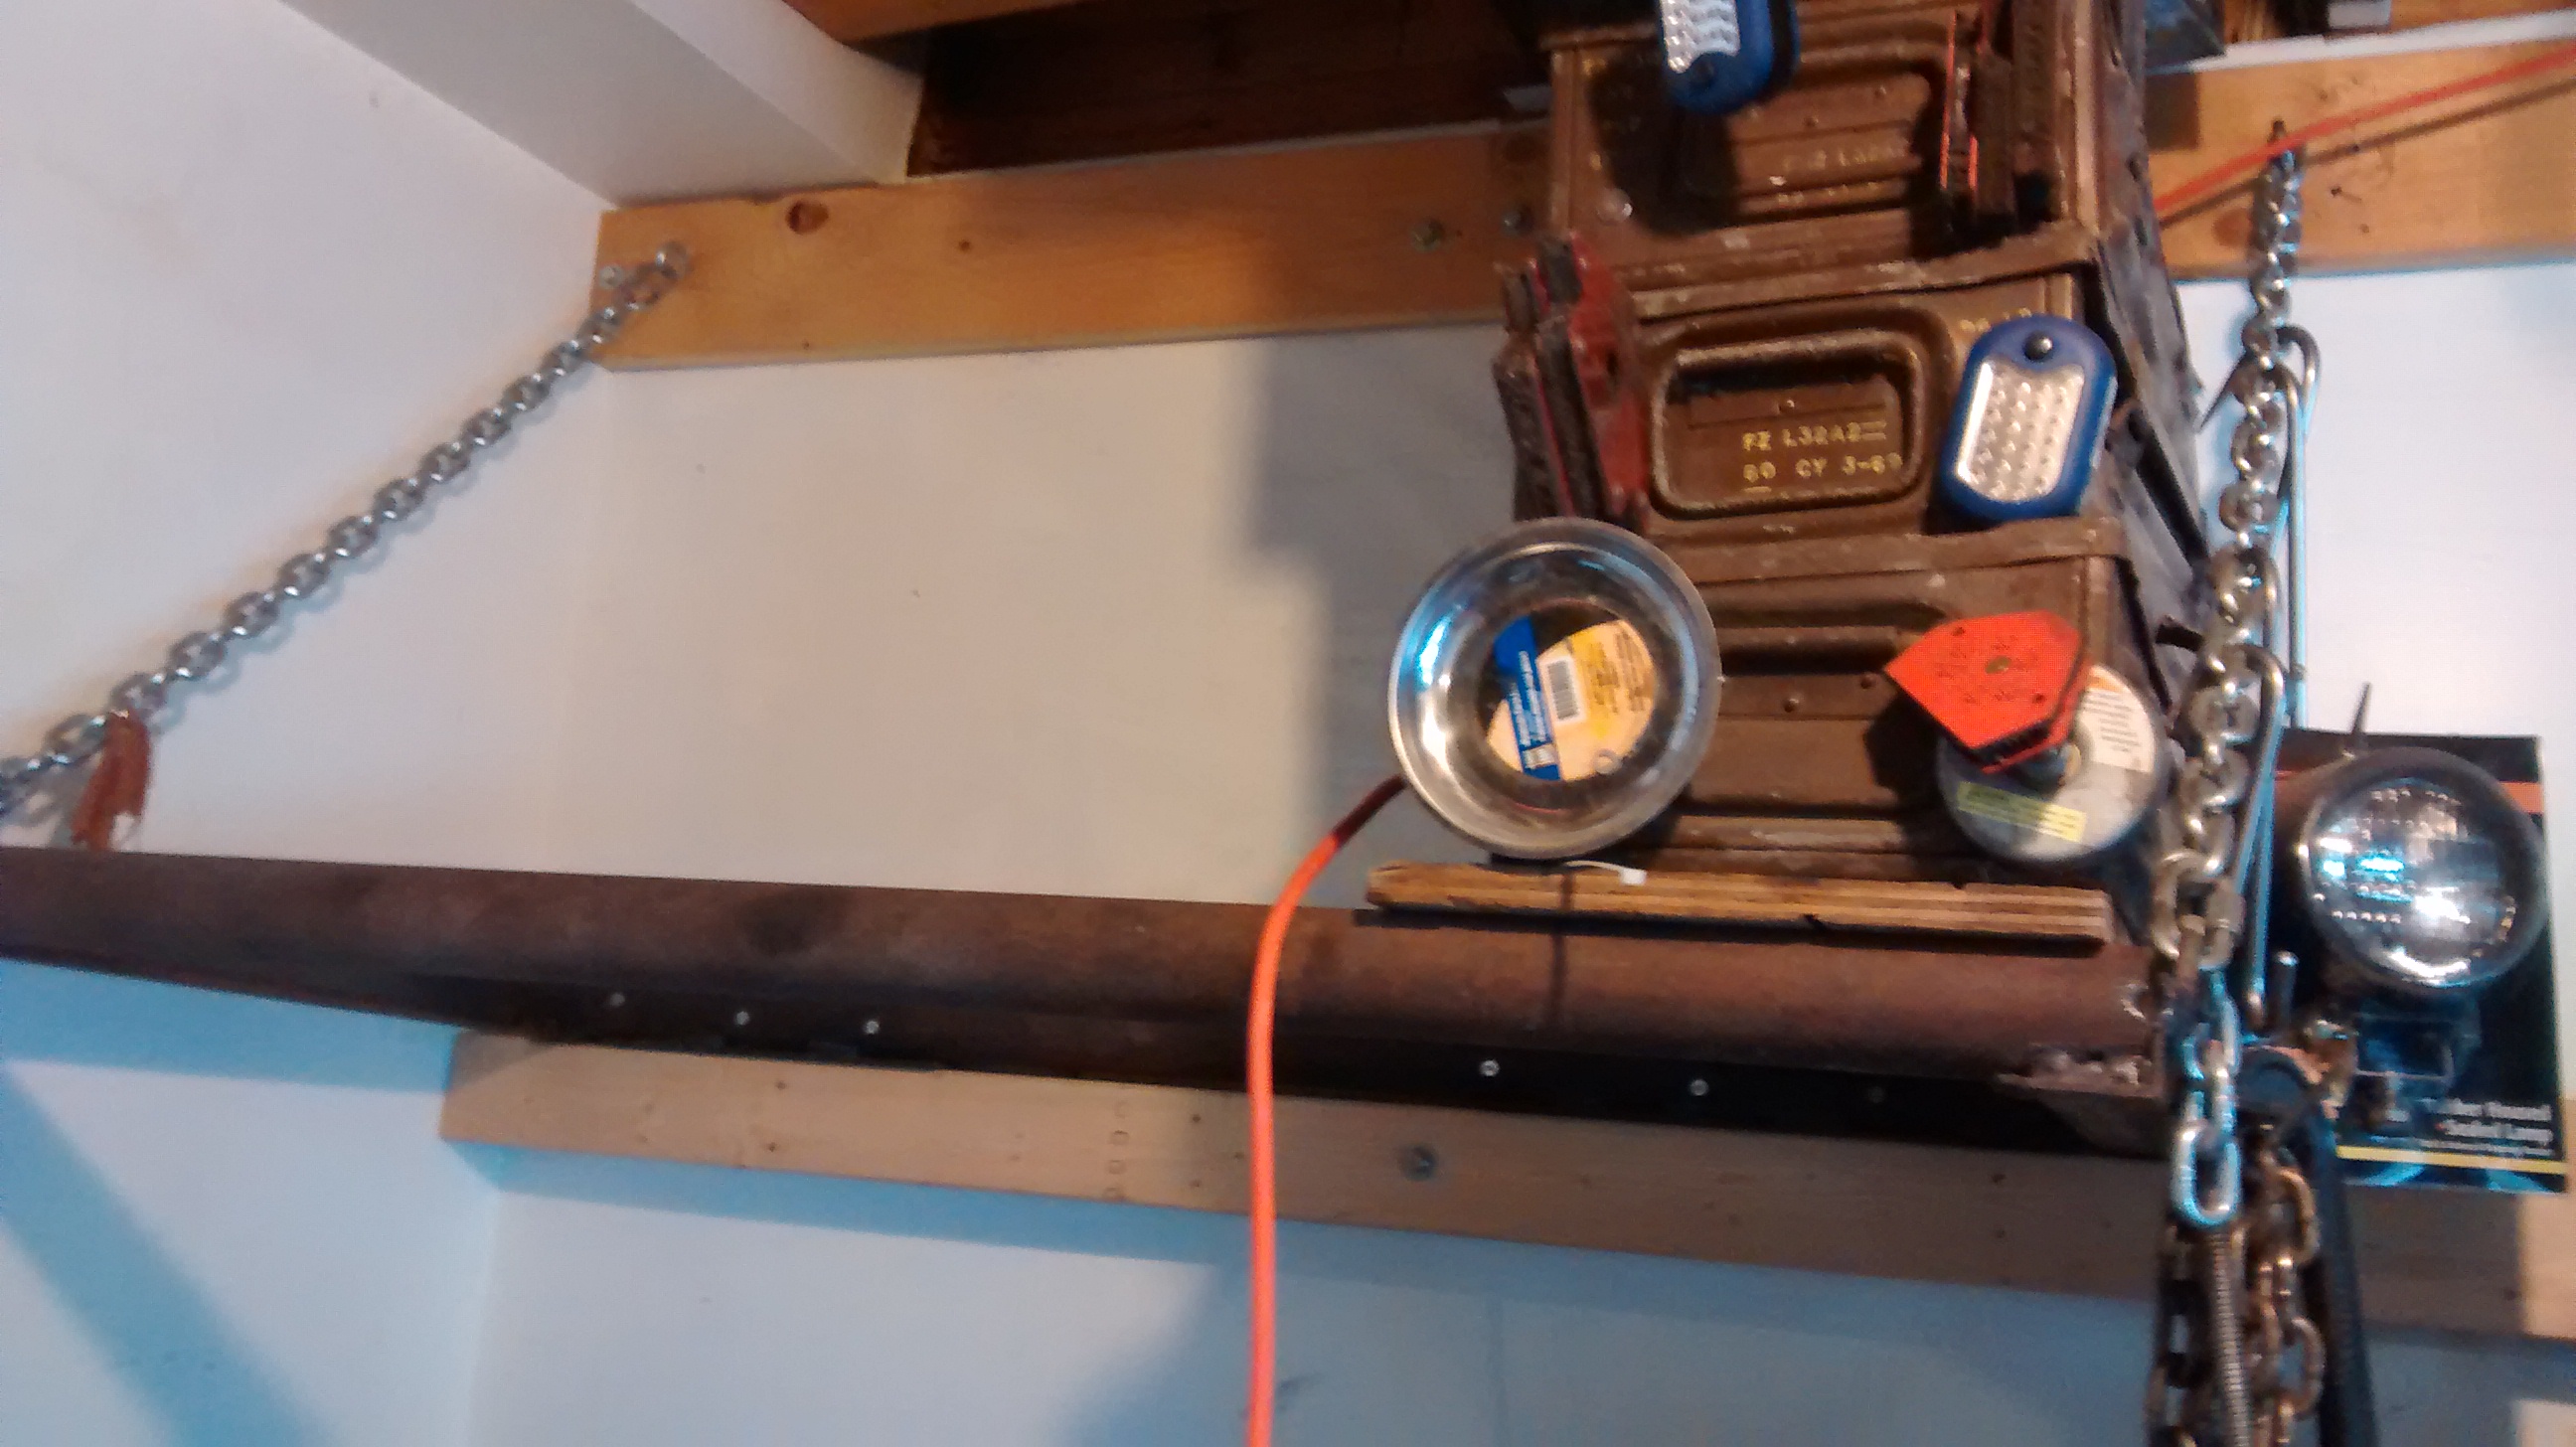
Overall view of the Unloaded Tire Rack
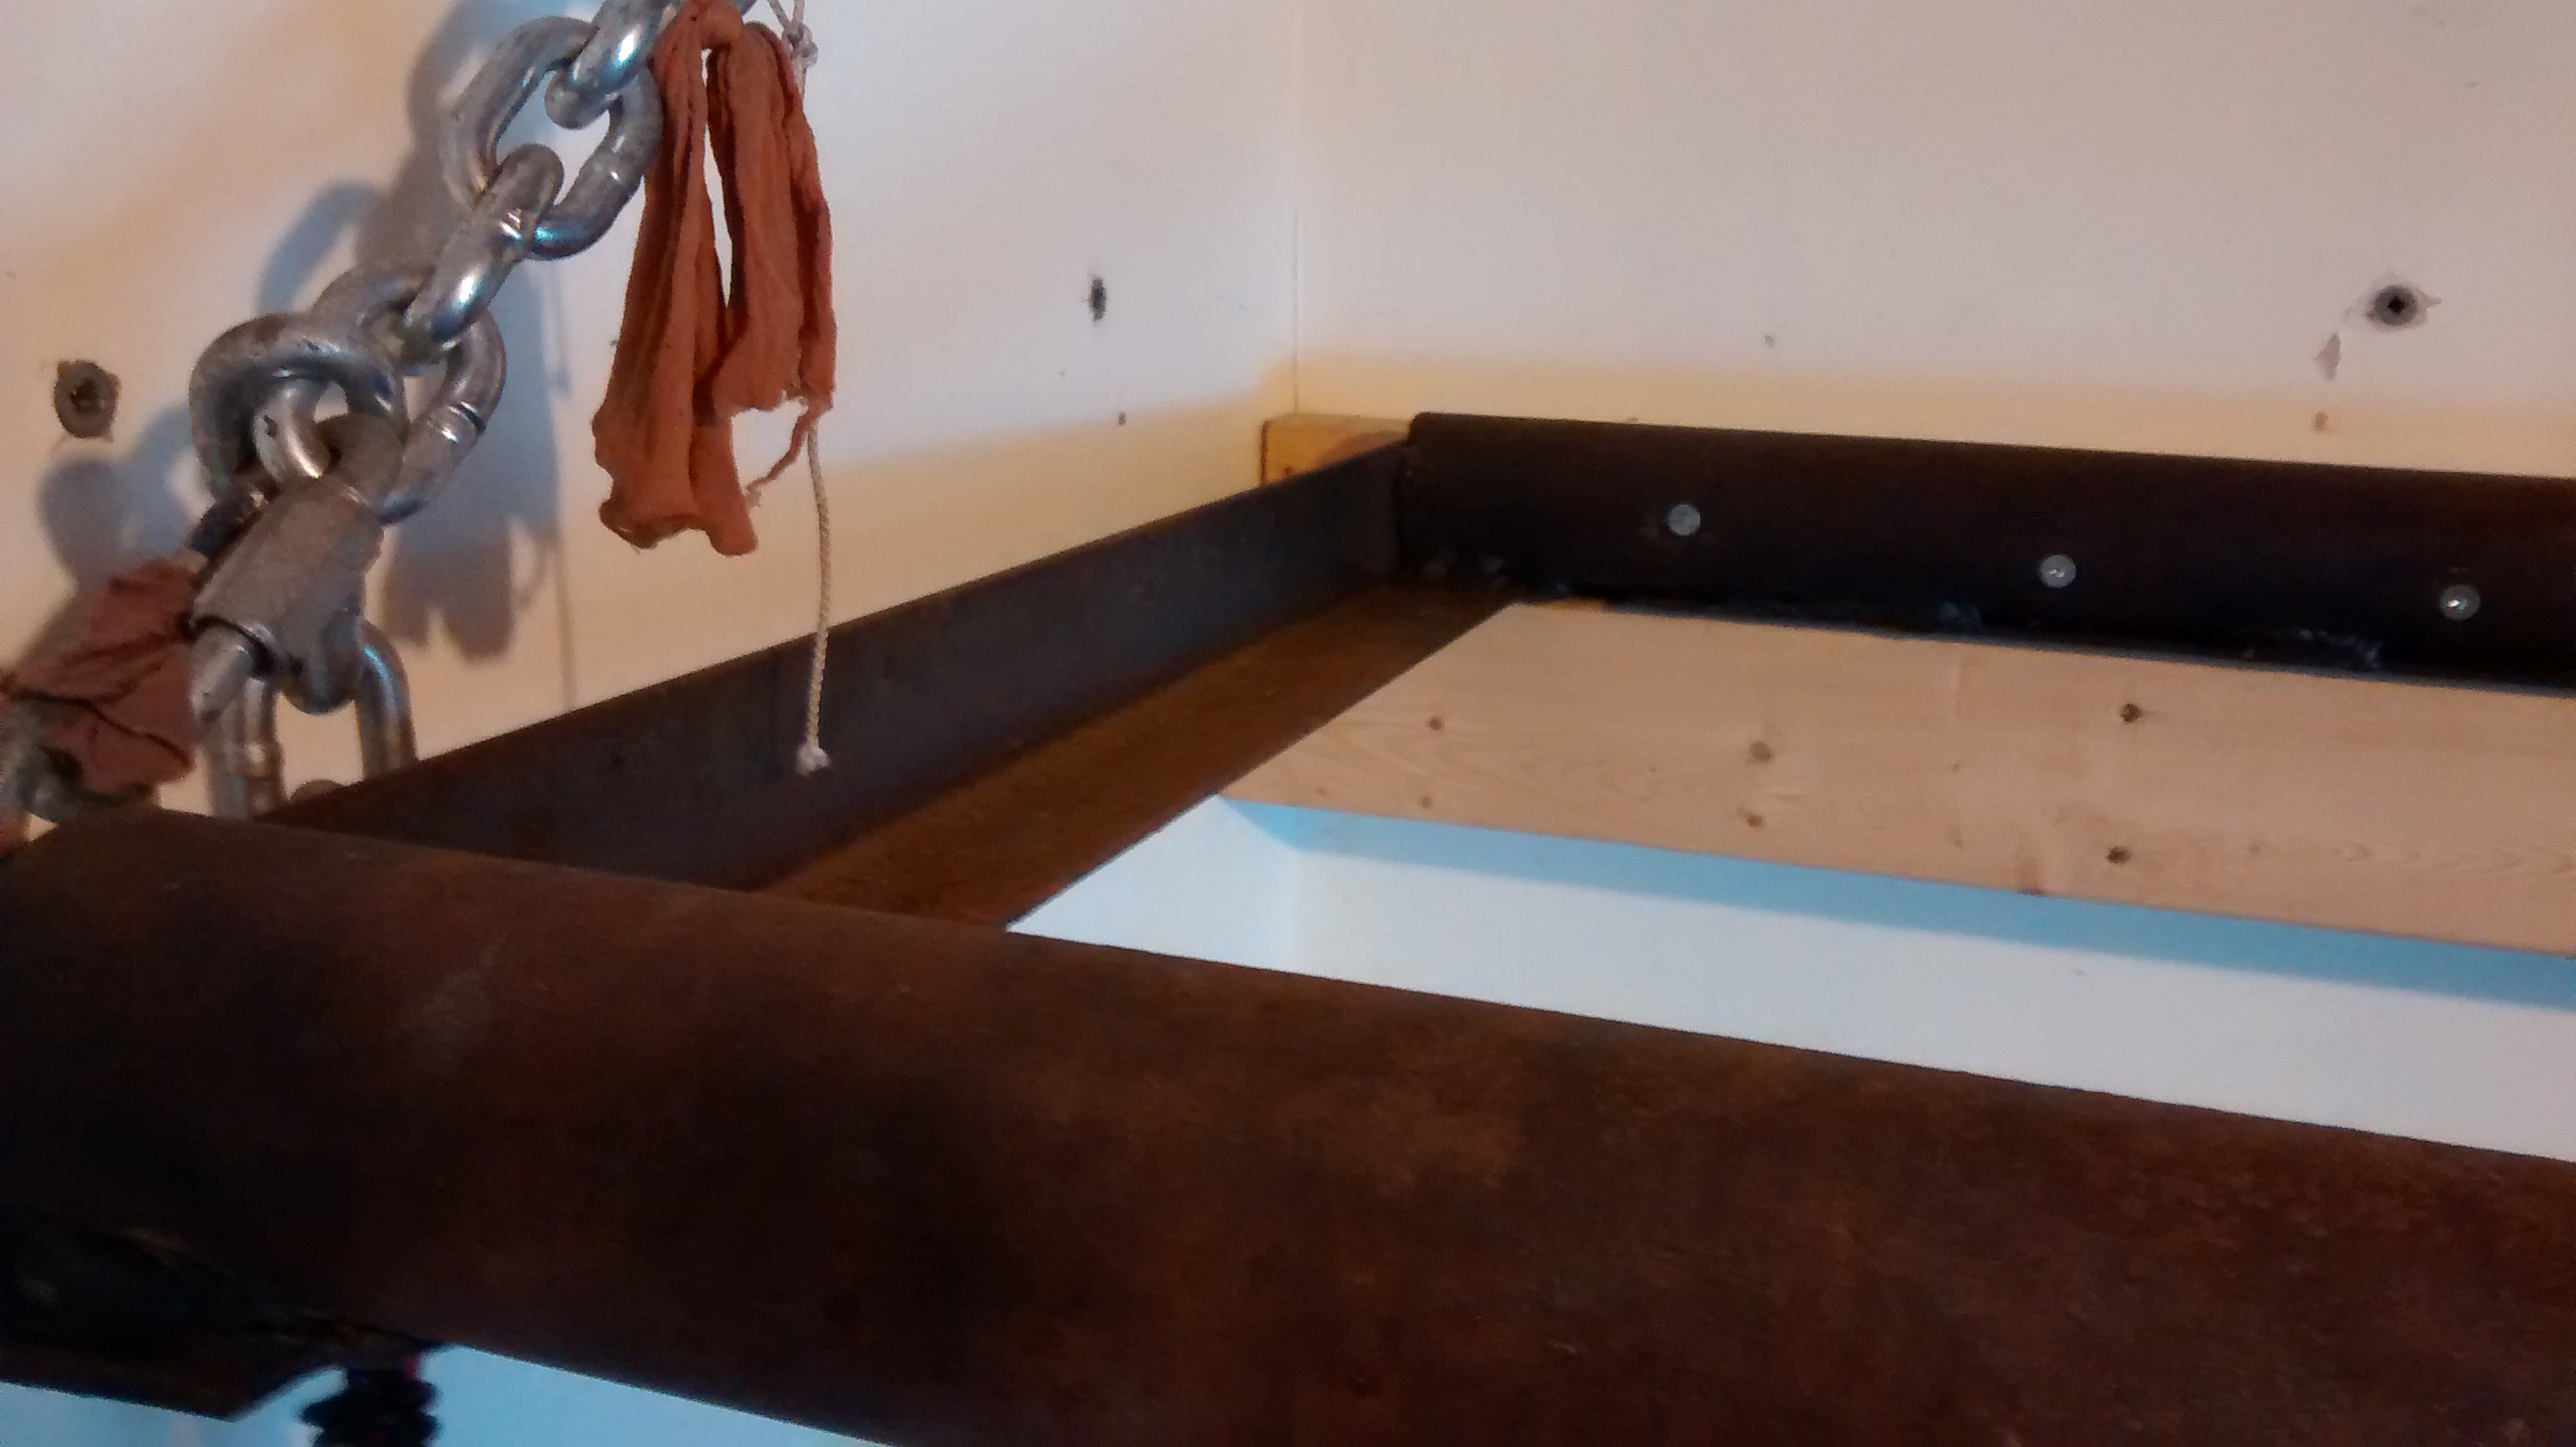
Frame construction for the Tire Rack 2″ steel pipes separated by a piece of 2″ angle iron
The frame is built of 2 2″ steel pipes welded to a piece of 2″ angle iron
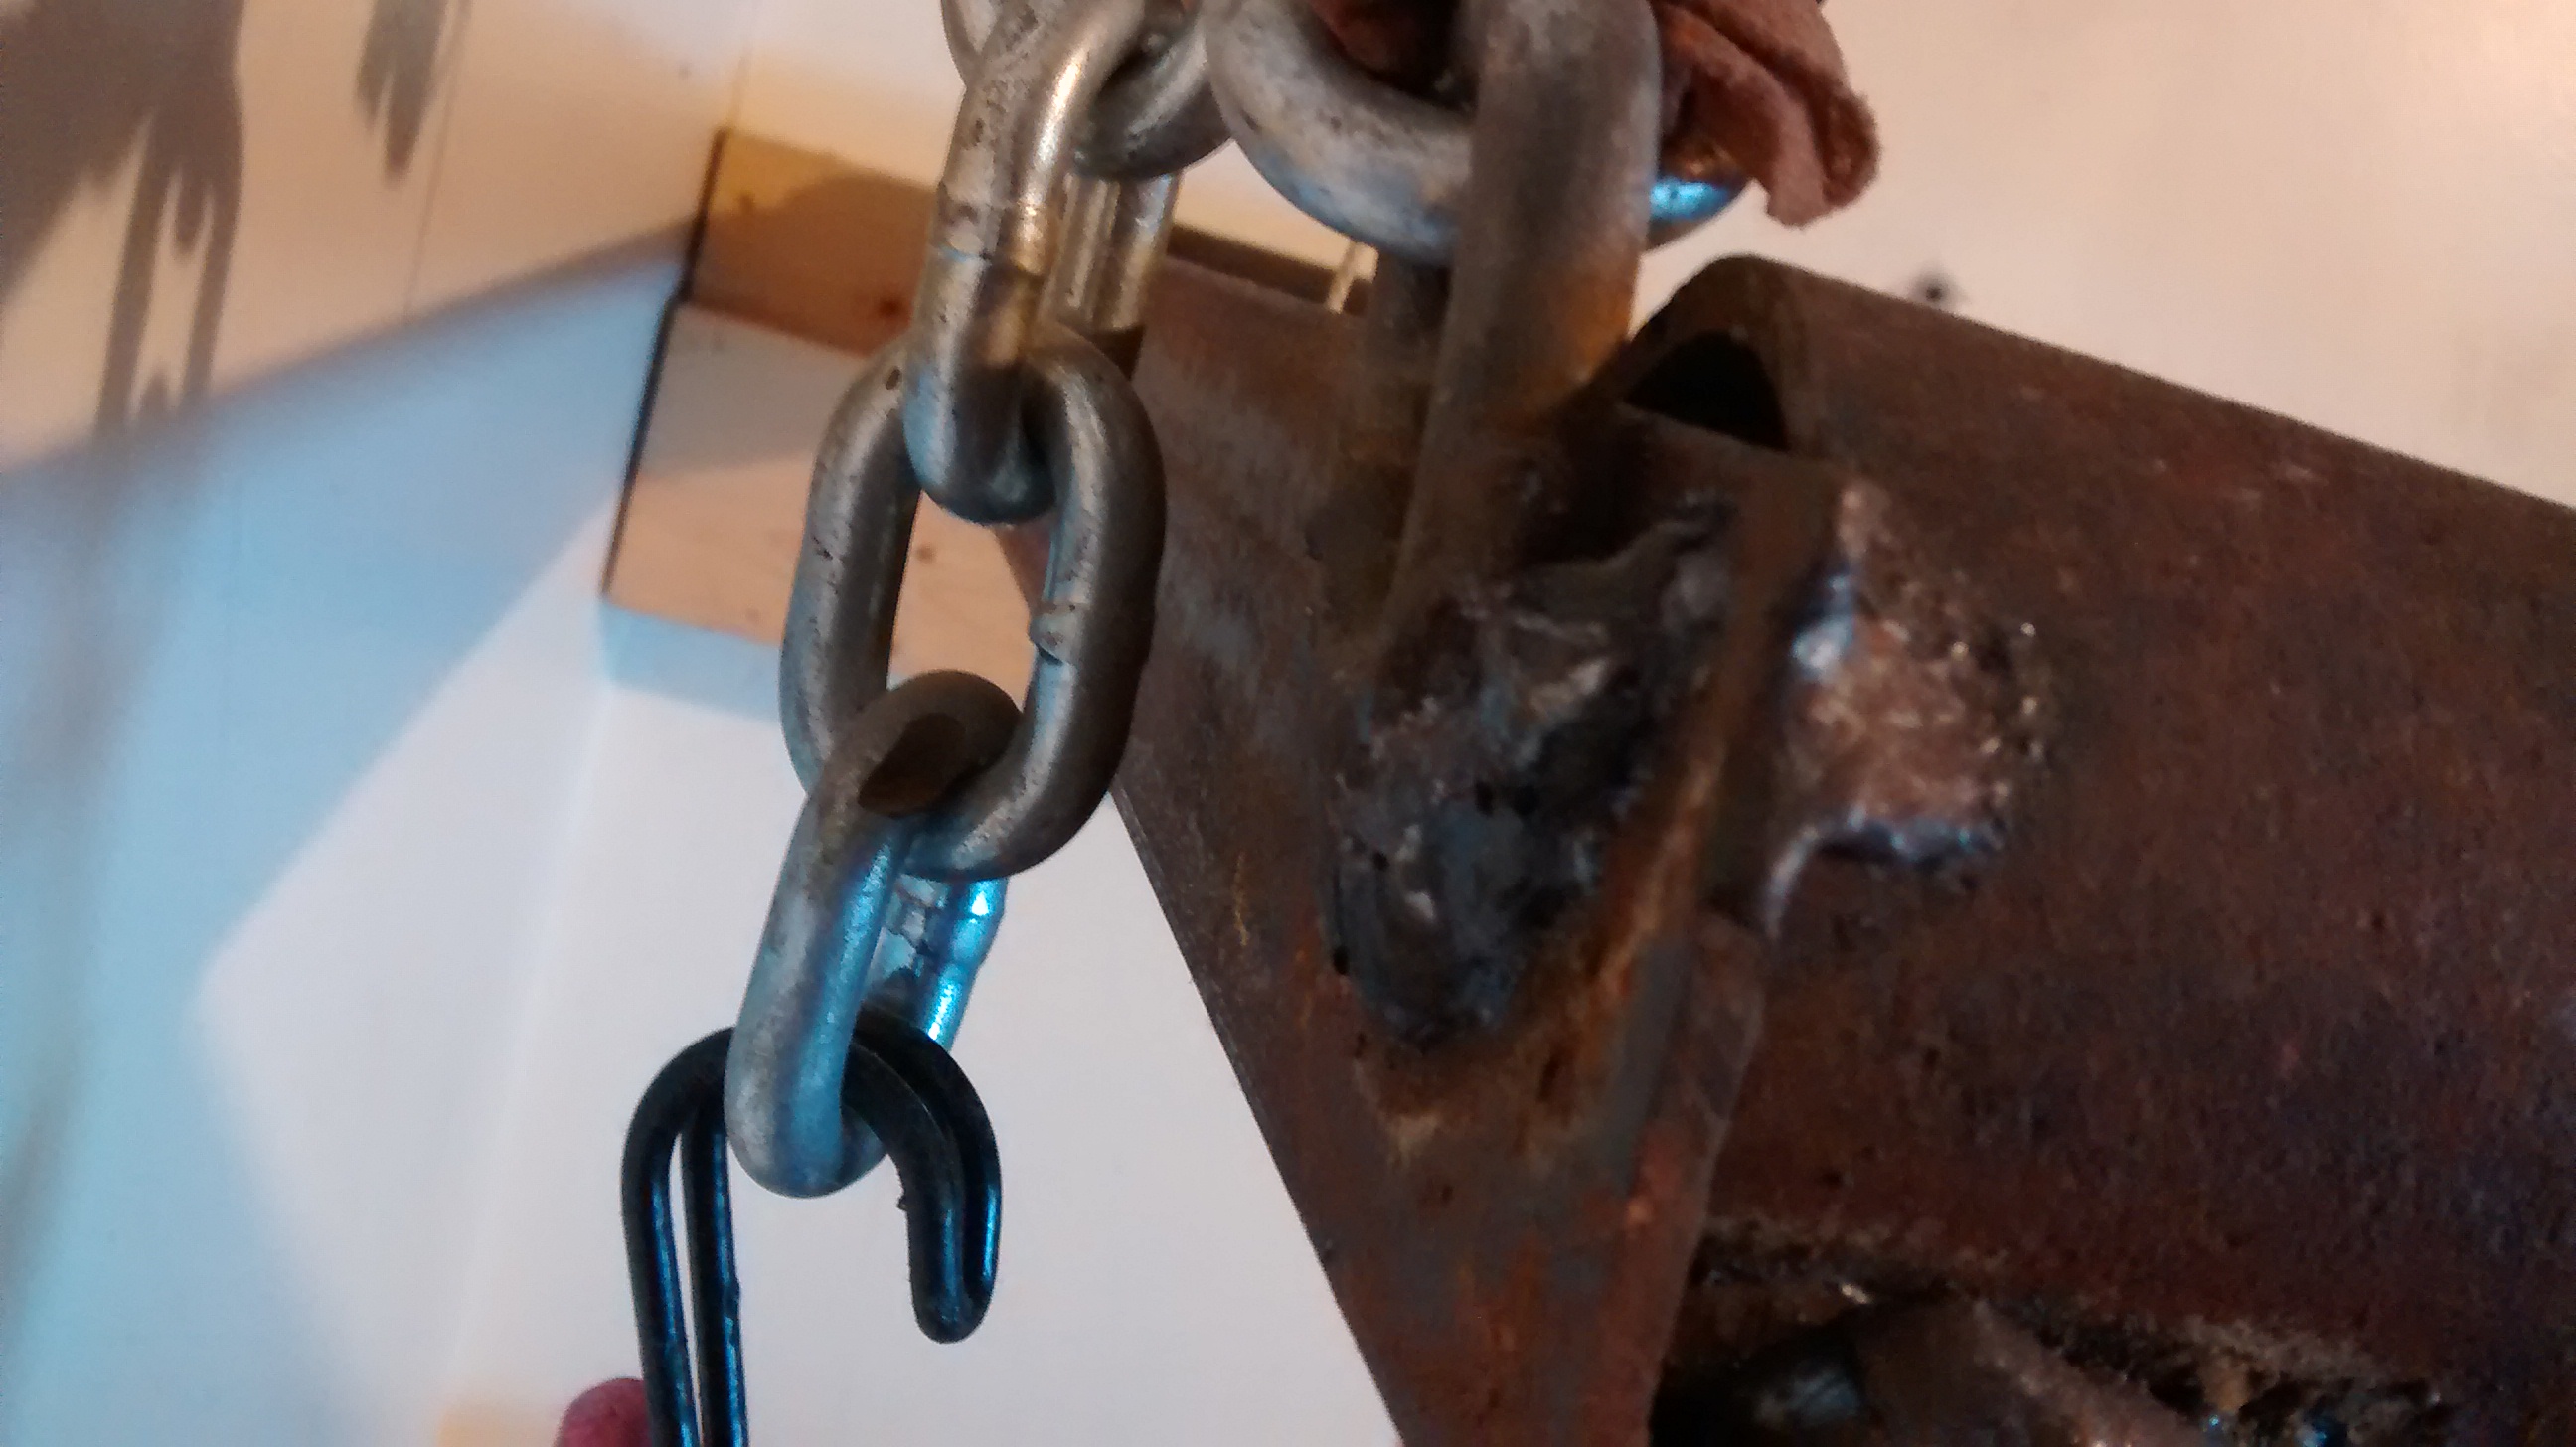
A piece of chain welded to the frame and connected to the length of chain with a quick link
On the wall top the chain is connected to the eyebolt through the top 2×6 with a quick link
Holes are drilled though the pipe for screws to pass through to secure the frame into the lower support. The rear piece is a 2×6 and the lower piece is a 2×4 creating an L shaped shelf. A short segment of 2″ angle iron is welded to the rear pipe to create a flatter bearing surface.
On the wall top the chain is connected to the eyebolt through the top 2×6 with a quick link
Additional length is used for a shelf to hold ammo cans with specialty auto repair tools
Table lamp made from a coil spring and a disk brake
When you start to develop skills you’ll increasingly see new opportunities opened up to employ them – often in ways that you may not have even guessed at when you first set off down that path. That’s true of gaining metal working skills – originally I wanted to be able to build and repair machinery and tools… but with time I’ve ended up producing quite a few pieces of furniture. Now some of those have been ones I could have purchased if I’d wanted to run up my credit card bill, others aren’t particularly special in terms of design but rather of fit – in terms of dimensions, sometimes the right size is just not available in store.
But others, well those are a bit more unique – flights of creative fancy, and I think this table lamp made from an auto coil spring and a disk brake is a good example of that. Total cost – about $2 for some 1/4″ threaded gas pipe from HomeDepot. If you needed to buy it the bulb base, lampshade hoop and cord would have been about $10 more – but in this case I just walked the pup a bit further on the night before garbage day and snagged an ugly light from a neighbours trash that provided the right elements for free.
Lower portion of the lamp – showing the welds between the disk and the spring
The lamp itself is simple enough. The body is the front coil spring from a ford windstar – one failed on my old van and this was the one that was still intact when I replaced the two of them. To give a broader but low profile base I took a disk brake and used the angle grinder to cut the hub projection from the braking surface. Since the spring didn’t quite meet up with the disk I slipped some scrap steel in between to bridge the gap then welded the three (spring, filler material, disk) together at a few points.
At the top of the coil I welded a piece of 1″ by 1/4″ thick steel (just a scrap piece I had on hand) across the coil, drilled and tapped it for the 1/4″ NPT pipe segment which the lamp base screwed into on the other end a coat of black spraypaint and the lamp was done.
Upper segment of the lamp – showing how the light base is mounted
Now if you don’t have the tools – primarily the angle grinder and a welder don’t be scared off. They are both low cost and wire feed welders make OK welding incredibly easy to do.
Now even if you’d have to head out to the scrap yard for inspiration it wouldn’t have cost you more than about $30, but what would one of these sell for in some artistic store? But more importantly, how much satisfaction are you going to gain from exercising your intrinsic creativity – and equally once that door opens how many more opportunities are you going to see to grow and exercise an expanding skill set.
So when you look at metal working skills consider what tickles your fancy – for me I entered because I wanted to build and repair machinery but ended up also doing a lot of creative work. For you it may well be reverse – either way you’ll end up seeing possibilities grow as you gain capability.
I’m a fan of these L.L. Bean boots, and while I inherited my first pair from my grandfather my sensibility trumps my sentimentality. For example, I’ve got a lovely “Woods” canvas duck and game coat, heavy durable canvas, wool lining, button up lower rubber lined segment that dates from the same era as these boots – its a lovely coat, but it has been totally eclipsed by modern materials which are lighter, warmer, more weatherproof and better able to adapt to changing conditions. These boots by contrast – still rock, and are in my opinion the best boots for hunting and hiking off the beaten track on soft soils (as opposed to rocky surfaces) let me count the reasons why…
Right match of flexibility and support
Rubber and leather – it’s a great combination that is probably the closest you can get to the flexibility of a leather moccasin with better wear and water proof capabilities. The leather uppers hit the right spot for flexibility when hiking and hill climbing while also offering ankle support and nearly as importantly protecting your lower legs from getting stuck poked and pinched as you scramble through the bush.
Comfortable
I’m not saying it’s not nice to pull these off at the end of a long day, but if I had to live in one set of boots – these would be them. They are very comfortable.
Light weight
Now the reason that Wood’s coat often stays in the closet is because of weight. While weight isn’t going to be as much of a factor if you are staying close to a vehicle, if you are heading off into the bush what weight you carry better be well thought out. I’d rather toss in extra batteries for a headlamp, some candy, a second compass and another box of ammo – all useful weight rather than useless weight in a boot, these are just what you need and nothing more without being so lightweight you give up all the advantages of a boot over a shoe.
Bean boots do fine on hilly terrain
Waterproof way way up
I often end up walking around swamps, wet spots, old logging trails, and peat bogs, lots of wet spots. The extra height of the leather uppers available with these boots is something I love. Quite often I might not lace them all the way up – unless the scrambling is going to get tough – but the height of the leather lets you choose the easier path which might be wetter. Get the highest leathers you can manage – you don’t want to be regretting not getting the extra two inches when walking through a beaver marsh or when wondering how deep the muck goes in that old skidder track. The same goes for snow – these make great winter boots. Get some dubbin and apply it a few times a year.
Reasonable grip
Note I say reasonable not aggressive. The tread looks on first glace to be one that shouldn’t be very sound, but in practice it gets the job done from walking through muck, on leaf and needle litter on steep slopes, on snow and ice. My guess is that the flexibility of the sole sees much greater proportion of contact which compensates for the less aggressive grip compared to harder thicker soled footwear.
Bean boots are great for making your way around beaver ponds and marshes.
No liners
There are lots of gimmicks out there to dry boot liners, from stands over hot air registers to heated blowers specifically to help drying out the liner. I hate those felt or other materials, they wear and they are a pain to dry and they also limit the boot to one environment – usually winter. My Bean boots are sized to allow me to wear some nice wool blend socks – not cheap socks – but rather the kind of socks that your feet are happy the live in. I vary the weight depending upon the weather – in summer the socks are lighter, in winter heavier. If you should happen to get wet… well the drying procedure is remove boots, drain, switch socks and maybe the insoles. Oh yeah, in the light weight section I should probably have mentioned that part of the compensating weight I prefer to carry are a couple of extra socks. That’s it, that simple – and able to be done anywhere.
Durable
This current pair is about twelve years old and has seen a lot of use in all seasons and is just as nice if not nicer than the day I unboxed them. They replaced a set my grandfather who was a forester passed onto me. Those lasted me a good piece of time, and undoubtedly served him for decades before, when they failed it was the sole of the rubber lower that wore out. That’s pretty good value.
So where wouldn’t I use these? Well if you are moving over a lot of sharp rock I’d want a tougher sole. If you are trail running, go with a trail shoe. But otherwise L.L. Bean came up with an awesome and timeless design for a great bush (and winter) boot. Treat your feet right and get a pair.
So I just completed the refinishing process for my Hobart C210 stand mixer and it looks great. I started by disassembling the unit as much as I could – carefully labling the fasteners in ziploc sandwich bags so that I’d be able to find them and identify where they needed to go easily when it came time to do the reassembly. Then I used the wire wheel on the angle grinder to strip the original paint and rust back to bare metal.
With a clean surface to work from I applied about a dozen thin coats of gloss black rust paint (Just the hardware store brand) from spray cans. While I have lots of gloss black rust paint AND the air powered sprayer to apply it the amount of work – and the frequency at which the thin coats needed to be applied meant that it would have been way more work (and probably money) to fool around with a system that fits much better with large application requirements rather than this tiny job.
I guess I should also note that I masked the maker tags, the oilers and the motor vents and the sliding surfaces before starting to paint. I applied several thin coats of paint at most twice per day until I had built up a nice solid paint layer – then after allowing the paint a few more days to harden I moved the components around so that I could paint the segments that were still needing painting.
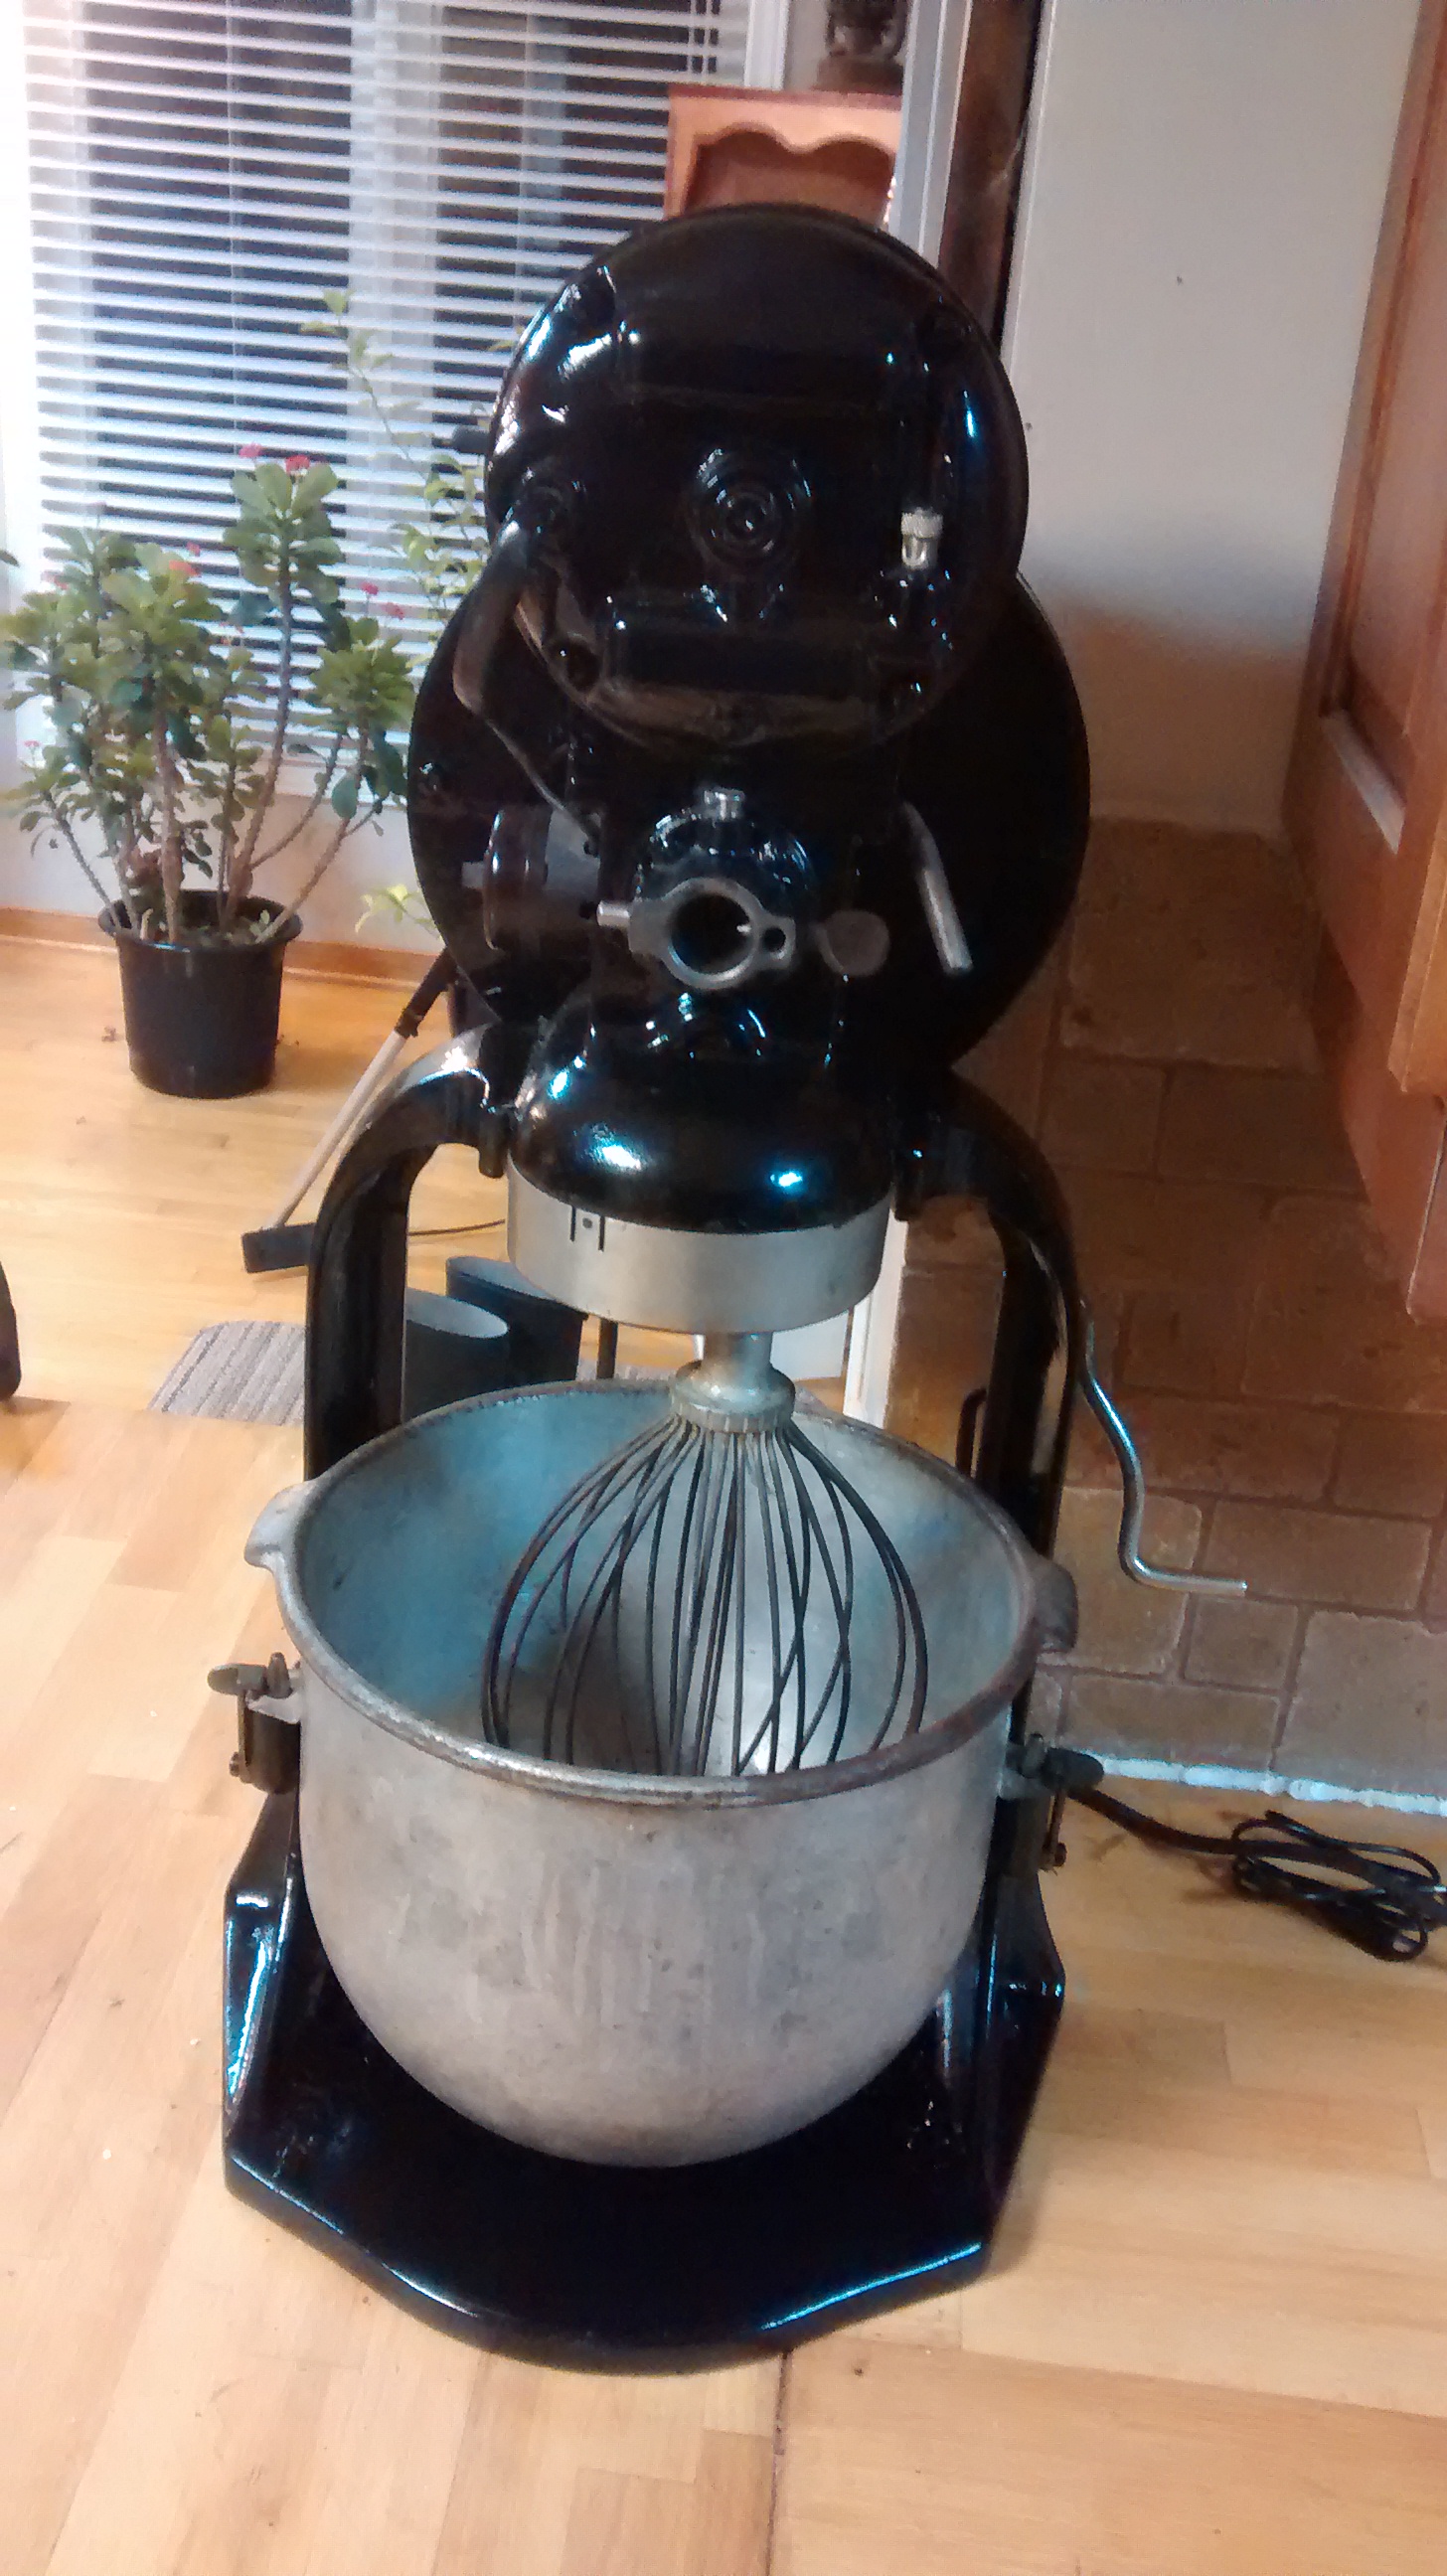
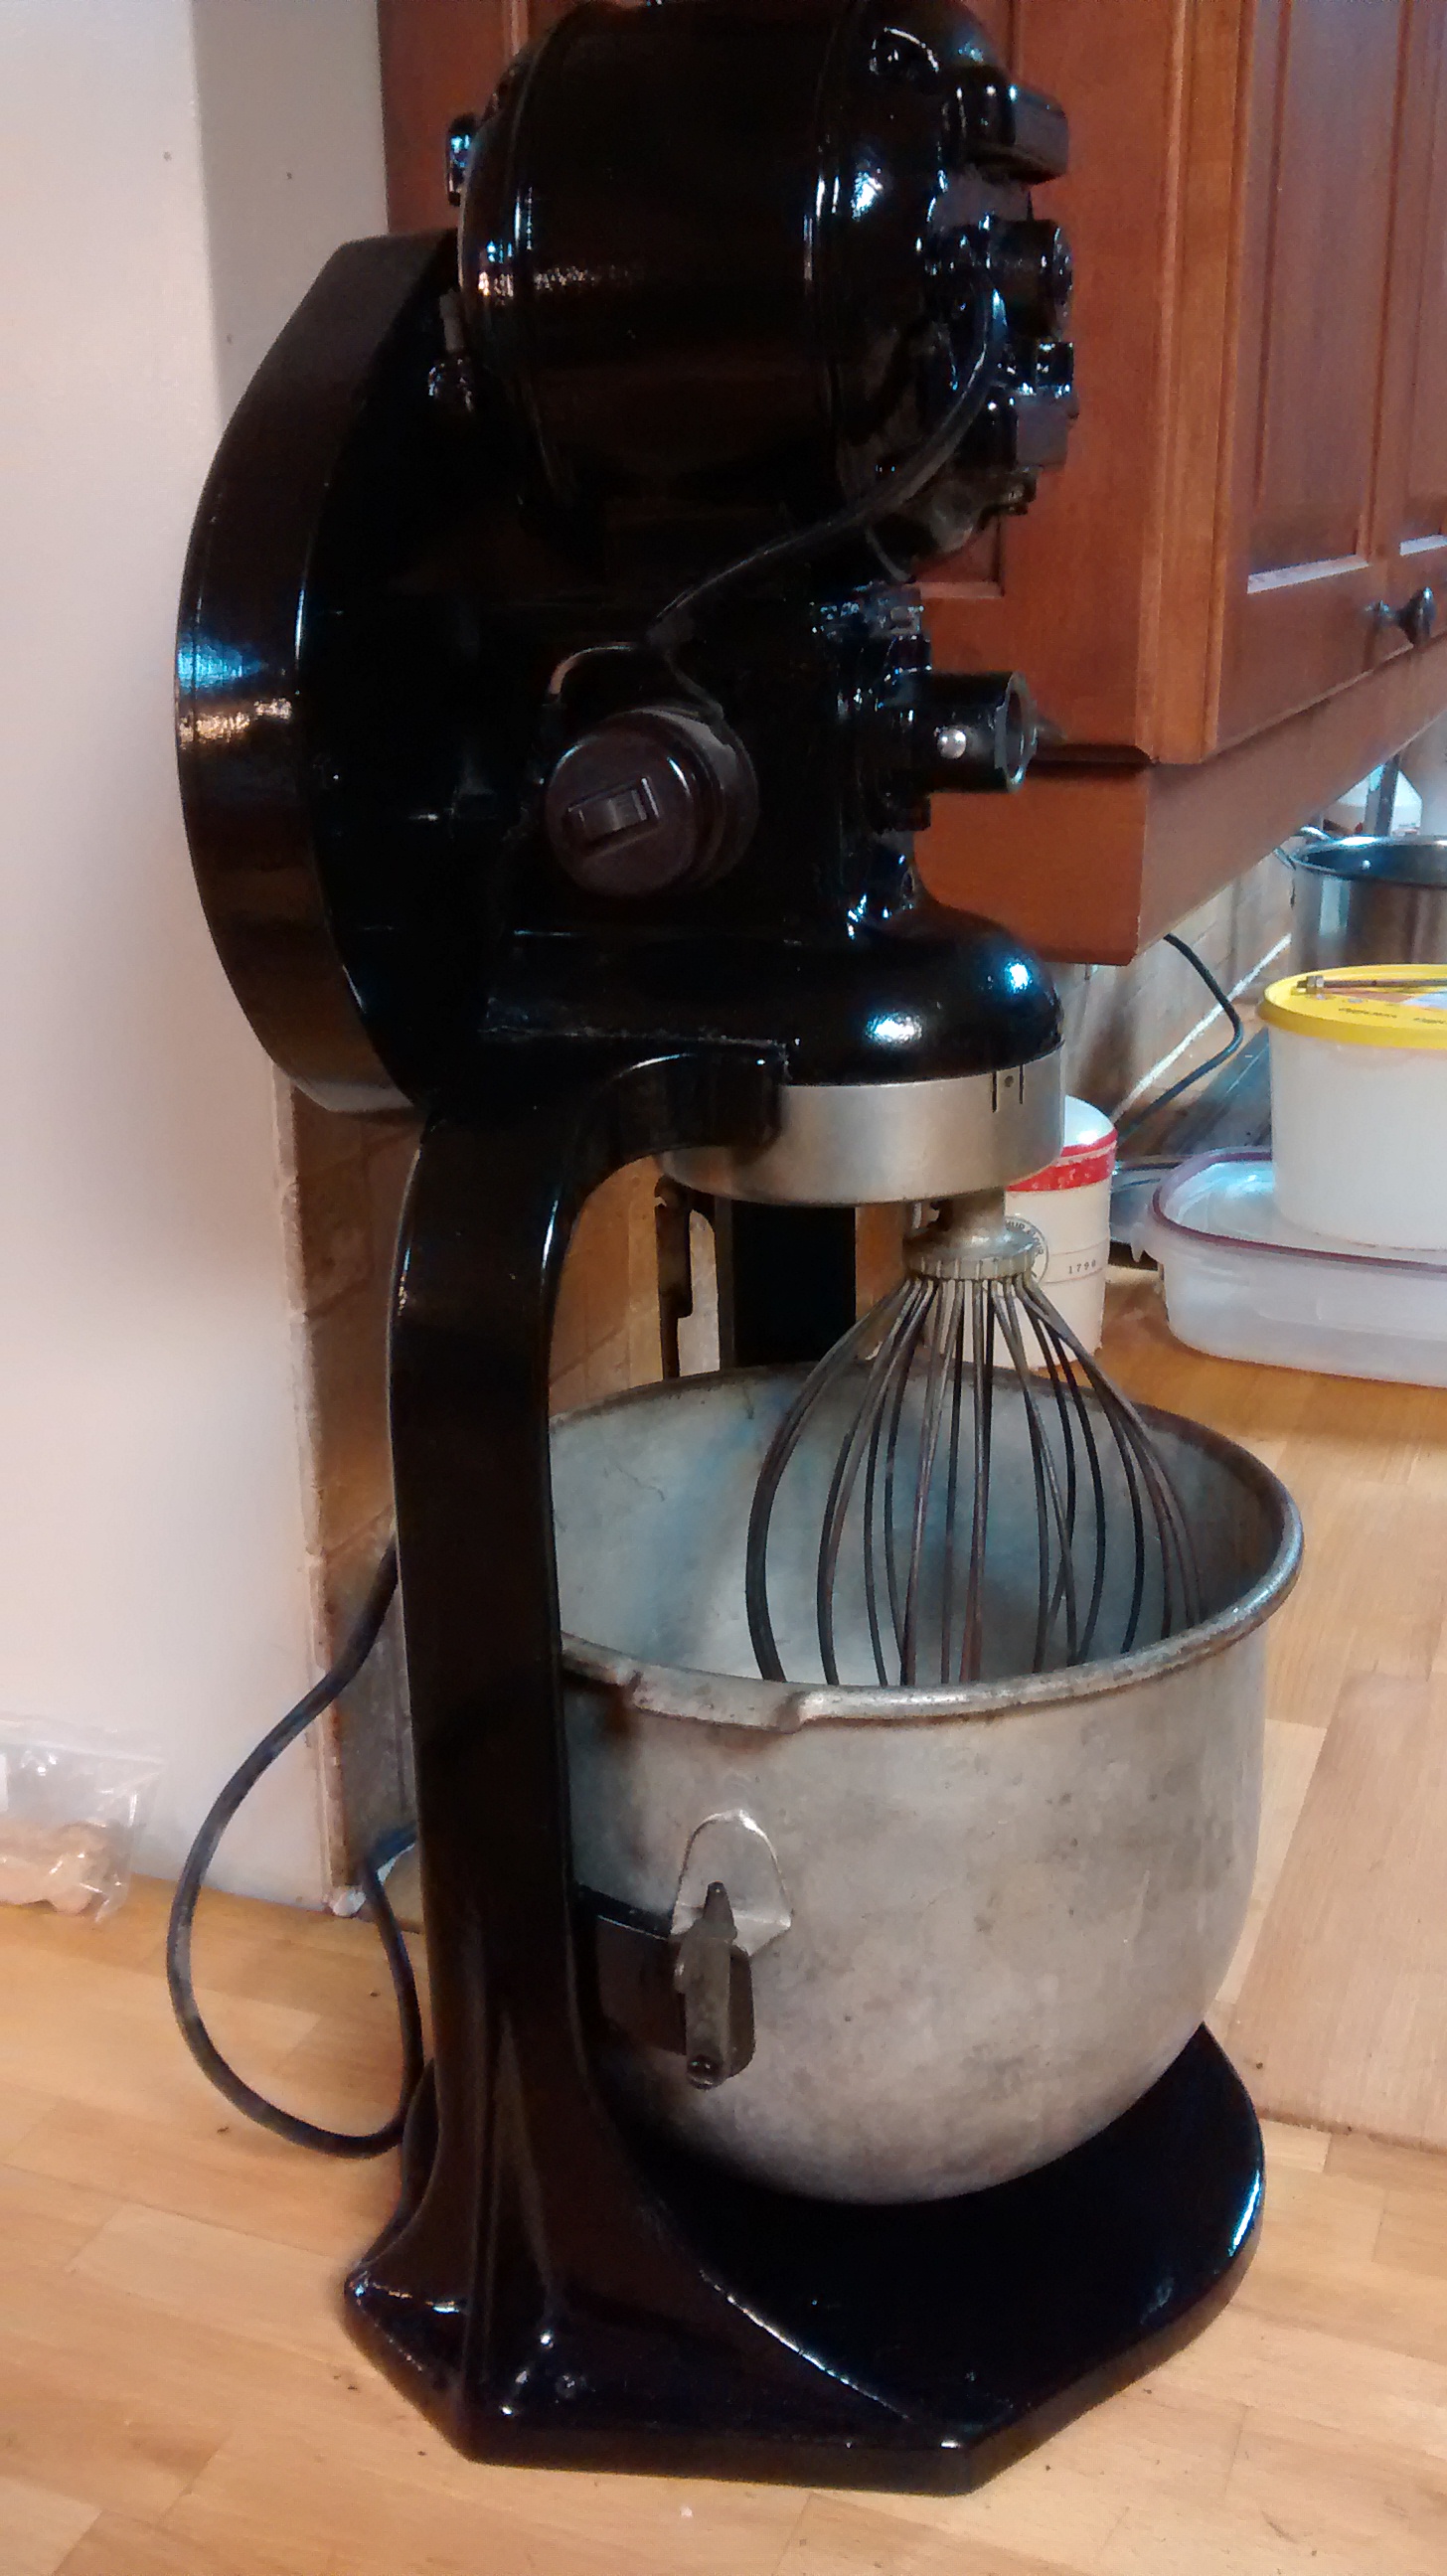
Vintage Hobart Stand Mixer refinished – side view.
It’s tempting to rush the job – either by putting on the paint too thickly (which risks the paint dripping) or by not allow the paint time to harden before moving a piece – which risks having the soft paint job marred. Either option is a false economy – take the time needed to do things right.
When the basecoat had dried I applied several very think coats of clear coat again from a spray can. The clear coat really increases the luster of the underlying gloss black paint making the mixer really stand out.
Then I stripped the masking off and reassembled the mixer. It looks great, and while I am a bit sad that I don’t have the original grey paint with pinstriping the black is much more to my taste – and this isn’t some antique that is there to just look good – I expect it to perform! To that end it’s first task was to whip up some egg whites for meringue. It did a great job.
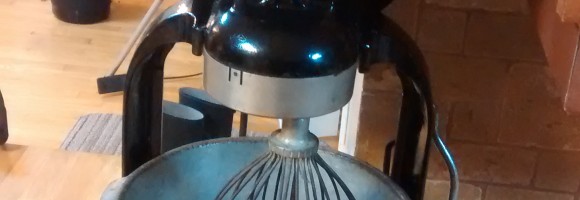
Hobart C210 whisking egg whites
As I whipped up the whites I was reminded of the first microwave our family got. It was purchased at one of those liquidation events in a local sportsplex events – you know the ones that are in town for one weekend only and sell motorcycle helmets, leather jackets, underwear and home appliances not only in the same venue and display them with no apparent logic. It was my father that purchased the microwave for my mother (along with a camera and a leather jacket for himself). My mother scoffed at the purchase – what would she do with a microwave that she wasn’t already doing with her stove? Her opinion was that it was both a silly and luxurious purchase. That quickly changed with use – and as a family we went through the convert stage where loads of things had to be made in the microwave – even when it had become clear that the oven or stove top really did yield a superior product. That ebbed with time – she is no longer trying to bake or make eggs in the microwave – but it has become a key appliance in her home as in nearly all other modern homes. The microwave lasted nearly 30 years – periodically getting the micro switches on the door latches replaced when they would fail. It was finally dismissed not so much due to an inability to perform and more because the decor had changed and a huge brown microwave no longer fitted where a smaller sleeker white unit available for less than a hundred dollars would. Given that longevity and utility I’d say my parents made a pretty good investment that day, come to think of it my father is still wearing that leather jacket – though the camera is completely obsolete (and not even old enough to be a classic).
I have a feeling that this stand mixer is going to end up fulfilling the role that first microwave took in my mother’s kitchen. While I’ve been content using a hand held mixer and danish whisk because that was what I had (and the danish whisk is such a great advancement over the wooden spoon I had previously employed) just beating the egg whites was a great introduction to how much I am going to enjoy this mixer.
After a few weeks of really fantastic warm weather the briskness of the fall has caught up with us in this neck of the woods. The trees are starting to turn and it won’t be long before low lying areas get hit by the first fall frost – so it’s the time of the year to race to put up the bounty of the season before the blankets of snow mantle the landscape.
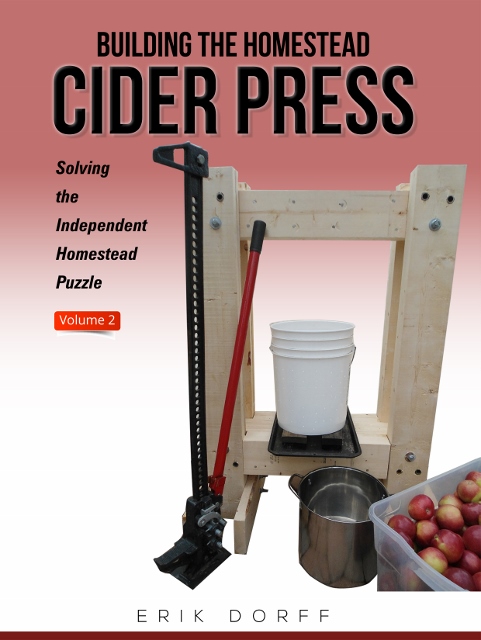
That means in part the apple harvest that started a month or so ago continues – and will draw to a close soon enough. The cider press is now out and we’ve had our first tastes of many of the freshest cider – dripping right from the press cylinder – and incredible treat.
As the cider harvest picks up speed we’ll be canning lots and reducing a fair bit to apple cider syrup – which is a great thing to have in the kitchen, and a fair measure will find stability as hard cider. But this first pressing is destined to be gulped down – much of it eagerly consumed right off the press, and the rest within the next day or two from the fridge.
For all the fun – and the immediacy of the reward does make it fun – this is a good example of how a bit of investment in assets pay off again and again. This latest rendition of the cider press – the one perfected for the book – is now three years old. After that initial investment in the first year of time and materials it has just continued to pay dividends. I haven’t penciled down the figures, but I’d venture a guess that this investment has provided a better ROI than most folks stock portfolios, which is pretty cool when it also yields a lot of childish grins – on faces both young and old.
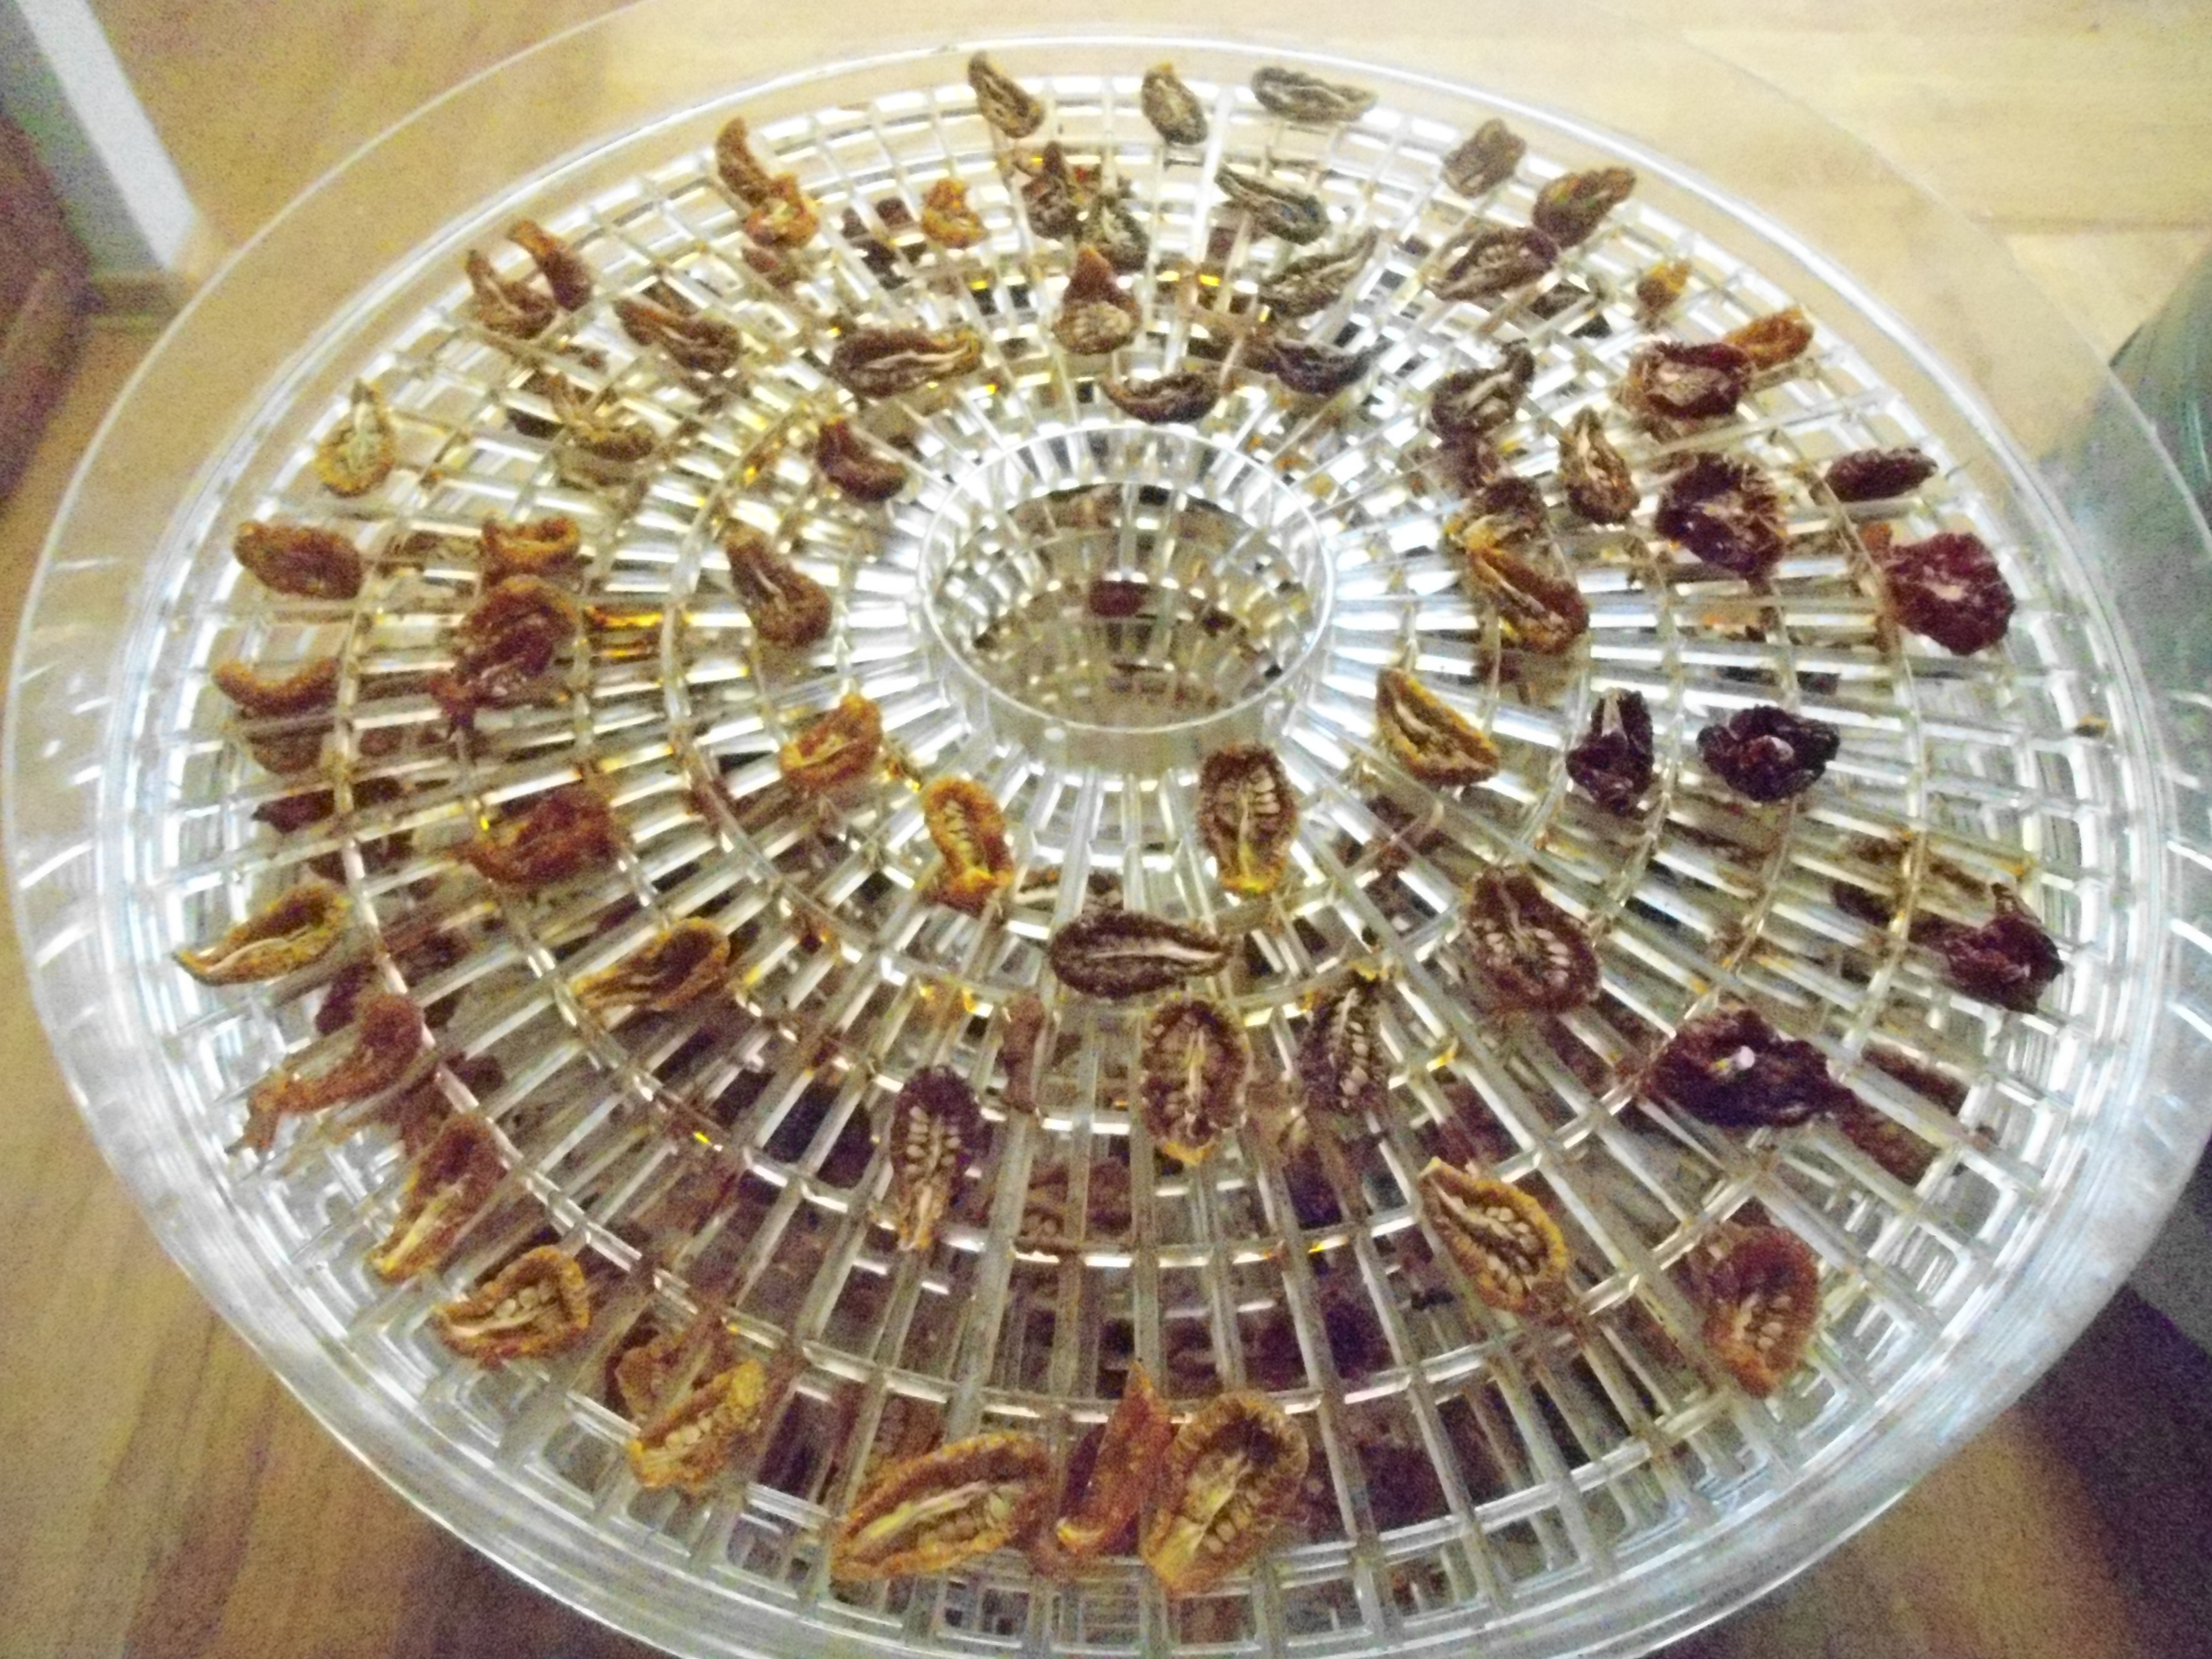
Among the food preservation techniques dehydration has to be one of the easiest, and that alone should merit it’s incorporation into your household, and the dehydrators sold by Harbor Freight offer a reasonable entry point to do just that.
I’ll say right now – these five tray units run about $20 when coupons and the frequent specials get figured in. That’s cheap. Now the current models aren’t anything fancy – just basically a 125 Watt heating element in the bottom, five plastic trays and a top. The previous model which featured a fan and a turntable type setup for the trays was about the same price, but in my experience does and equally OK job.
Current HF dehydrator, and previous model (L & R)
Now, it appears some folks have received units that overheated pretty much at startup. I’ve never had that happen but you’d probably do well to start it up for the first time during a period where you could observe it and if problems happen bring it back and swap it for another one. The other issue has to do with the durability of the trays. To be sure these trays are fragile – you have to treat them carefully or they will break. BUT, this is a $20 dehydrator. Spend five times as much and you can get the bottom of the line Excalabur… or you can build one easily enough, but even that approach is likely to run you more than $20 not factoring in your time.
I have a really big homebuild dehydrator – but it only really gets called out when we’re in prime harvest season. Otherwise one or both of my Harbor Freight dehydrators are going to be doing the work for me. During the summer that is often drying tomatoes or zucchini for fall soups and dressings. In the fall and winter more often than not they are drying apple slices we’ve peeled, sliced and frozen or making apple leather from some of the apple sauce we’ve put down. It doesn’t take much time to pay off the $20 investment when you are making dried fruit.
So if you don’t have a dehydrator or want another one consider the Harbor Freight units – they aren’t fancy, they aren’t really solid but the price factor means they possess significant value.
I like cast iron cookware. The large cast iron frying pan that I use so much it usually just sits on the stove rather than getting tucked into one of the cupboards dates back to my grandmother and was produced in a foundry not far from here that is long gone. Unless it gets thrown out it will be just as useful for one of my grandkids – now that’s longevity. But a large part of why we see cast iron cookware stay around is because it isn’t just durable but functional. That same large frypan is so well seasoned I have no problem baking thin crepes and can tell when the crepe is ready to flip by picking up the pan and tilting it – the crepe is ready when it starts sliding on the bottom of the pan. You aren’t going to get a surface that slippery with stainless, and I doubt those fancy surface coatings like Teflon will be durable enough to last a decade let alone my lifetime.
Texsport Waffle Iron
So it’s into that matrix that the Texsport Waffle Iron enters into the mix. Unlike the Teflon coated electric waffle irons this one will last generations. Now is it good enough that your grandkids will list it among the things they want from your estate? Yes – if you get it right.
The first part of getting the use of this waffle iron right is making sure it stays well seasoned. A little oil goes a long way to building and maintaining that surface. Unlike cast iron frypans and griddles the projections on a waffle iron make it very unforgiving if not properly seasoned – there is no cheating possible.
Whole grain waffles with barley flour
The other part of getting it right is making sure that you don’t treat this unit as if it is solidly held together. Both sides of the iron come apart and the ring that hold the iron is free too. When you flip the iron from one side to the other you need to hold the ring steady – I just use the dishtowel that usually hangs on my oven door since the ring does get hot. You also need to hold onto the upper half of the iron when you open it up to put in the batter or to remove the waffle – don’t get lulled into thinking that you can lean it back and have it stay in place – it won’t.
In terms of what cooktops it works with – it works with induction tops, with resistance tops and I’ve even used it on propane camp stoves.
Would I recommend it? Absolutely for less than $50 it’s a great buy, even if it only lasts five generations that’s still only $10 per generation – so pick one up and fancy up your breakfasts while acquiring a future heirloom. Check this out for a great whole grain waffle recipe.
I’ll jump right to the chase and piss of a bunch of folks – Nope. Now for the good reasons to back that statement up.
Widemouth mason jar with a metal lid contrasted with a regular mouth jars with tattler lids
The price premium is significant – in Canada at least wide mouth mason’s cost nearly double what a regular mouth generic mason jar would run. The latter at this time are going for just under eight and nine dollars a dozen for half and full liter sizes at the local Walmart. Widemouth jars for the same sizes run thirteen and fifteen dollars.
So, cost is one factor, but more important to me is logistics. I do a lot of preserving, and I like having loads of standard sized jars. For me that means half and one liter sized golden harvest regular mouth mason jars and loads of the same size of tattler lids and gaskets.
That means when I get working I don’t have to fool around with an assortment of jar sizes or look to match lids and rings to jars – it might seem like not such a bid deal, but when you do a lot of canning it can add up to frustration that you could otherwise avoid.
Canned salmon and lactic pickles work just fine in regular mouth mason jars
The other factor at play here is that I’ve never found wide mouth jars to be a really significant advantage. Usually they would find more use with canned fish and meats, but I’ve always found regular mouth mason jars to be just fine – though I do make an exception to my focus on standardizing on half and full liter jars to include 250ml regualr mouth jars for canning up salmon as I find this to be the perfect size. My other canned meats and stock work just fine in the larger regular mouth masons.
The other area in which wide mouth masons seem to dominate is pickles, but here I actually prefer regular mouth masons for reasons beyond logistics and cost. The majority of my pickles are made using lactic fermentation – which requires you to keep the material submerged in the brine. I can fill a regular mouth mason with the spices, garlic, grape leaves and pickling cucumbers or zuchinni slices and then wedge in another cucumber just below the narrow neck of the regular mouth jar. When the brine is added to halfway up the jar neck this keeps all of the material submerged, allowing me to ferment the pickles right in the jars. Note, while I use tattler lids for these I don’t fasten them down tightly so that they can vent the fermentation gasses – you don’t want your pickle jars blowing up.
I really enjoy preserving the bounty around us – and while it can be a significant amount of work a few techniques such as standardizing jar sizes can make processing days much easier.
Bigger is better right, well sorta but what guy doesn’t have a Tim the Tool Man Taylor prejudice to some extent? After-all, we buy tools for CAPABILITY not cuteness.
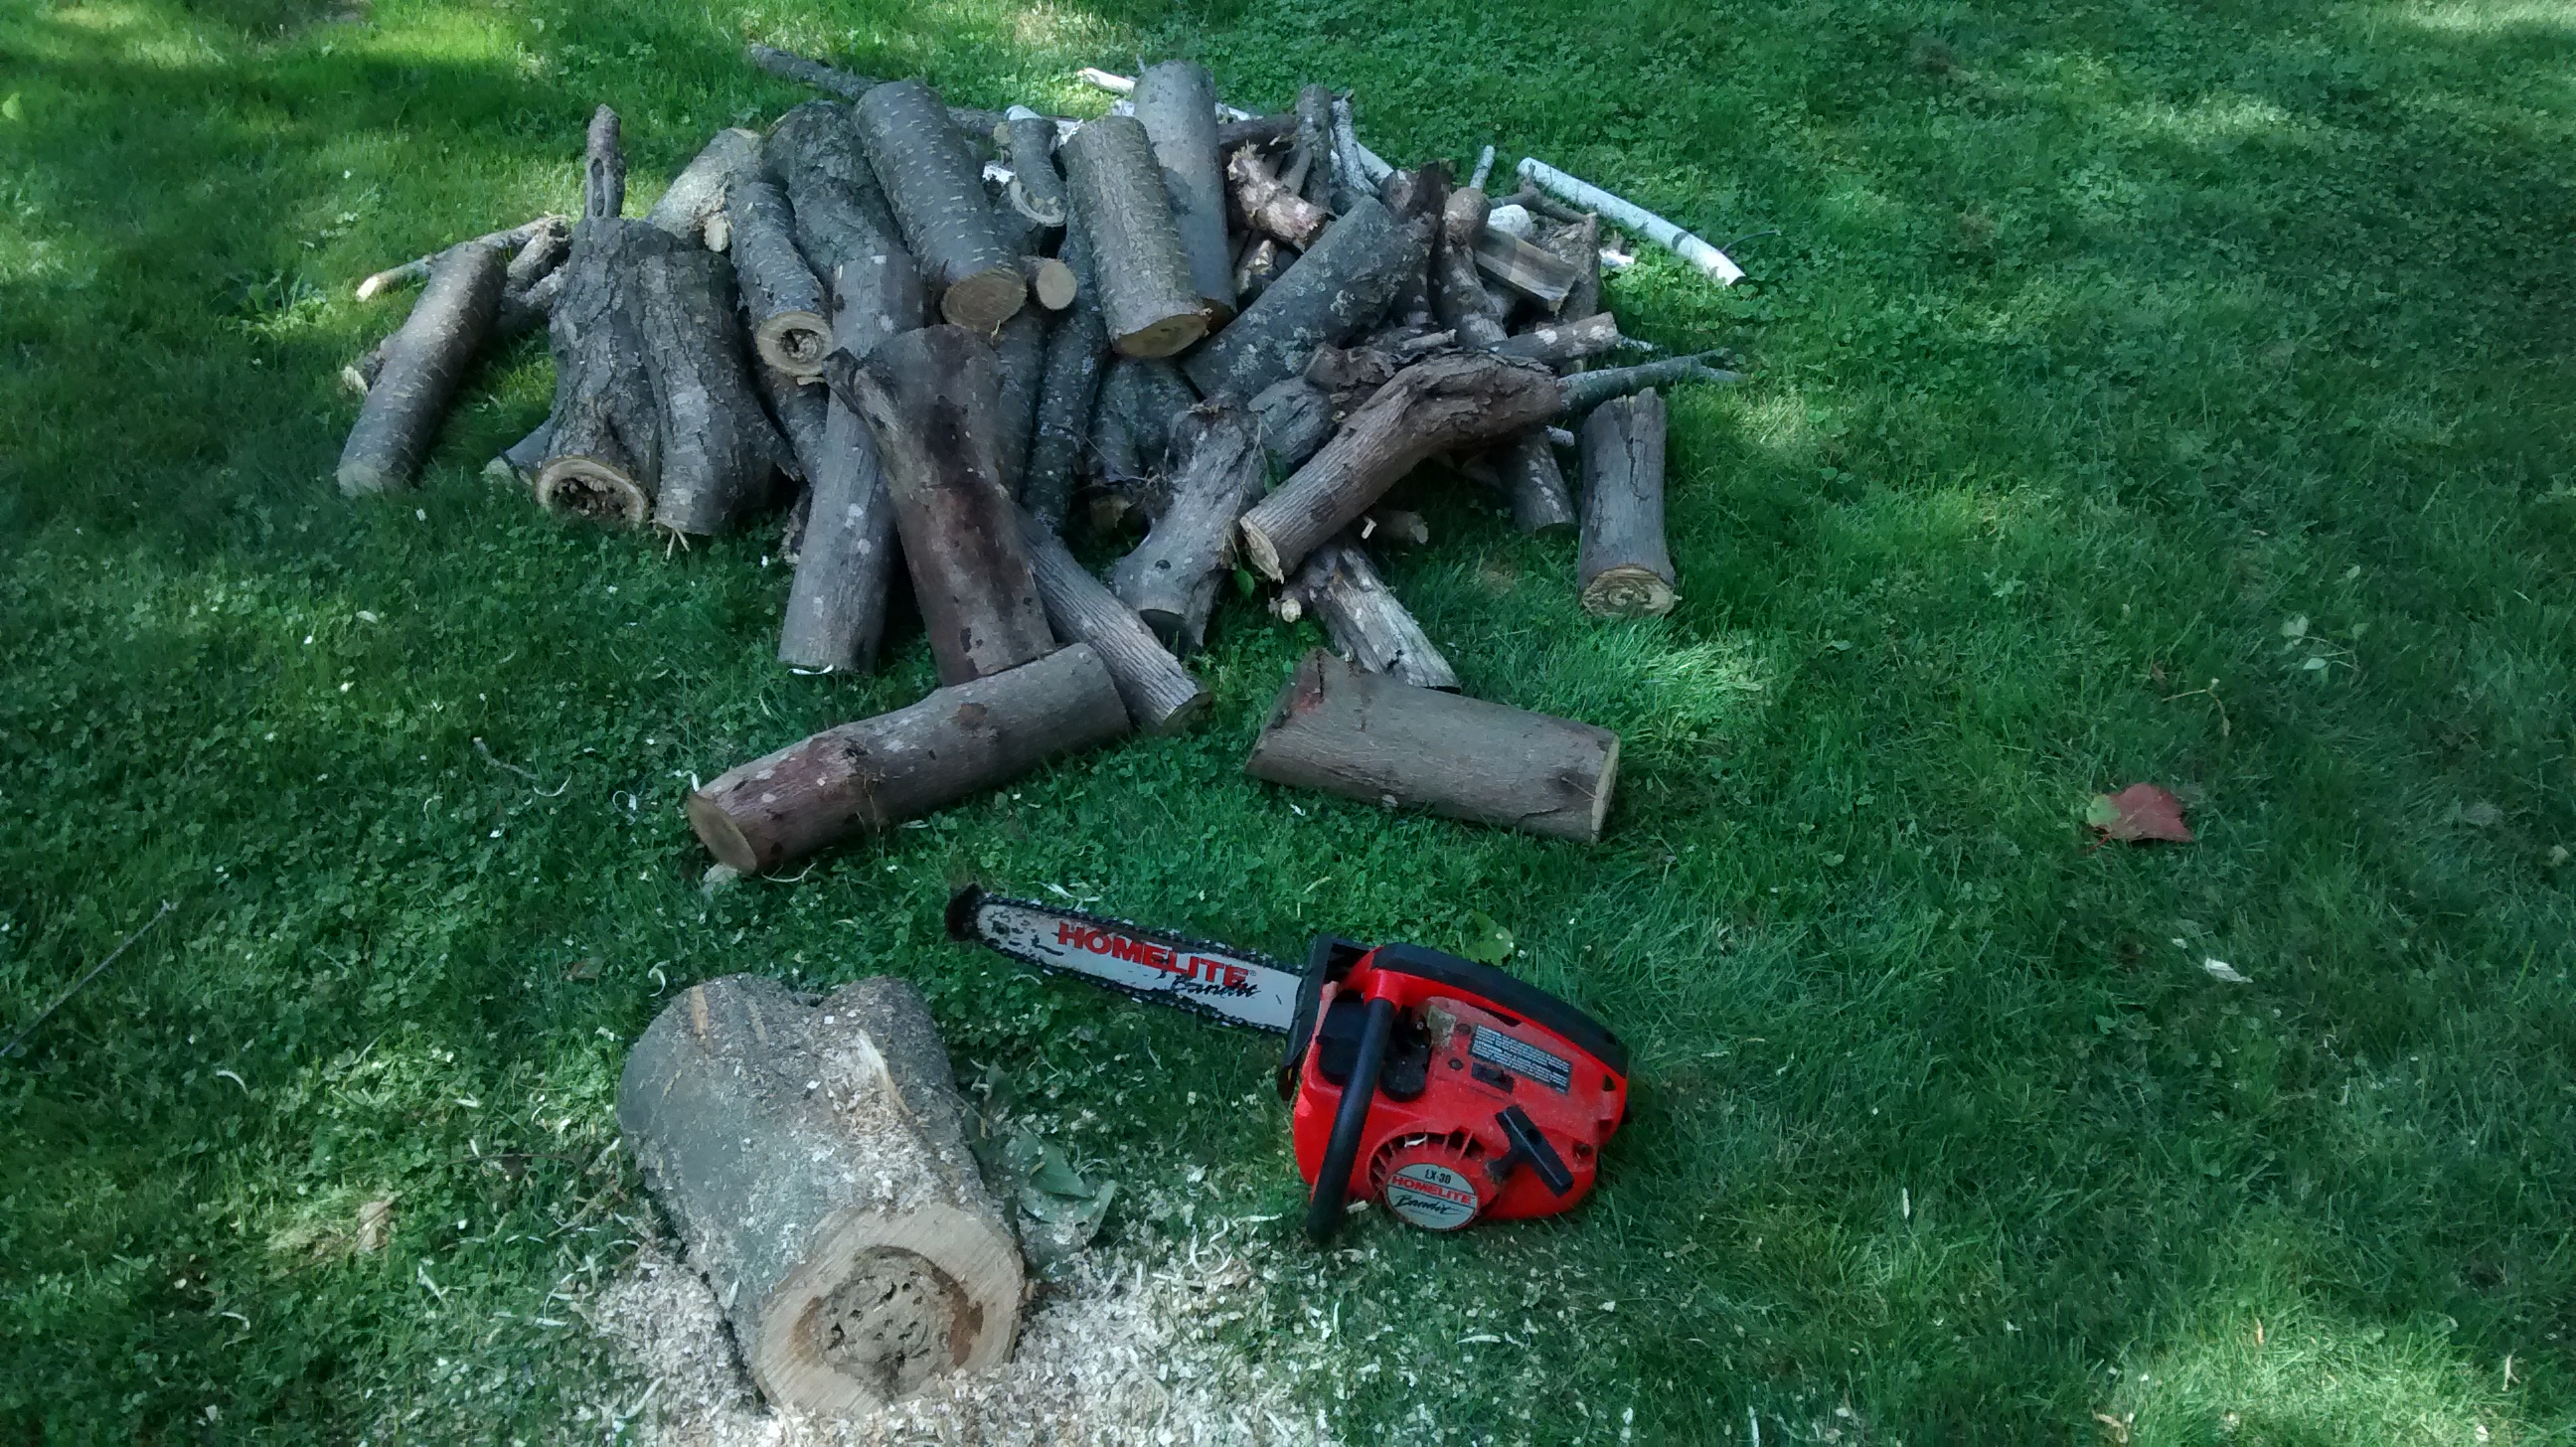
Now when it comes to chainsaws you can get some pretty big and really nice saws. I’ve got a couple of bigger chainsaws, but a few years ago some friends were packing up and moving to the west coast to retire and were selling most of their kit. Among the stuff on offer was a 12″ Homelite chainsaw, an LX-30 Bandit – it was the smallest gas chainsaw the wife could find when her husband insisted on getting a saw after the Ice Storm. It was rather telling that she didn’t get the appropriate protective gear including a really good set of chaps since a 12″ saw is still plenty powerful to cut your leg off, nor did she get a saw with a chain brake. .In all fairness the chain brake probably isn’t all that necessary on a saw this light – especially since it is furnished with a low profile – low kickback chain.
It hadn’t been abused – or really even seen much use – and I was able to pick it up for a good price once I assured them that I wouldn’t become an accident statistic due to them selling me the saw. Part of the good price was because I didn’t particularly think I would use a saw that small while they didn’t want to give the saw to anyone that might then behave irresponsibly with it.
If I’d know then just how much I would end up using the small chainsaw I might have been willing to pay more.
This saw is at the front of the line of all of my chainsaws and is used maybe 90% of the time I reach for a saw partially because it is so easy to use such a light saw and partly because it sees so much use I am pretty sure it is gassed and oiled.
Now, granted if I am going to be dropping trees I am going to be reaching for a bigger saw. But that is more the exception than the rule. Most of the trees I have dropped recently have been at my brother’s place or at the cottage not at my home. I do end up bucking up a lot of wood that folks have tossed to the curb – everything from six to eight inch diameter trunk sections to loads of smaller branches and limbs. All of which are quickly cut to length for drying and then use in the wood fired pizza oven.
The saw also gets employed a fair amount as a cordless circular saw for rough carpentry work, for some things it is much more suited to the task – like cutting 6x6s but for others it is often simply more convenient to grab the saw and the chaps than it is to fetch the circular saw and then get the extension cords.
I wouldn’t want to have this as my only chainsaw – when the job calls for it there is really limited alternatives to power and bar length – but added to the set of tools available it stands our wonderfully. So if the opportunity comes along for you to add one to you tool collection consider picking one up, for most folks I imagine that it will become a valuable addition to your tool mix.
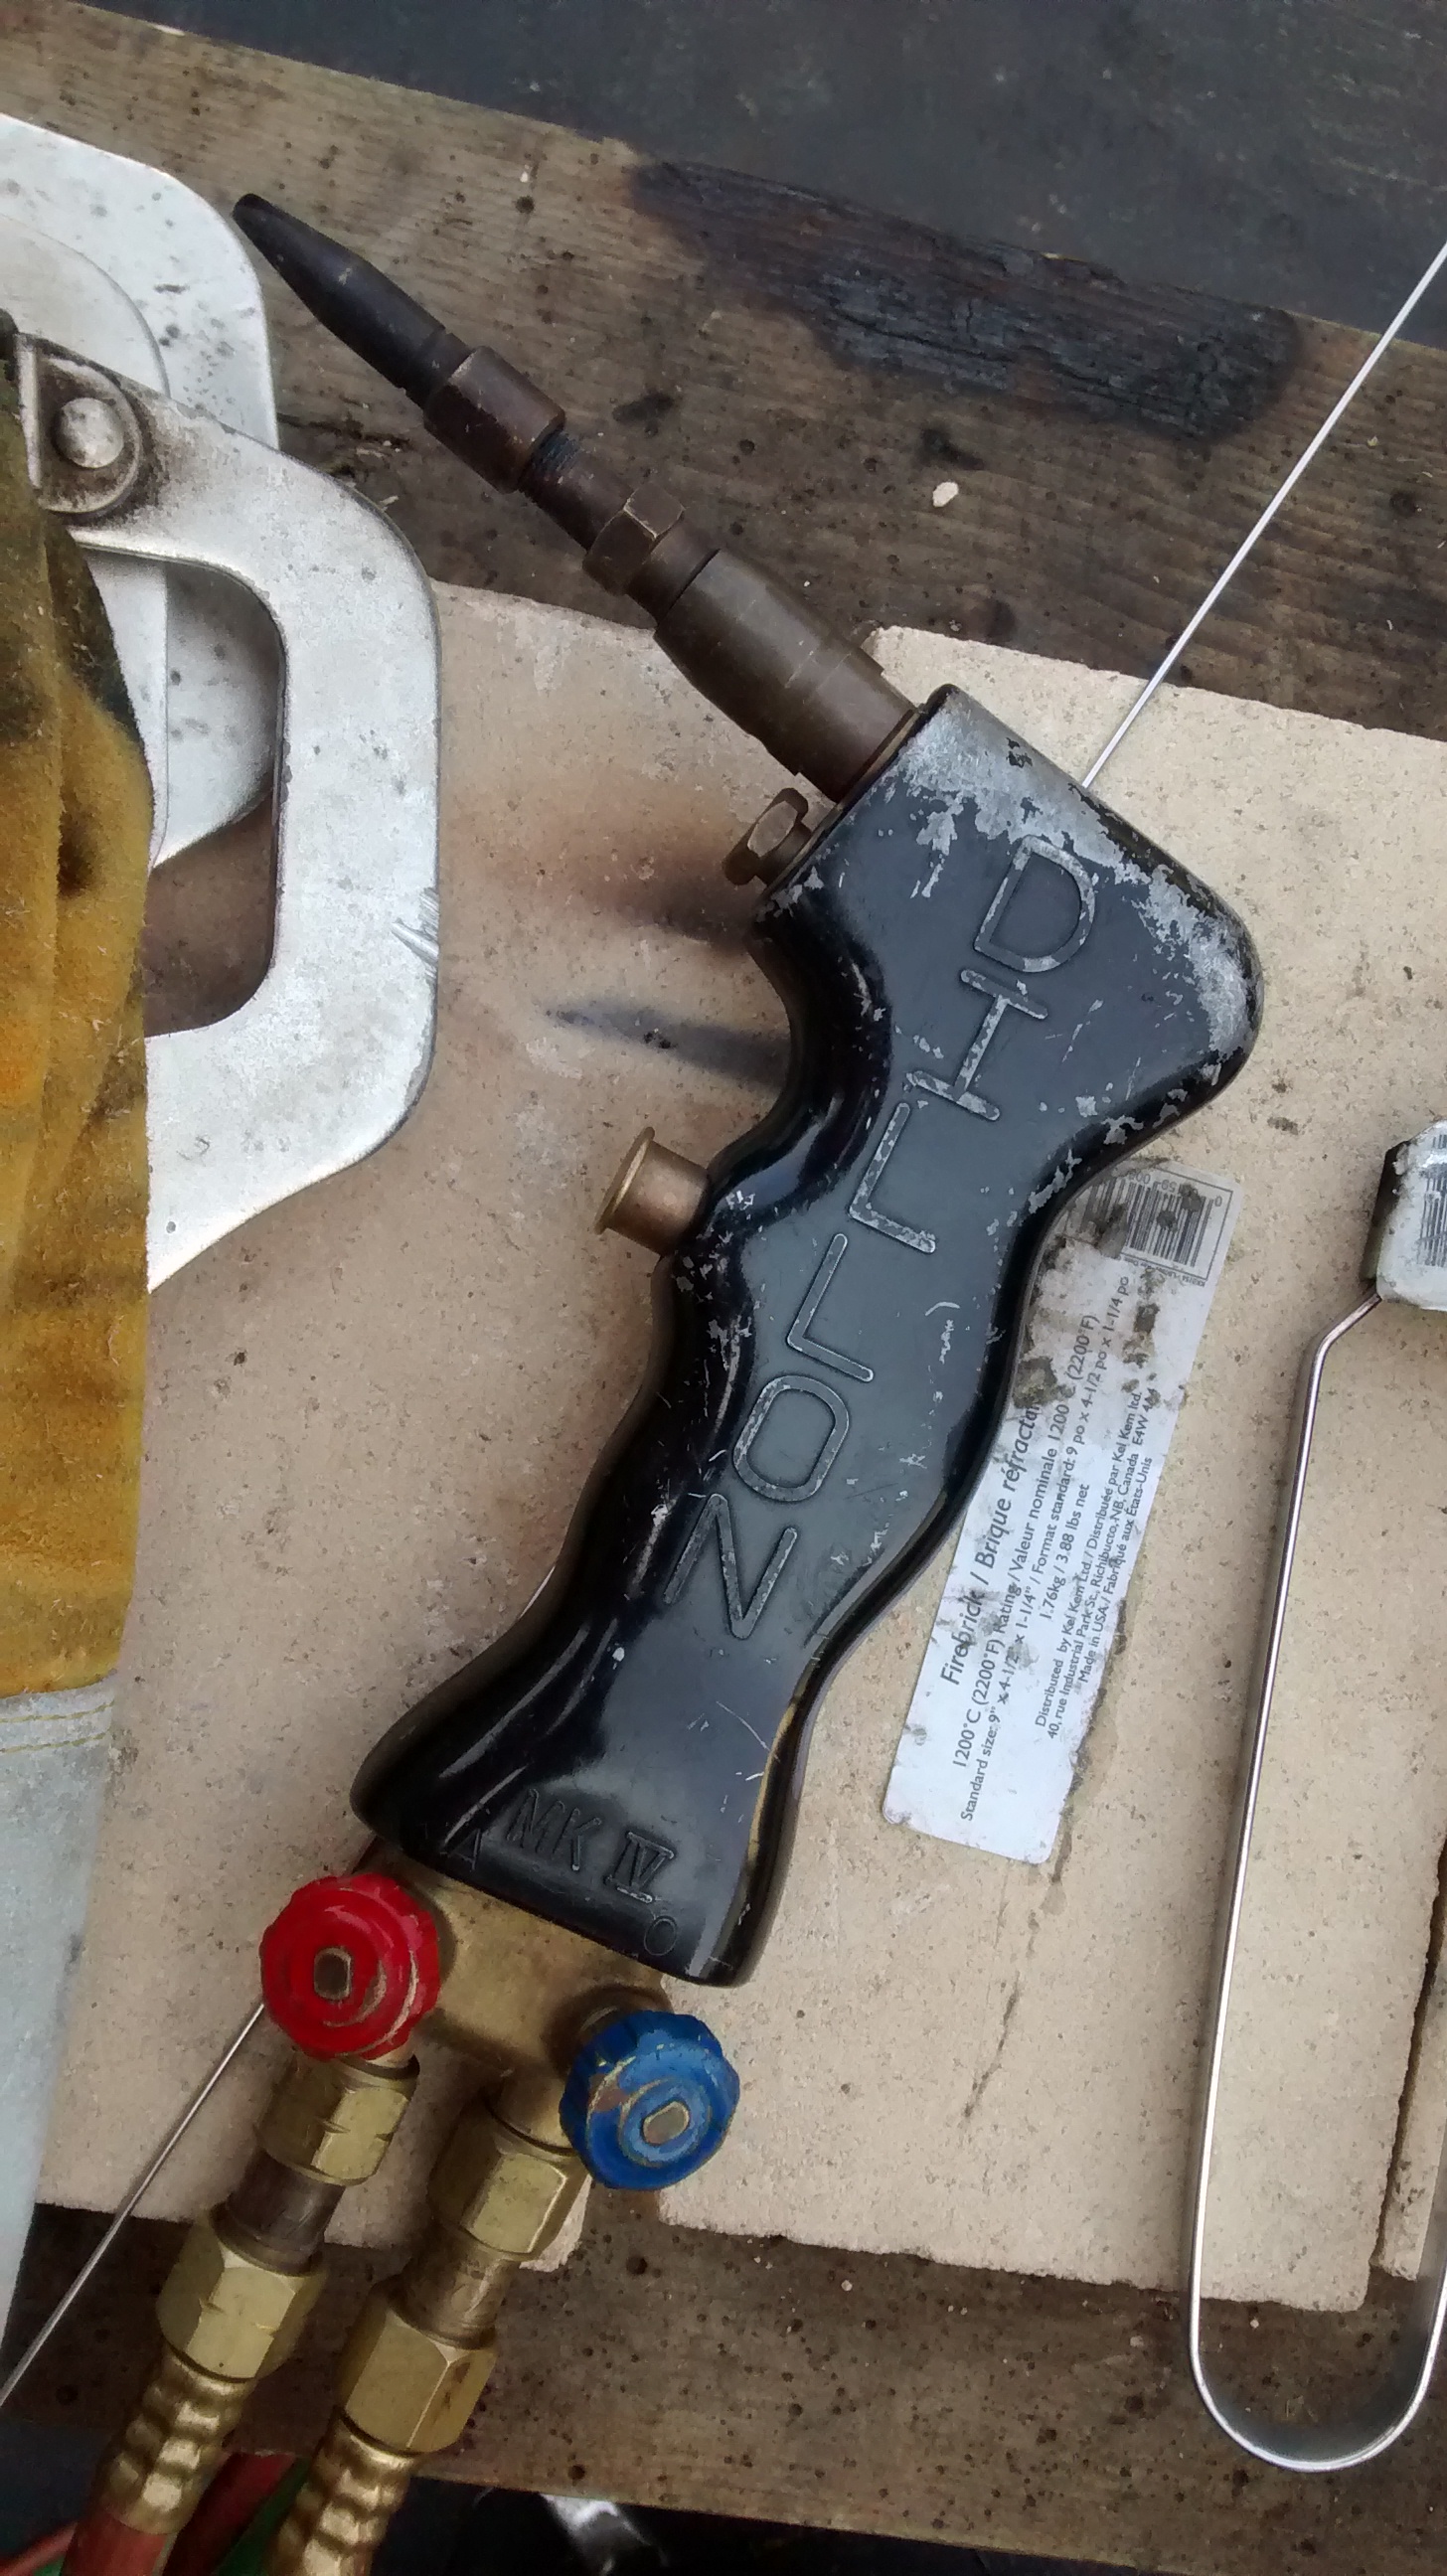
Known as the Henrob, Dillon, Cobra or DHC this oxy-acetylene torch represents welding zen. The wiki definition of zen is achieving a meditative state – and that’s pretty much what you get with this torch, it’s not the fastest welding method but it is the most relaxing by far – and as a bonus it works a number of metals including steel and stainless.
Henrob, Dillon, Cobra, DHC welding torch
I’ve had a Dillon for about 20 years and love it. My first welder was a stick arc welder and I wanted to add the ability to work thinner steel and to be able to cut steel. It’s done a great job of that for me – and this past year has seen it’s use redoubled as I’ve discovered just how easily it welds stainless steel – really just as easily as regular steel.
The real reason for the zen feeling is the soft flame – the torch sees you set your oxygen and acetylene pressures very low – which means you won’t find yourself blowing out your welds. This allows you to produce beautiful welds all the way down to very thin materials easily.
The torch also cuts your fuel use considerably compared to my victor set – this isn’t just a great financial benefit but its also a great time savings – oxygen and acetylene tanks are expensive and it’s usually a pain to swap them. I started with a couple of Acetylene B bottles and the comparable size of oxygen cylinder. I’ve found that this is about the right average for use. These cylinders are the largest that my local gas supplier sells outright and will exchange. Recently I also picked up a set of Q sized cylinders which are one and a half times the volume of a B from TSC stores, in part because they have much more reasonable store hours.
Other advantages – well these work great on autobody sheet steel. I usually will do the bulk of my work repairing the sheet steel on the truck with my MIG, but then anyplace I blow out I do the repairs with the Henrob torch. Oh and stainless – a real pleasure.
Another nice benefit comes from not having to wear a full face shield. Here in the winter I find that it doesn’t take long for my breath to start condensing on the face shield when I arc weld – but OA torces only require glasses or goggles – making them cold weather friendly – which is pretty important to me.
Now, I picked up a plasma torch about five years ago that has the capacity of cutting right up to 1/2″ thick steel so I haven’t been using the cutting capacity for a while now, but when I did it genuinely did a nice job with much less gas consumption. Sure, it is nowhere as easy to set up to cut as a conventional torch – which is basically twist and go, nor is it as easy to master but it does do the job very nicely once you get the hang of it – and again my gas savings seemed to be significant, but if you have plasma you’ll find it is beats anything else within it’s capacity.
Now, some folks will doubtless complain about the handle design – but I guess it all amounts to what you get used to, I like the pistol grip style handle. Now, I wouldn’t go for this torch simply for the handle design but since it’s part of the package Iike it.
It’s also very nice to have an OA torch to heat up stubborn fasteners – and that capability can save you a lot of cash. The Henrob saved me the ninety bucks that it would have cost me to replace the caliper assembly on my F250 when the brake bleeder valve stuck. The torch freed it in under a minute – now that is handy.
So what’s the verdict. I think it’s worth the four hundred dollars the torch kit sells for – though if you can pick up a used one as I did all the better. You may want to also pick up a conventional Victor knockoff kit which often run around a hundred dollars simply as the cheapest way to get the regulators and hose – with the added advantage of being able to cut some really thick material with the included torch if need be.
Is it the first welder you should get? Well if you are going to be welding a lot of stainless I’d say yes, otherwise I think a MIG is the easiest – both in terms of skill and finances – way to get welding. But, if you have the means these torches are a great addition to your shop – and I think you will find using them to be an utter pleasure.
Publisher of high quality how-to books for homesteaders and preppers which help you gain the skills and tools needed to help empower your independence.