

Sweet Sorghum in Canada


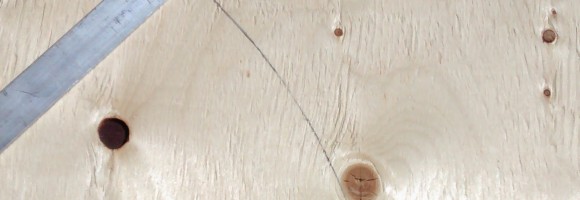
Sweet Sorghum – Dale on the Left and Simon on the right. Dale is 3 weeks ahead.
I’ve been growing varieties of sweet sorghum for more than 20 years. Now sweet sorghum or even grain sorghum for that matter isn’t a typical crop for Canada let alone Eastern Ontario.
But, the description in the Peter’s Seeds and Research catalog for Northern Sugarcane tickled my fancy enough to order and trial it. I should be honest and say that the threshold to tickle my aggie interest is pretty low – but this sounded like a really cool plant, and indeed it was.
It grew well, and later towards the end of that company’s life Tim Peter’s was kind enough to send me a sample of the John Coffer refined Dale variety in spite of it no longer being listed in his catalog. I’ve since obtained a host of different varieties to trial including a number from the USDA ARS seed bank – which included some pretty cool varieties from India with high sucrose contents – which would allow regular crystalline sugar production and not only liquid syrup yield. I also received a few varieties most graciously from Morris Bitzer from the University of Kentucky including Simon which is supposed to be 21 days earlier to harvest than the regular Dale variety.
Now, I’ve never had an issue having any of the varieties of sorghum I have tried reaching maturity save for a few varieties which are daylight sensitive and grew wonderfully but never headed out. The successes include Dale, Sugar Drip, Mennonite, and a bunch of ARS varieties. But, given how much earlier Simon is supposed to be I wondered if a cross might be in order… not only to allow for a hedging of agronomic bets, but also in order to allow for a staggering of harvest dates for processing. So I’m interested in trying a cross between my John Coffer Dale and Morris’s Simon.
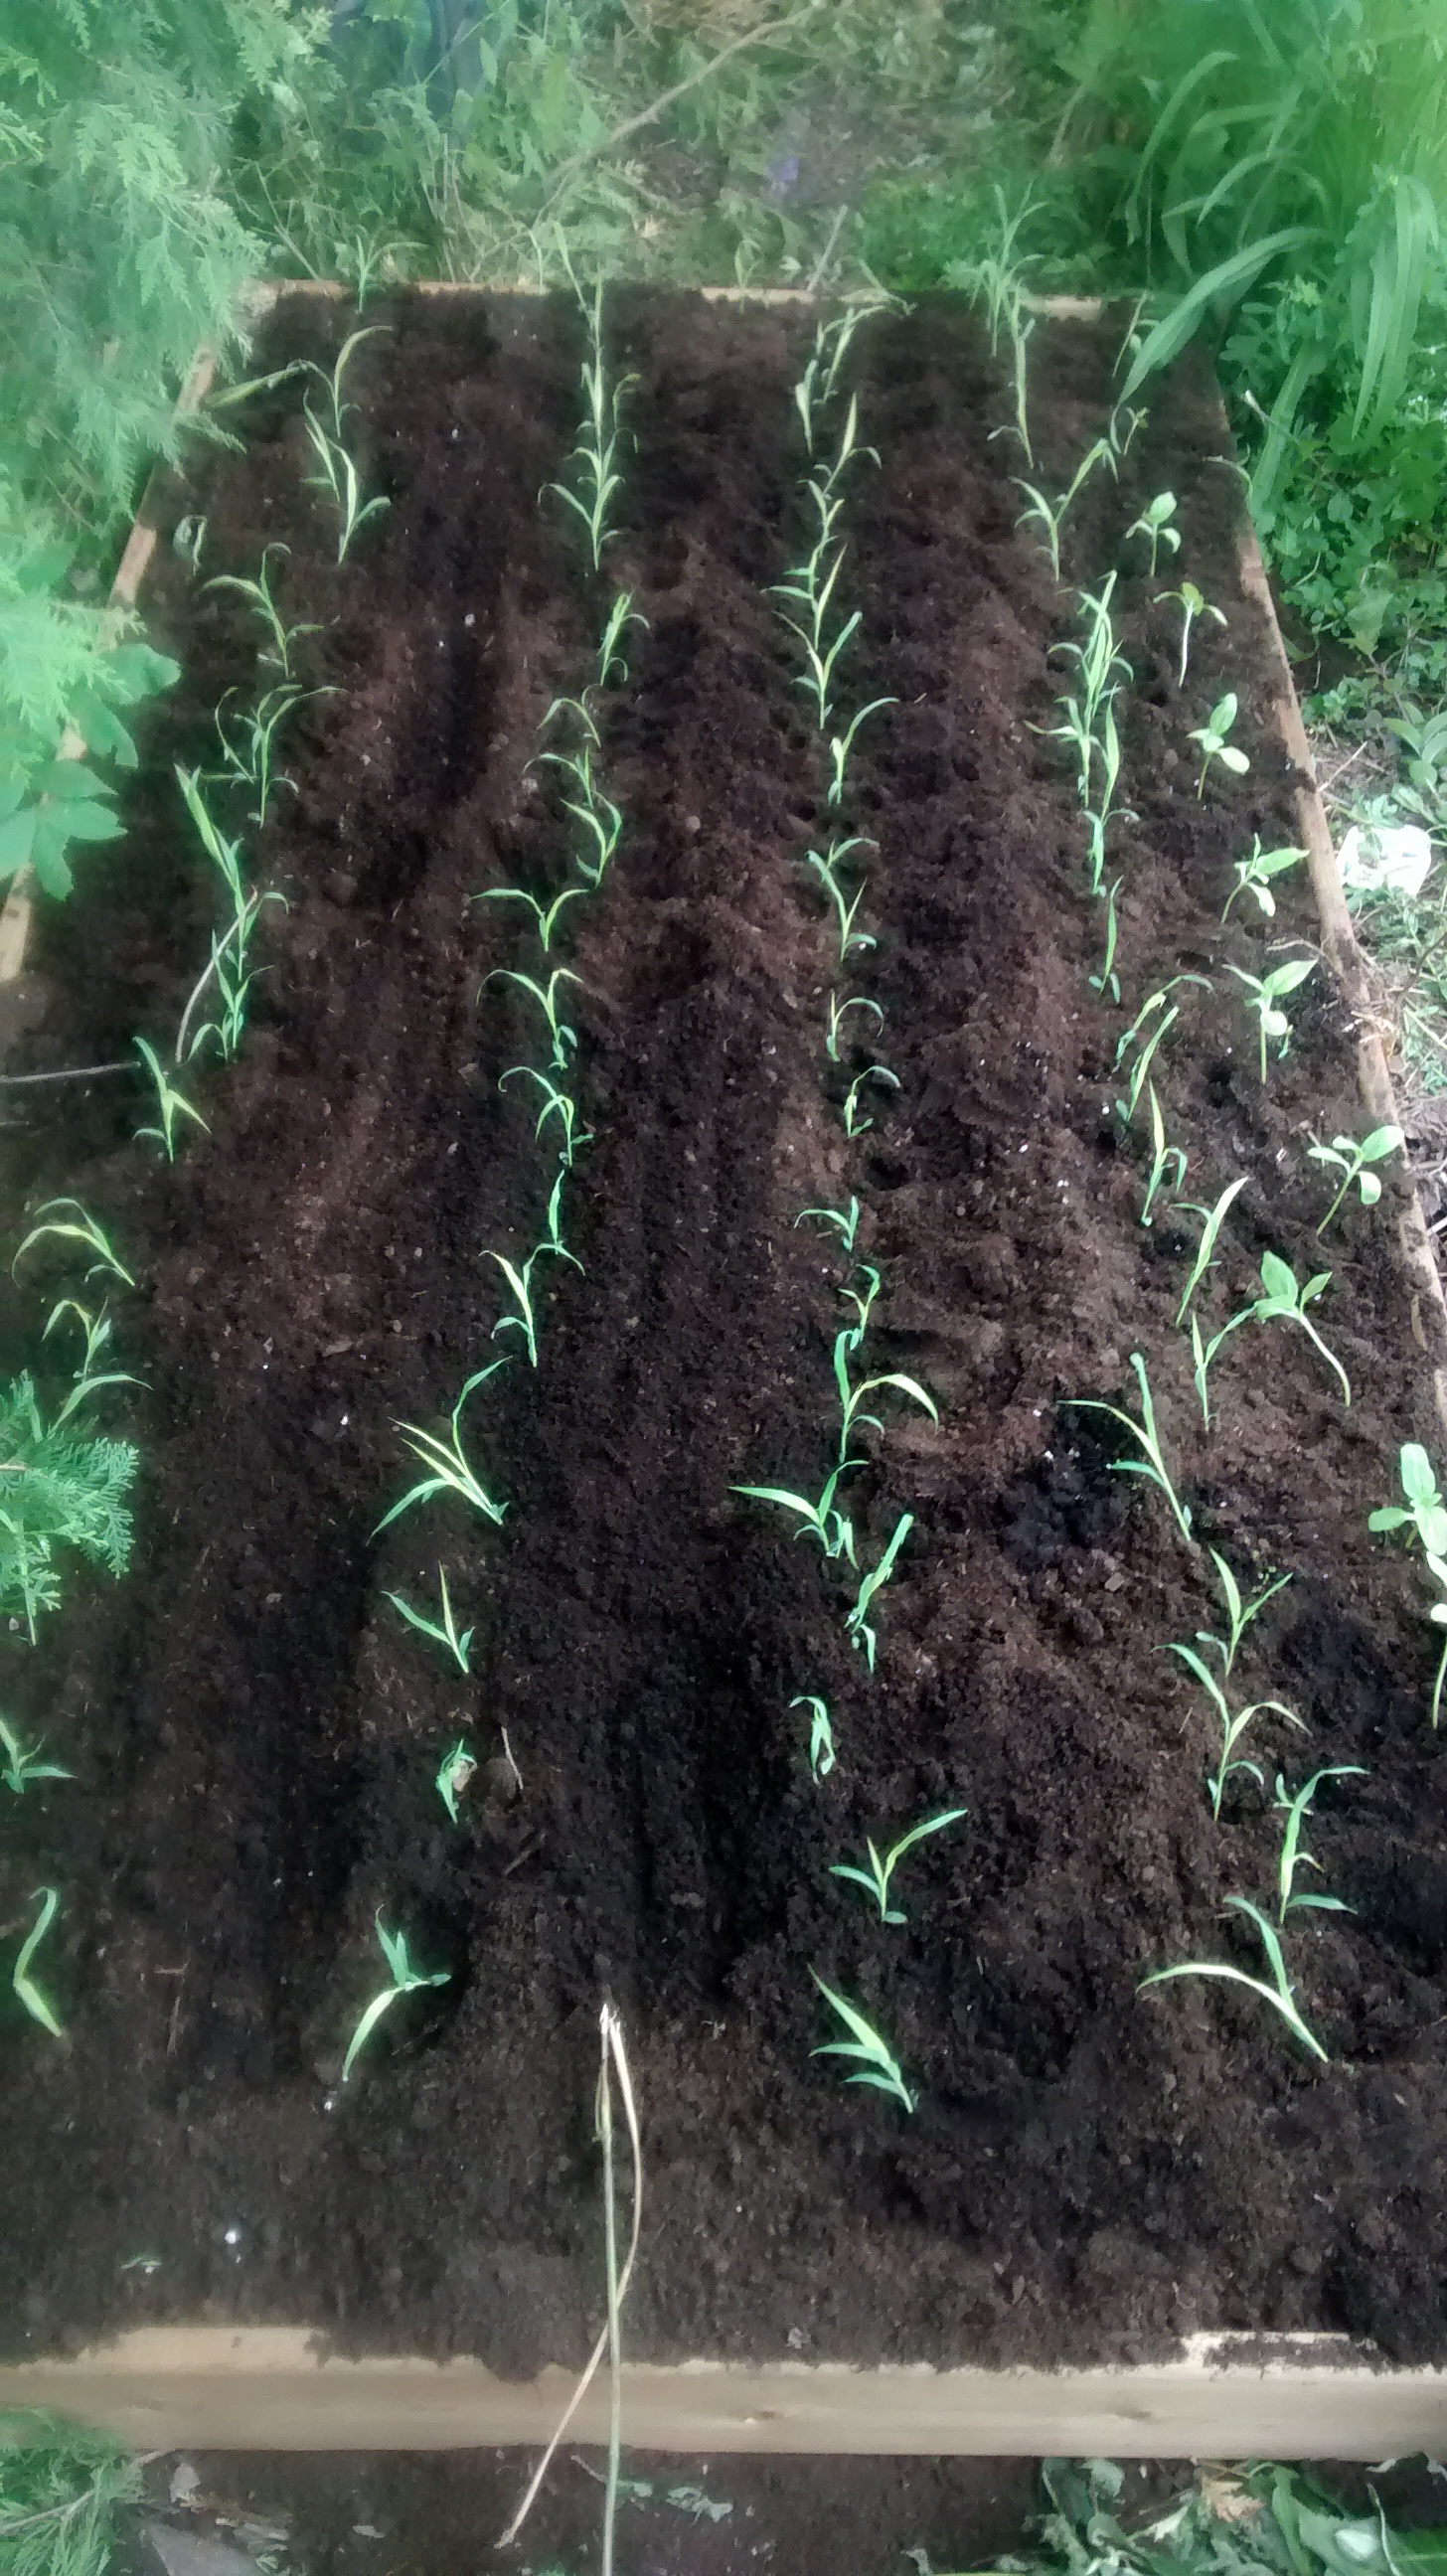
Sweet Sorghum planted out
Anyway, this year I decided I wanted to boost my seed stock and plant enough that the syrup harvest wasn’t just sucking on the stalks. So I started the seed in trays – the Dale three weeks ahead of the Simon in the hopes that i might be able to overlap their flowering period – and committed to building three 4’X8′ raised beds along the back hedge. It’s not the best of spots, not receiving full sunlight but will have to do.
Those were completed this past weekend so I transplanted the sorghum along with a bunch of AC Sierra Sunflowers fronting the beds. Now Sierra is a cool variety in itself. It is an open pollinated dwarf oilseed sunflower that was bred to allow farmers to harvest the crop without needing special headers on their combines. That lowering of the capital risk bar created markets for oilseed sunflower whose development led to a transition to more productive hybrid varieties. But for smaller scale production, I still think open pollinated varieties where seed can be kept and evolved to better suit local conditions has a lot of allure. but I digress.
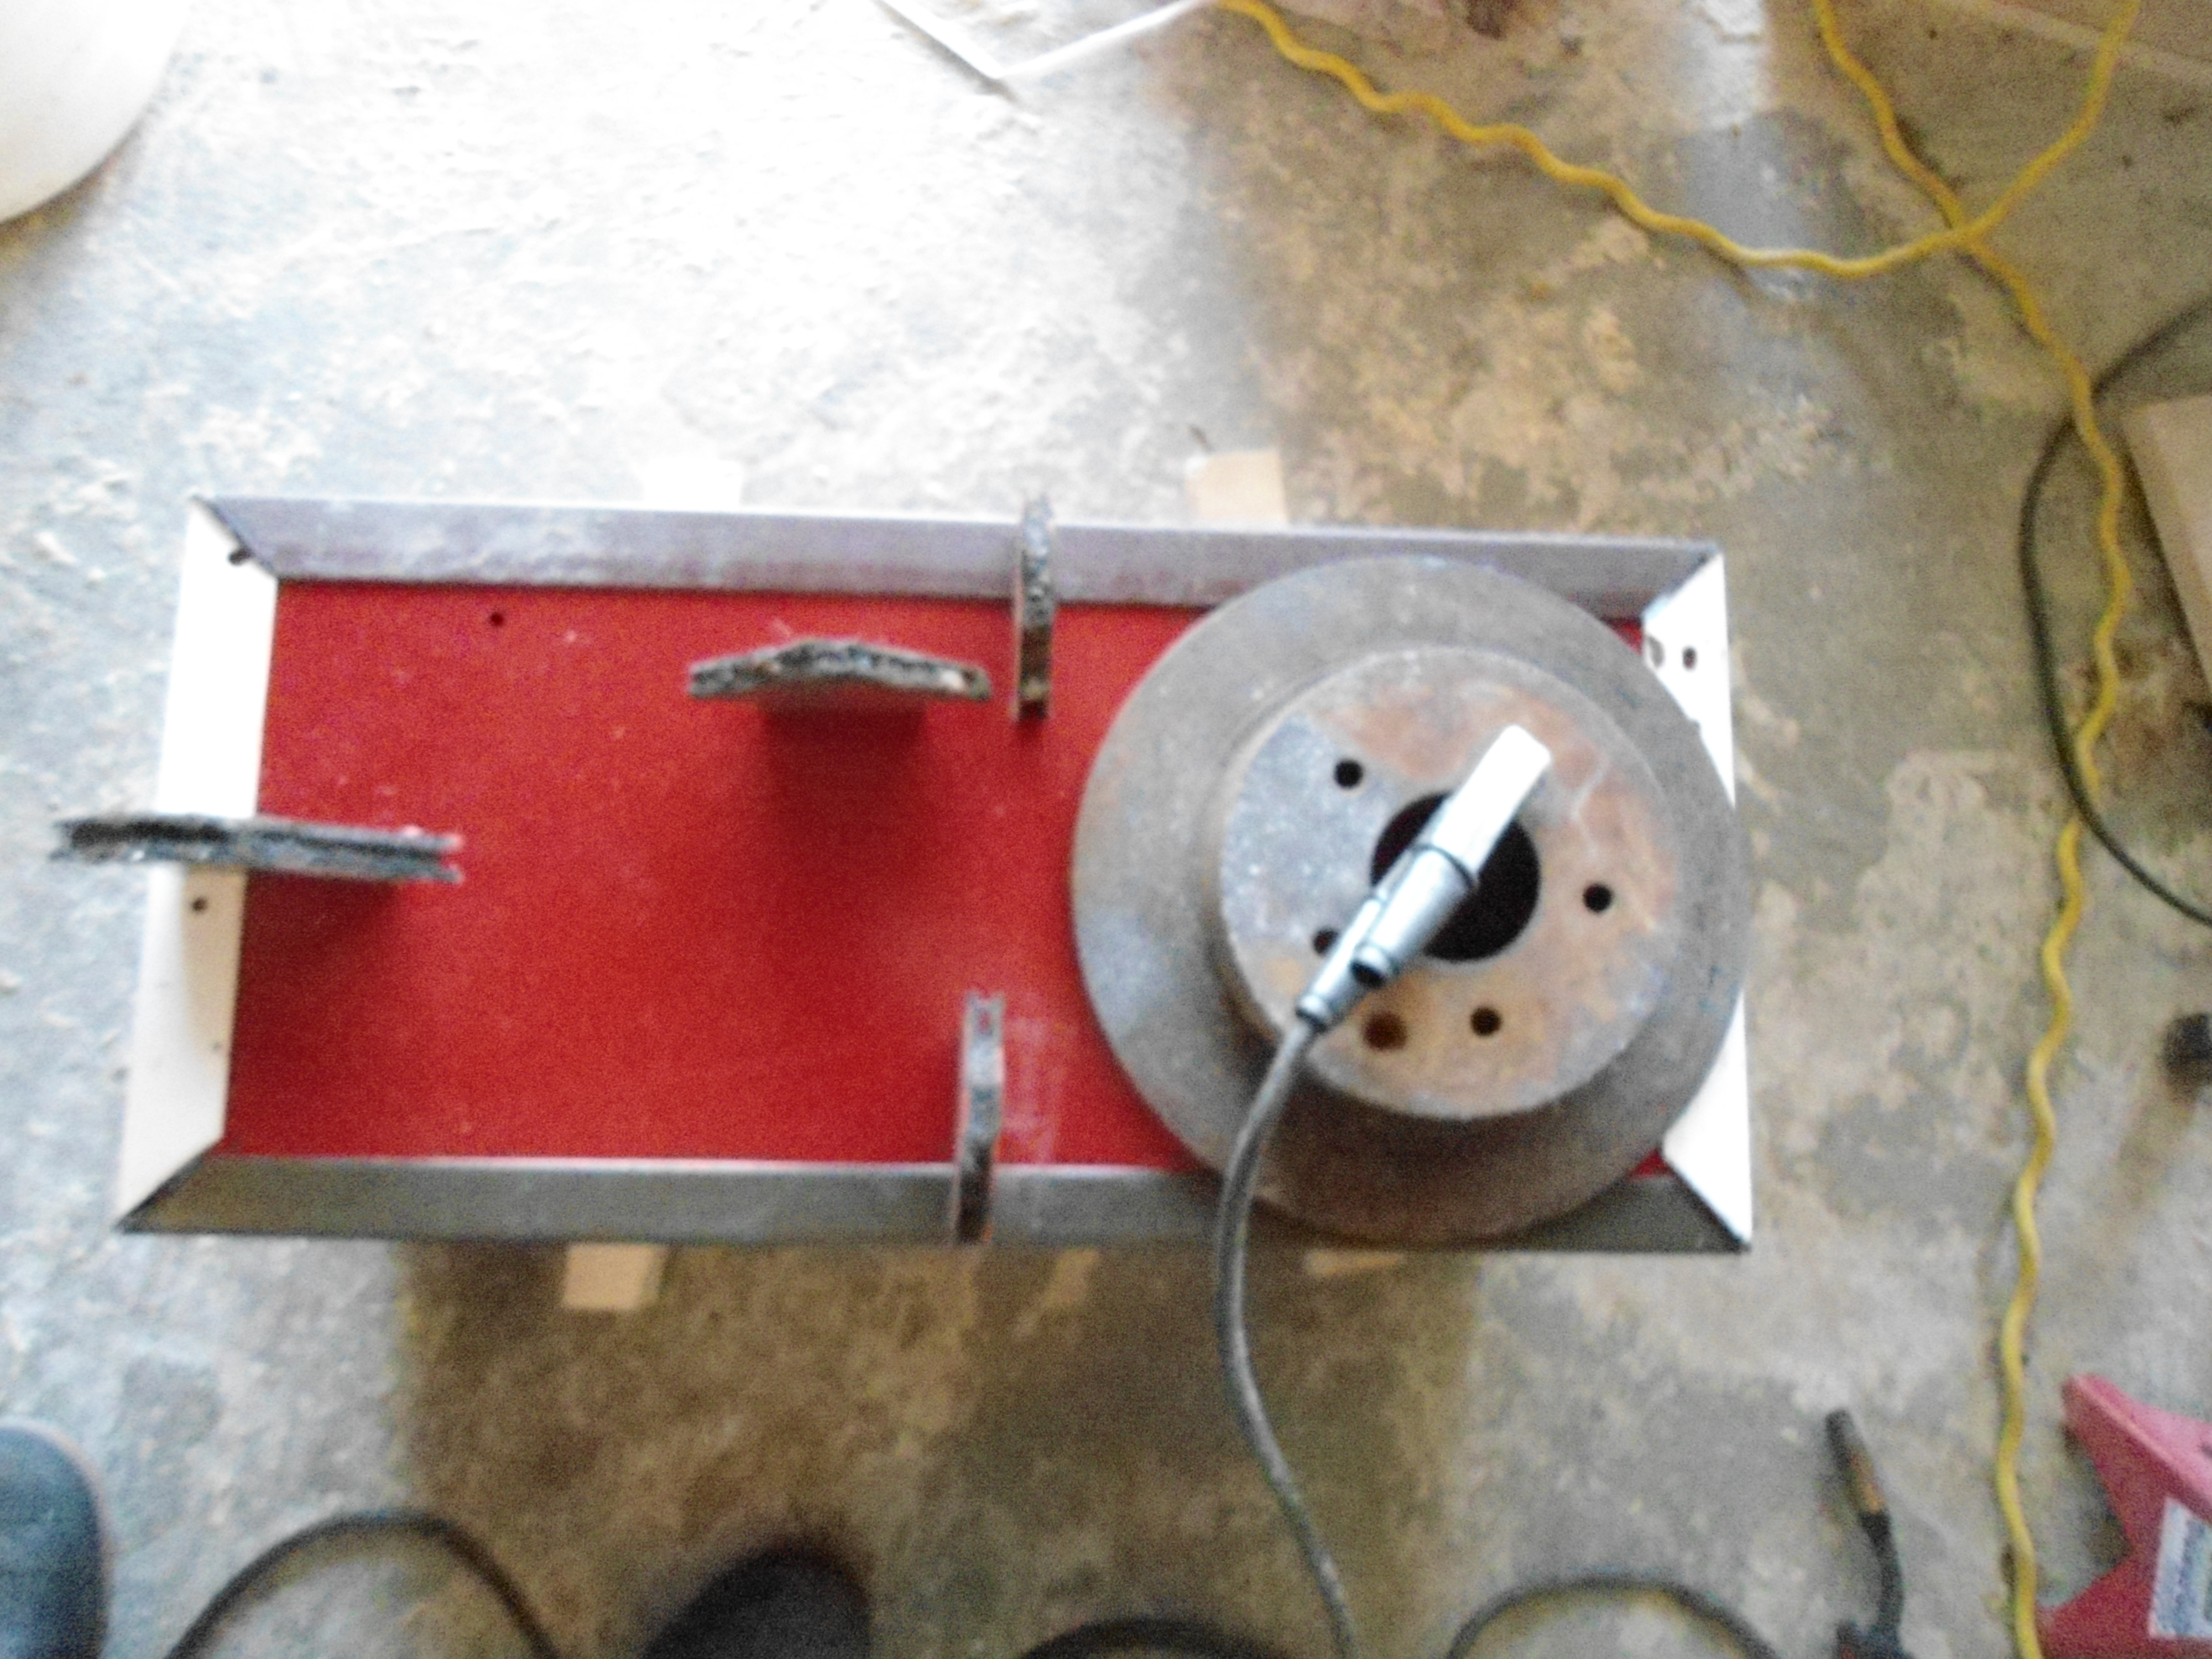
Anyway, this year my goal is to grow out a significant quantity of Dale and Simon seed, try my hand at making a cross and also build a small sorghum press.

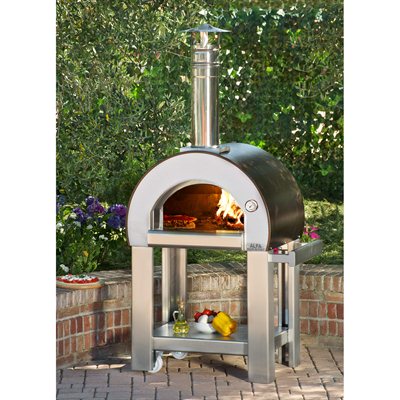
The Little Wonder Sorghum Mill – Inspiration for the impending build
Why build a press? Well for starters sorghum syrup isn’t a typical Canadian product – that would be maple syrup – nor is it even a northern US product meaning a fairly long trip south would be necessary to get to where Sweet Sorghum was more common. Don’t overlook the “was” in that last sentence either – sorghum mills aren’t like one of my letterpresses or machine tools which were common and still viable commercially into the 1970s, and hence are today “obsolete” but not yet rare, sorghum presses fell out of fashion long long ago. Moreover, I’d really like to get the three roller horizontal units rather than a vertical roller one more suited to having the mule on the walking pole, and those especially the smaller ones that are still around appear to be in very high demand.
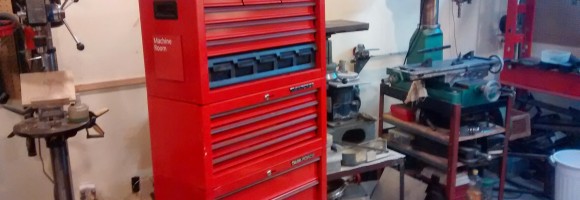
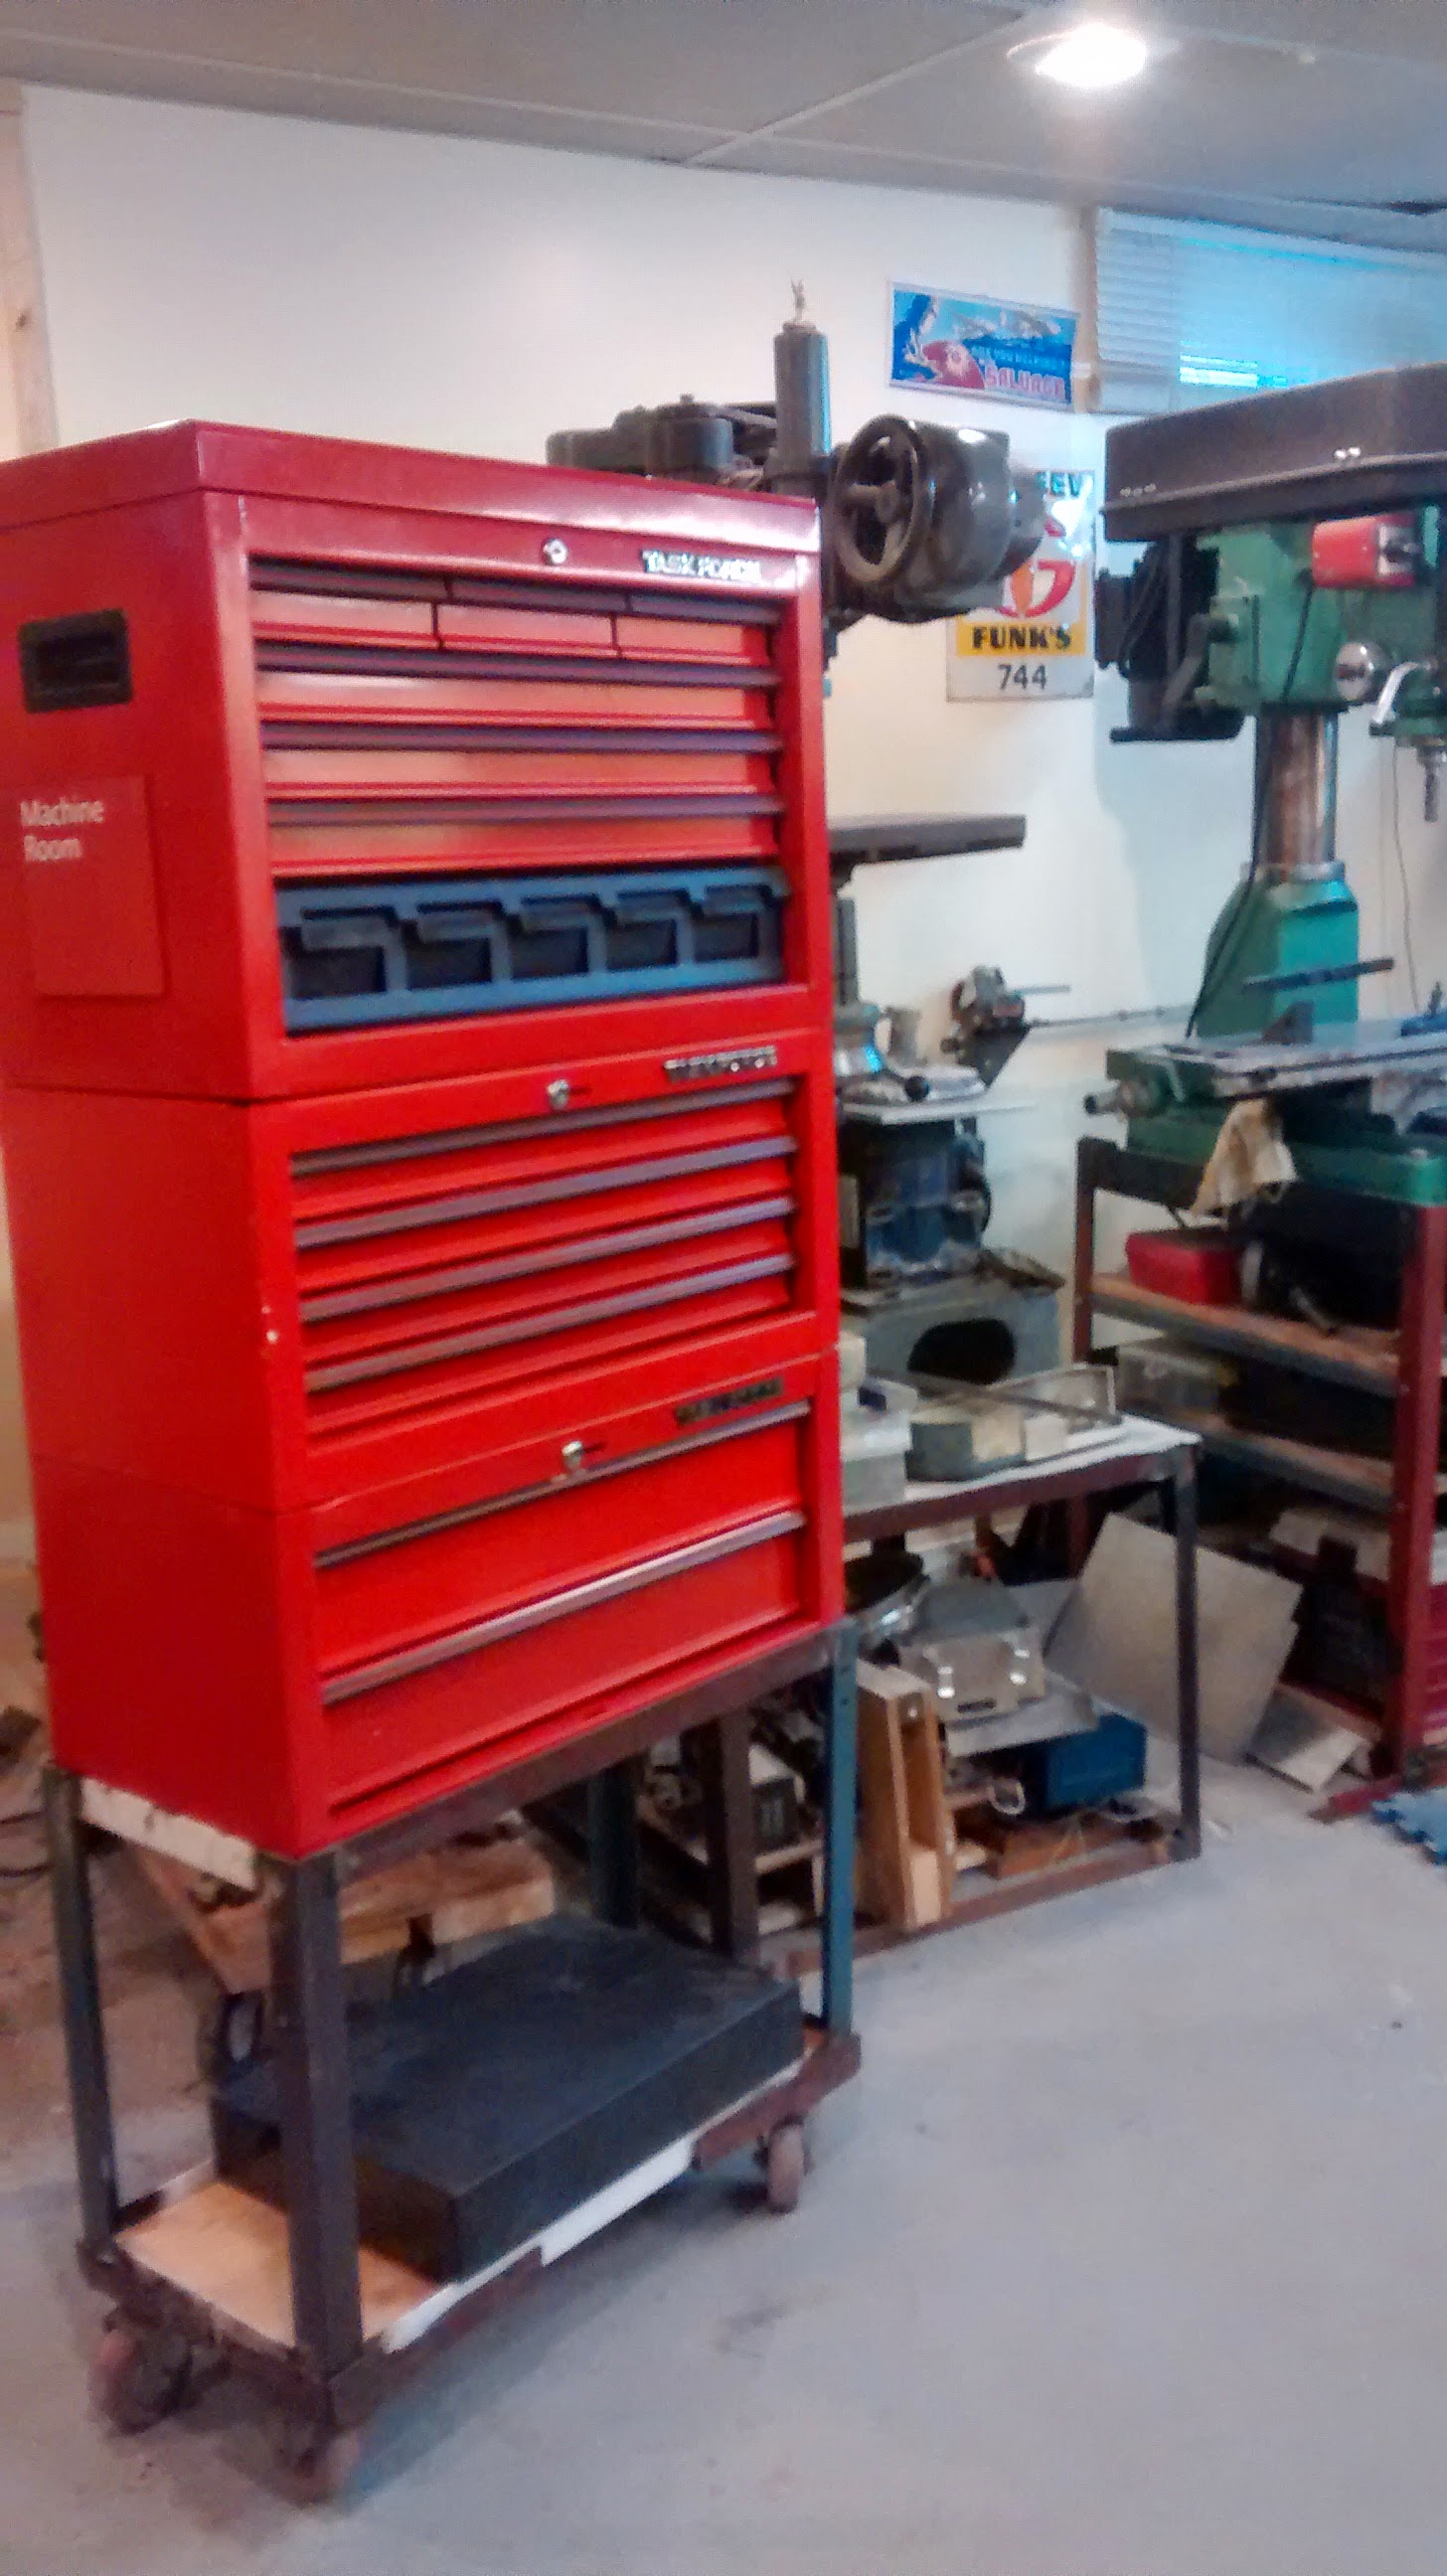
Fortunately I happen to have a whack load of metal working tools that are always eager to be put to work – funny how that function stacking works out eh?. So much like with the homestead grain mill build it looks like I will be engineering a modern rendition of the small end of the commercial horizontal mills over the course of the summer. With the sorghum in the ground I’ve got to get moving… (of course there are always a few projects vying for attention but the need to be ready for a harvest is a pretty good incentive to set a solid pace). Stay tuned…