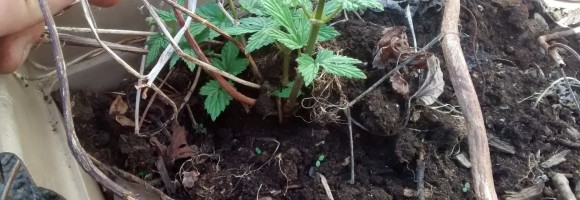
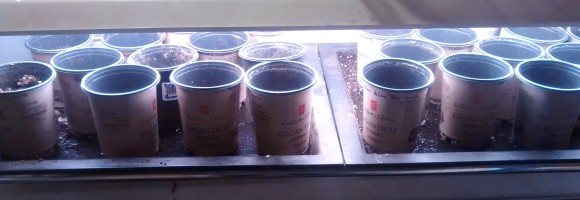
The seeds that were started a few weeks ago have now for the most part germinated. In many cases the five or six seeds planted into each pot have germinated and are now in need of trimming.
This is especially true for the tomato seedling. It won’t be long before the pots which were only filled a third of the way with potting mix need to have more mix added – giving an extra long rooting surface… but we aren’t there yet. Today is the cull day.
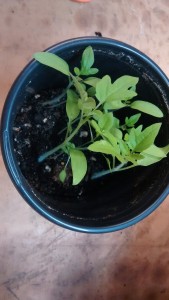
A crowded pot before the cull
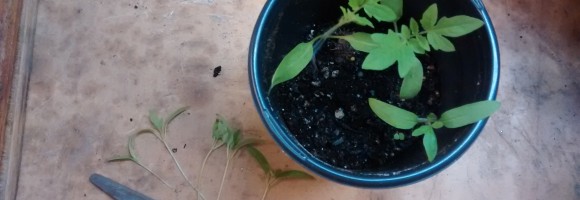
The start of process of selecting the traits I value in the plants. At this point it’s all about vigor and health. Fail to make the grade – and about two-thirds don’t and your traits are removed from the gene pool. The scissors are swift.
As the season goes on, the cull rate will decline but the selection process continues. In the case of the tomatoes I look for strong healthy plants that not only start producing early but yield heavily and do so thought the season and as far into the fall as possible, at the same time I want them to have the taste profile I expect. The wild tomatoes that the kids love need to be sweet, but for the rest I want really well balanced tomato flavor.
The winners whose fruit is selected to provide seed for next year aren’t necessarily the ones that excel in only one of these traits but rather the ones that provide the best combination of these traits. That said, if a plant is exceptional in one regard and only one I’m going to keep seed – but I’ll keep it apart from the rest for further evaluation.
Of course what I am looking for is subjective. I like pushing the season at either end, I garden intensively and don’t bother to try to control for plant diseases, I like indeterminate plants with their long season. my flavor tastes are of course even more subjective. Even my soil and growing conditions play a role in determining what does well, attracts my attention and gets selected to remain in the gene pool.
Now these traits might not always have what it takes to survive. The ash tree that graced my front yard – a massive, strong and beautiful tree – whose limbs supported more that a few large machine tools being raised with a chain hoist either out of or into my truck bed – is gone, a victim of emerald ash borer that has now killed most of the ash trees of any size in the region.
Still, in the absence of radical selection pressures such as this one, my tomato gene pool evolved at a more leisurely pace, but it still moves in lock step with my actions driven by what I value in practice.
This of course is no different than any other aspect of our lives. Who and what we are is driven by our true actions. As with the evolution of my tomato populations the theory doesn’t matter – it’s all about the reality of actions (or inaction) that determines which way the gene pool moves.
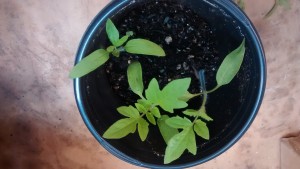
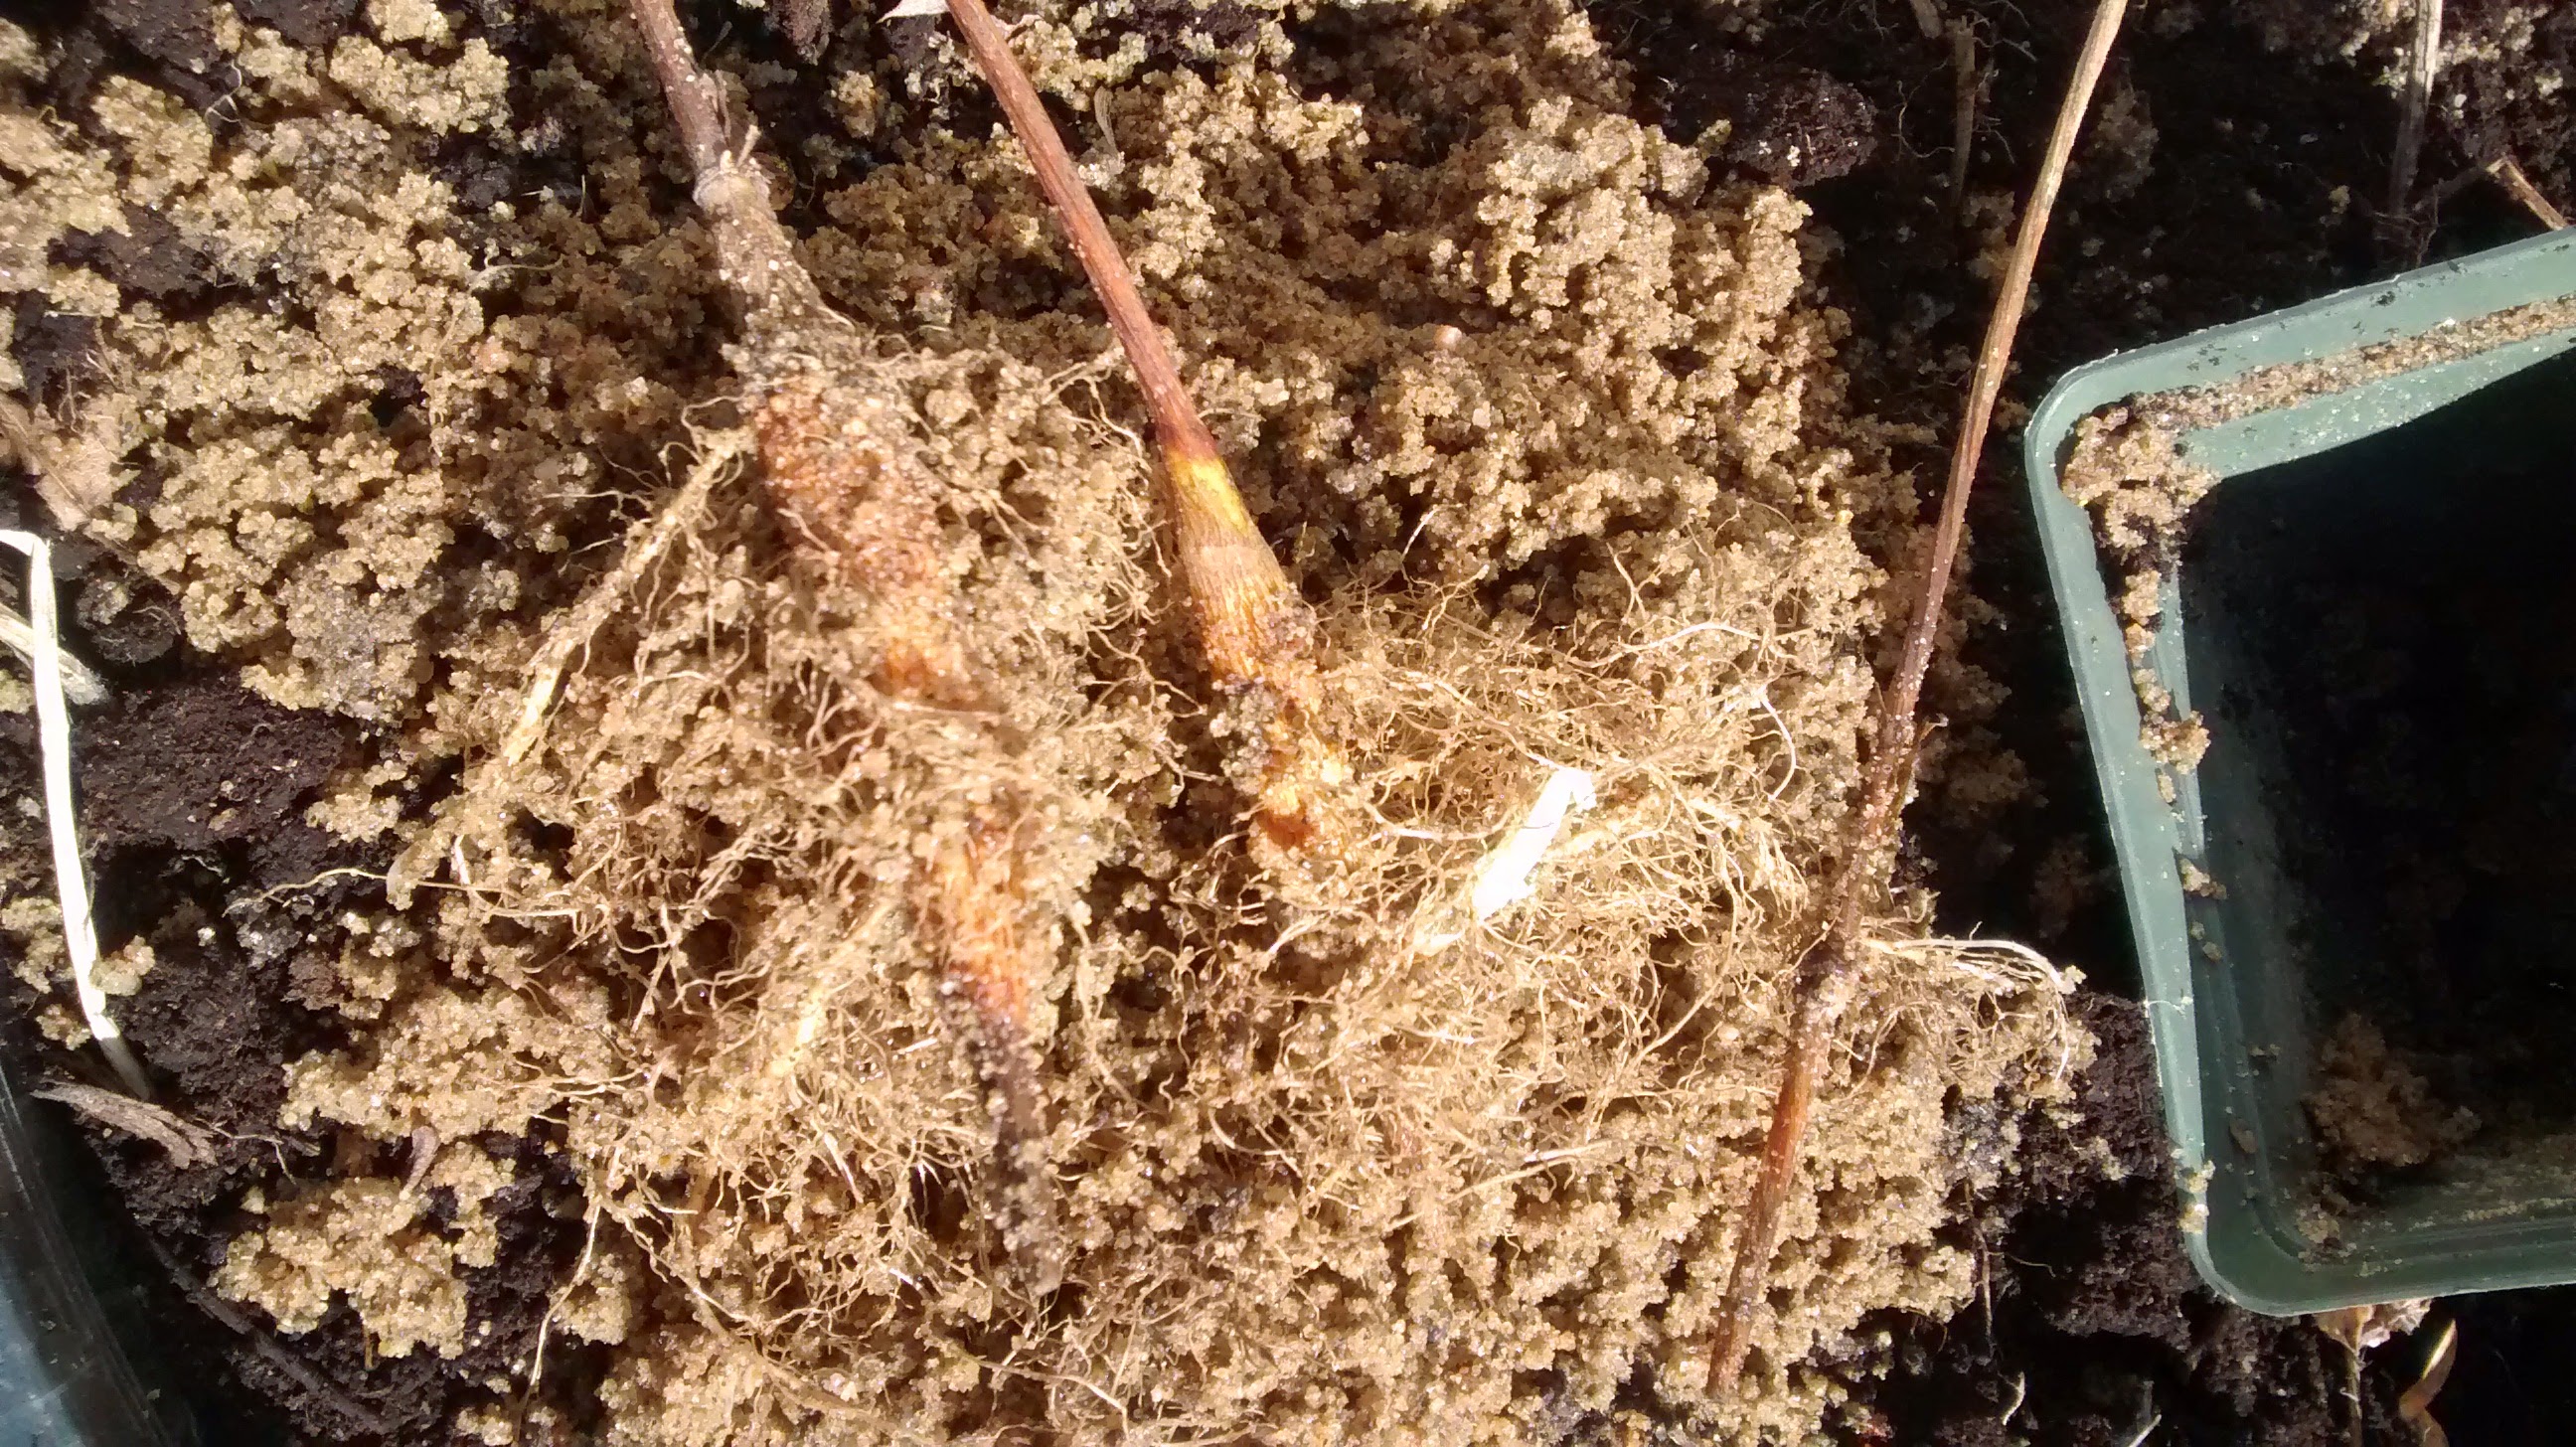
The strongest survive for further evaluation
So today’s cull reflected not only the start of the selection for what I value in the tomatoes I grow this year, but in many ways a continuing selection within my own life for what I value – which includes the value I place on growing at least a portion of my family’s food and doing so in the most sustainable fashion possible.
So what are you selecting for?