

DIY Countertop Brewing System
I started brewing beer using kits back before I could purchase beer in the store and got pretty good at it. I graduated beyond that to brew in a bag setups but about a year and a half ago decided that I wanted to go with a brewing system and my fancy fell to the brew in a conical systems… After a lot of cutting, geometry, and welding… well I still have leaks… obviously my stainless welding on thin sheet leaves a “bit” to be desired.
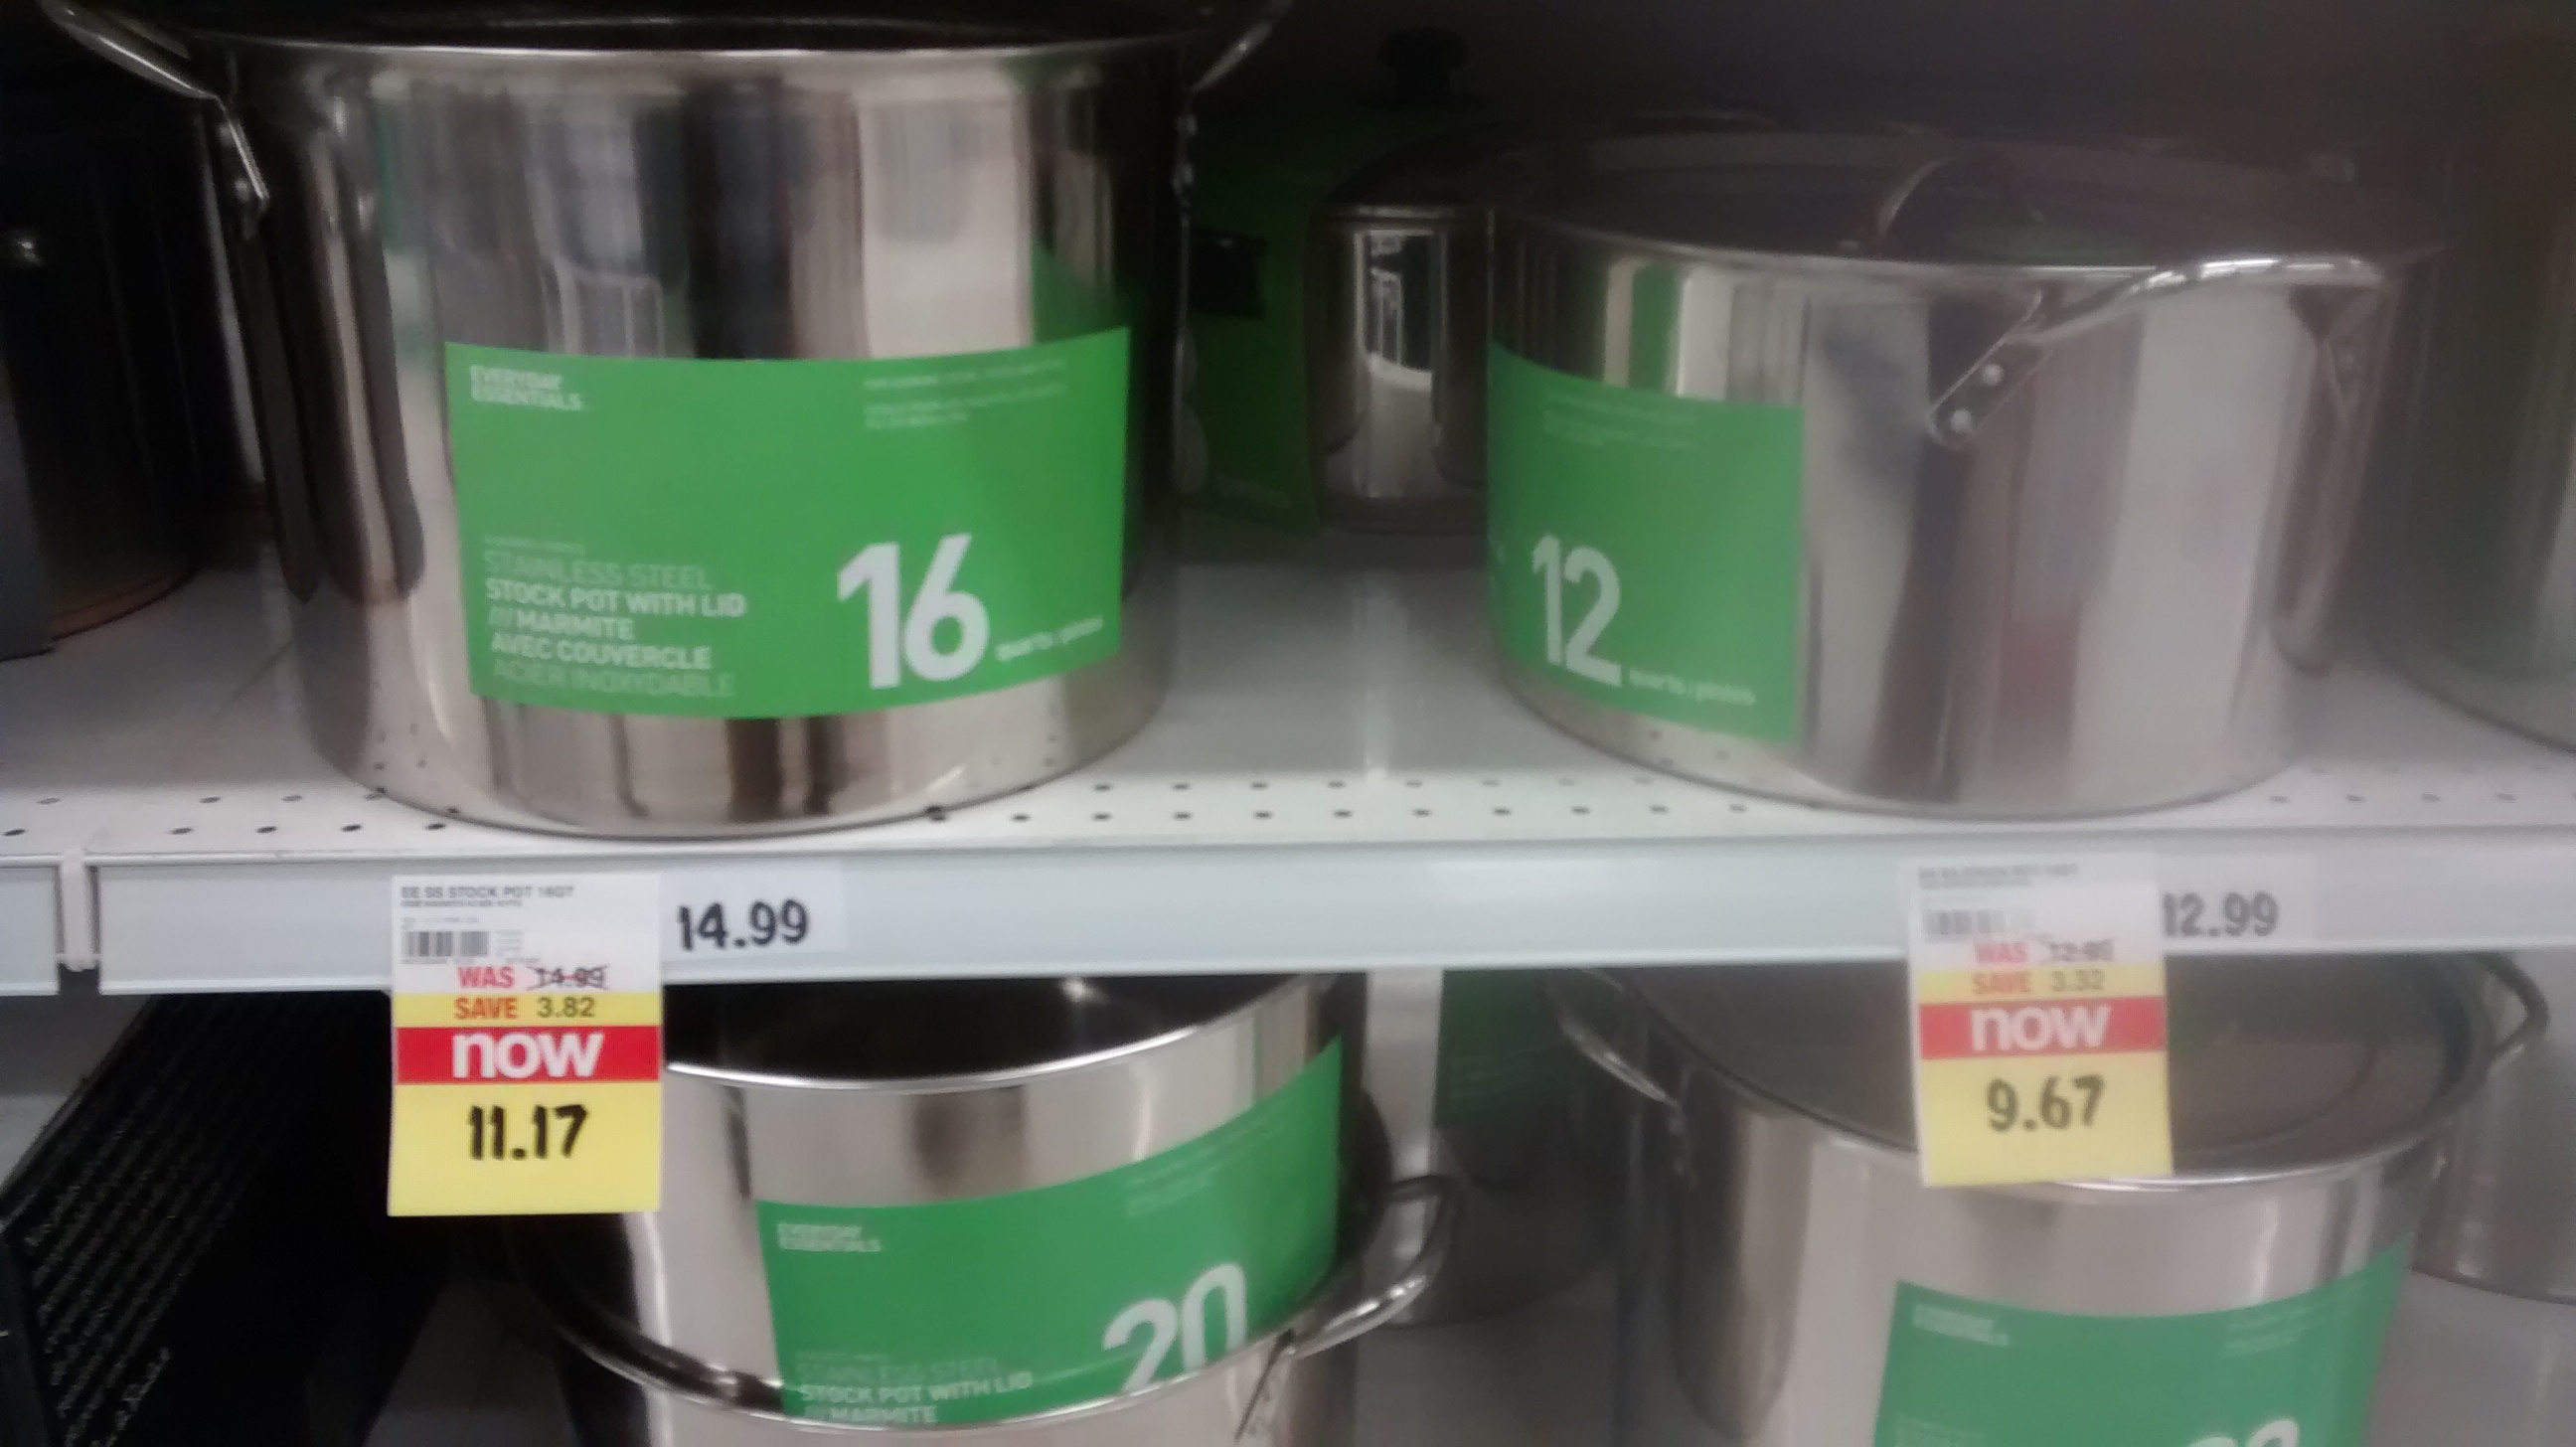
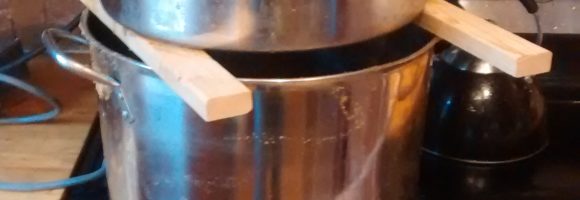
Nesting stock pots
I was still working to get the holes patched when I saw some stainless steel stock pots on sale at one of our local grocery stores. Now the cool thing was that the same lid fit all three sizes of pots (12, 16 and 20 quart) and the pots shared the same taper. That meant the 16 quart pot would nest tightly inside the 20 quart one while leaving a gap at the base – perfect for a heating element. So the 16 quart pot would make a perfect malt basket within the larger brewpot. For Canadians it was the Superstore where I picked up the pots so all of the Loblaws should have the same ones – no doubt they will be available stateside as well.
With the pots as the basis of the unit I decided that I wanted to be able to put together a functioning weldless automated brew system in a weekend. Did I succeed, well nearly… I found that the silicon gaskets that came with the weldless fittings wasn’t quite up to snuff – so I ended up using them in conjunction with food grade silicon sealant which needed a few days to set. But to do it again… well it would take a full day of work and then after waiting a week just to be on the safeside you’d be brewing next weekend. Oh, and apart from using an air powered nibbler with my compressor to create the hole for the element it didn’t take any fancy tools.
How’s the capacity… well I can brew just over 2.5 gallons which allows me to either do half batches or when I do a double run a full 5 gallons. How does that net out in terms of time? Well a double batch is roughly a whole day… but seeing as how things are pretty automated the time commitment from the brewer ends up being about one hour total.
Now how are we set in terms of cost… well, excluding the brew pump you’re looking at about $100.
Here’s what you’ll need in terms of components…
- STC 2000 temperature controller – available with either a 12 volt DC or 120 volt AC output – I used the latter because I had it but if you are buying one choose the former so that you can operate the relay without an adapter. Price is about $10
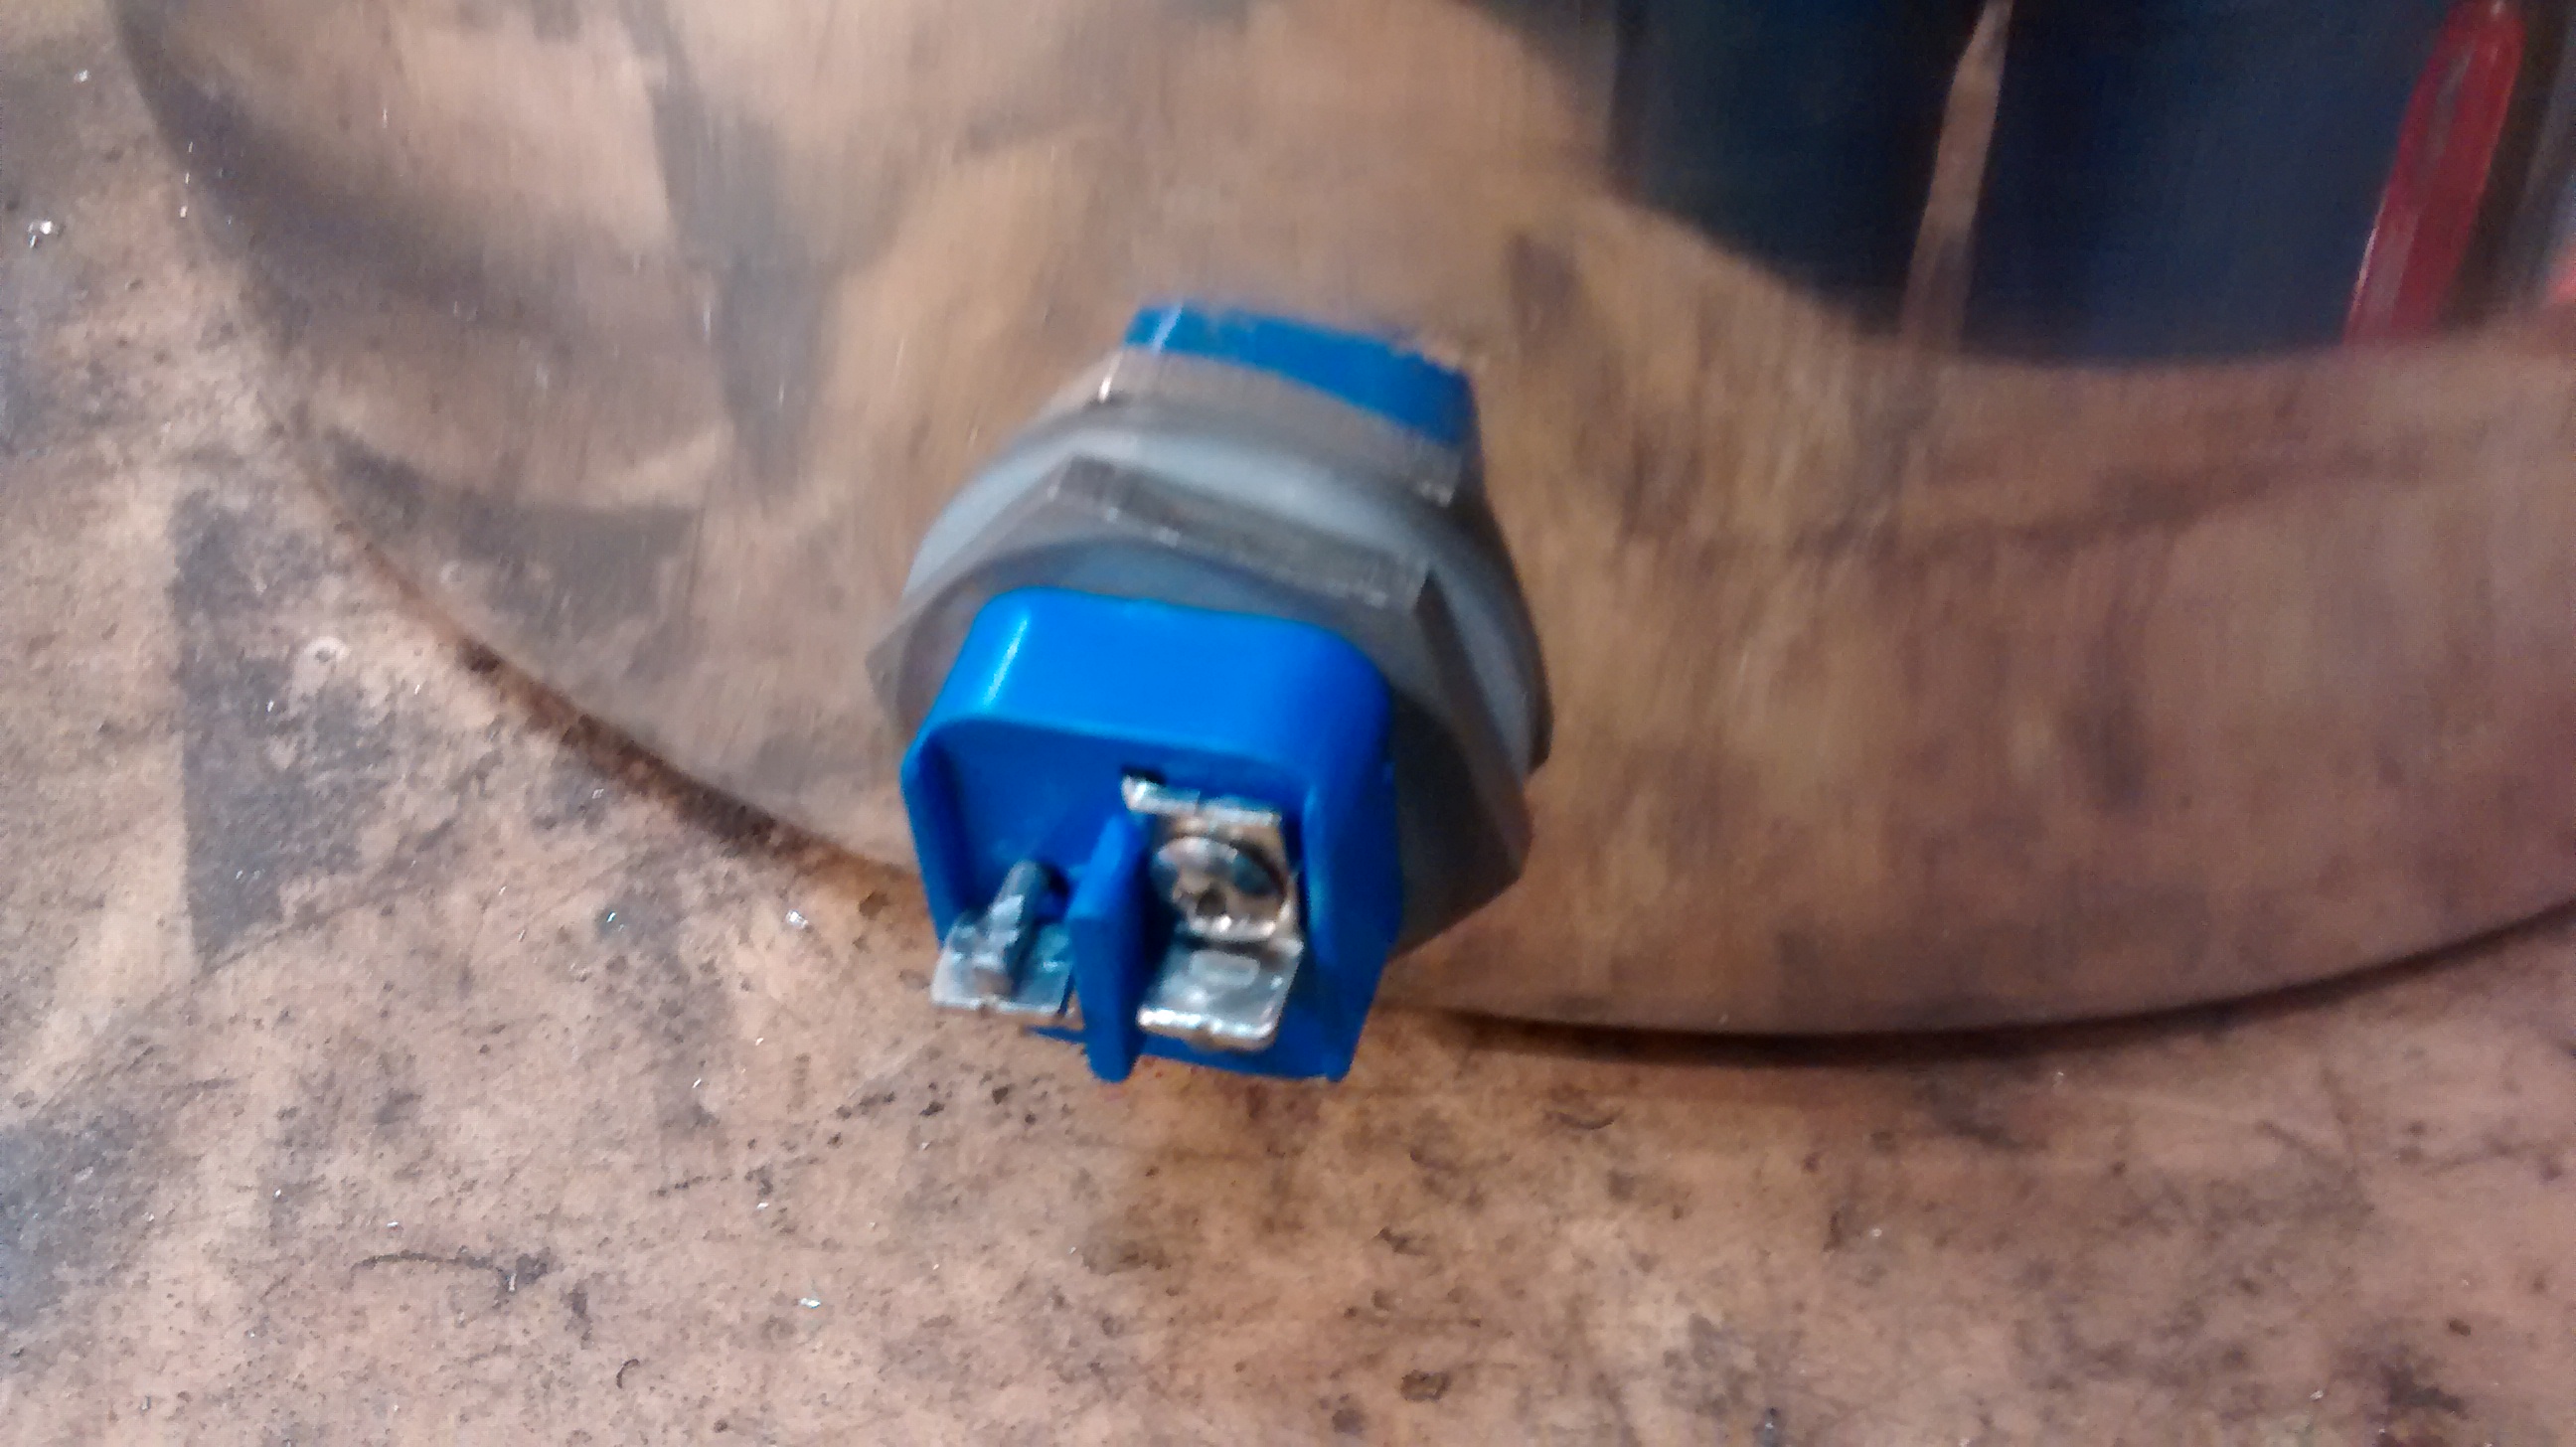
- Relay –
- (3) Electrical cords – just pulled some three prong (grounded) ones from my project materials pile
- GFI Outlet
- 120v 15 amp stainless steel water heating element
- Stainless Steel Nut for the water heating element
- (1) 1/2″ stainless steel bolt (X”long) and nut
- (1) 1/2″ weldless fitting
- (2) 1/2″ stainless steel ball valve
- (4) 1/2″ stainless steel hose barb
- ( X ft) Braided Silicon food grade tube for suction side into pump
- (X ft) Silicon food grade tube (pressure side return from pump)
- (1) 1/2″ stainless steel pipe cap
- (1) tube food grade silicon sealant
- (1) roll of teflon tape
- Conduit parts for the power boxes and end of the heating element.
- Project / electrical boxes for the electrical components
Tools
- Corded hand drill
- Step drill bits (up to 3/4″ diameter)
- Sheet metal nibbler and compressor if necessary
- Adjustable wrenches (including two large enough to handle the nuts on the heating element
- Screwdrivers, wire cutters, etc.
Installing the heating element
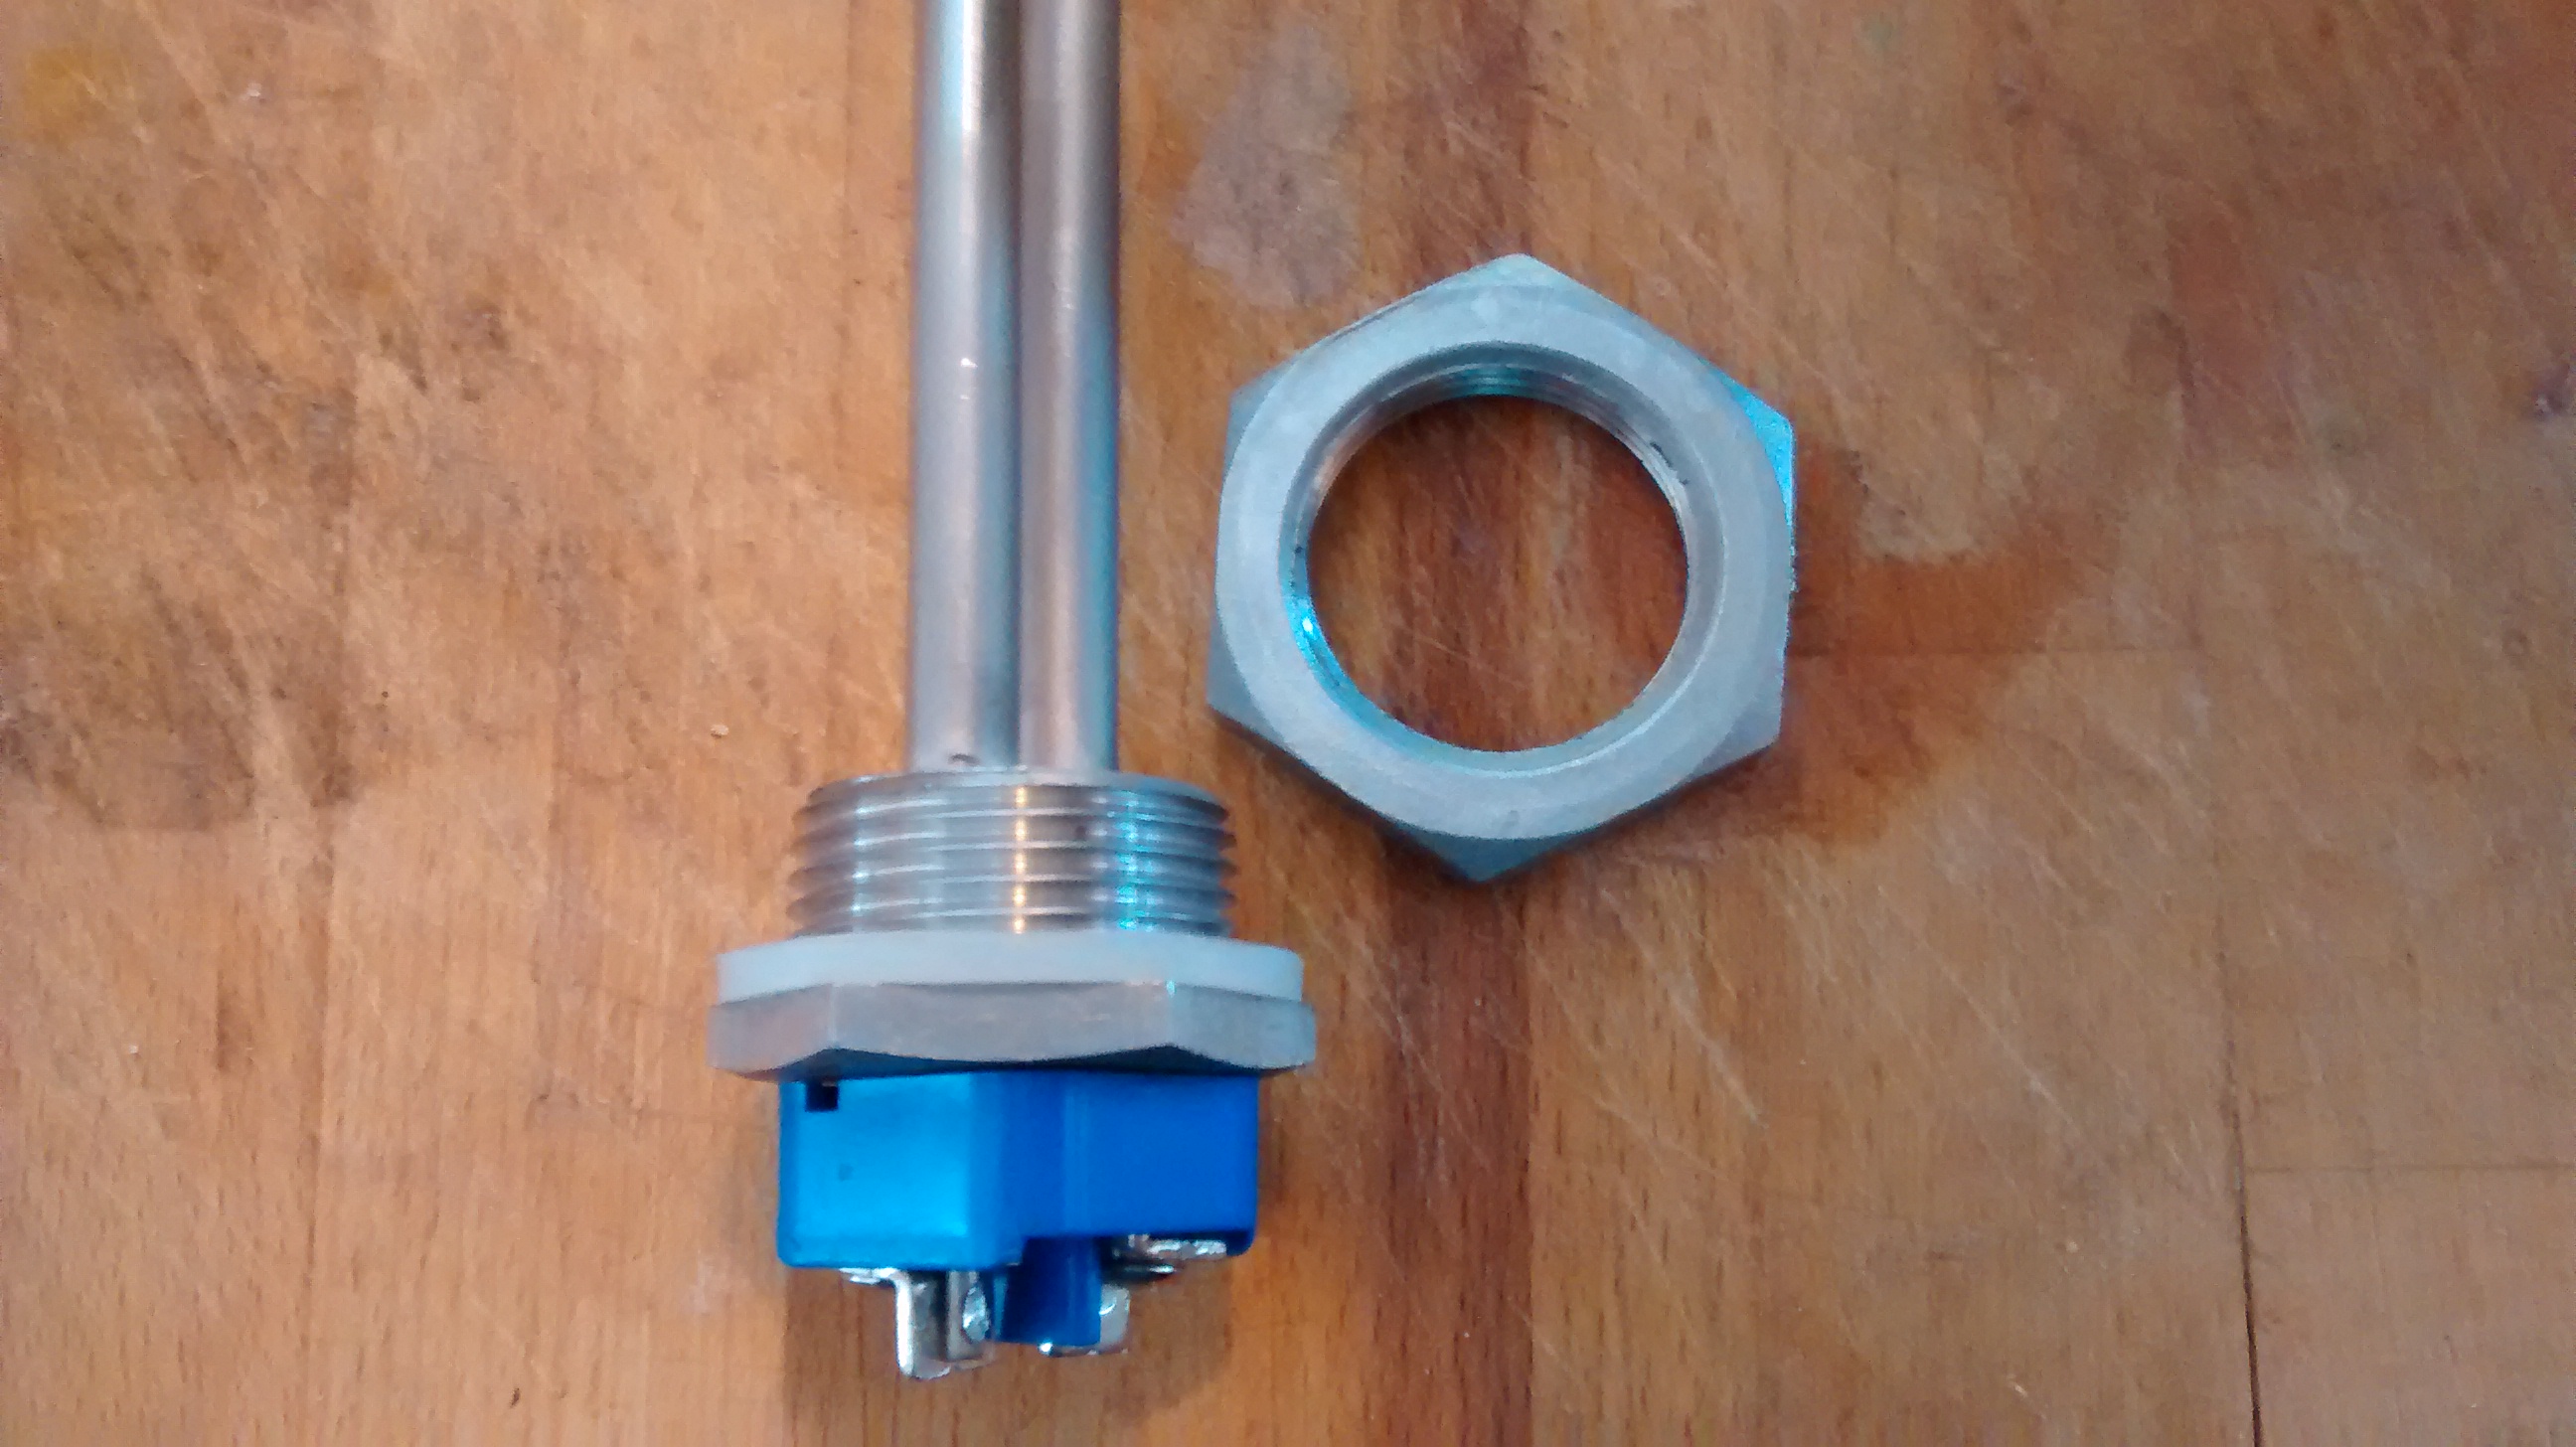
Electric Element and Nut
Your element and the associated nut will look something like this…
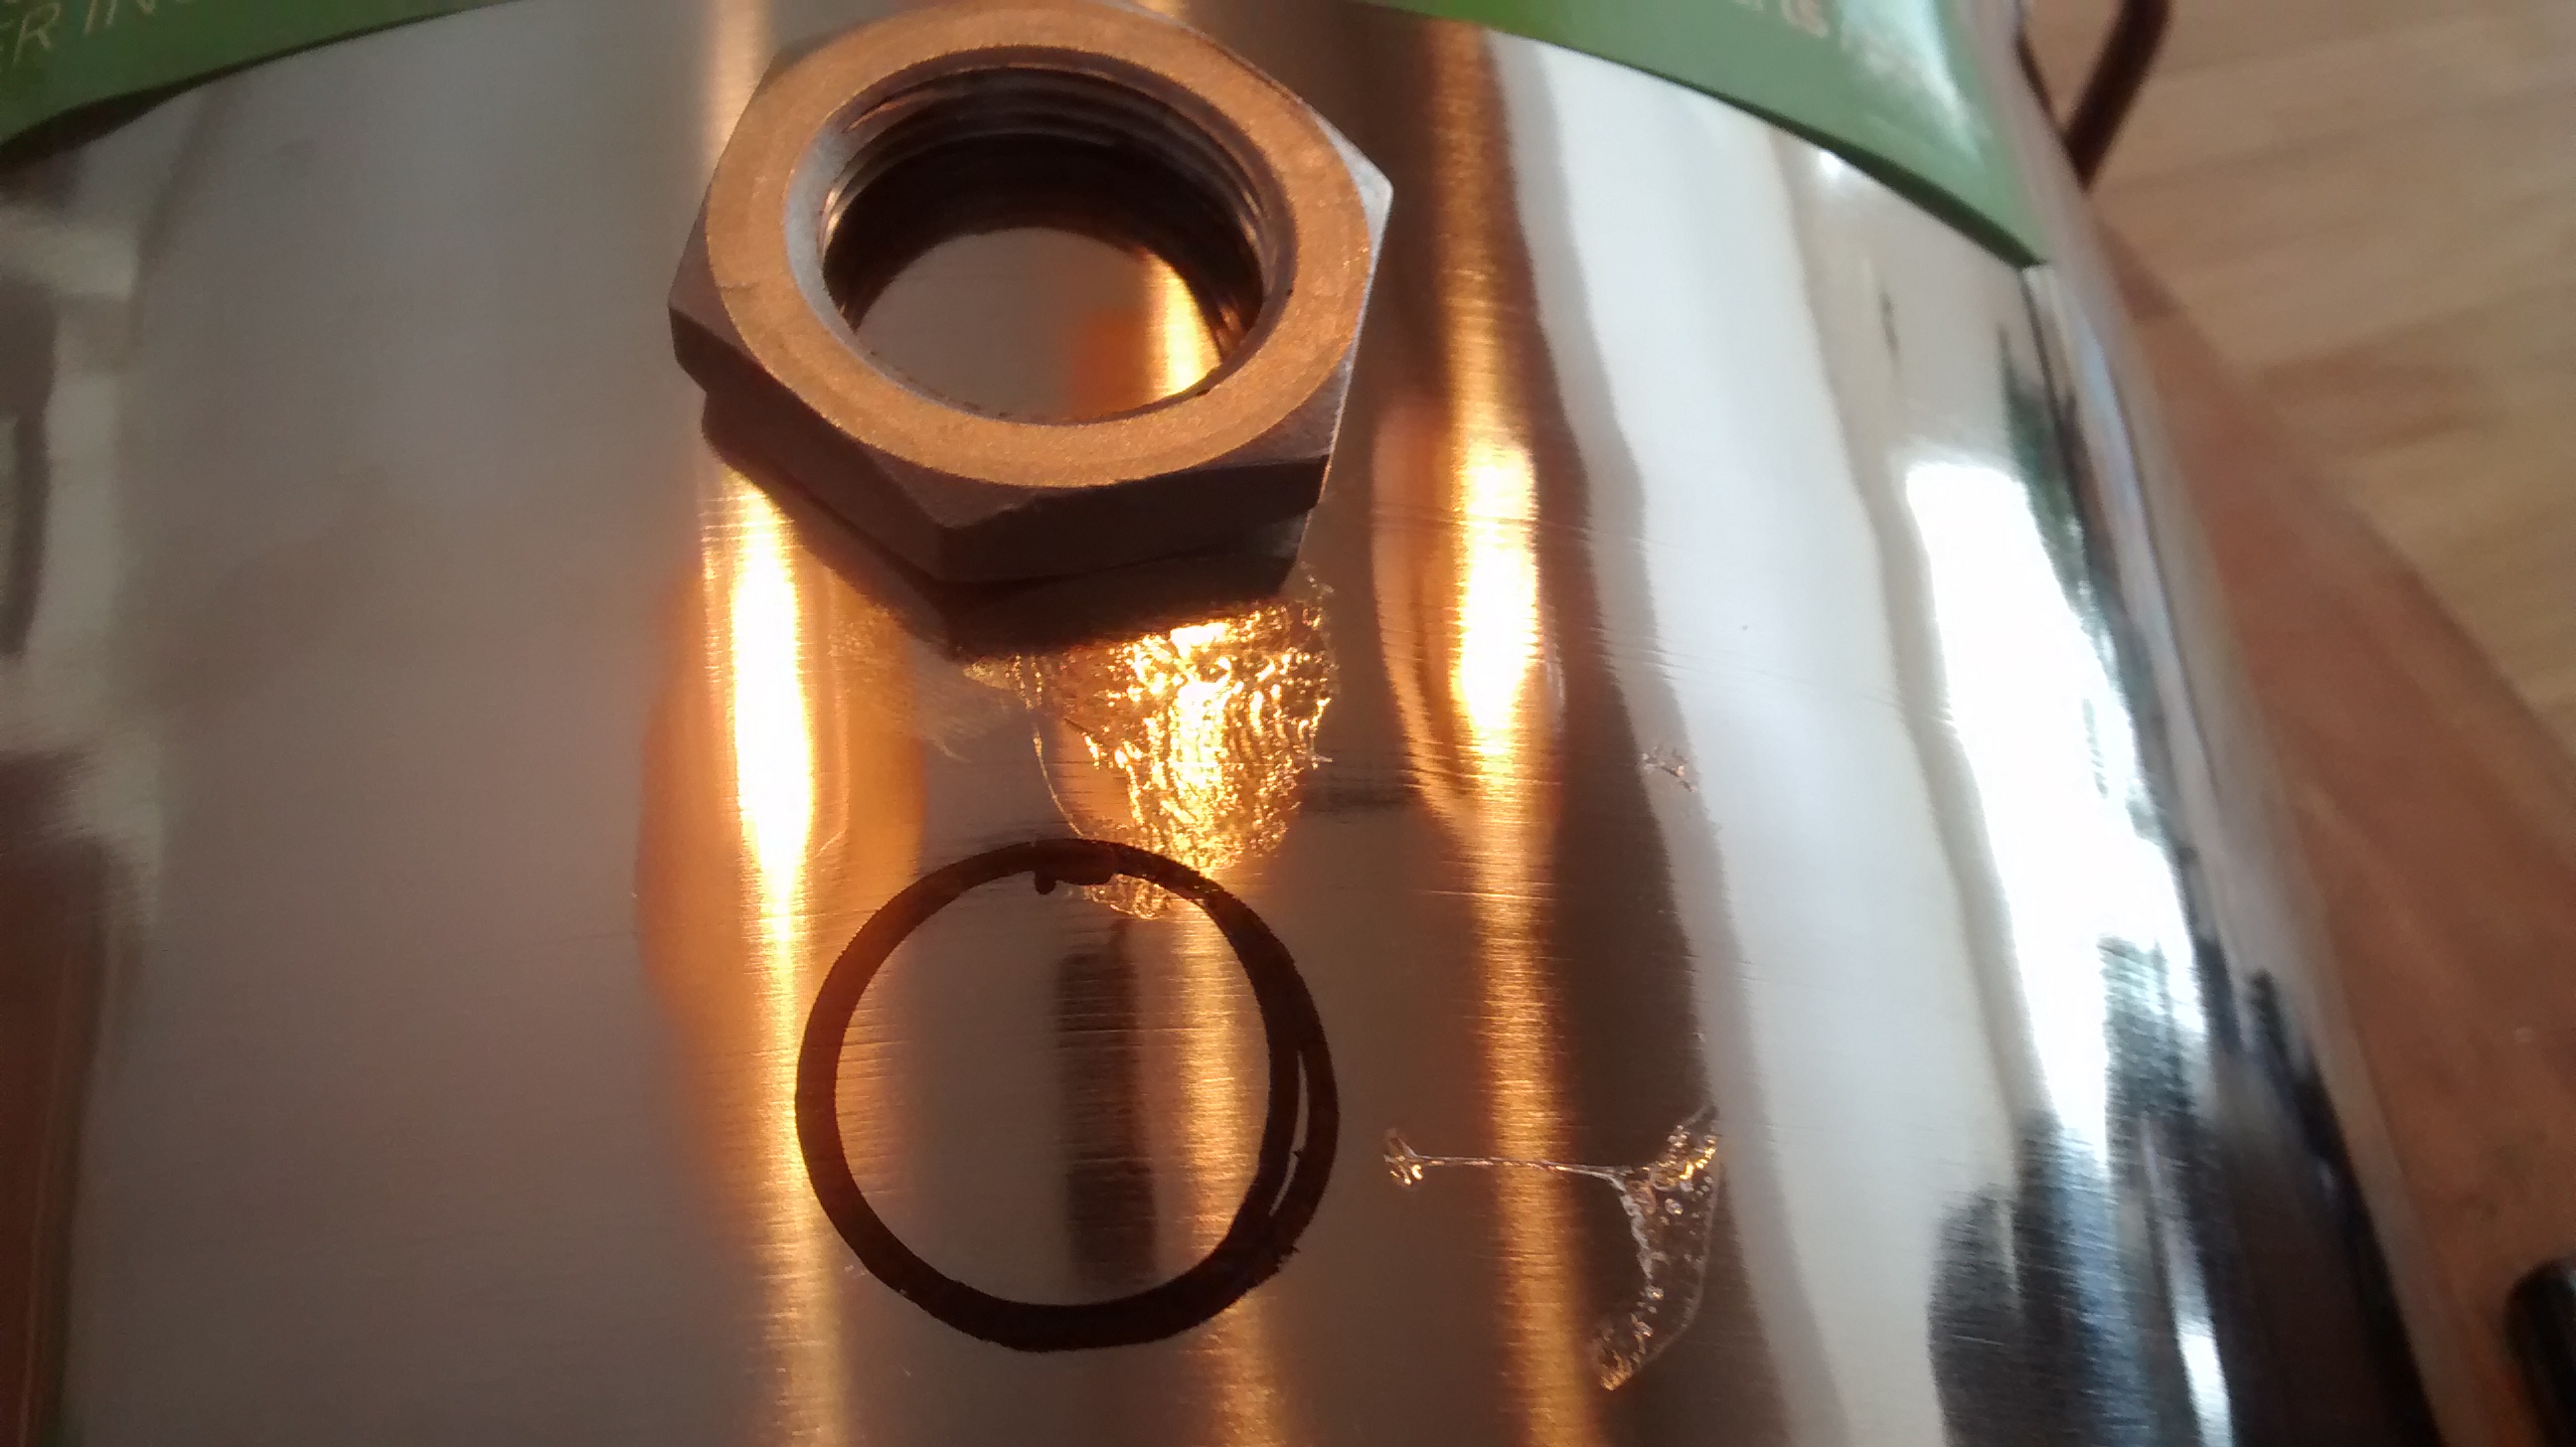
Marked out ID marked out on pot
Use the nut to trace out the inside dimensions of the hole you’ll need on the bottom of the bigger pot – you’ll see about how high up in the next picture.
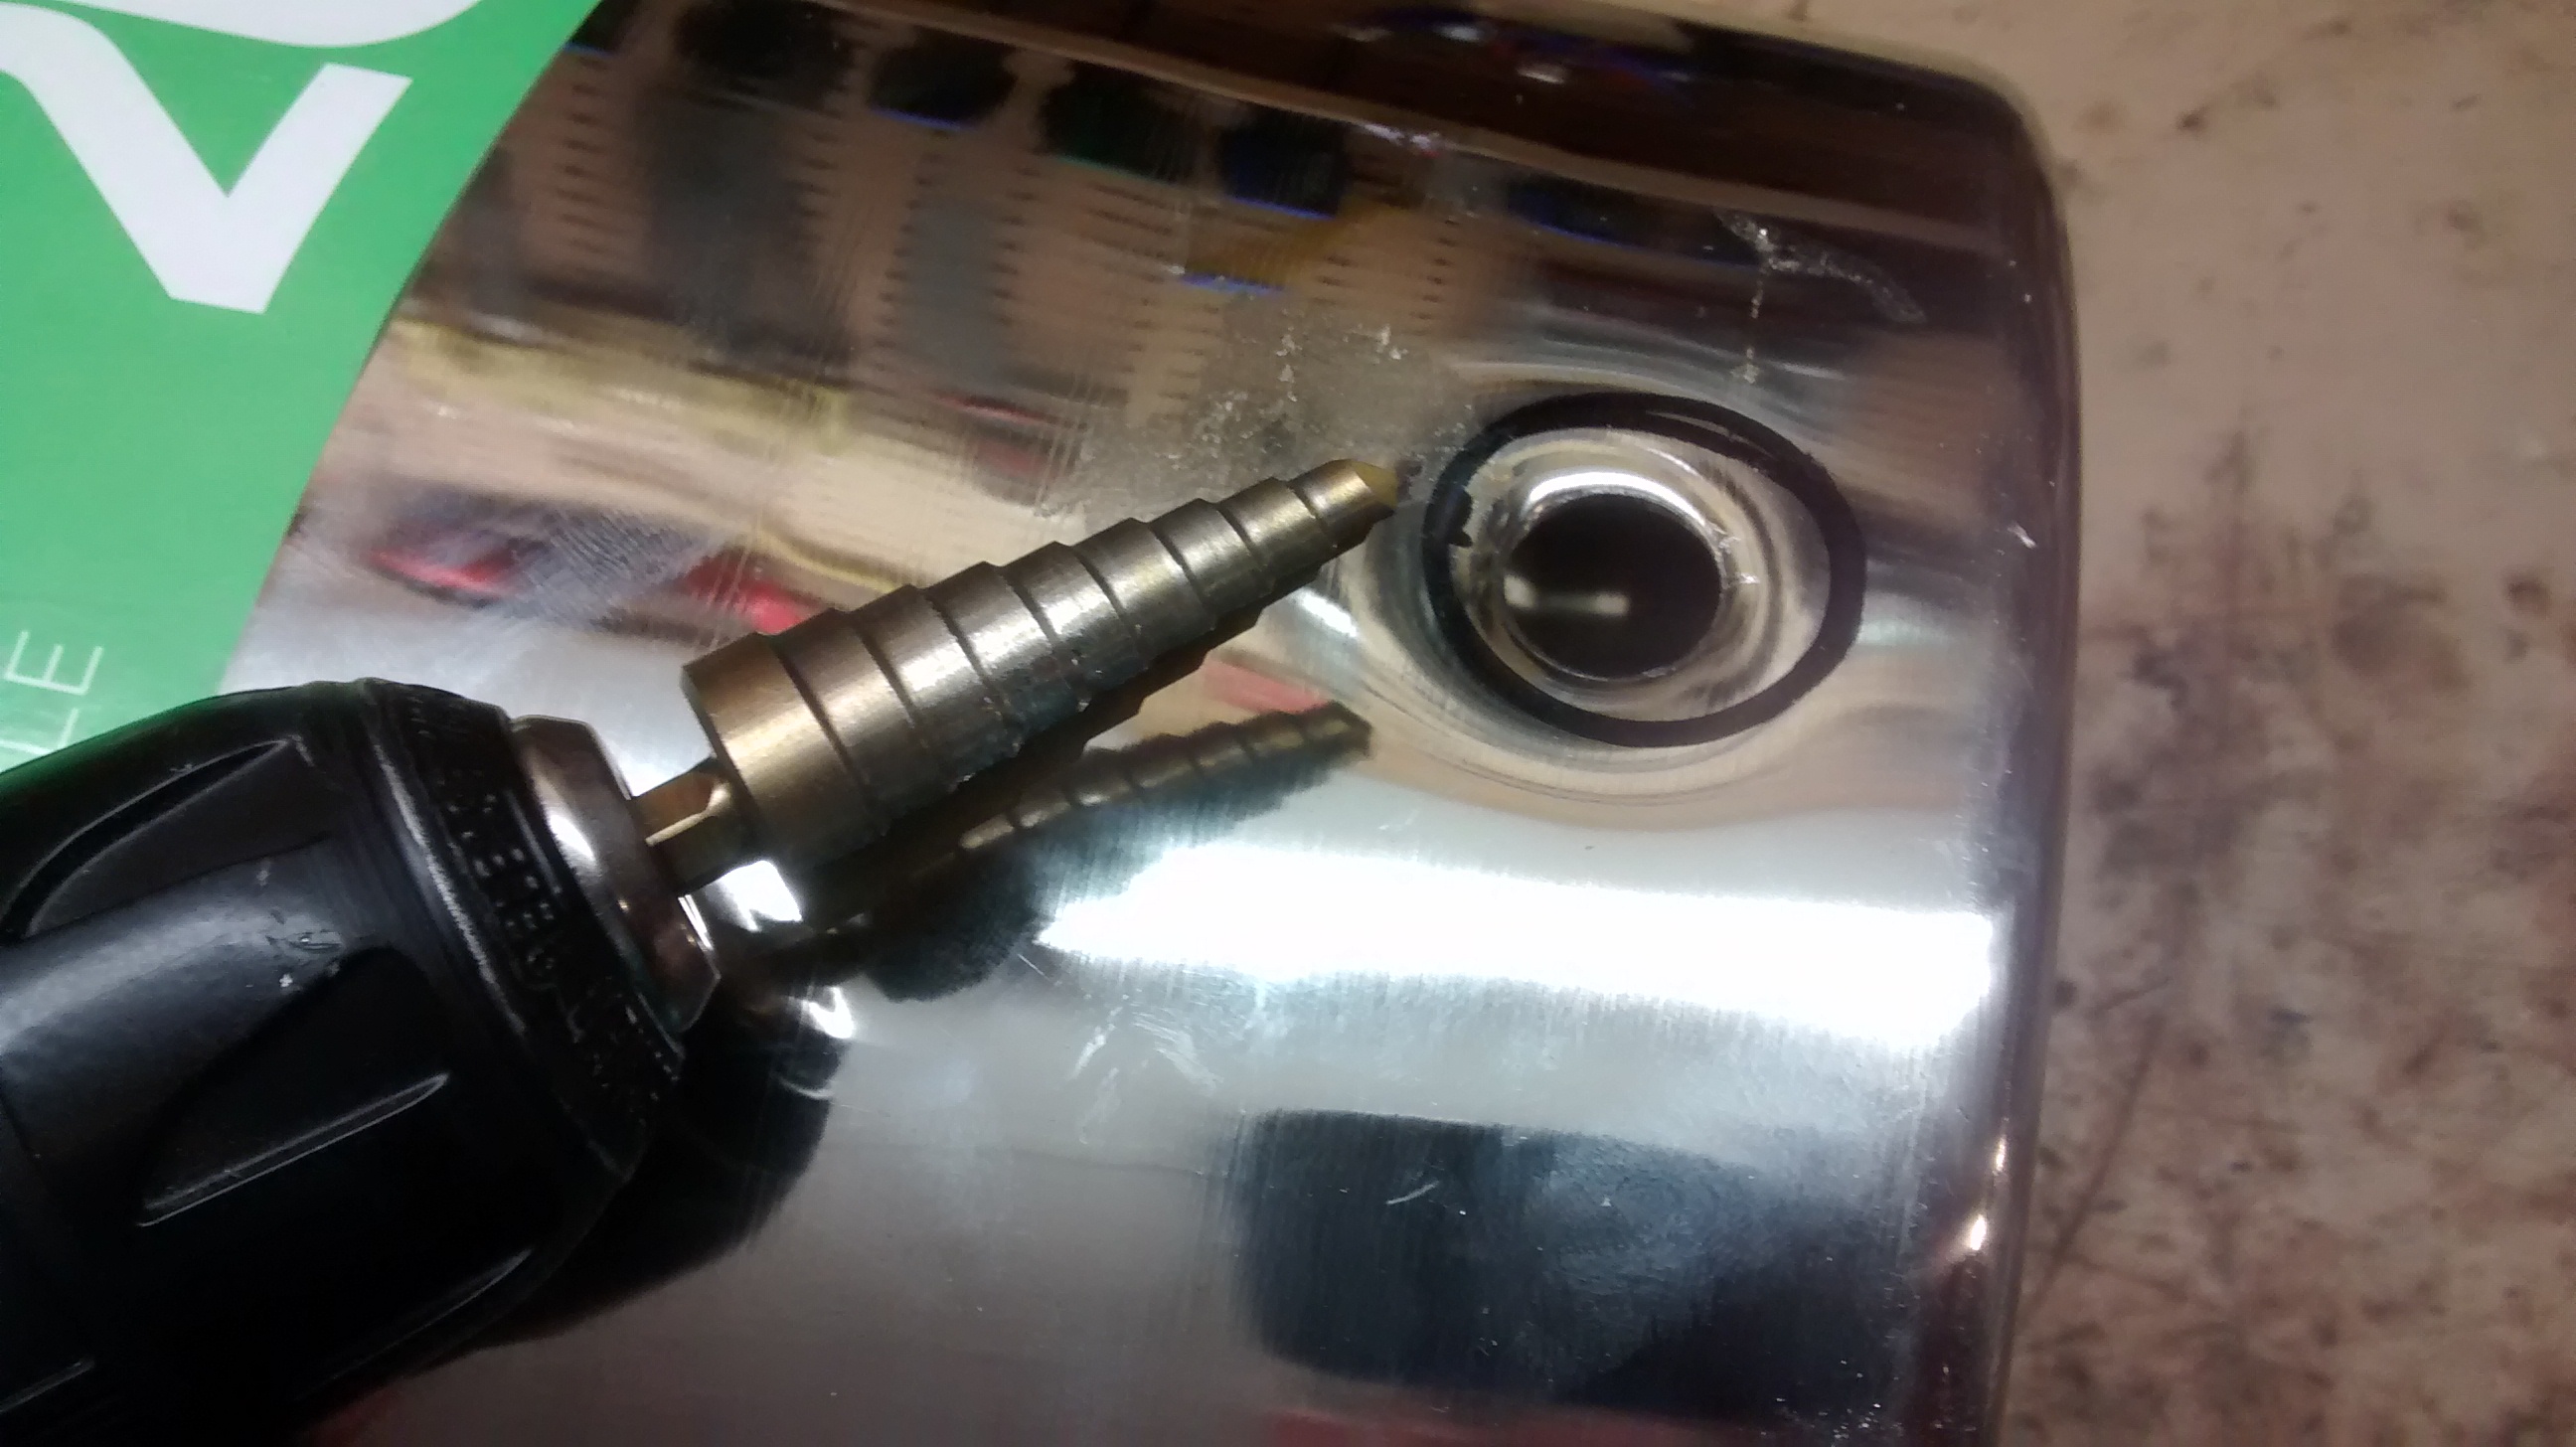 Drill a pilot hole roughly at the center of the circle you’ve drawn. Ideally center punch to make starting the drill easier. Then switch to a step drill to enlarge the hole so that the nibbler can fit into the hole.
Step bit on Element hole
 Use the nibbler to expand the hole to roughly the correct diameter
Element hole expanded with air nibbler
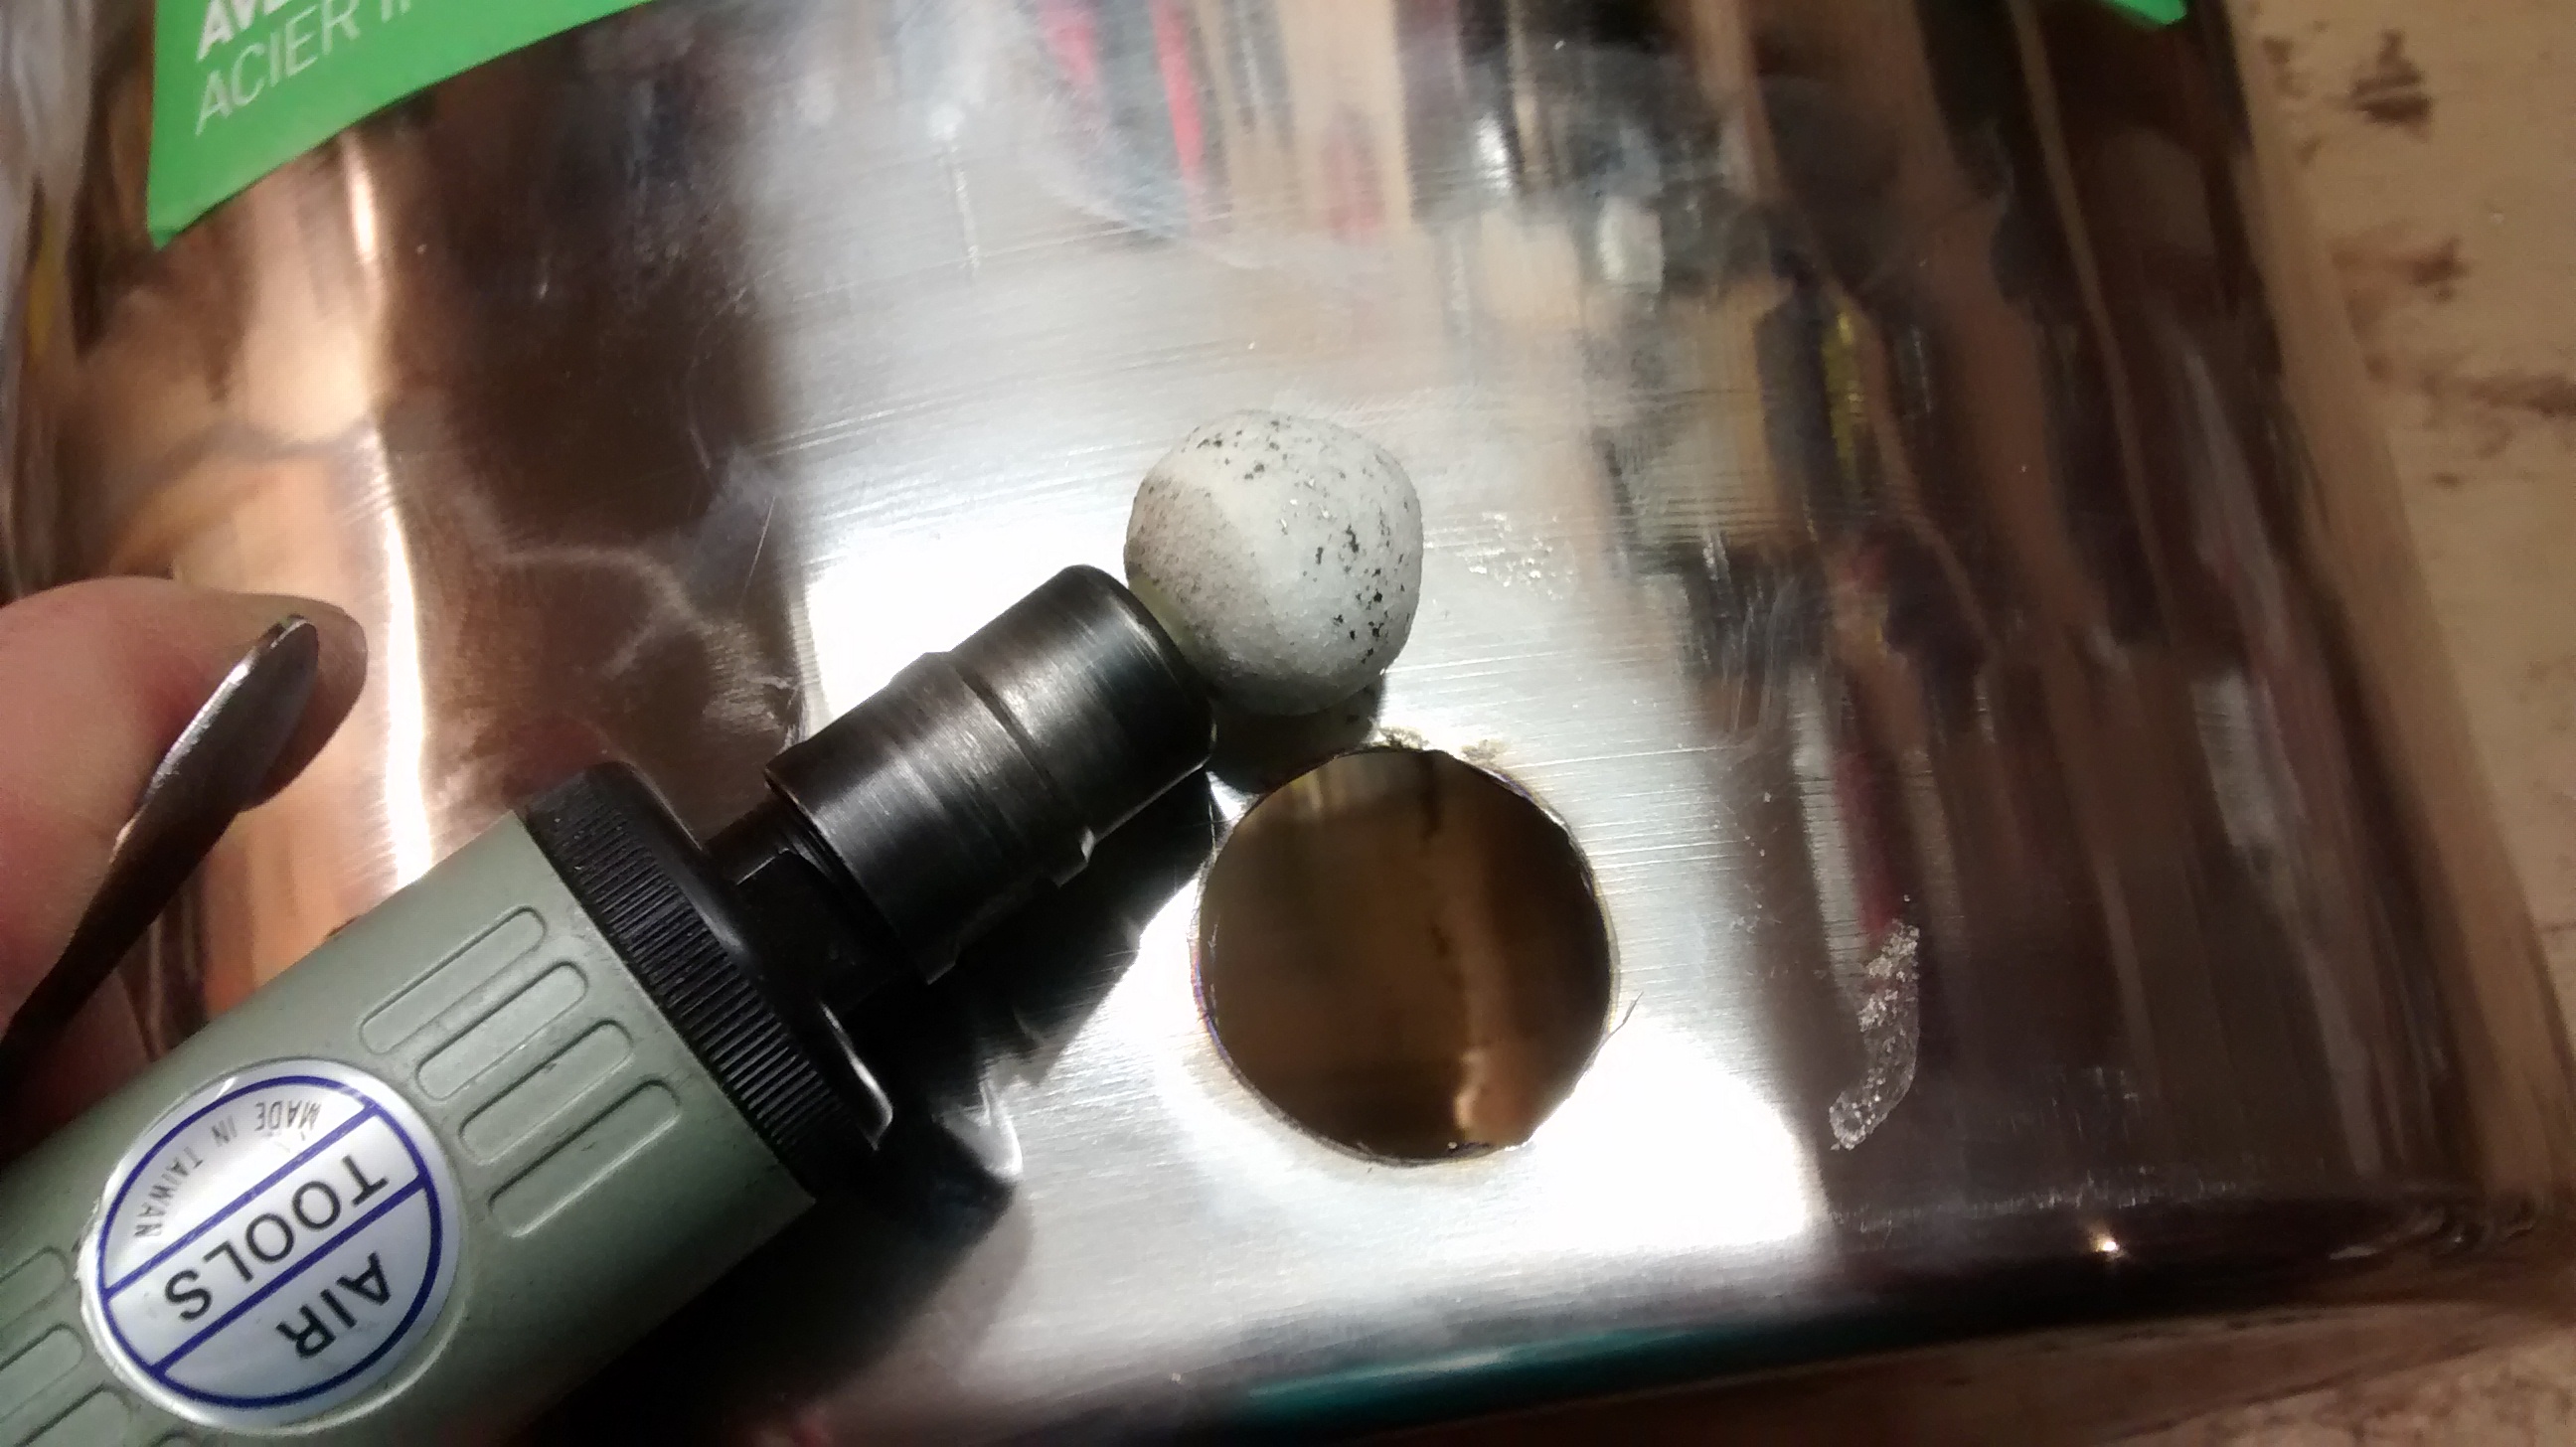
You can either file or use an air die grinder with a grinding stone to finish up the hole to dimension. Trial fit until the element threads through the hole you’ve just created.
Air die grinder finishing up the hole
Element installed in the pot – nut on the inside
Here we are with the element and gasket threaded into the pot for test fitting. When you do the final fit you’ll want to apply food grade silicon sealant on both sides of the fitting
Installing weldless fitting – pot outlet

Marking out diameter for weldless fitting hole
You’ll need to go through the same procedure to install the weldless fitting that you used for the element.
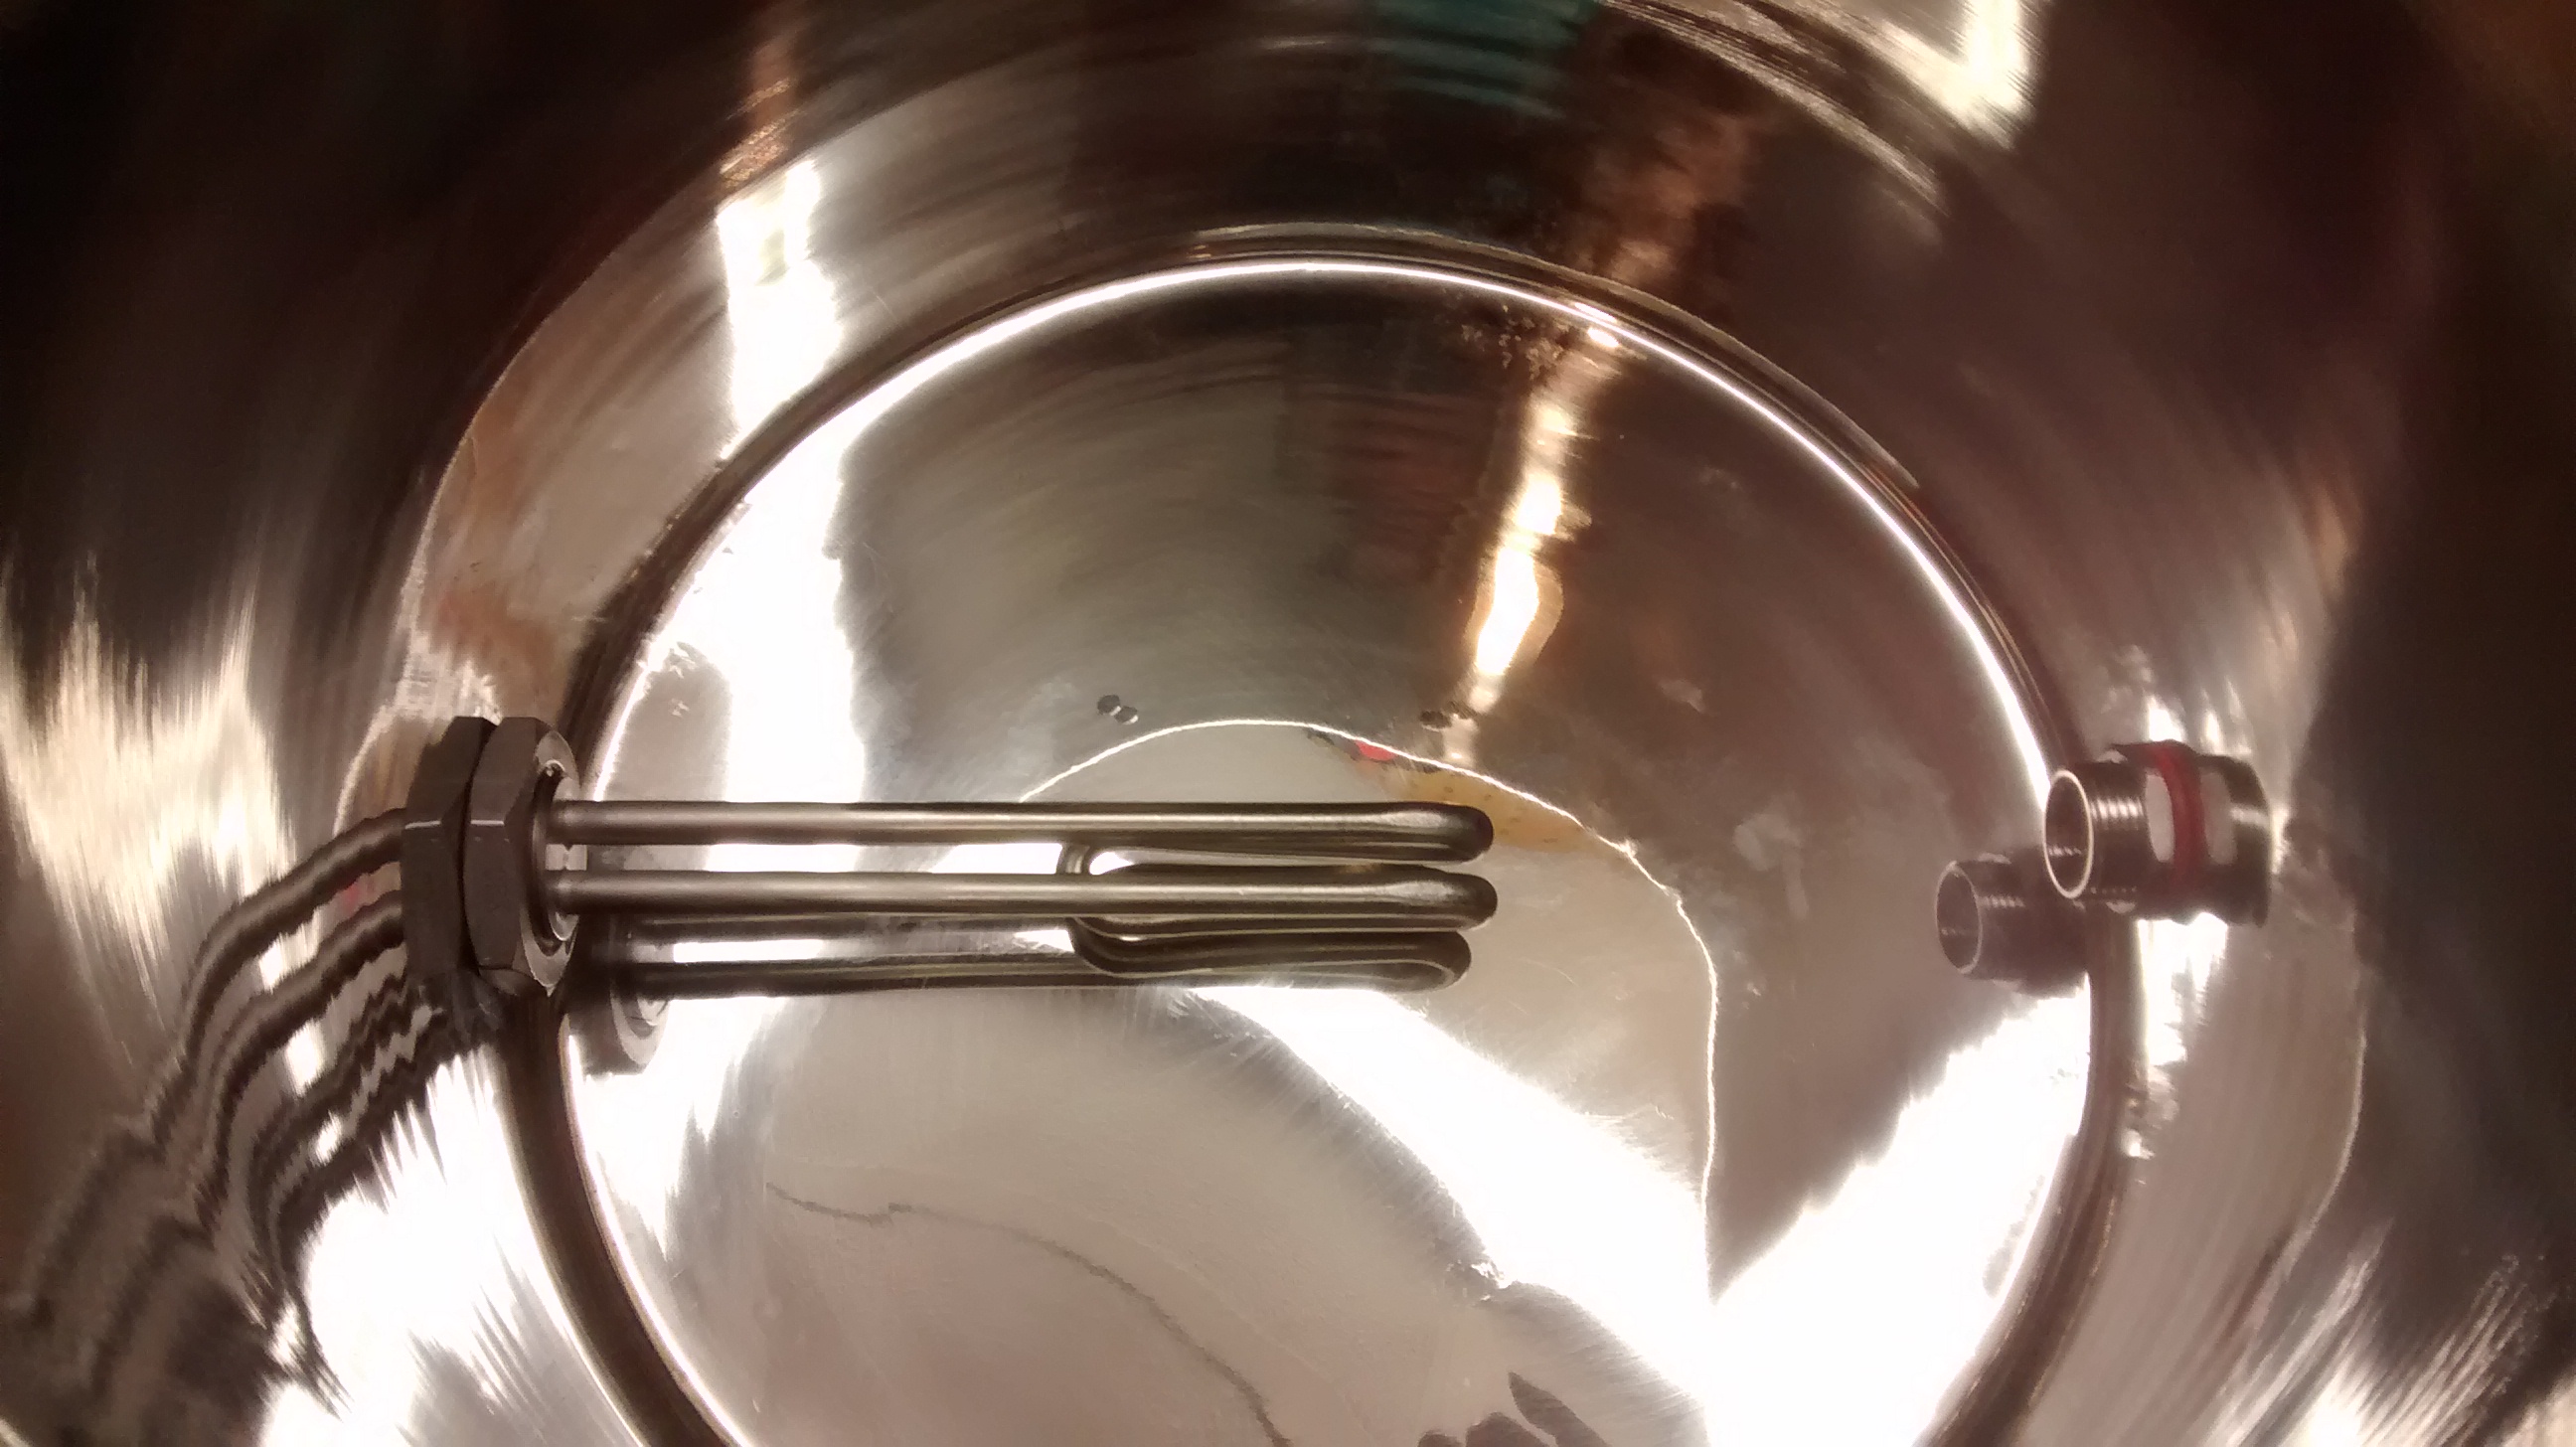
View inside the lower pot – element and exit port installed
Here’s the view of the inside pot with the element and the drain installed.
In the next installment I’ll cover the steps necessary to wire up (and cover up) the element leads and the rest of the fittings on the boil pot, as well as the steps needed to modify the inner pot.